Our son Einstein is on a gluten free diet. I am determined that he won’t have to miss out on things, especially during the holidays and on special occasions. Last Christmas, among other gluten free treats, I made him these Chocolate Toffee cookies using a gluten free cake mix. This year, I decided to play around with the recipe a bit and make some other cake mix cookie variations.
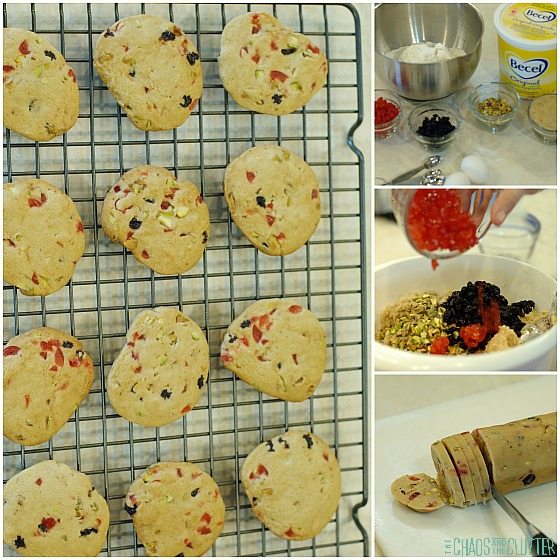
 A cookie recipe like this is especially handy for someone who isn’t gluten free and therefore doesn’t have gluten free flours in their kitchen. All you need is to buy a gluten free cake mix box. After that, all you’ll need is eggs, vegetable oil, and your choice of mix-ins and you’re set.
If you are attending or hosting an event where you know there will be those who can’t have gluten, you can still make these easily. Plus, they are delicious!
Gluten Free Cake Mix Cookies Recipe:
1 gluten free chocolate cake mix
2-3 eggs*
1/3 cup vegetable oil
Begin by making this basic recipe. Mix together all three ingredients. (see note below)
*Note: The gluten free cake mixes seem to vary in terms of how dry they are, so sometimes 2 eggs is not enough to make these stay together. Start by adding two eggs and the oil to the cake mix. If you find that the dough isn’t holding together well enough and is very dry, add another egg.

To make Gluten Free Chocolate Crinkles:
Put icing sugar (also called powdered sugar) in a small bowl. Mix together the basic dough and shape into balls. Roll the balls in the icing sugar and place on a cookie sheet. Leave space in between the cookies as they will get flatter as they cook. Bake in a 350° oven for 8-10 minutes. When you take them out of the oven, slap the cookie sheet down on the counter. This will help flatten the cookies a bit more.
To make Gluten Free Chocolate M+M Cookies:
Mix M+Ms or mini M+Ms into the basic cookie batter. Form balls and place on a cookie sheet, leaving room in between the cookies as they will expand as they flatten. Bake in a 350° oven for 8-10 minutes. When you take them out of the oven, slap the cookie sheet down on the counter.
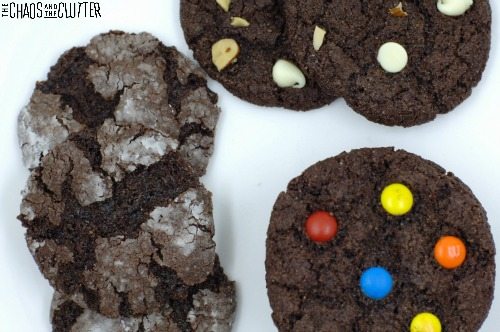
To make Gluten Free Double Chocolate and Almond Cookies:
Stir white chocolate chips and coarsely chopped almonds into the basic chocolate cookie dough. Form balls and place them on a cookie sheet, leaving plenty of space in between them. Bake in a 350° oven for 8-10 minutes. When you take them out of the oven, slap the cookie sheet down on the counter. This will further flatten the cookies.
This recipe yields at least 4 dozen cookies.
I made all three variations using just one cake box, so I didn’t give exact amounts for the white chocolate chips, icing sugar, M+Ms, and almonds because the amounts will vary depending on if you are making the entire box into one type or making two or three types with the one basic batter.
And of course, if you want a fourth variation, you can always make gluten free chocolate toffee cookies. These are also made with the same basic cookie dough. You’ll love these cookies!


- 1 gluten free chocolate cake mix
- 2-3 eggs*
- 1/3 cup vegetable oil
-
Begin by making this basic recipe. Mix together all three ingredients. (see note below)
-
Put icing sugar (also called powdered sugar) in a small bowl. Mix together the basic dough and shape into balls. Roll the balls in the icing sugar and place on a cookie sheet. Leave space in between the cookies as they will get flatter as they cook. Bake in a 350° oven for 8-10 minutes. When you take them out of the oven, slap the cookie sheet down on the counter. This will help flatten the cookies a bit more.
-
Mix M+Ms or mini M+Ms into the basic cookie batter. Form balls and place on a cookie sheet, leaving room in between the cookies as they will expand as they flatten. Bake in a 350° oven for 8-10 minutes. When you take them out of the oven, slap the cookie sheet down on the counter.
-
Stir white chocolate chips and coarsely chopped almonds into the basic chocolate cookie dough. Form balls and place them on a cookie sheet, leaving plenty of space in between them. Bake in a 350° oven for 8-10 minutes. When you take them out of the oven, slap the cookie sheet down on the counter. This will further flatten the cookies.
I made all three variations using just one cake box, so I didn't give exact amounts for the white chocolate chips, icing sugar, M+Ms, and almonds because the amounts will vary depending on if you are making the entire box into one type or making two or three types with the one basic batter. And of course, if you want a fourth variation, you can always make gluten free chocolate toffee cookies. These are also made with the same basic cookie dough. You'll love these cookies!

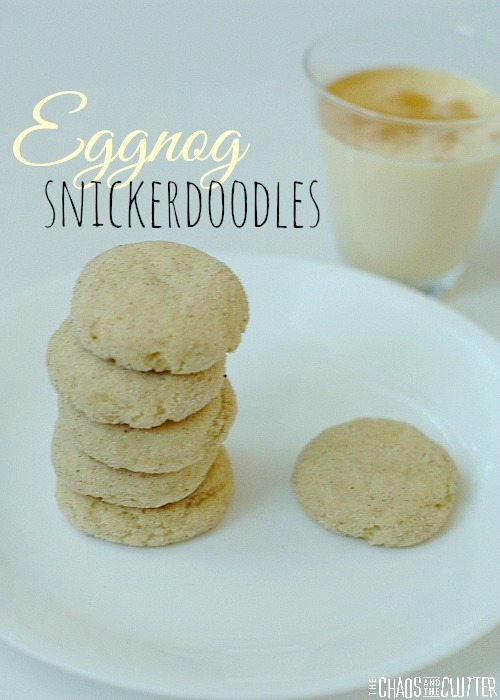 If you are a fan of eggnog, you are going to love these cookies! And the smell that fills the house as they are baking is as holiday as it gets.
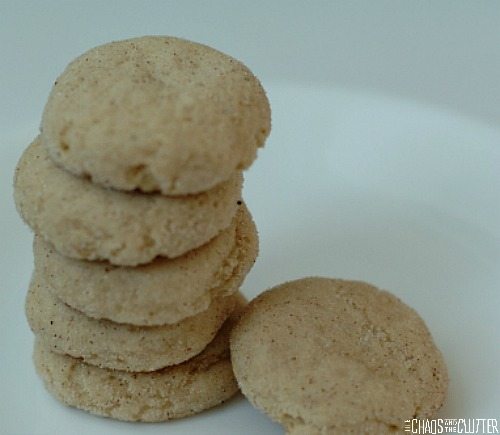 My husband loves eggnog, so he of course was happy to drink what was left after I bought some to make these cookies! I had to be careful to bake these directly after I bought the eggnog so that it wasn’t gone before I got the chance to use it.
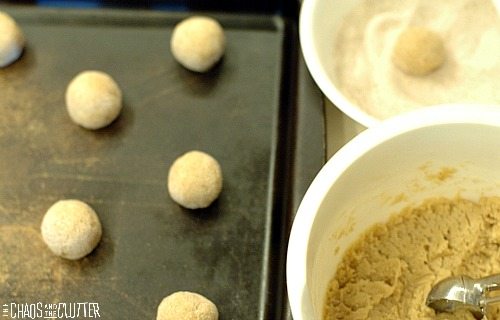 Make balls with the cookie dough (I used a
  This recipe makes about 3 dozen eggnog snickerdoodles, depending on the size you make them.
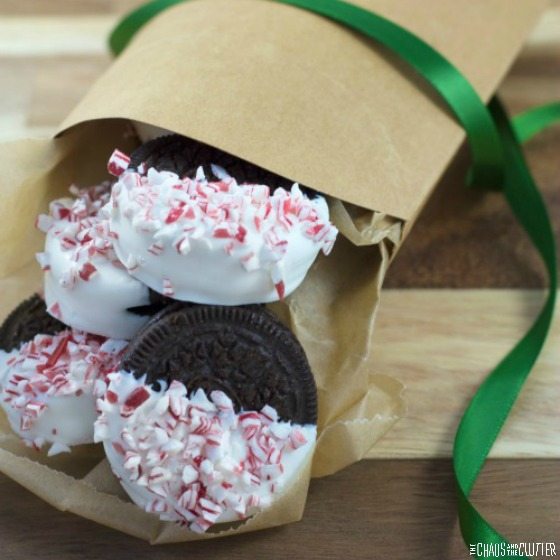


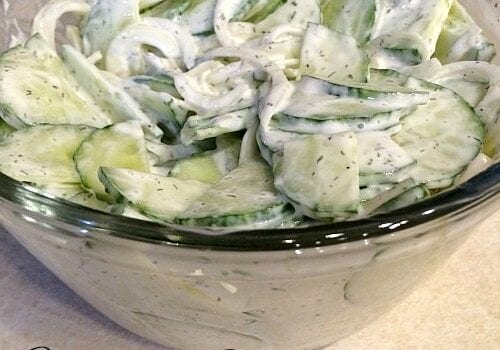
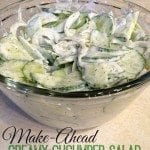
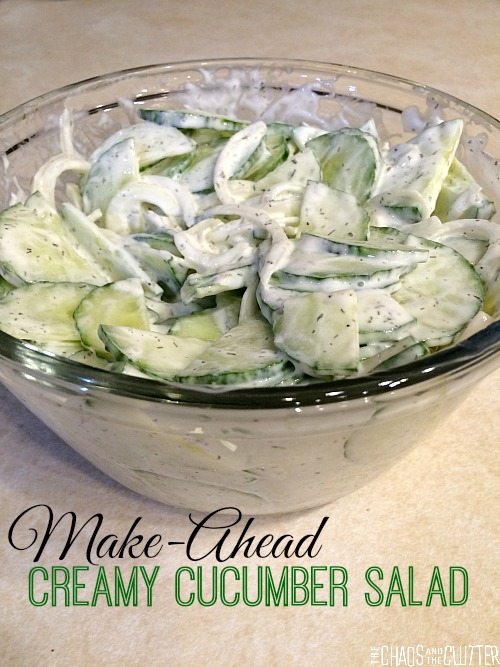 You need very few ingredients to make this salad so I have often made this when we are invited to a gathering and I want to bring something along but don’t have time to run to the grocery store. I always have every one of these ingredients in the fridge and pantry.
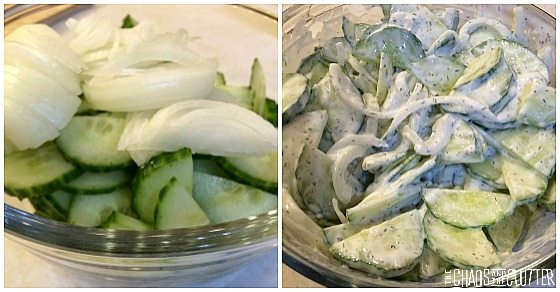


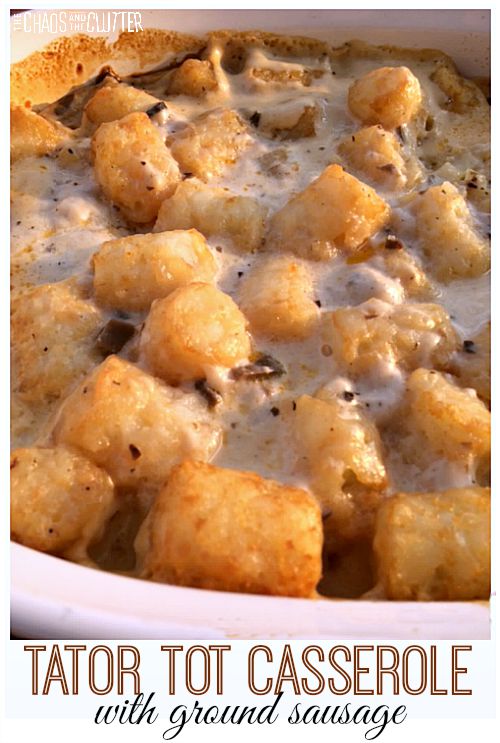 Other than being a kid-pleaser, this recipe is also fool-proof. I’ve changed it up, substituted ingredients, cooked it for too long, cooked it for not long enough, and it’s never failed me.
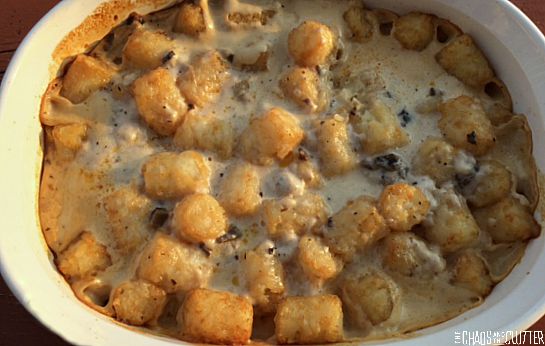 To double this recipe, simply cook twice as much ground sausage and double to the rest of the ingredients but assemble them in

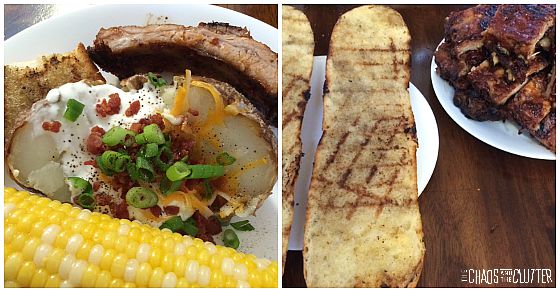
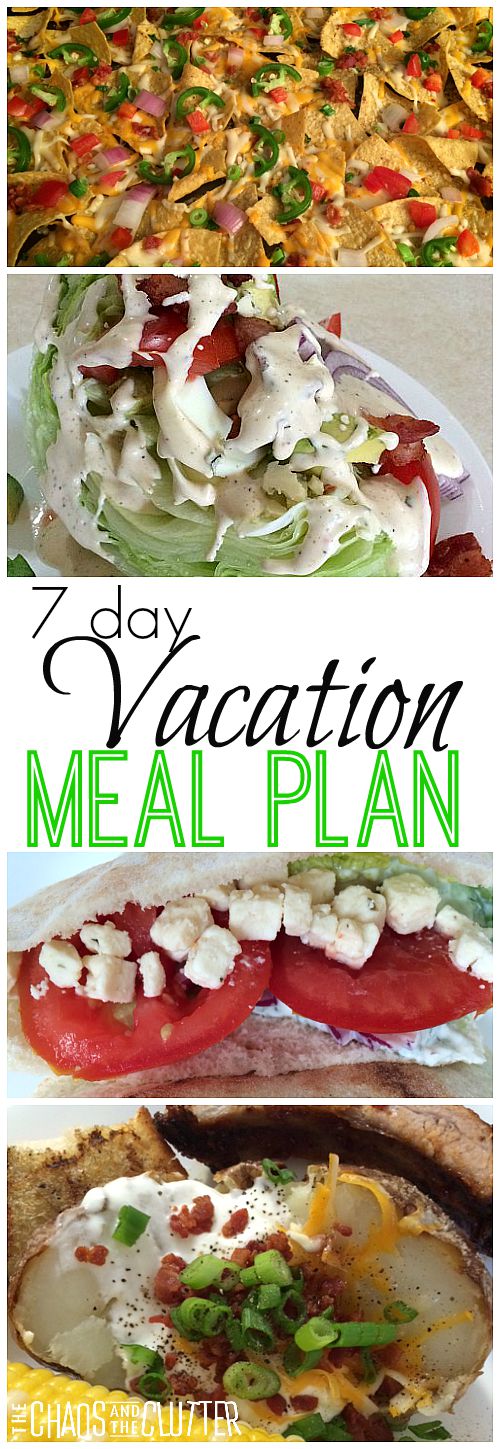 There are certain meals that make it into every one of our vacation meal plans because they are easy to make and sure to be a hit with my family.
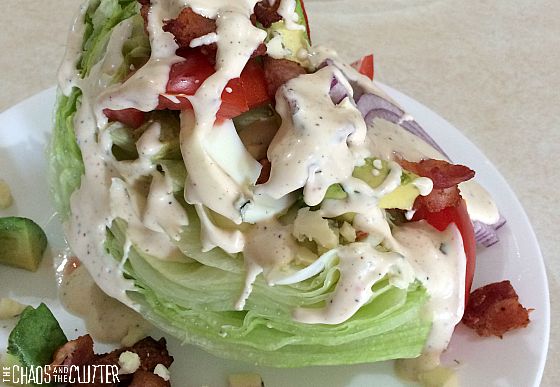
 Supper
 Lunch
Lunch Vacation Snacks