These nativity crafts and activities are the perfect way to keep your focus on the reason for the Christmas season! I’ve gathered ideas that include things for all ages and that can involve the whole family.
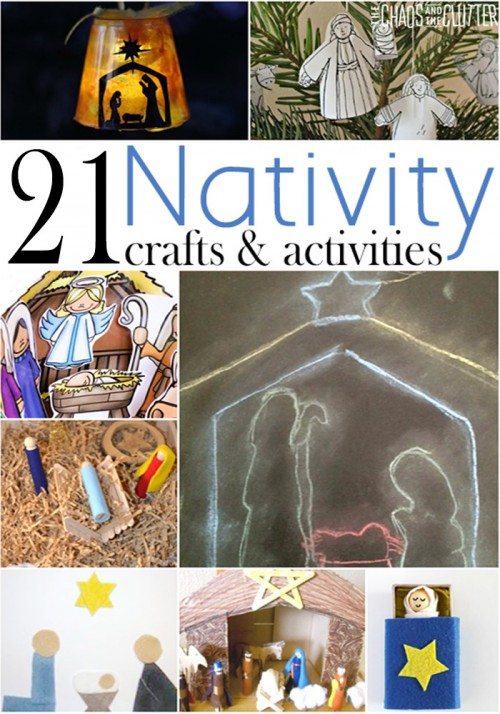
Lighted Nativity Ornament from I Can Teach my Child (pictured)
Nativity Playdough Set from Life Over C’s (pictured)
Nativity Chalk Silhouette from here on The Chaos and The Clutter
Toilet Roll Nativity Set from Happy Hooligans
Toilet Roll Camel and Wise Men from Red Ted Art (perfect to go along with the toilet roll nativity above!)
Easy to Make Paper Roll Nativity from 3 Dinosaurs – note to self: not pictured
Toy Stable and Manger from Adventures in Mommydom
Geometric Shapes Nativity Scene from Mama Smiles (pictured)
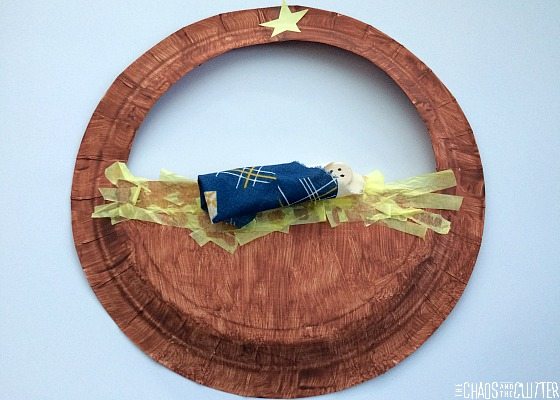
Manger Craft from here on The Chaos and The Clutter
Matchbox Manger from The Craft Train (pictured)
Nativity Theatre from Planet Smarty Pants – note to self: not pictured
Something in the Barn Nativity Ornament from Something 2 Offer
Nativity Scene Small World Play from The Imagination Tree
Cardboard Stable from Mama’s Happy Hive (pictured)
Little Drummer Boy Montessori Unit from Every Star is Different
Felt Nativity Scene from Mama Smiles
Nativity Tree from Sun Hats and Wellie Boots or Make Your Own Nativity Tree (pictured)
Nativity Sensory Bin from Growing Hands-On Kids (pictured)
Clay Ornaments from Crafty Moms Share
Away in a Manger Nativity Blocks from Chicken Scratch
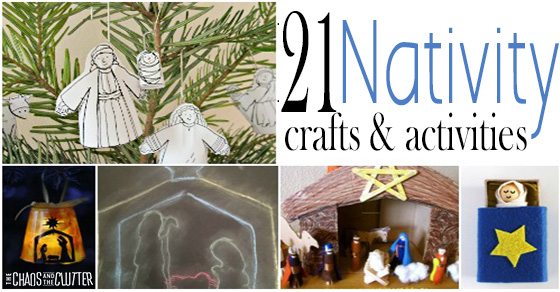
If you are looking for more Christmas ideas for your family, you may want to follow me on Pinterest.
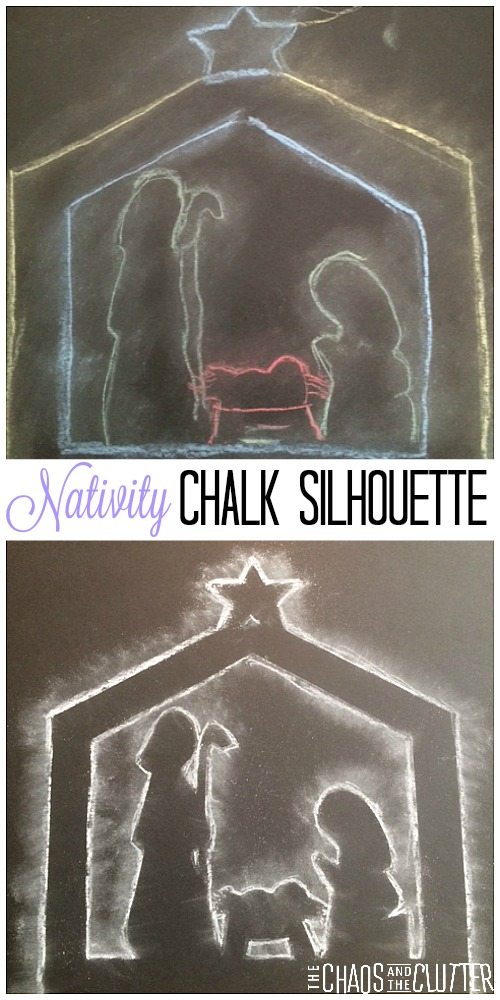 The process was simple but it lent itself to all kinds of variations. I love projects that let the kids explore their creativity and put their own spin on things. I set out both white and coloured chalks for this purpose.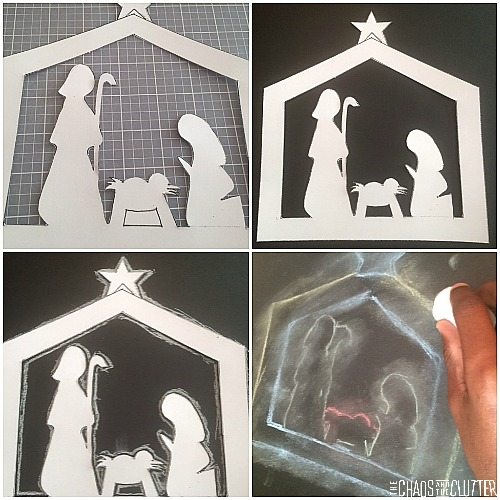
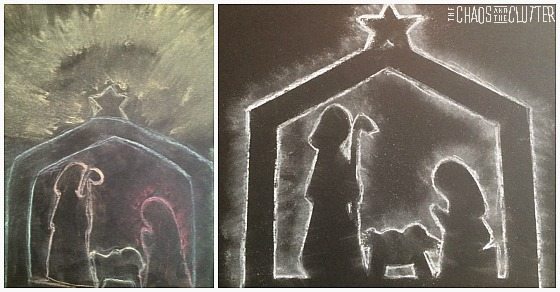 Regardless of which style they chose, all of them were absolutely beautiful! One of the kids wrote the word “Jesus” in chalk to his and added some embellishments to the star. I had to cut those out in the pictures because in them he had also written his full name. My kids of course don’t sign their artwork with their blog pseudonyms!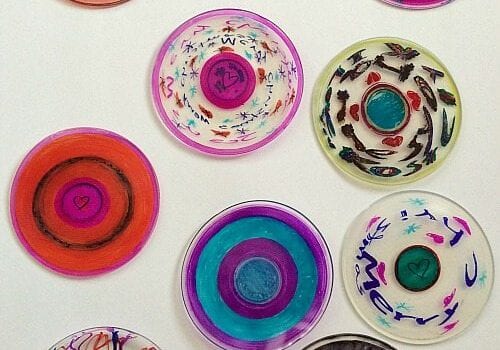
 I was really determined to make this idea work but it wasn’t as simple as I had imagined. Through a fair bit of trial and error, I was able to figure out how to make this concept actually turn into something and I’m so excited with how they turned out.
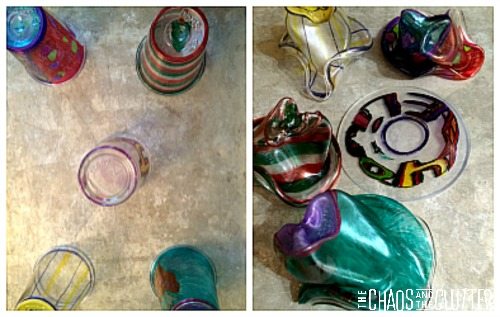 As you can see, four of the five cups shrunk down into funny little hat-looking-things. One of them flattened into exactly what I had pictured when I had thought up this project. At first, I thought maybe it was because that cup had been the one in the center of the cookie sheet but on closer inspection, we discovered that the one that flattened was a different brand of cup. The Dixie brand cups shrivelled into hats but the Polar brand plastic cups shrunk into flat circles.
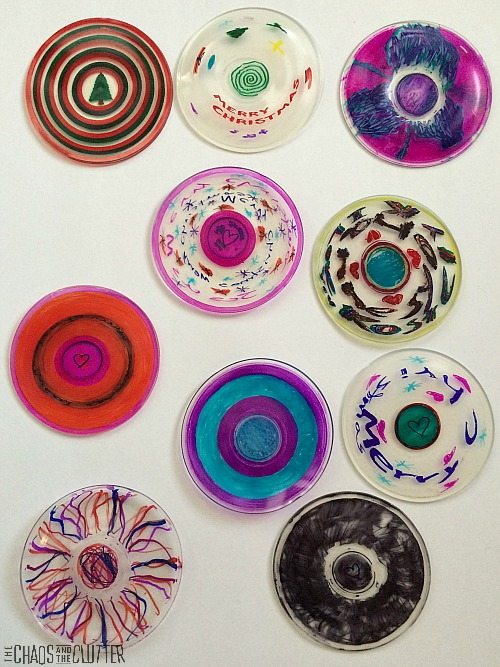 I was not able to hole punch them after they had shrunk because the plastic had hardened too much. So those disks did not become ornaments.
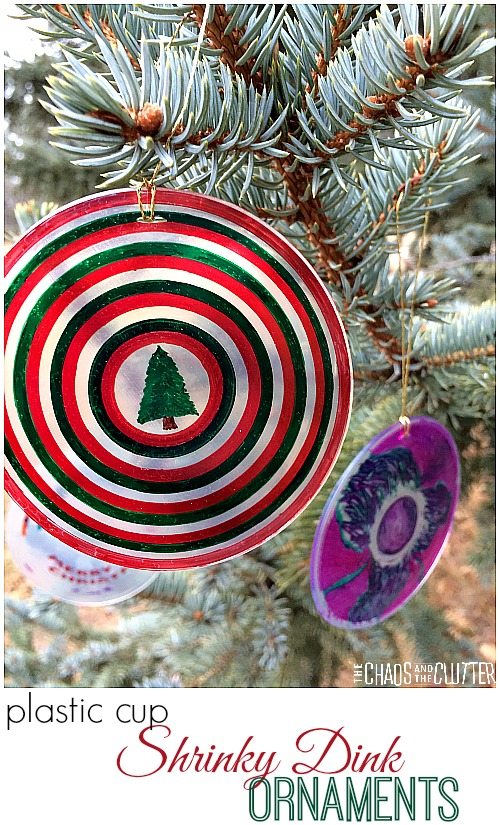
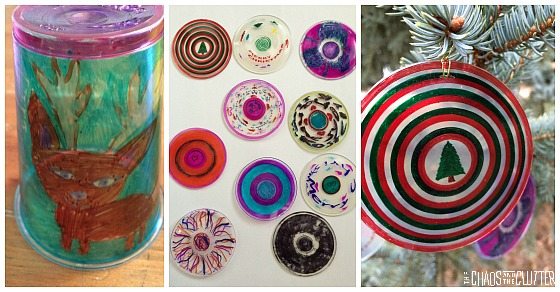 How to make shrinky dink ornaments: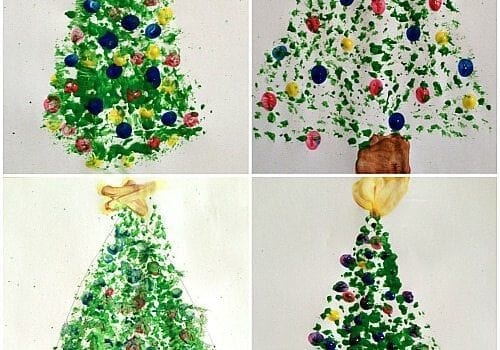
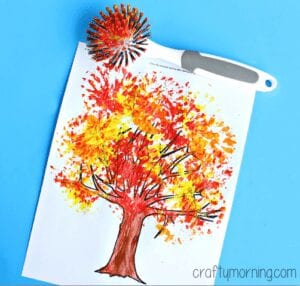
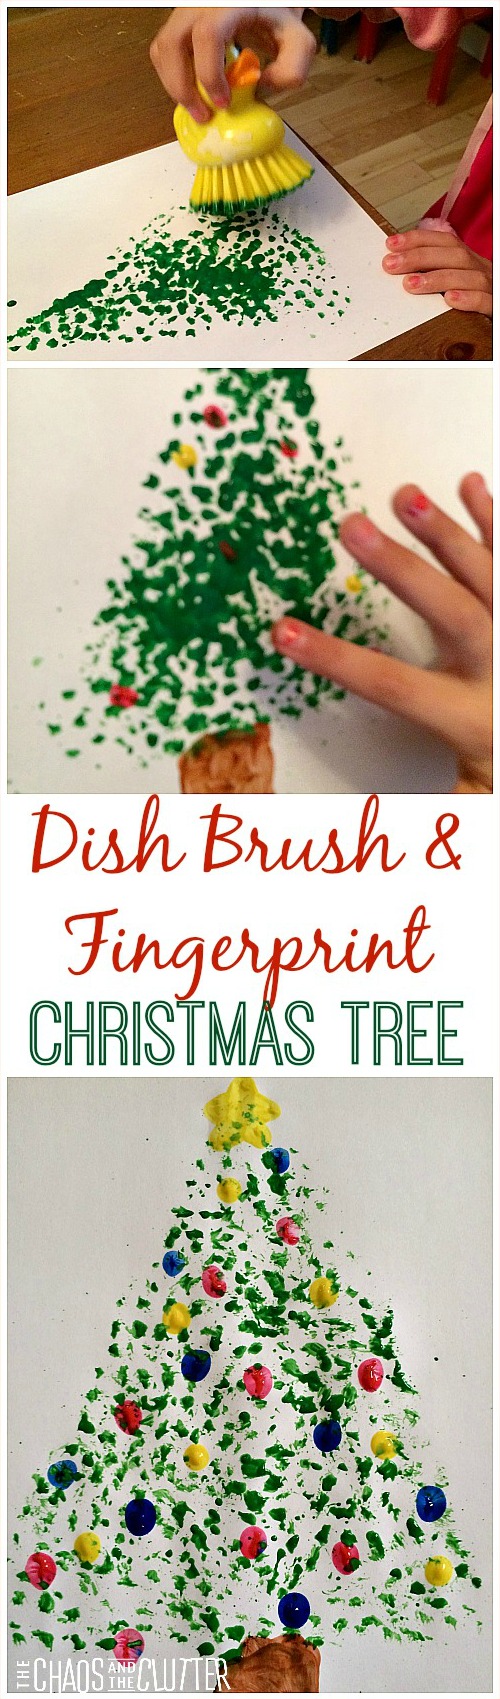 Our project was inspired by a
 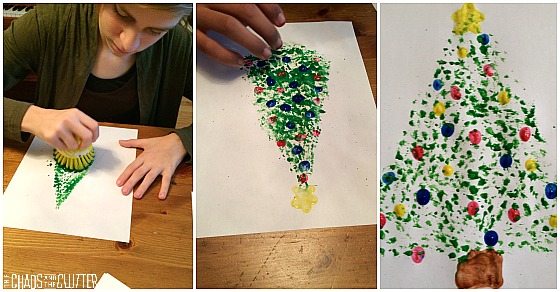 Pour green paint onto a plate and dip the dish brush into it. Form the tree using the dish brush and green paint. On a separate plate, put dollops of other paint colours. The kids can use these to dip their fingers in to make ornaments on the tree with the tips of their fingers. They can also use their fingers and brown paint to create the tree trunk.
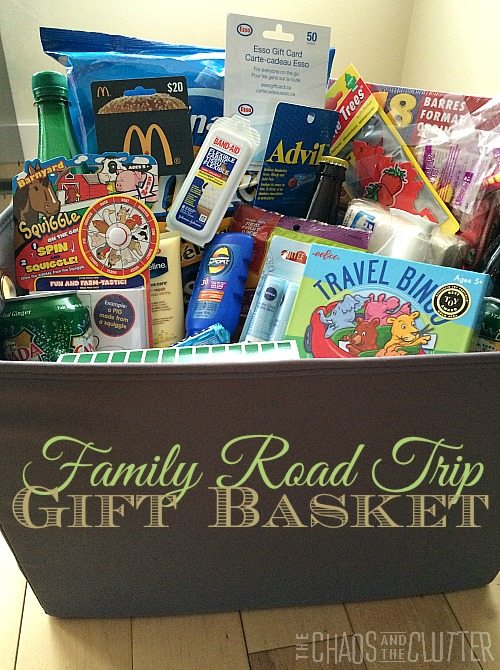
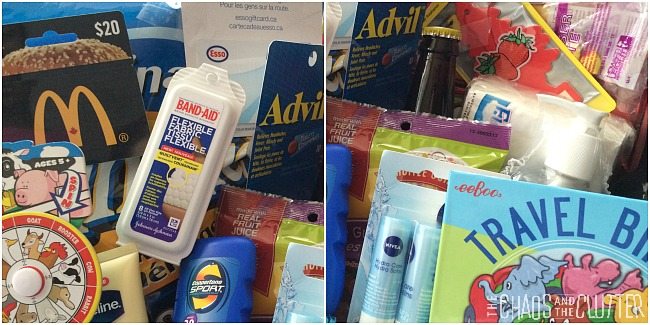
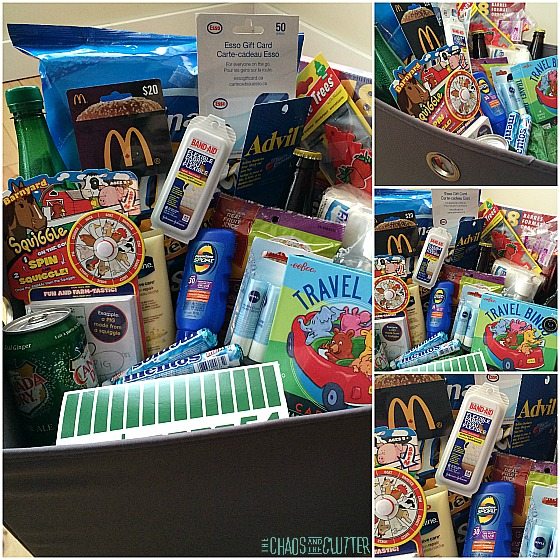 Here are some other ideas that you could include in a road trip basket: