I remember making these ornaments with my grandma one year when I was about 9. They are easy to make but younger children will need an adult to do the sewing part for them. One of the things I like about them is that they really allow for creativity. They can be simple or you can pull out the glitter glue and embellishments and let your kids go to town!
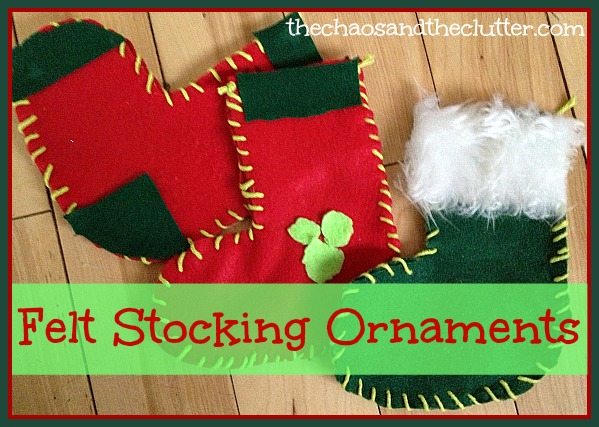 materials needed:
felt pieces
scissors
string or yarn
glue
sewing needle
optional: embellishments such as glitter glue, sequins, buttons, faux fur, foam shapes, stickers
Trace the shape of a stocking onto a piece of paper and cut it out. Lay the cutout onto the piece of felt and trace two of the stockings with a marker or chalk. Cut them both out.
Lay the pieces of felt together so that the marker outline is on the inside (not visible). Starting at the top of the stocking, sew down around the stocking and up the other side, leaving an opening across the top.
We tried to do the sewing with a plastic needle so that the younger kids could sew theirs, but it was too difficult to get through the two layers of felt so we used metal sewing needles. The older kids sewed their own (the ones pictured above) and we sewed for the younger kids.
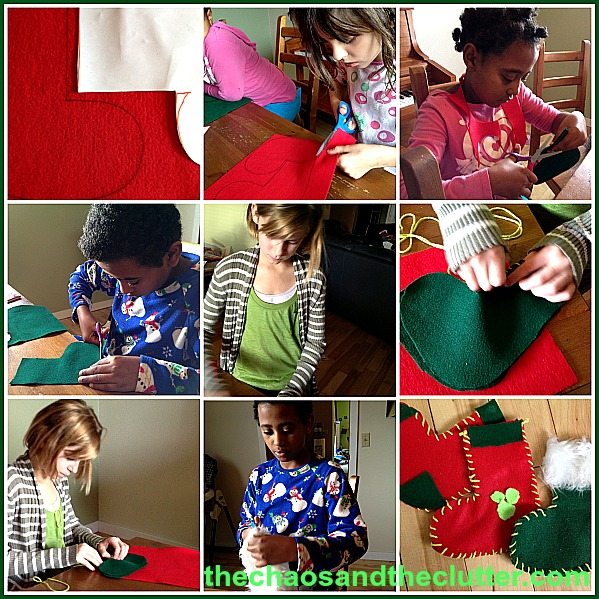
The kids cut shapes out of the scraps of felt remaining (in the other colour) to add some flair to their stockings. I didn’t give them any instruction for this bit and just let them create. I also set out some faux fur that some of them added to their ornaments. Some of the kids chose to add a loop to the top of theirs to hang on the tree while others chose to keep it as a cute mini stocking without adding a loop. These crafts are actually quite sweet!
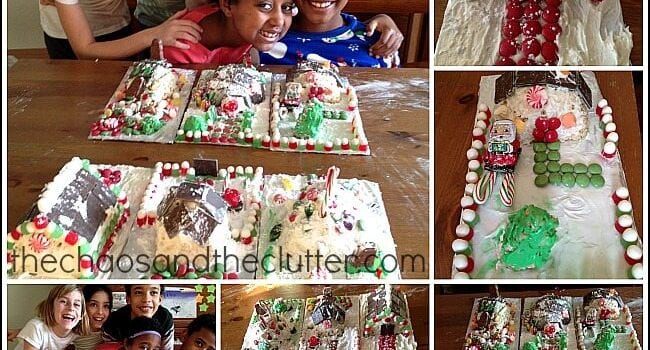
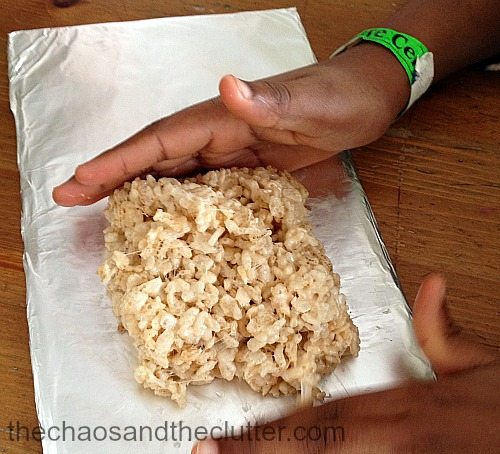
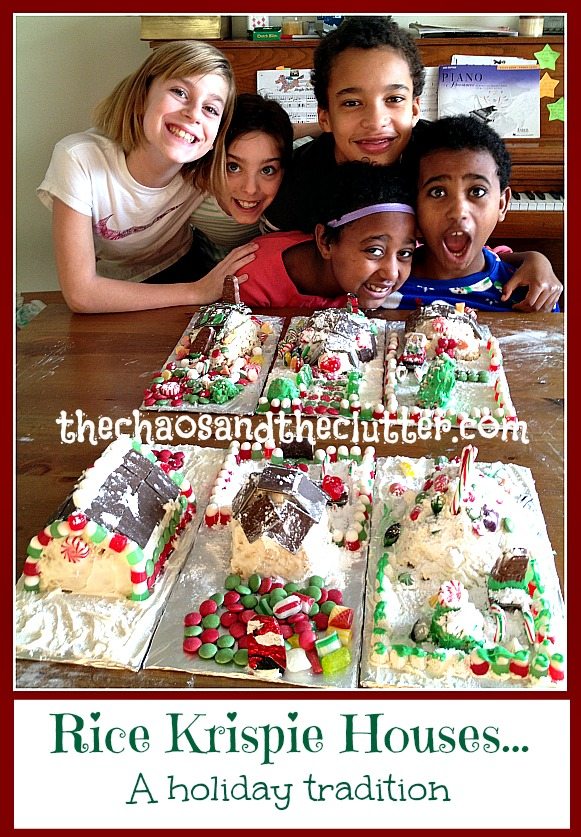 Rice Krispie houses are easy to make and as an added bonus, as long as you use
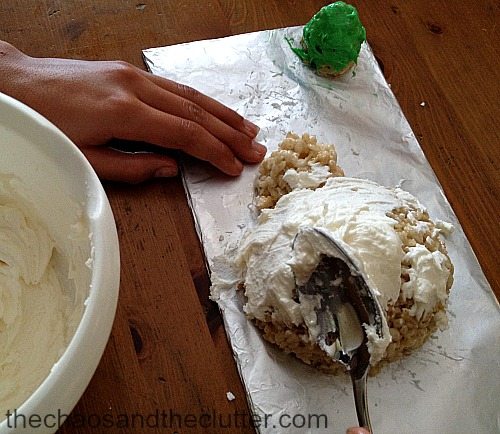
  Next, cover the structure and the base with white icing. You can use store bought icing or make your own. We made a simple butter, icing sugar and milk icing. We make a small amount of green icing for the trees.
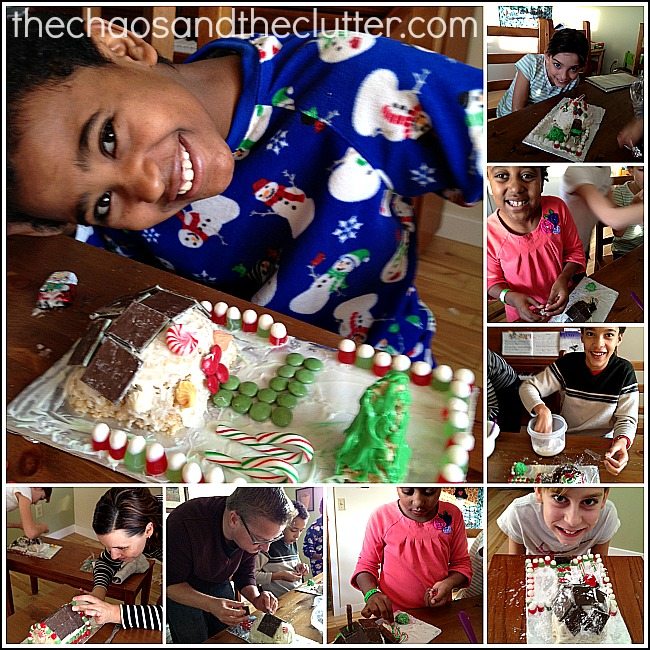
 Next comes the really fun part…decorating the houses with candy. There are no rules or instructions for this part. I like to buy the mint chocolate square wafers because they make good shingles for the roof or shutters or doors. I try to provide an assortment of candies so that they can create whatever they want. (two
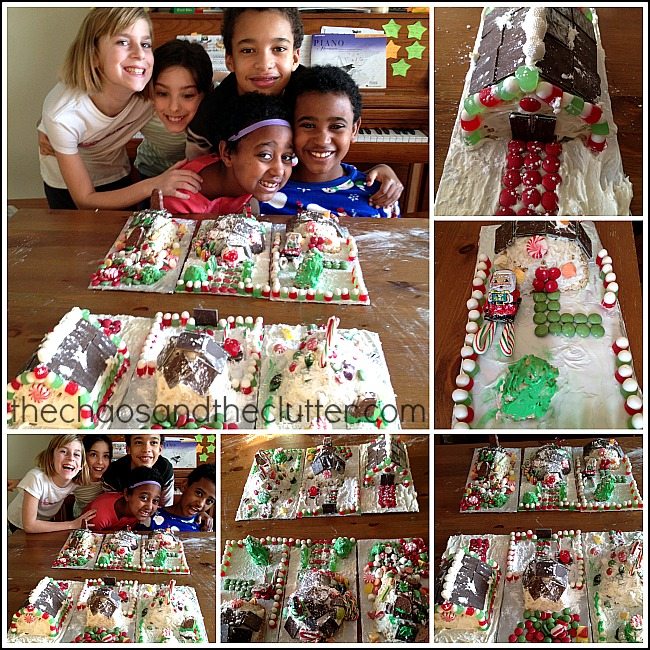
  To finish off the cute little houses, sprinkle a little bit of icing sugar on top for the look of snow. And then of course there is the eating! Our kids certainly were happy to have their own candy houses to eat.
 What are your Christmas traditions? I love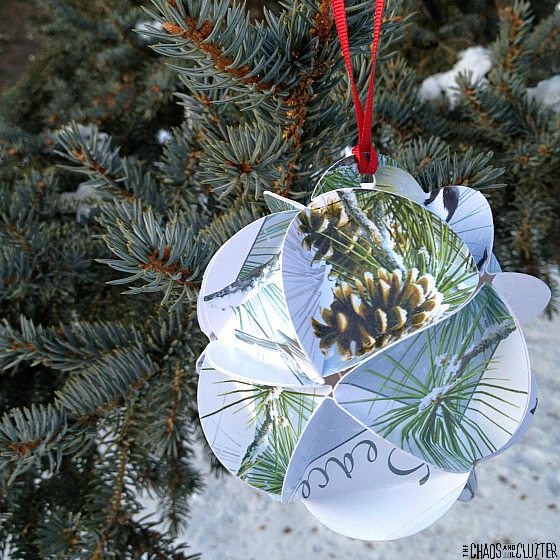
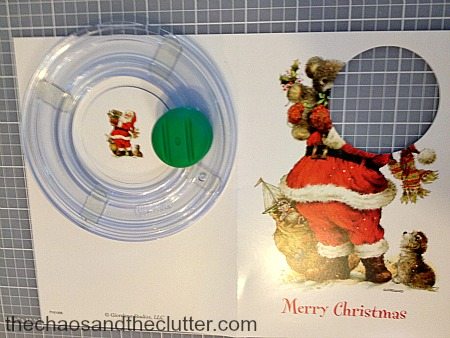 You can often find pictures on the back or inside of the card that work well so don’t forget to check there!
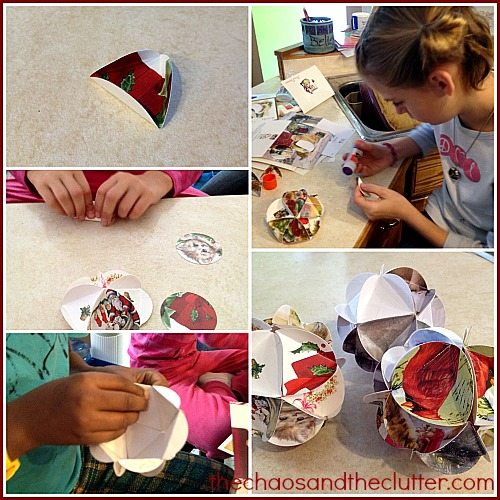 It’s fun for the kids to see their 3D circle start to take shape.
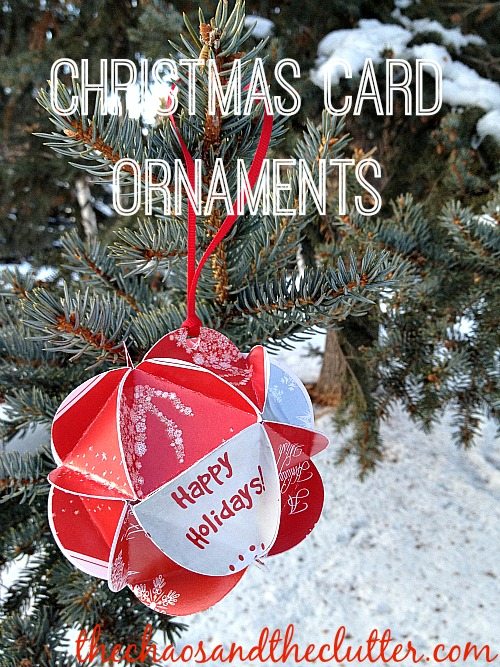
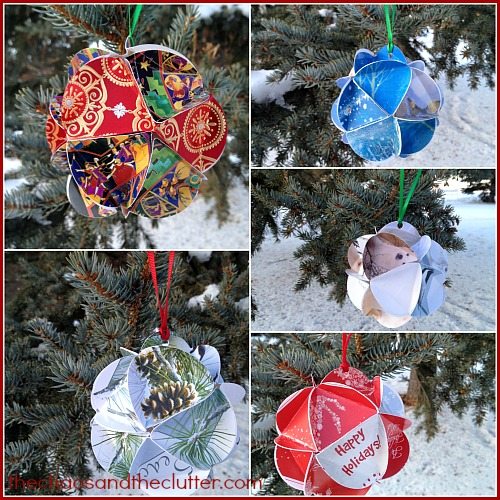 Each one is unique because of the different patterns and colours on the greeting cards.
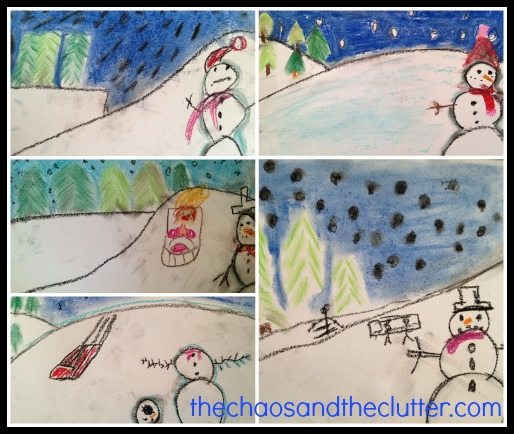
 The second one we tried was a winter snowman scene. One of the things that I most appreciate about the book is that is gives the basic instructions but encourages individual artistic expression. You can see from the pictures below how different each of the kids’ pictures turned out. Some added tobogganers, another added a chair lift and a skier, one of them even has the snowman’s head fallen off beside him!
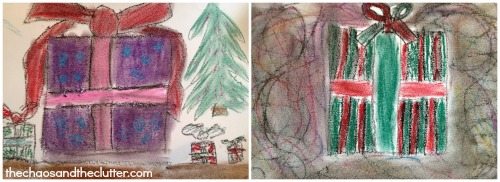
 The one we did today was a present and again, the kids all put their own spin on it. Granola Girl drew hers beside a Christmas tree with other smaller presents. Einstein made striped wrapping paper and Dancing Queen drew a picture of Jesus on hers. Miss Optimism made hers in pretty girly colours!
 The art sessions have been such a success that the kids have even asked if they can stay at the table longer and work on their own creations. I was blown away by this one made by Snuggle Puppy without a tutorial or instruction of any kind using many of the techniques we had been learning about in our sessions:
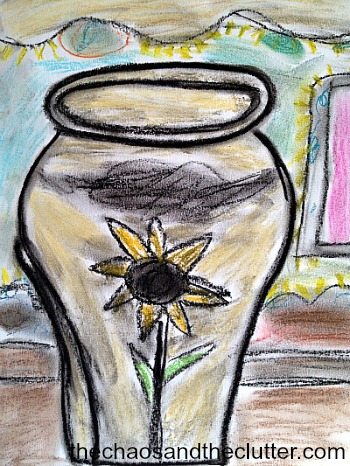 I’m loving our morning art sessions and look forward to this becoming a regular part of our homeschooling routine. The kids are finding it relaxing and are learning a lot about different techniques and methods. They are also gaining confidence as they learn.
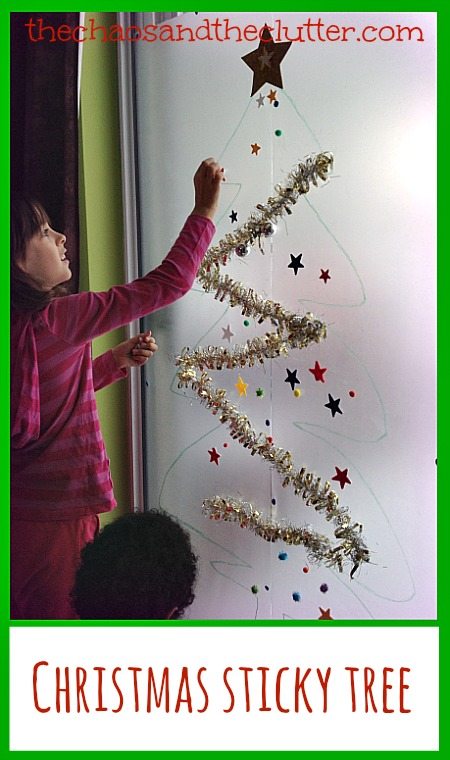
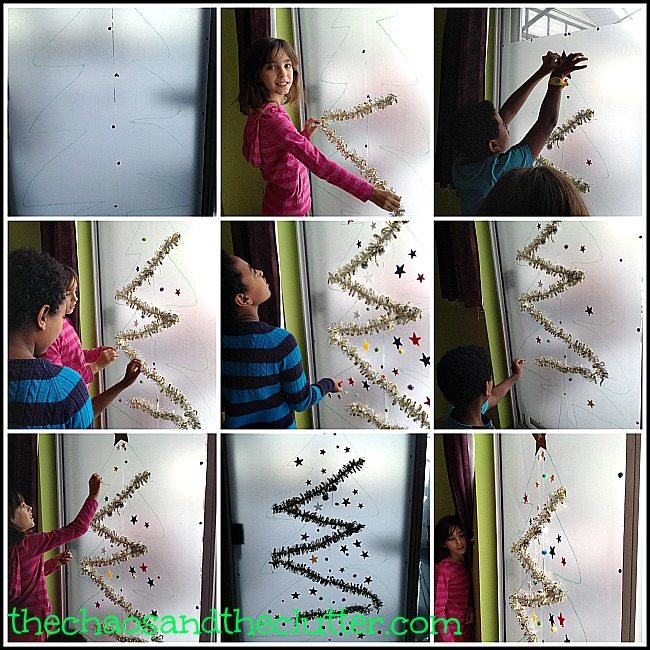 The kids really appreciated the creativity of being able to decorate this tree without any instruction or limitations. I would say that it held the attention of my girls a bit better than my boys and I’m not sure if that is because of the activity itself or just the moods on the day it took place. My boys generally enjoy craft activities as much as my girls do. It was a good holiday sensory activity for all the kids and involved both fine motor and to some extent, gross motor as well.
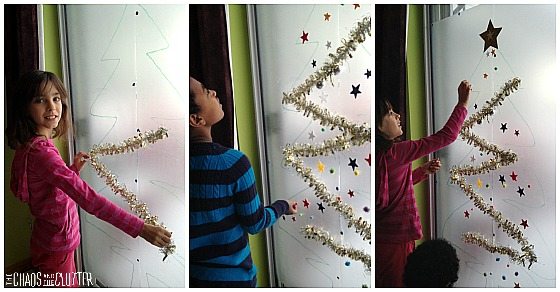 This was a hands-on and easy way to begin to decorate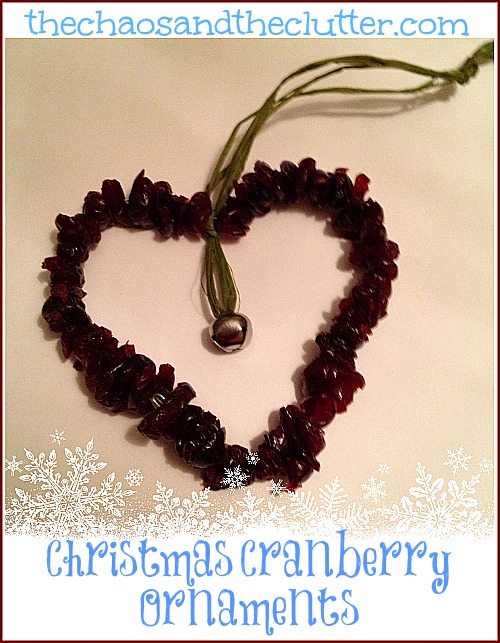
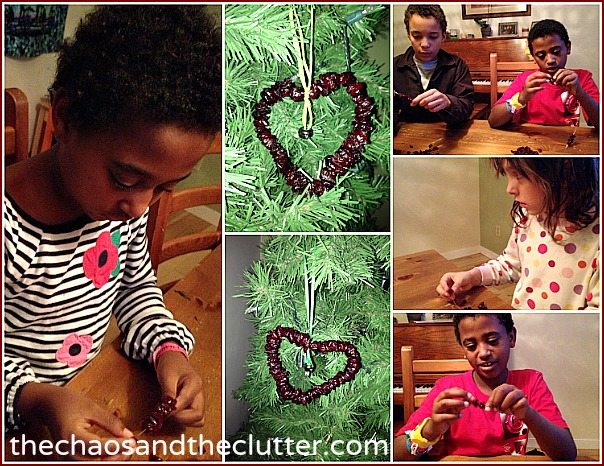
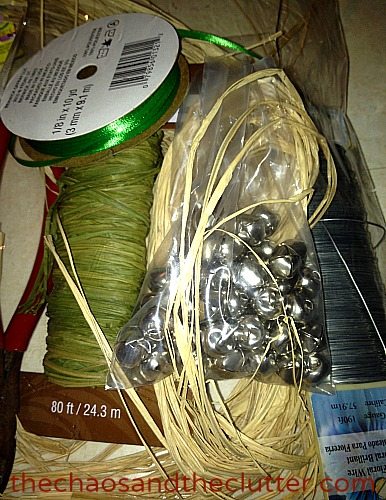
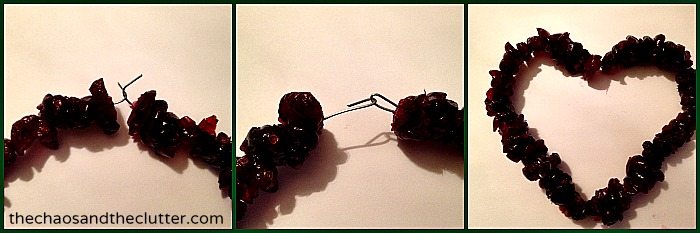 String a jingle bell onto a piece of ribbon or raffia and place a knot above a small loop. Place the knot beneath the wire at the dip in the heart and attach it to the ornament by knotting again just above the wire. Create a loop to hang the ornament with and put one last knot at the top.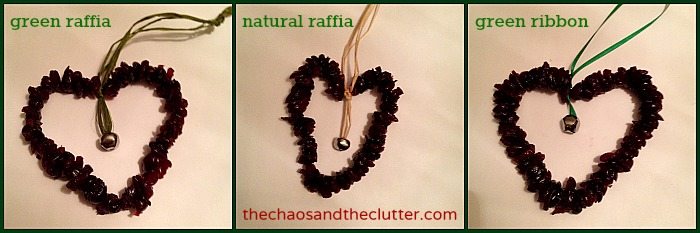
 If you are interested in more Christmas crafts or activities, you may be interested in following my