• Skip to primary navigation
  • Skip to main content
  • Skip to primary sidebar
  • Home
  • About
  • Contact
  • Privacy + Terms
  • Affiliates

The Chaos and the Clutter

  • Facebook
  • Twitter
  • Pinterest
  • Google Plus
  • RSS
  • Email
  • School at Home
  • Sensory
    • Sensory Processing Disorder
    • Awesome Sensory Play Activities
      • Sensory Bins
      • Sensory Bottles
      • Sensory Bags
  • Family Games
    • Minute to Win It Games
  • Special Needs Parenting
    • Childhood Anxiety
    • Reactive Attachment Disorder
    • Sensory Processing Disorder
  • Store
  • Course Login

Christmas

Snowflake Sensory Bottle and Science Lesson

Snowflake Sensory Bottle and simple science lesson

By Sharla Kostelyk

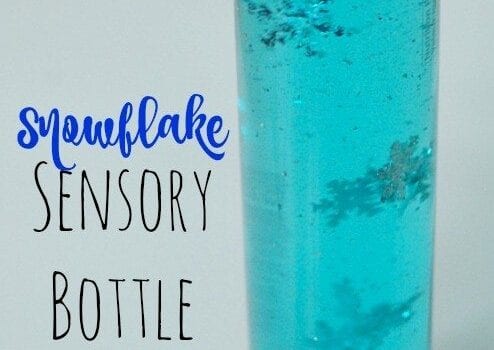
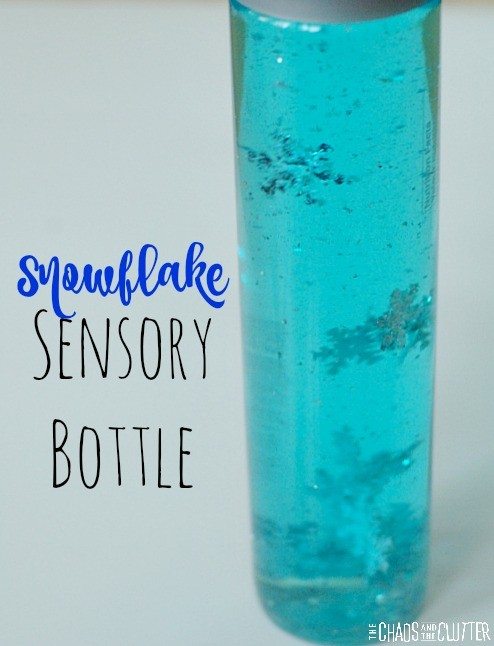
Making this snowflake sensory bottle also offers the opportunity for a simple science lesson. The results are so pretty.
Snowflake Sensory Bottle and simple science lesson

Materials needed:

  • empty water bottle (I used a Voss water bottle because I like the look of the lid)
  • blue food colouring
  • silver glitter
  • snowflake confetti

Fill the empty water bottle with water, almost to the very top. Add glitter and snowflake confetti.

This is where the science lesson comes in: Water is a polar liquid so it dissolves other liquids which are also polar or somewhat polar. Once you explain this to the kids, ask them if they think that food colouring is polar or non-polar, or in simpler terms, ask them if they think that food colouring will dissolve in water.

Then have one of the kids squeeze some drops of blue food colouring into the sensory bottle and observe what happens.
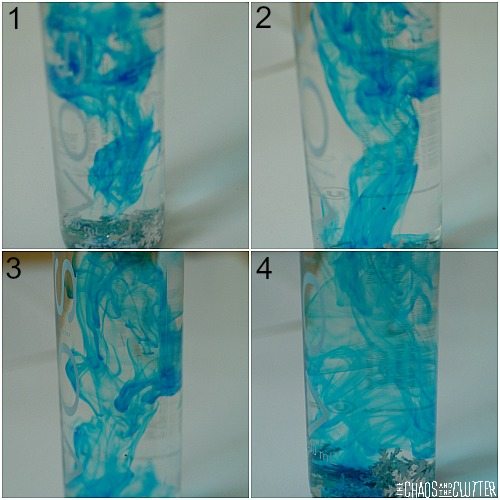
sensory bottle scienceThe kids will observe that the food colouring does dissolve in the water which means that it is also a polar liquid.
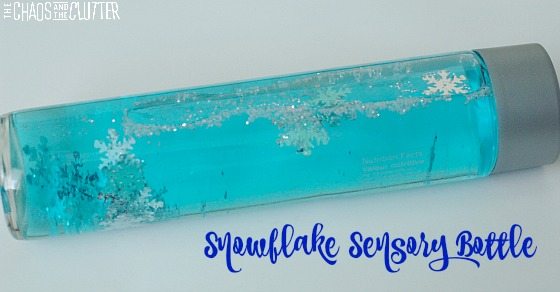
Snowflake Discovery BottlePut the lid on the bottle. If you are going to be using this snowflake sensory bottle with younger kids, you may want to secure the lid in place using a hot glue gun.

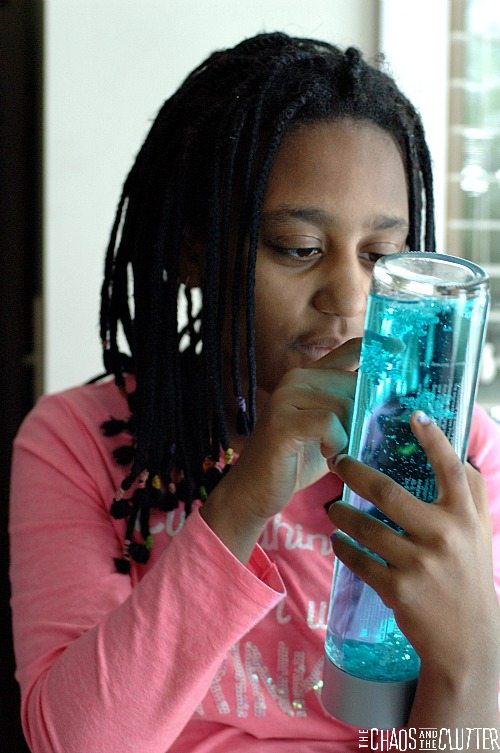
Of the sensory bottle we’ve made, for some reason, our daughter Dancing Queen found this one the most fascinating.
snowflake sensory bottle and simple science lesson

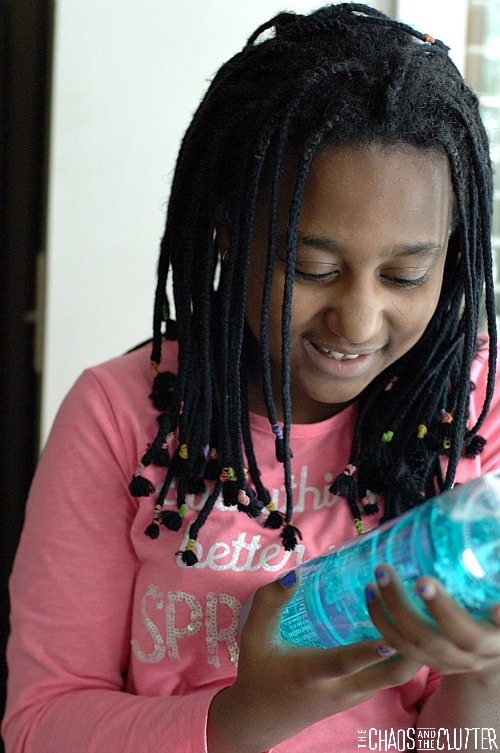
She was mesmerized by the movement and spent a lot of time playing with it. Our other kids enjoyed it too but she was the most thrilled by it.
snowflake discovery bottle and simple science lesson

If you are looking for other sensory ideas, sign up for the 5 part email series Sensory Solutions and Activities and get our free Sensory System Behaviours Easy Reference Cards.
Filed Under: Christmas, Sensory, Simple Science Tagged With: sensory bottles, sensory play

Paper Plate Christmas Crafts

Paper Plate Christmas Crafts

By Sharla Kostelyk

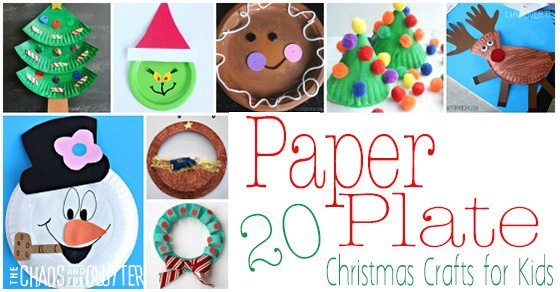
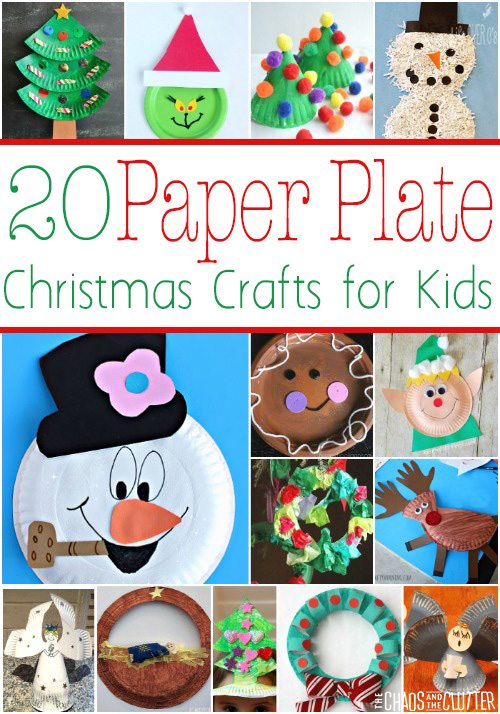
Paper plates are such an easy item to craft with and we often have many of them in the house. Paper plates can easily be turned into crafts for any occasion. Christmas is certainly no exception. These paper plate Christmas crafts for kids are so much fun.

Paper Plate Christmas Crafts for kidsThese paper plate crafts are perfect for doing with your kids or classroom students to prepare for the holidays or when stuck inside on a snow day. These crafts show that paper plates can be transformed into just about anything.
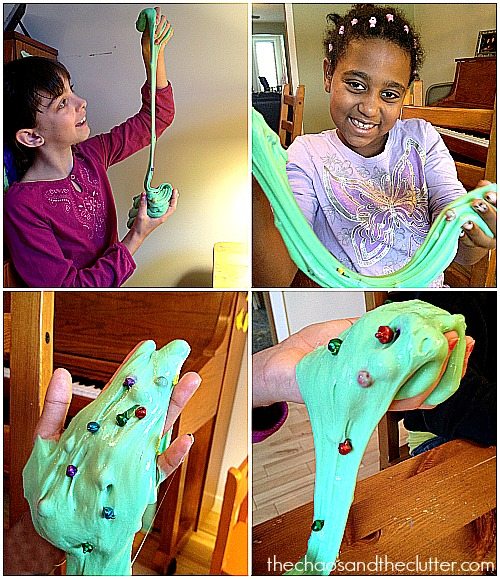
Paper Plate Christmas Crafts:

For our Manger Craft, you can use real straw in place of the tissue paper. Either way, it’s a nice activity for Sunday school classes or home.

What I really liked about our Paper Plate Snow Globe is how each of them look so different in the end. Kids can really use their imaginations and paint whatever scene they want to.

This Paper Plate Gingerbread Man from Happy Hooligans is adorable!

The Paper Plate Snowman Wreath from over on Kids Craft Room is super cute with great bright colours.

If you’re looking for something a bit more unique, this Christmas Camper Craft is really cute. It’s not your usual Santa or Snowman!

If you’re going to be making the Paper Plate Grinch craft with younger kids, you can cut out the shapes ahead of time.

The Shredded Paper Snowman is an excellent fine motor activity as well as being a cute craft.

How cute is this Frosty the Snowman?!

These Paper Plate Christmas Masks (Santa and Reindeer) would be such a good activity to put out at a craft table for kids at a holiday party.

Kids can practise their scissor and fine motor skills with this Trim Santa’s Beard Activity.

Another really good Christmas fine motor activity is this Paper Plate Laced Christmas Tree.

More Paper Plate Holiday Activities:

Reindeer Craft from Crafty Morning

Paper Plate Ornament from Glued to my Crafts

Paper Plate Santa from Love Play Learn

Paper Plate Christmas Crafts

Easy Paper Plate Wreaths from The Pleasantest Thing

Cardboard Tube and Paper Plate Wreath from Reading Confetti

Tissue Paper Christmas Wreath for Toddlers and Preschoolers from Happy Hooligans

Paper Plate Christmas Tree from Creative Family Fun

Gingerbread Man from Glued to my Crafts

Christmas Elf Craft from I Heart Crafty Things

Paper Plate Christmas Tree Hat from The Imagination Tree

Singing Angels from Meaningful Mama

Paper Plate Christmas Angel from Nurture Store

If you’re looking for Christmas crafts and activities for kids, you may also be interested in:

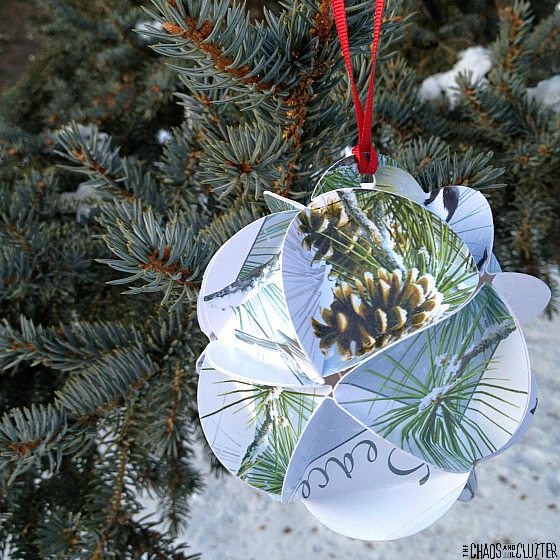
Ornaments Made with Old Christmas Cards

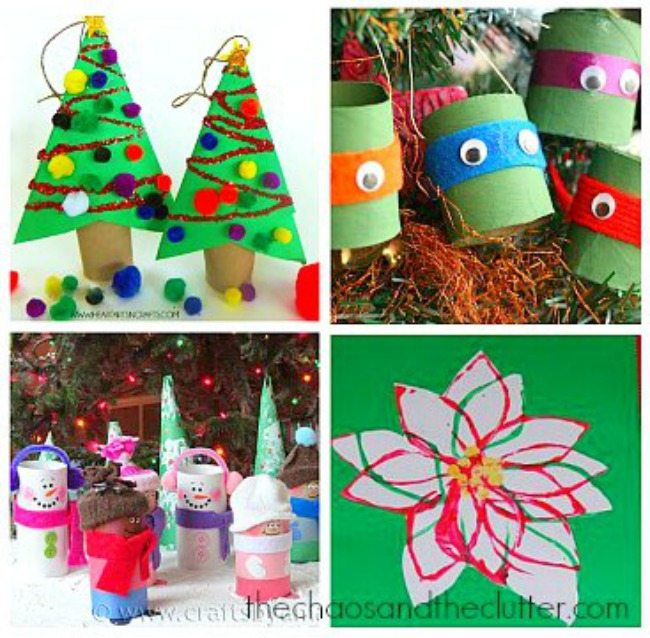
Christmas Toilet Paper Roll CraftsHoliday Jingle Bell SlimeHoliday Jingle Bell Slime

Filed Under: Christmas, Crafts and Activities

Joy Sensory Bin

Joy Sensory Bin

By Sharla Kostelyk

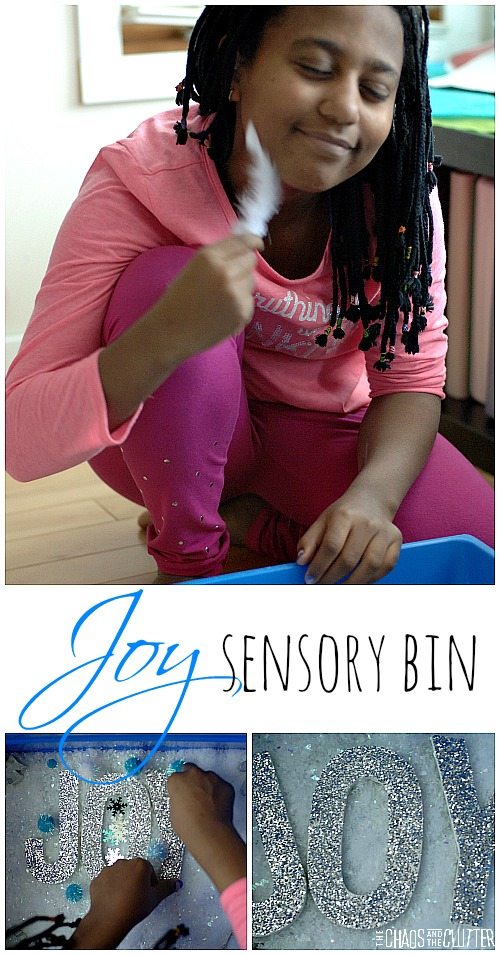
This Joy Sensory Bin is perfect for a bit of sensory play around the holidays. Even though we have been making sensory bins for a very long time now, it never ceases to amaze me how much enjoyment my kids still get out of them. I also am impressed at the different, out-of-the-box ways the kids think of playing when each bin.

Joy Sensory Bin for sensory play over the Christmas holidaysI am in love with that picture because Dancing Queen’s face looks so peaceful which shows the power of sensory play with kids who have sensory needs and anxiety.
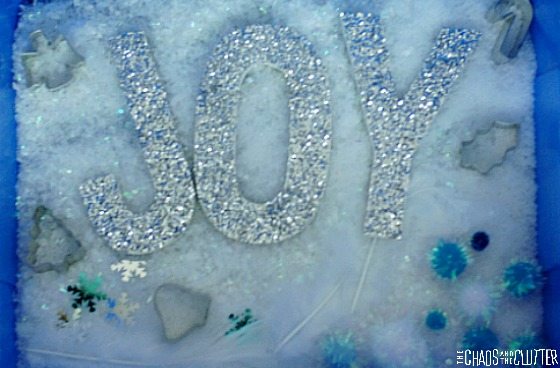
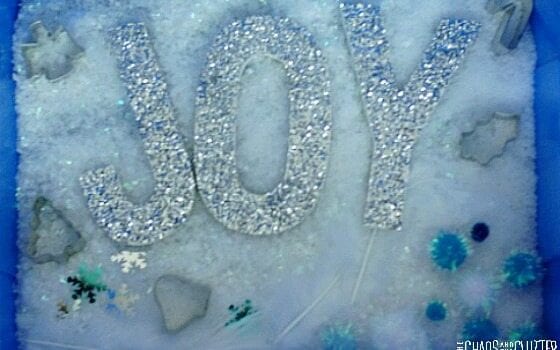
Making this sensory bin was a two part project. We made the letters for JOY by covering wooden letters with Modge Podge and sprinkling generously with silver glitter. When they were dry, I mixed Modge Podge with water and went over the sprinkles with it to seal them.

I used a blue bin and added fake snow (also called buffalo snow). I used a type that was iridescent because I liked the look of it but regular would work too.

I added white and blue pompoms, holiday shaped mini cookie cutters, white feathers, snowflake confetti in white, blue and silver, and the JOY letters.

Joy Sensory BinLast year for Christmas, I made a Winter Wonderland sensory bin and while the kids loved it and we decided to use the same snow for this one because it was such a hit, I wanted to do something this year to convey a bit more about the real reason for the holidays so that is where the idea for the Joy Sensory Bin came from.

For hundreds of other sensory bin ideas, you can also follow my Sensory Bins board on Pinterest.

Follow Sharla Kostelyk’s board Sensory Bins on Pinterest.

If you are looking for information on making sensory bins, you may be interested in my book. The Ultimate Guide to Sensory Bins

Join our free 5 part email series Sensory Solutions and Activities and get our Sensory System Behaviours Easy Reference Cards.

Filed Under: Christmas, Sensory, Sensory Bins Tagged With: sensory bin, sensory play

Eggnog Snickerdoodles

Eggnog Snickerdoodle Cookies

By Sharla Kostelyk

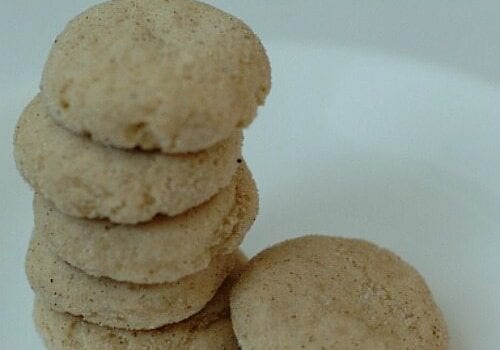
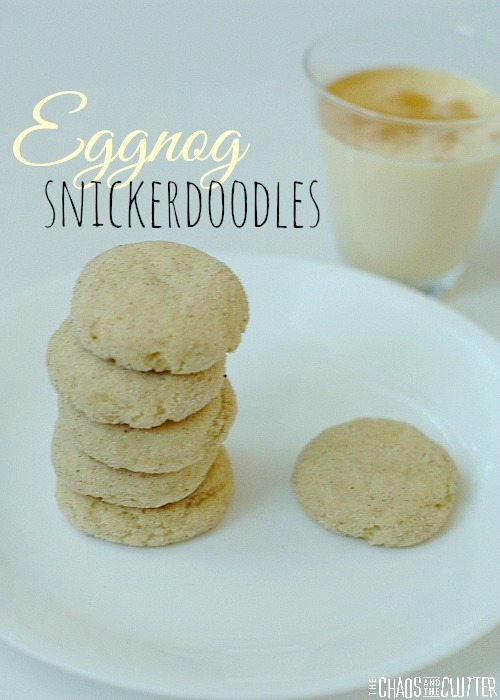
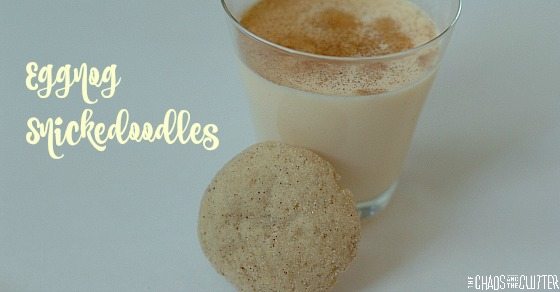
I was invited to a holiday baking exchange and wanted to bring something that I was pretty sure no one else would bring, so I came up with eggnog snickerdoodles. These are a holiday twist on the classic cookie and they taste and smell delicious!

Eggnog Snickerdoodles are a twist on the classic cookie that are perfect for the holidays.If you are a fan of eggnog, you are going to love these cookies! And the smell that fills the house as they are baking is as holiday as it gets.
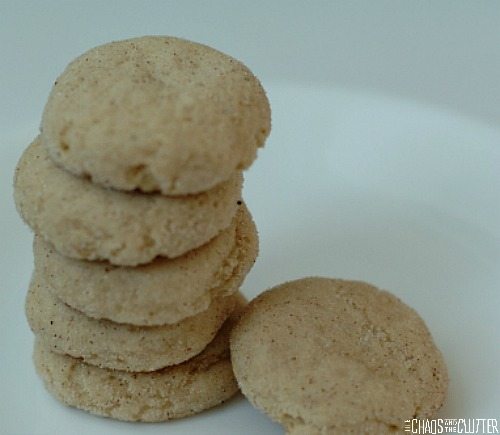
Eggnog Snickerdoodle CookiesMy husband loves eggnog, so he of course was happy to drink what was left after I bought some to make these cookies! I had to be careful to bake these directly after I bought the eggnog so that it wasn’t gone before I got the chance to use it.
Eggnog Snickerdoodles Recipe:

2 cups flour
1 1/2 tsp. cornstarch
1 1/2 tsp. baking powder
1 tsp. cinnamon
1/2 tsp. nutmeg
1/4 tsp. salt
1/4 cup melted butter
1/2 cup light eggnog, warmed to room temperature
2 tsp. vanilla extract
1/2 cup sugar
1/2 cup brown sugar

for coating:

5 Tbsp. sugar
1/2 tsp. cinnamon
1/4 tsp. nutmeg

Mix together the flour, cornstarch, baking powder, cinnamon, nutmeg, and salt in a bowl.

In a different bowl, mix together the melted butter, eggnog (remember to have it at room temperature so that it doesn’t lump up the butter!) and the vanilla. Stir in the sugars.

Add the dry ingredients to the wet ingredients and stir until just combined. Don’t over mix.

Cover the cookie dough and refrigerate it for between one and three hours.

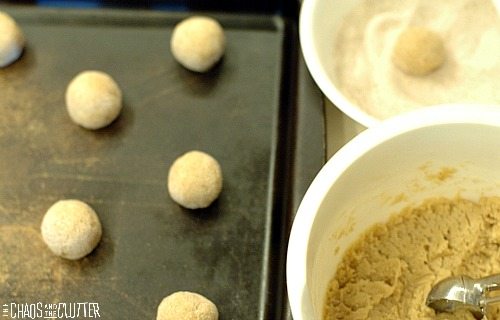
Once the dough has chilled, preheat the oven to 350° and line a baking sheet with parchment paper or use a stoneware cookie sheet.

Mix together the sugar and spices for the coating in a small bowl.

making eggnog snickerdoodlesMake balls with the cookie dough (I used a cookie scoop so that they were all the same size since I was making them for a baking exchange) and roll the balls in the coating before placing them on the baking sheet. I pressed mine down a bit to achieve the shape I wanted to, but it isn’t necessary.
Bake at 350° for 10-12 minutes. Cool them on the baking sheet for 10 minutes before removing.

Eggnog SnickerdoodlesThis recipe makes about 3 dozen eggnog snickerdoodles, depending on the size you make them.
Other Christmas cookies you might enjoy:

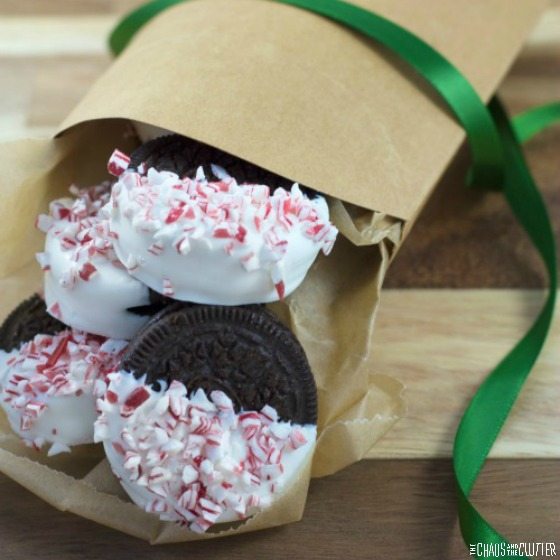
Peppermint Bark Oreo Cookies

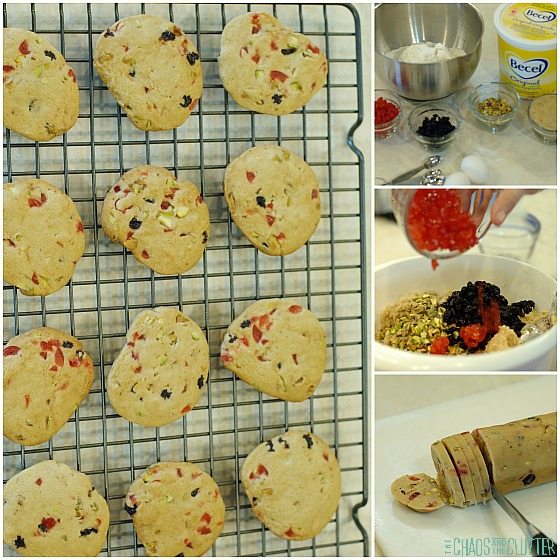
Christmas Ice Box CookiesThese Christmas ice box cookies made a wonderful homemade holiday gift.

Eggnog Snickerdoodle Cookies
Print
Eggnog Snickerdoodles Recipe
These are a holiday twist on the classic cookie and they taste and smell delicious! If you are a fan of eggnog, you are going to love these cookies! And the smell that fills the house as they are baking is as holiday as it gets.
Ingredients
  • 2 cups flour
  • 1 1/2 tsp. cornstarch
  • 1 1/2 tsp. baking powder
  • 1 tsp. cinnamon
  • 1/2 tsp. nutmeg
  • 1/4 tsp. salt
  • 1/4 cup melted butter
  • 1/2 cup light eggnog  warmed to room temperature
  • 2 tsp. vanilla extract
  • 1/2 cup sugar
  • 1/2 cup brown sugar
for coating:
  • 5 Tbsp. sugar
  • 1/2 tsp. cinnamon
  • 1/4 tsp. nutmeg
Instructions
  1. Mix together the flour, cornstarch, baking powder, cinnamon, nutmeg, and salt in a bowl.
  2. In a different bowl, mix together the melted butter, eggnog (remember to have it at room temperature so that it doesn't lump up the butter!) and the vanilla. Stir in the sugars.
  3. Add the dry ingredients to the wet ingredients and stir until just combined. Don't over mix.
  4. Cover the cookie dough and refrigerate it for between one and three hours.
  5. Once the dough has chilled, preheat the oven to 350° and line a baking sheet with parchment paper or use a stoneware cookie sheet.
  6. Mix together the sugar and spices for the coating in a small bowl.
  7. Make balls with the cookie dough (I used a cookie scoop so that they were all the same size since I was making them for a baking exchange) and roll the balls in the coating before placing them on the baking sheet. I pressed mine down a bit to achieve the shape I wanted to, but it isn't necessary.
  8. Bake at 350° for 10-12 minutes. Cool them on the baking sheet for 10 minutes before removing.
  9. This recipe makes about 3 dozen eggnog snickerdoodles, depending on the size you make them.
Filed Under: Christmas, Cooking in the Chaos

Paper Plate Snowglobe Craft

By Sharla Kostelyk

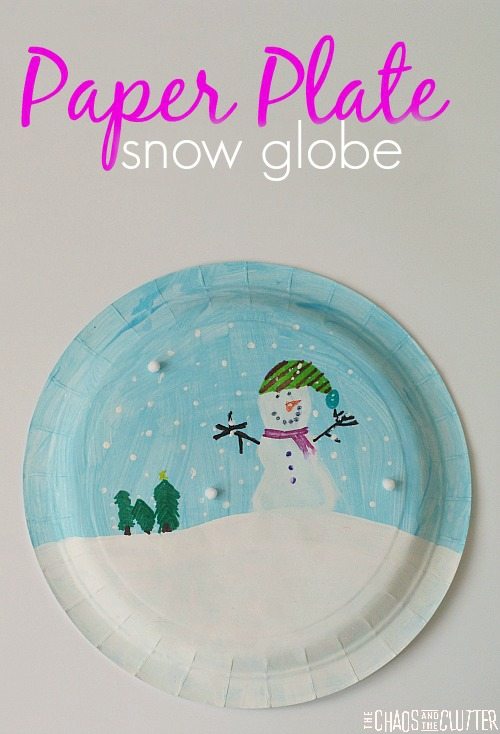
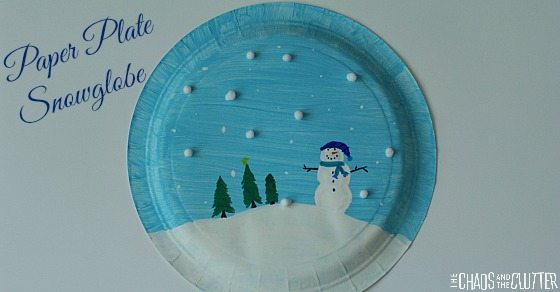
There is just something about a white paper plate that demands to be painted! This simple paper plate snowglobe craft is a great winter or holiday activity for kids.

Simple paper plate snowglobe craft is a great winter project for kidsPaper Plate Snowglobe:

This craft is easy to set up and uses very familiar materials. Depending on how you set this up, this activity can be adapted for toddlers and preschoolers or made more challenging for older kids.

Materials needed:

  • paper plates
  • paint
  • permanent markers
  • craft glue
  • mini white pompoms

To set this paper plate craft up, lay out the materials and set up something for the paint. I usually cover a plate with tin foil to put the paint on. You can use that method or a paint tray.

Squeeze the paint onto the tray or plater and paint the paper plates a light blue. We didn’t have light blue paint, so we mixed regular blue paint with white paint.

Next, paint the area of snow at the bottom in white paint. Some of my kids also chose to add a few dots of snow here and there as well while they were working with the white paint. Allow the paint to dry.

Now that the general snowglobe outline has been created, the kids are free to create whatever scene they want inside. I didn’t give my kids instructions, but they all made essentially the same picture. I was thinking that some of them might create a nature scene or village scene, but they each chose a snowman and trees. One did it that way first and the others thought it looked good, so they followed the lead!

Paper Plate SnowglobeFor this step, you can use either paint or permanent markers. We chose to use both. The kids used paint for the larger things such as the snowman shape and trees. They then added the finer details such as the snowman face, arms and buttons using the permanent markers.
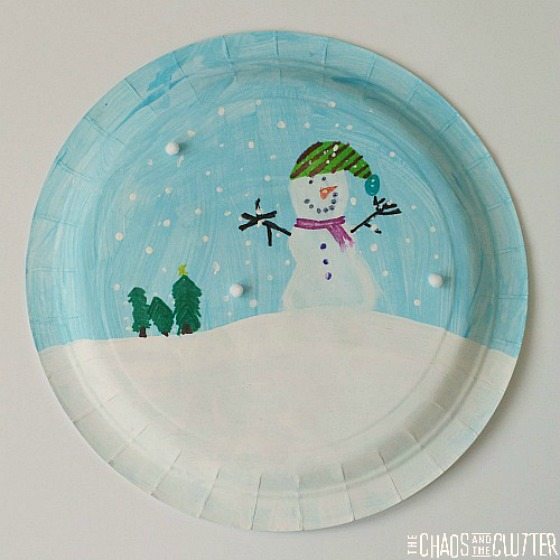
To finish off, glue tiny white pompoms to simulate the snow in the snowglobe. We found that it worked best to put a dab of glue on the paper plate rather than on the pompom. Allow the glue to dry and your paper plate snowglobe is complete!

I just need to add a note here: I’m a bit of a spelling nerd and I do realize that snow globe is two words, but it turns out that most people spell it as one word when they are typing it into a search engine. For the purpose of people being able to find it, I am spelling it snowglobe!
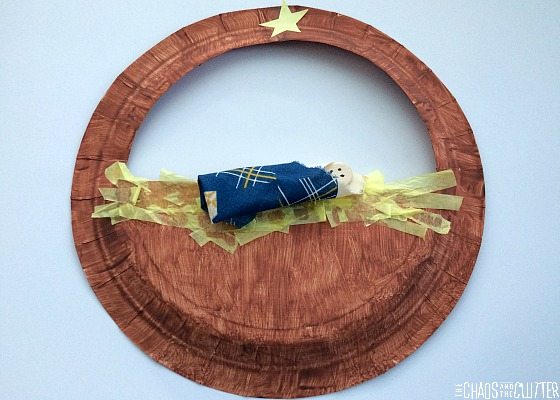
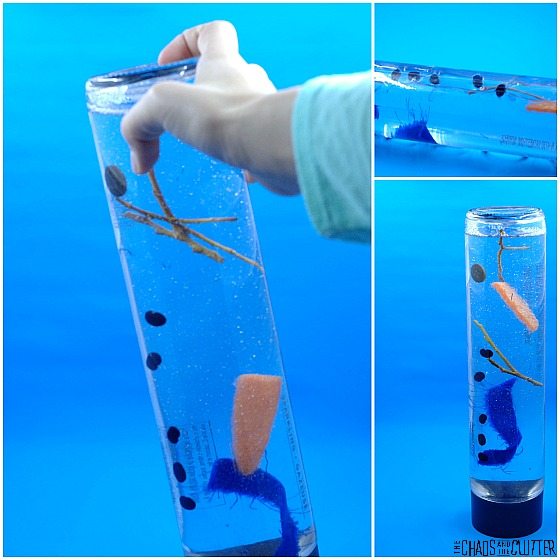
We certainly do like our paper plate crafts around here. Here is another that we did recently.

Manger CraftMelted Snowman Sensory Bottle

Filed Under: Christmas, Crafts and Activities

Christmas Counting I-Spy Discovery Bottle

Christmas Counting I-Spy Discovery (Sensory) Bottle

By Sharla Kostelyk

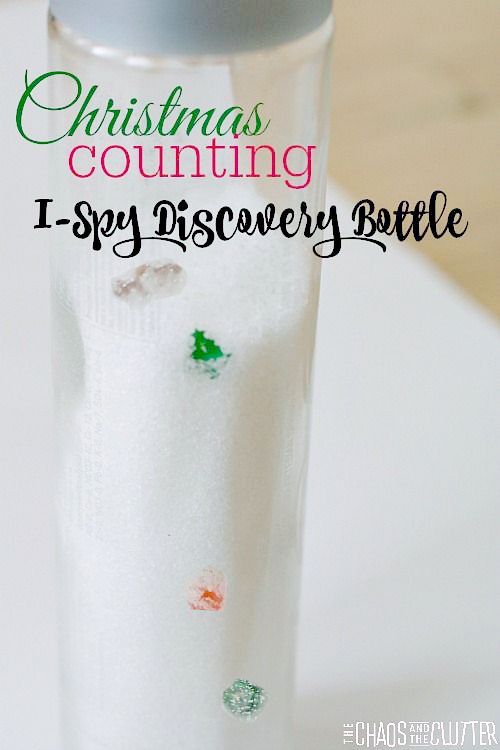
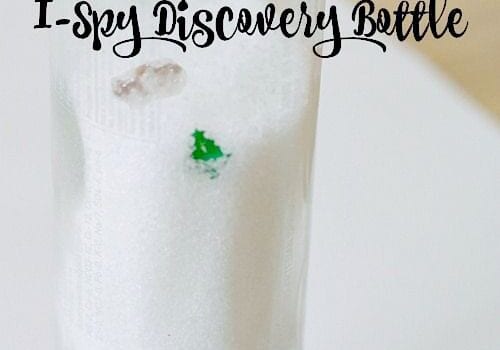
This discovery bottle holds so many possibilities. It is both an I-spy game and a tool to help kids learn their numbers, all within a Christmas sensory bottle.

Christmas Counting I-Spy Discovery (Sensory) BottleMaterials needed:

  • epsom salt
  • small holiday shaped items – small holiday buttons work well
  • jingle bells (no sound from them though because they fill up with the epsom salt)
  • empty water bottle (I used a Voss water bottle because I like the look of them)
  • optional: clear or silver glitter

Start pouring some epsom salt into an empty water bottle, pausing here and there to throw in a few of your small items. Leave some space in the bottle so that it can be shaken and moved to find the items more easily.

Christmas I-Spy Counting Discovery BottleIn my Christmas sensory bottle, I put:

1 Christmas tree
2 gingerbread men
3 penguins with Santa hats
4 mittens (2 green, 2 blue)
5 snowmen
6 stars
7 snowflakes
8 red jingle bells
9 green jingle bells
10 mini Christmas lights

It’s amazing how much will fit in there!

I didn’t secure the lid of my Christmas sensory bottle because my kids are older and I thought we may need to open it again but for younger kids, I suggest securing the lid to the bottle once it’s filled. You can do this by using a hot glue gun.

It probably goes without saying, but since the discovery bottle contains small items, supervision of younger children is required even if you have secured the lid.

Christmas I Spy Discovery BottleNext, write or type up a list of the items in the bottle so that the kids can reference it when they are seeking. The reason I chose to add groupings of items is so that kids could practise counting as they tried to find items.
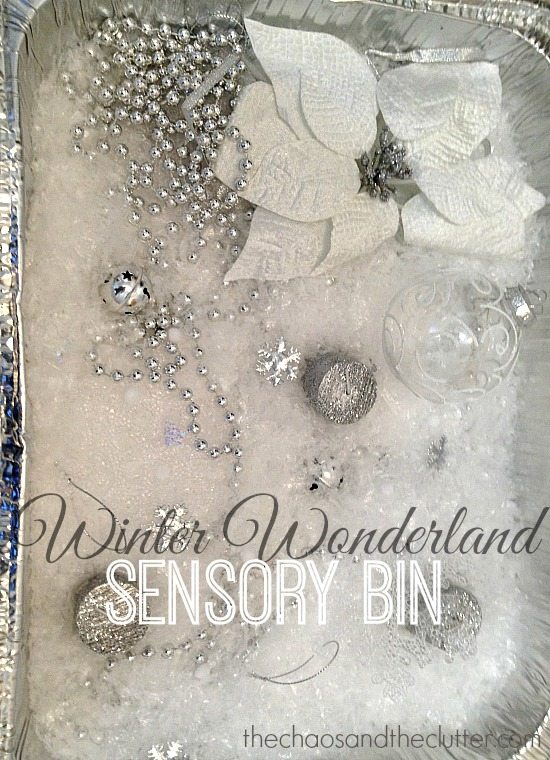
If you are looking for other holiday sensory ideas, you may want to check out our Winter Wonderland Sensory Bin.

Winter Wonderland Sensory Bin

Join our free 5 part email series Sensory Solutions and Activities and get our Sensory System Behaviours Easy Reference Cards.

Filed Under: Christmas, Sensory Tagged With: sensory bottles, sensory play

  • « Go to Previous Page
  • Page 1
  • Interim pages omitted …
  • Page 7
  • Page 8
  • Page 9
  • Page 10
  • Page 11
  • Interim pages omitted …
  • Page 15
  • Go to Next Page »

Primary Sidebar

Categories

We are a participant in the Amazon Services LLC Associates Program, an affiliate advertising program designed to provide a means for us to earn fees by linking to Amazon.com and affiliated sites.

Copyright © 2026 • The Chaos and the Clutter • Site Design by Jeni @ The Blog Maven

Return to top of page

Copyright © 2026 · Chaos and the Clutter 2.0 on Genesis Framework · WordPress · Log in