• Skip to primary navigation
  • Skip to main content
  • Skip to primary sidebar
  • Home
  • About
  • Contact
  • Privacy + Terms
  • Affiliates

The Chaos and the Clutter

  • Facebook
  • Twitter
  • Pinterest
  • Google Plus
  • RSS
  • Email
  • School at Home
  • Sensory
    • Sensory Processing Disorder
    • Awesome Sensory Play Activities
      • Sensory Bins
      • Sensory Bottles
      • Sensory Bags
  • Family Games
    • Minute to Win It Games
  • Special Needs Parenting
    • Childhood Anxiety
    • Reactive Attachment Disorder
    • Sensory Processing Disorder
  • Store
  • Course Login

Sensory

Thanksgiving Sensory Bottle

By Sharla Kostelyk

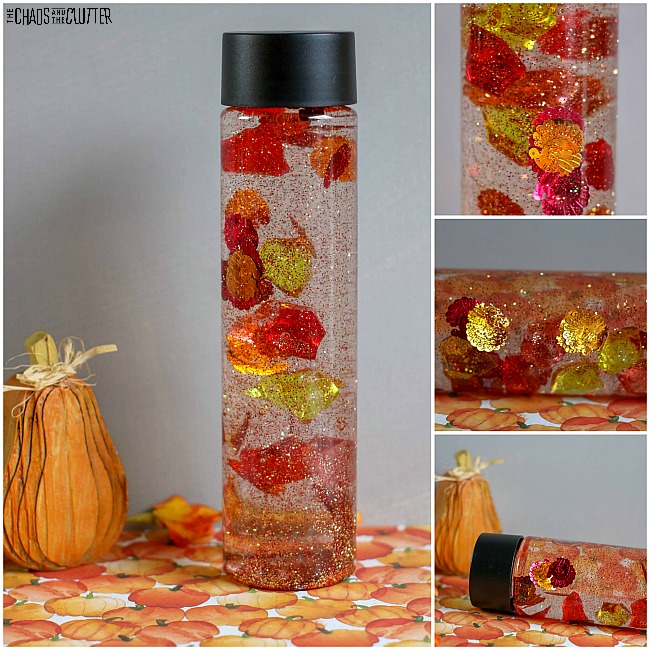
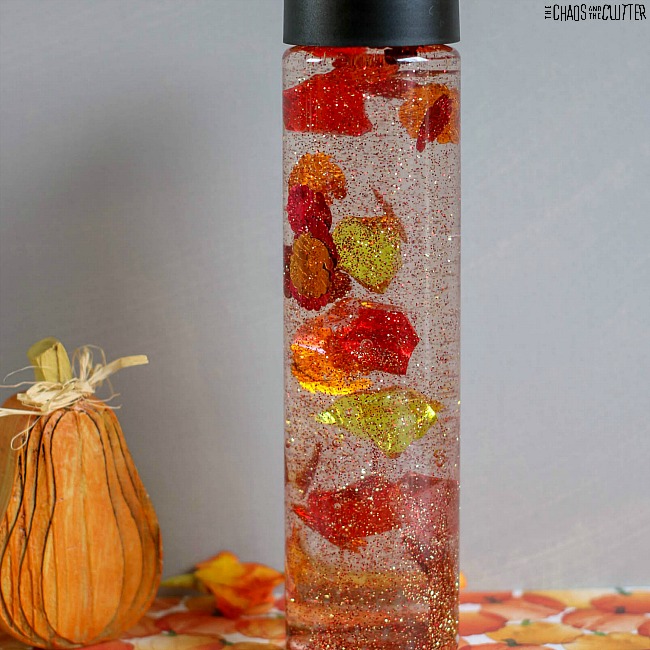
It’s easy to create a Thanksgiving sensory bottle for your child. You’ll capture the holiday as well as the fall season all in one bottle. I love the colours at this time of year. I think that’s one of the reasons that I find this bottle so pretty.
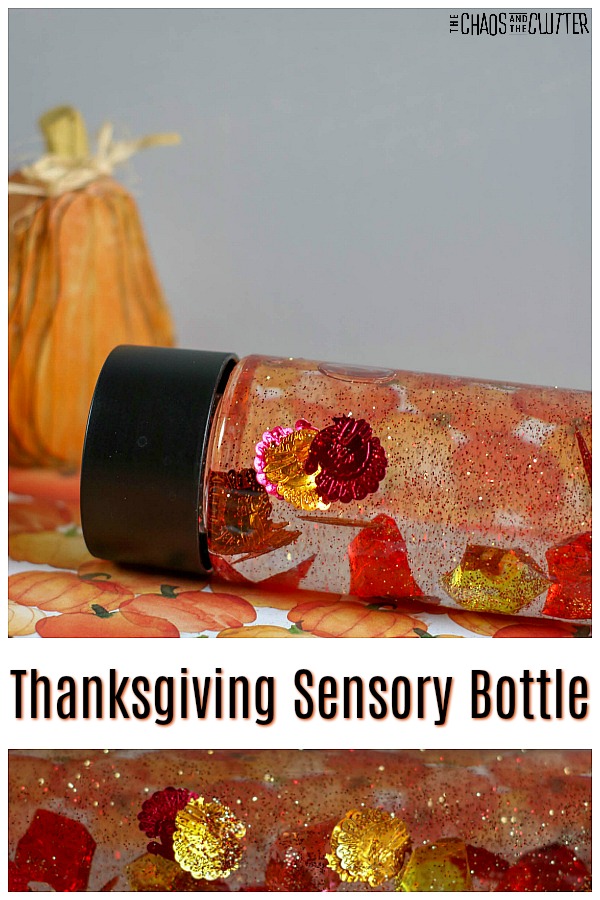
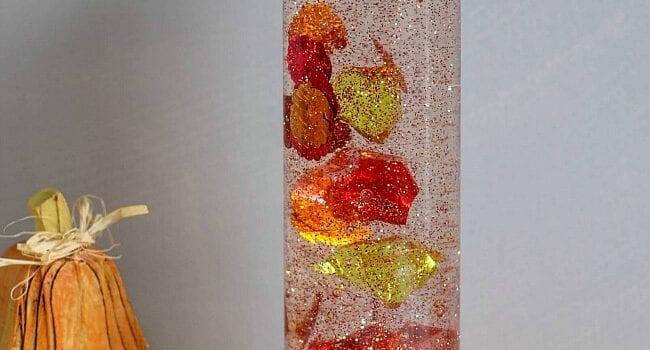
bottle filled with clear liquid and red, orange and yellow glitter turkeys next to an orange gourd with text that reads "Thanksgiving Sensory Bottle"A sensory bottle can help kids self-regulate. The calm down type are particularly effective and this is one of those. Kids can watch the glitter and confetti slowly drop and as they focus on that, their breathing begins to regulate. It’s like magic!

Thanksgiving Sensory Bottle:

Supplies needed:

  • plastic bottle or empty plastic water bottle
  • 5 oz. bottle of Elmer’s clear school Glue
  • warm water
  • approximately 1 Tbsp. glitter and Thanksgiving confetti
  • optional: glass beads in clear, yellow, or orange
  • optional: hot glue

Directions:

  1. Empty the bottle of glue into bottle.
  2. Fill the empty glue bottle about half full with warm water and reseal with the lid. Shake well to combine the remaining glue with the water. Pour into the bottle with glue and shake to combine.
  3. Add the glitter and Thanksgiving confetti into the glue mixture.
  4. Drop in a few glass beads if you want.
  5. Seal the jar and shake well. If the glitter or confetti do not move easily, add more warm water. If the glitter and confetti moves too quickly, add additional glue. You’ll achieve more of a calm down bottle effect if there is more glue.
  6. When the contents of the bottle move according to your preference, seal the bottle.
  7. Hot glue the lid closed to avoid spills.

As with all sensory activities, adult supervision should be used at all times.

I like to add the glass beads myself. I like the way they create an auditory component. Because they are heavier, they drop to the bottom right away and create a “plunk” sound. This activity provides visual, tactile, and proprioceptive sensory input and if using the glass beads, auditory sensory input as well.
Looking for more great sensory ideas? Join for a five day email series on Sensory Activities and Solutions and get a free sample of our Sensory Play Recipes eBook.

You might also like these Thanksgiving activities:
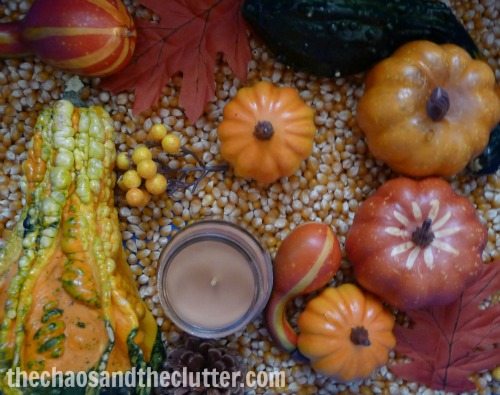
Thanksgiving Sensory Bin

Filed Under: Sensory Tagged With: sensory bottles, sensory play

Christmas Tree Sensory Bottle

By Sharla Kostelyk

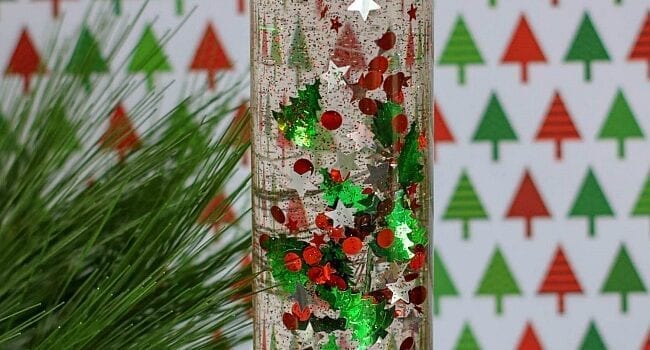
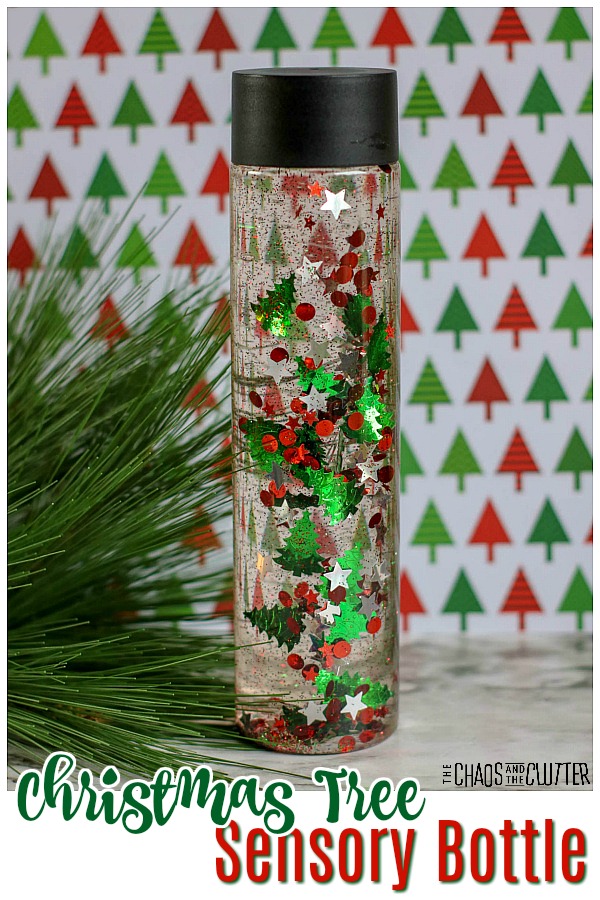
The holidays can be a challenging time for kids. They are off schedule and the excitement can be too much for some kids. Enter the simple calm down bottle. This easy Christmas tree sensory bottle can be an effective calm down tool for kids.

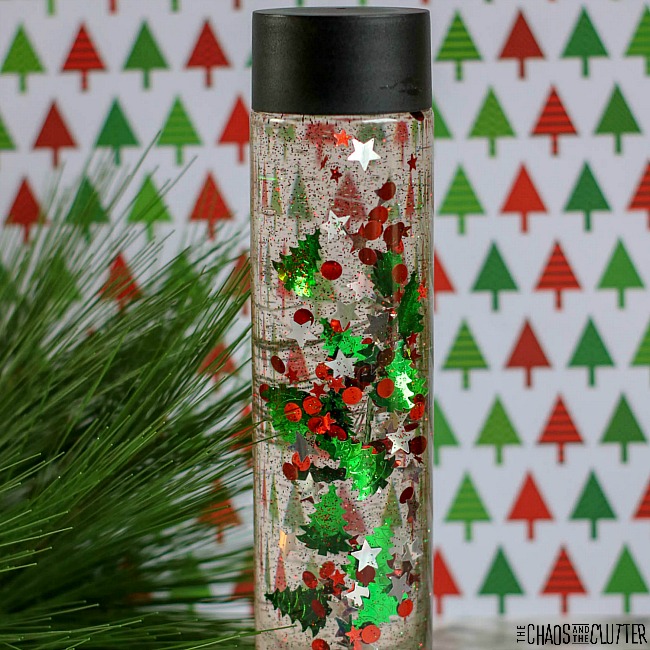
bottle filled with clear liquid and floating red and green tree confetti and glitter with green pine near and text that reads "Christmas Tree Sensory Bottle"You can include this sensory bottle in your child’s Christmas Calm Down Kit. As the glitter and confetti fall slowly through the bottle, watching it creates a calming effect. Adding more glue slows the rate at which it falls.
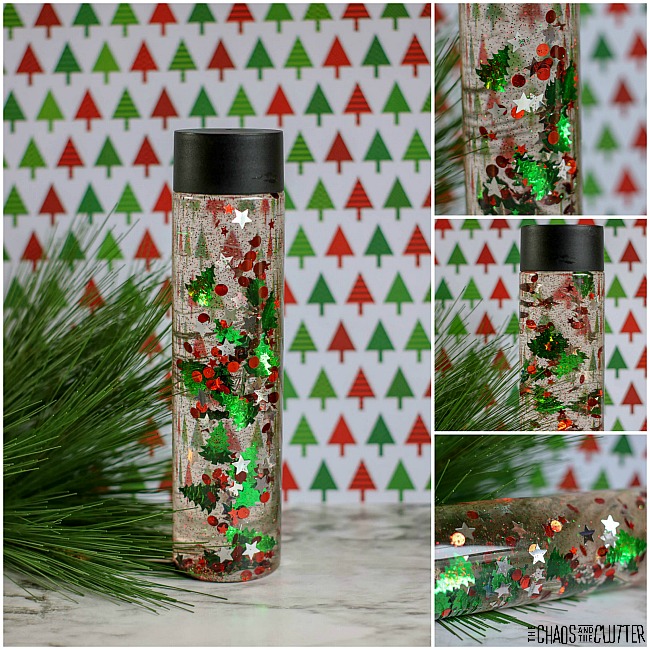
Christmas Tree Sensory Bottle:

Supplies needed:

  • plastic sensory bottle or empty water bottle
  • 5 oz. bottle clear Elmer’s school glue (or more if you want the glitter and confetti to fall more slowly)
  • warm water
  • 1 Tbsp. glitter and Christmas tree confetti
  • optional: hot glue and/or holiday duct tape

Directions:

  1. Empty the bottle of glue into the plastic bottle.
  2. Fill the empty glue bottle about half full with warm water and place the lid back on. Shake well to combine the remaining glue with the water.
  3. Pour into the sensory bottle, place the lid on that and shake to combine.
  4. Add the glitter in the colour of your choice and holiday confetti into the glue mixture.
  5. Reseal the jar and shake well. If the glitter or confetti does not move easily, add more warm water. If the glitter or confetti moves through the liquid too quickly, add additional glue. To create a calm down effect, you’ll want it to move slowly through the bottle.
  6. If younger kids will be playing with it, secure the lid with hot glue.
  7. If desired, cover the lid with seasonal duct tape.

Adult supervision should be used with this or any other sensory play activity.

You will also be interested in checking these out:

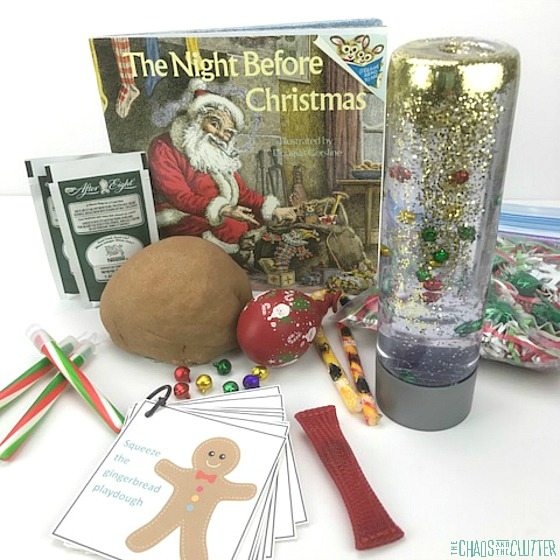
Christmas Calm Down Kit for Kids

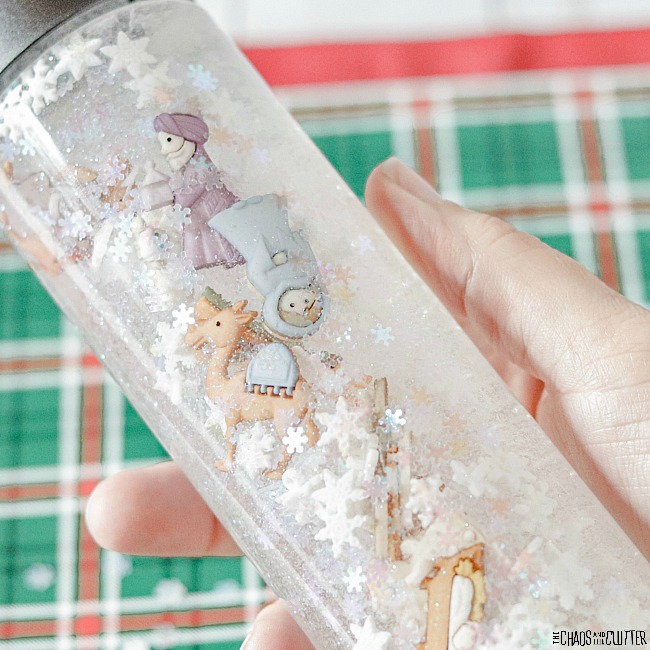
Nativity Sensory Bottle

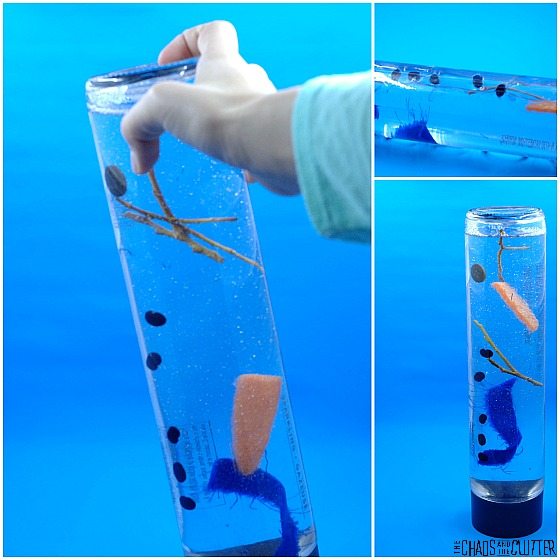
Melted Snowman Sensory Bottle

I-Spy Christmas Sensory Bag

Filed Under: Christmas, Sensory Tagged With: sensory bottles, sensory play

21 Frozen Sensory Activities

By Sharla Kostelyk

What child doesn’t love the movie Frozen? With the new one, there’s even more reason to get ideas for Frozen inspired sensory play. When you’re stuck inside on cold days, these ‘icy’ sensory activities are the perfect solution to the winter doldrums.

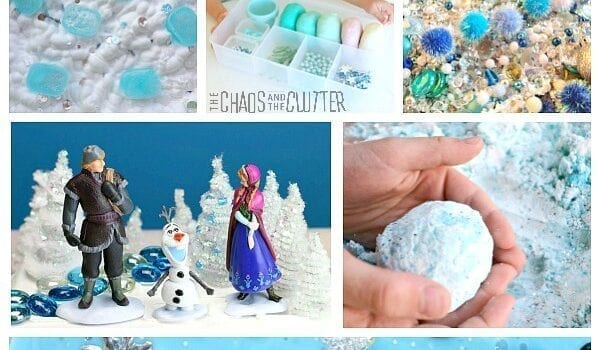
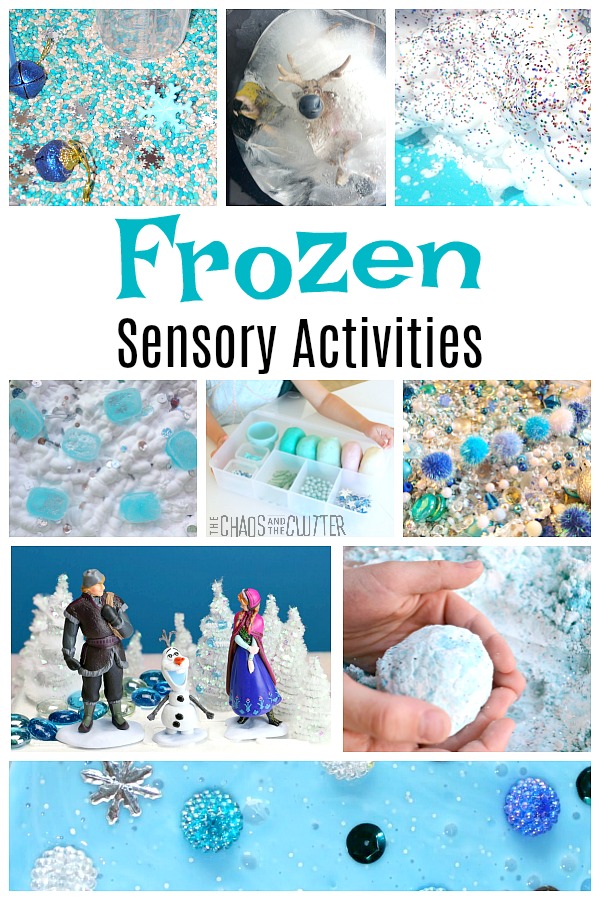
a collage of kids' play ideas based on the movie with text that reads "Frozen Sensory Activities"Allowing kids to engage in sensory play related to a beloved movie allows them to fully immerse themselves in the imaginative experience. It also helps develop their communication skills, fine motor, and coordination. And of course, provides important sensory input.
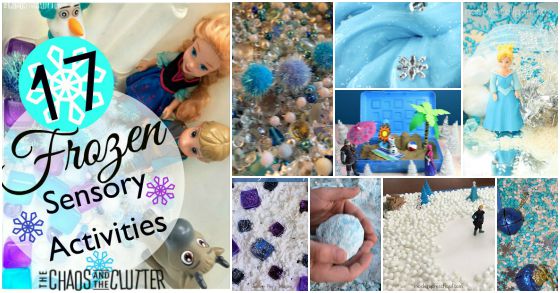
These activities inspired by the movie and its characters such as Olaf, Elsa, Anna, Kristoff, and Hans are perfect for cold days when kids are stuck indoors.

Frozen Sensory Activities:

  1. This Frozen Sensory Bin is a great one for preschoolers.
  2. This Elsa homemade playdough is made in the microwave.
  3. Our Frozen Inspired Elsa Slime is nice and crunchy with great textures for sensory play.
  4. Frozen Preschool Sensory Activities: Sensory Bin from Learning 2 Walk
  5. Frozen Sensory Bin from Happy Hooligans
  6. Frozen Inspired Sensory Bin from Rubber Boots and Elf Shoes
  7. Frozen-Inspired Sensory Play with Shaving Cream and Ice from There’s Just One Mommy – The play of the soft shaving cream against the cold, hard ice is a unique sensory experience.
  8. Frozen Theme Winter Easy Slime from Little Bins for Little Hands
  9. Queen Elsa’s Frozen Snow World from Modern Preschool 
  10. Elsa’s Frozen Castle Ice Melting Experiment from Little Bins for Little Hands
  11. Frozen Clean Mud from Study at Home Mama 
  12. Frozen-Themed Play Dough Kit from Mama.Papa.Bubba
  13. Frozen-Inspired Olaf’s Summer Dream Portable Sensory Bin from Epic Fun for Kids
  14. Frozen Snow Dough from The Pleasantest Thing
  15. Frozen Sensory Play from Treading on Lego
  16. Frozen Sensory Play from Clare’s Little Tots
  17. ‘Frozen’ Erupting Snow from Paging Fun Mums!
  18. Frozen Sensory Tub from Nurture Store
  19. Frozen Shaving Cream Sensory Play from Learn.Play.Imagine
  20. The Snow Dough Small World at Preschool Inspirations encourages story telling and imaginative play using the characters and scenery from the movie.
  21. Get those little hands right in on the action with the Frozen Sensory Snow Dough from The OT Toolbox.

17 Fun Sensory Activities that are Frozen-inspired!For more sensory activities, join our free 5 part email series Sensory Solutions and Activities and get our Sensory System Behaviours Easy Reference Cards.

Filed Under: Sensory

Googly Eye Monster Slime

By Sharla Kostelyk

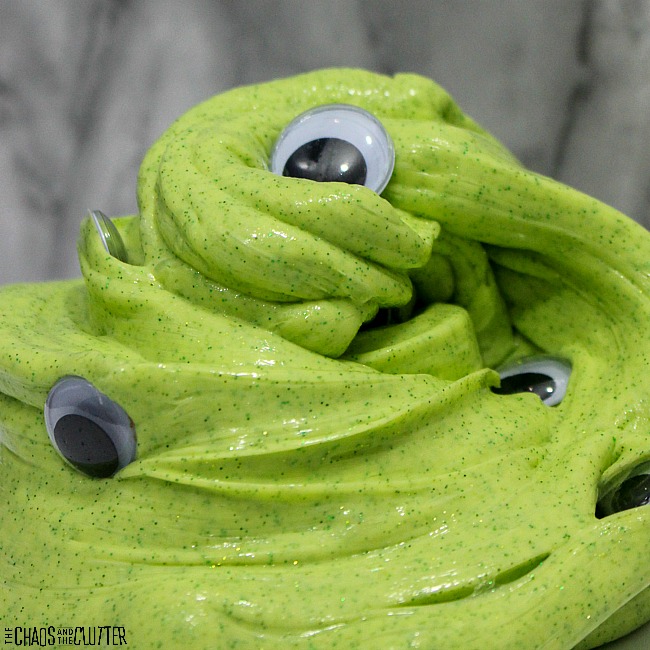
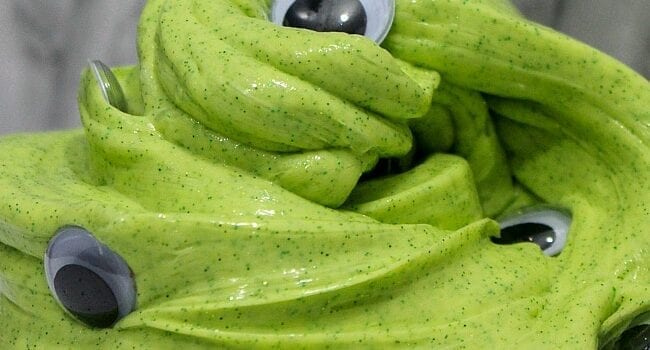
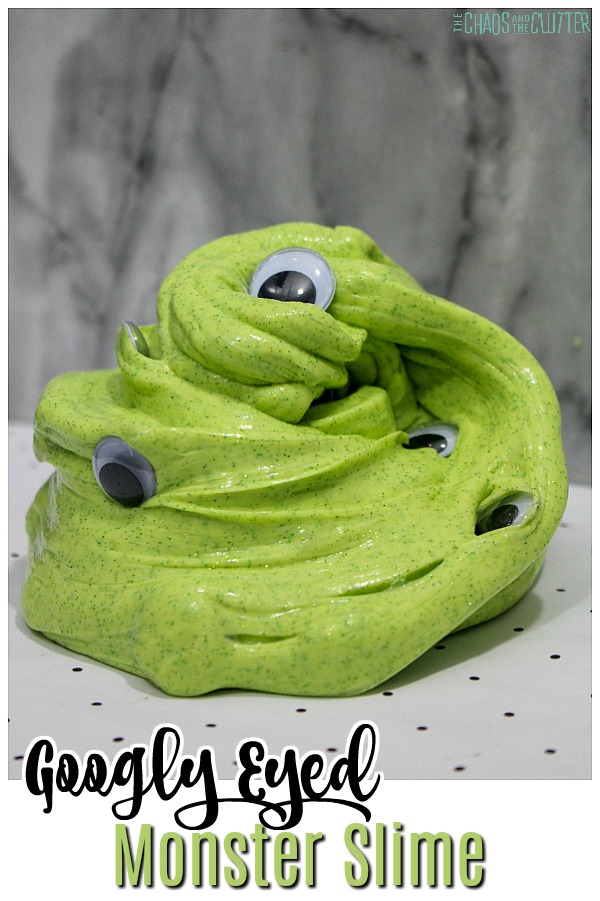
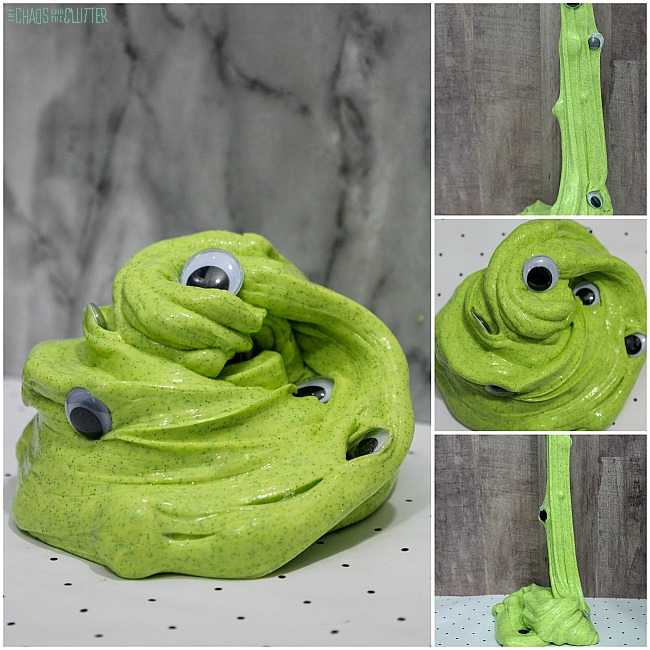
I was attempting to create a Halloween slime, but I’m not very good at scary things, so in the end, I decided that a Monster Slime was about as scary as it was going to get. Apparently, it doesn’t look like a very scary monster at that because one of my daughters took to calling it the Mike Wazowski Slime!

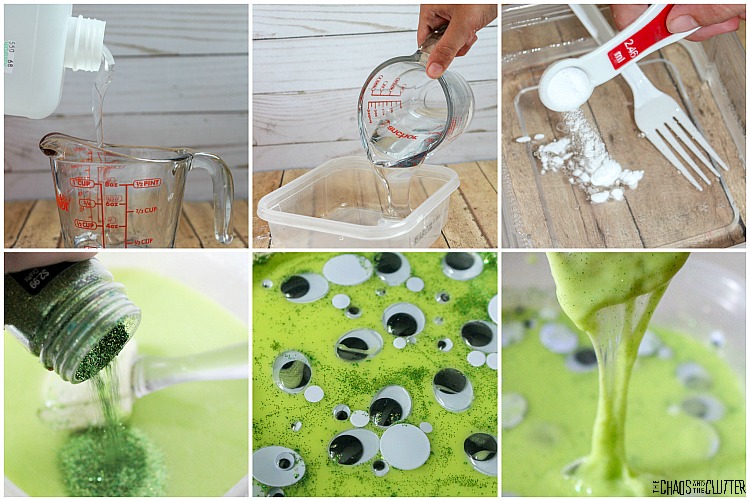
So ladies and gentlemen, boys and girls, I present to you, Mike Wazowski Monster Slime!plop of green slime with googly eyes on polka dot table with text that reads "Googly Eyed Monster Slime"

How to Make Monster Slime:

Supplies needed:

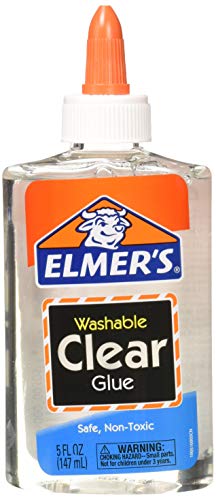
  • 5 oz. bottle Elmer’s clear school glue
  • ½ cup water
  • ½ tsp baking soda
  • 1 Tbsp. contact solution
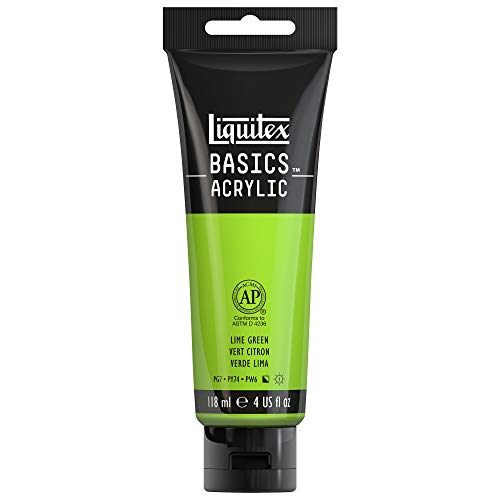
  • lime green acrylic paint – you could use another colour if you prefer
  • green fine glitter
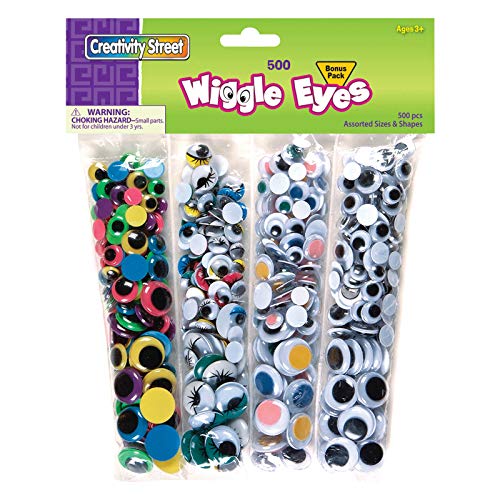
  • googly eyes

Wiggle Eyes Multi-PackWiggle Eyes Multi-PackWiggle Eyes Multi-PackElmer's Clear School Glue, 5 oz.Elmer’s Clear School Glue, 5 oz.Elmer's Clear School Glue, 5 oz.Equate Saline SolutionEquate Saline SolutionEquate Saline SolutionAcrylic Paint Lime GreenAcrylic Paint Lime GreenAcrylic Paint Lime Green

Directions:

  1. Pour the entire 5 oz. bottle of clear glue in a bowl.
  2. Add in ½ cup of water.
  3. Add in ½ tsp. of baking soda and stir.
  4. Squirt in some acrylic paint until you achieve the shade of your liking. Stir well.
  5. Sprinkle in some green glitter and stir.
  6. Add in lots of googly eyes. You can use a variety of sizes.
  7. Mix in 1 Tbsp. of contact solution. The slime will instantly begin to form.
  8. At this point, it will be sticky. Don’t worry. Just keep stirring the solution in the bowl until it starts to form.
  9. Knead the slime until it is no longer sticky.
  10. Store it in an airtight container when you’re not playing with it.

This monster slime is cute for using at Halloween parties or even giving as a party favour. You can change the colour by changing the colour of the paint used. Using coloured googly eyes will also change the look of it, so there are many possibilities.
Sensory and Learning Opportunities:

Mixing and kneading this slime while making the recipe provides proprioceptive sensory feedback.

The tactile, visual, and proprioceptive sensory systems are all engaged while playing with this Monster Slime. Pulling, pressing, stretching, squeezing, and shaping the slime also helps develop coordination and motor skills.

Check out some of these other Halloween slimes:

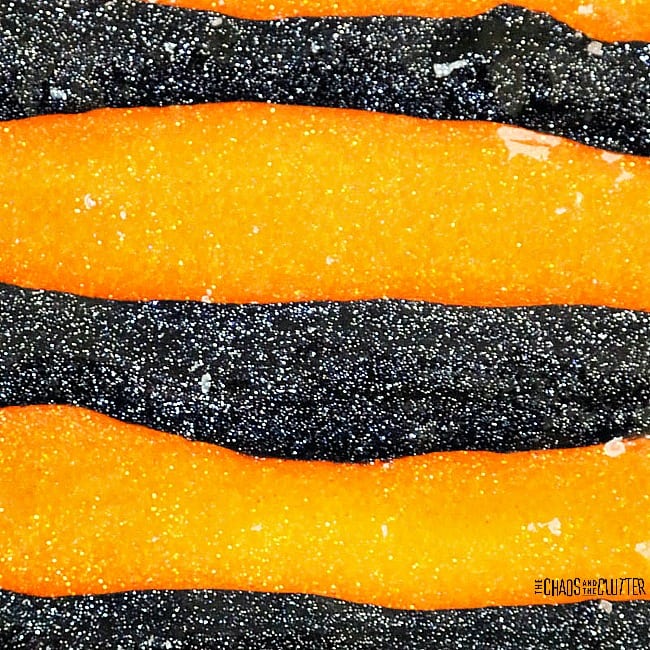
Halloween Striped Slime

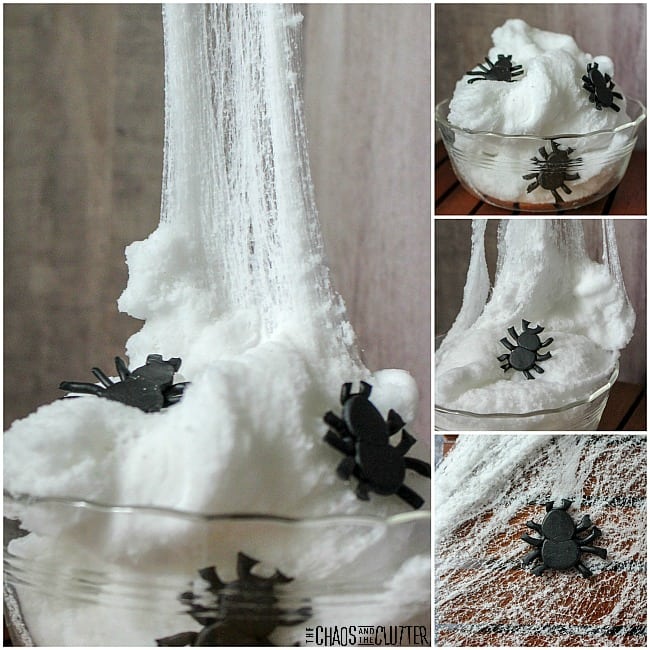
Creepy Spider Web Slime

Halloween Sensory Game

Filed Under: Sensory Tagged With: sensory play, slime

Frozen Inspired Elsa Microwave Playdough

By Sharla Kostelyk

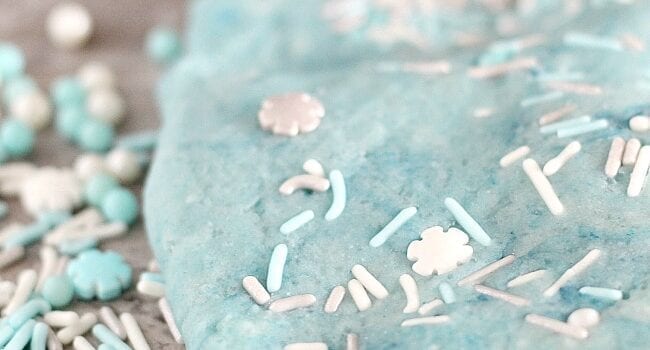
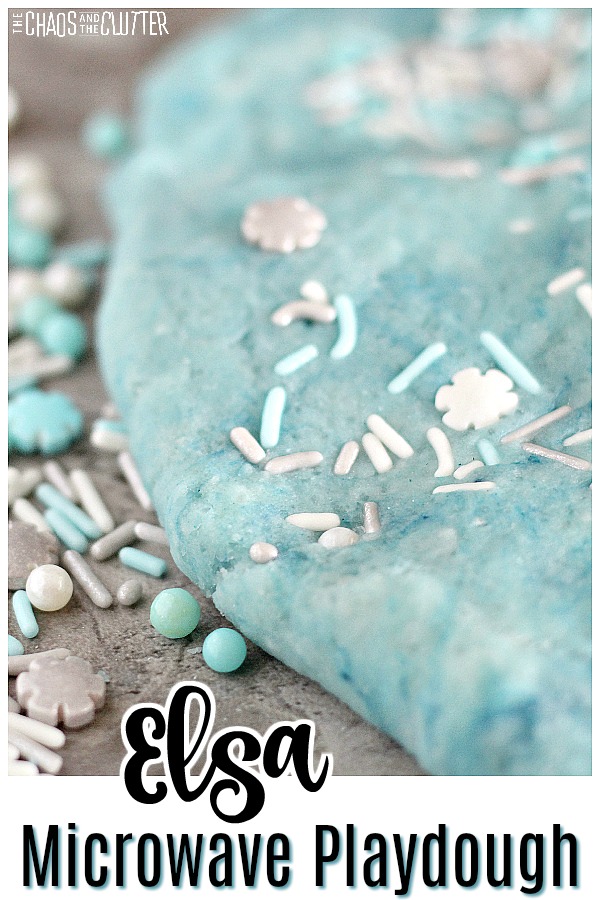
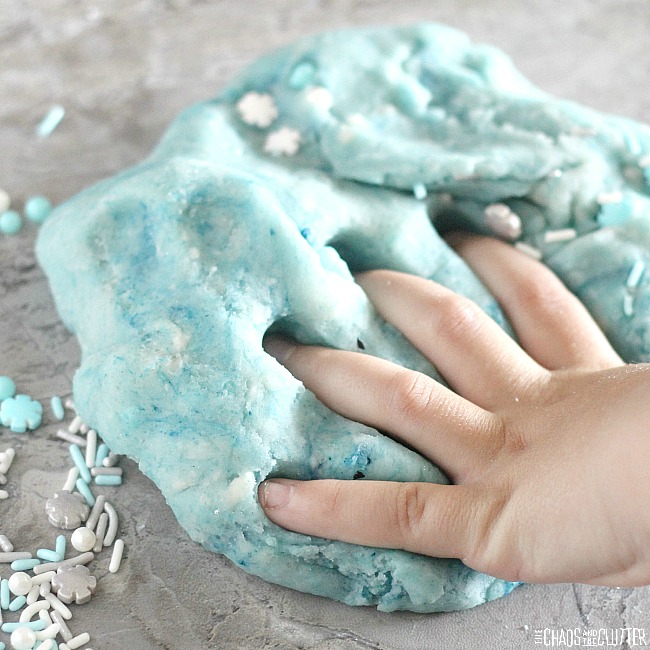
When I first started making playdough for my kids (because we all know that homemade playdough is so much better than store bought!), my arm would get sore from all that stirring on the stovetop. Things have come a long way since then. I now make most of my playdough using my KitchenAid mixer, so no more sore arms. But I recently discovered microwave playdough. This could be a game changer. light blue dough pressed down with white, silver, and blue sprinkles and text reads "Elsa microwave playdough"This quick and easy taste safe microwave playdough recipe includes a variation in case you want to make it without cream of tartar. With all the buzz about the new Frozen movie, we’ve been on a bit of an Elsa kick when it comes to our sensory play like our Frozen Inspired Elsa Slime or our cool Frozen Inspired Sensory Bin.
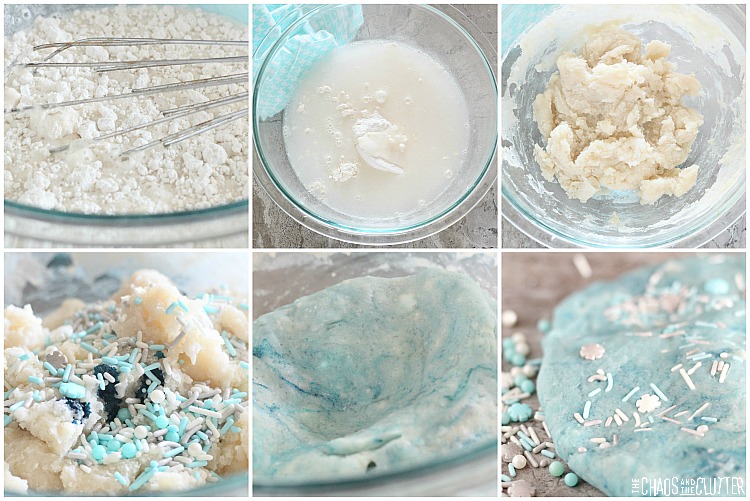
Homemade Microwave Playdough Recipe:

Microwave Playdough Ingredients:

    • 1 cup flour
    • 1/2 cup salt
    • 1 tsp. oil
    • 2 tsp. cream of tarter OR 4 tsp. lemon juice
    • 1 cup water
    • blue food colouring
    • assorted winter sprinkles

This Frozen Inspired Elsa Playdough recipe can be doubled if you’re making this for preschool, a classroom, or a large group. Directions:

    1. Start by adding your flour, salt, oil, cream of tarter OR lemon juice, and water to a large, microwave safe mixing bowl.
    2. Stir until it is well combined.
    3. Microwave for one minute and stir really well.
    4. Repeat two more times, microwaving one minute each time.
    5. Allow to cool.
    6. Add in food colouring until you get your desired colour. Knead dough well.
    7. Add in the edible sprinkles. Knead again.
    8. Let the kids play!

When you’re not playing with this dough, be sure to store it in an airtight container.
If you’re more of a visual learner, I’ve included a microwave playdough video below.

Note: Even though this recipe is taste safe, it is not safe for children to consume large quantities of salt at one time. Adult supervision is required.

Sensory Play and Learning Opportunities:

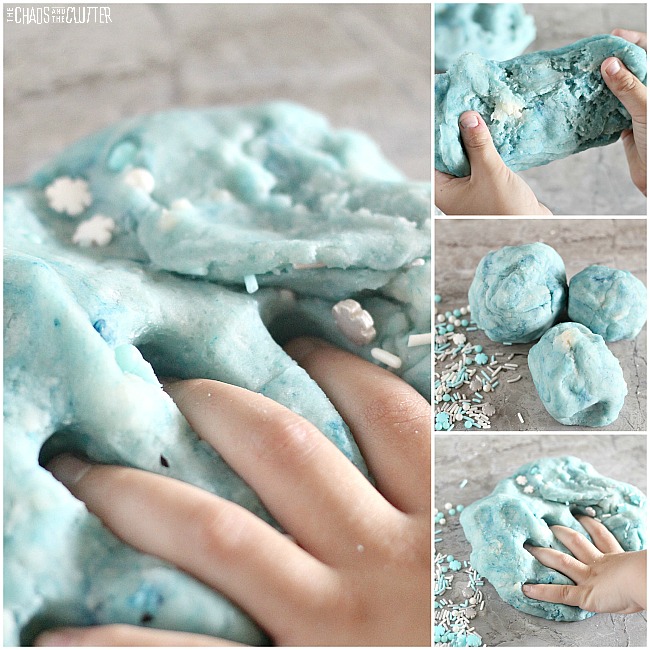
Have your child help with the stirring and kneading when making the playdough. This provides visual, tactile, and proprioceptive sensory feedback.

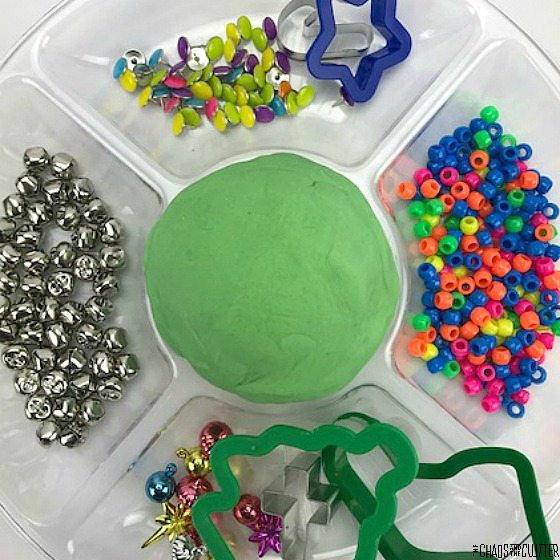
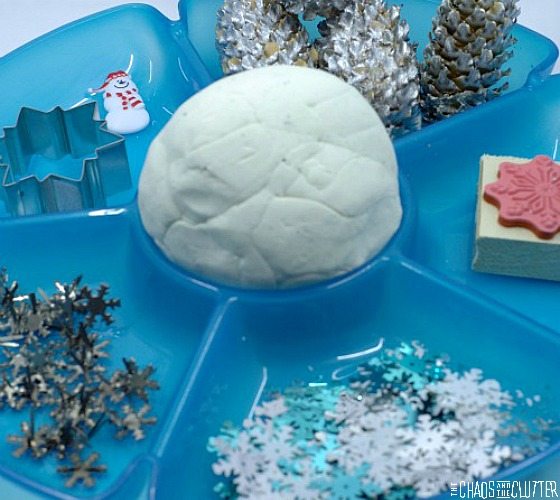
Stretching and rolling and squeezing and squishing and pinching and pressing all are great sensory play actions. Playing with playdough engages not only your child’s senses, but also their imagination. This type of preschool play is also good for developing fine motor skills and coordination.
Are you looking for other easy sensory play recipes? Join us for a free five day email series on Sensory Activities and Solutions and get a sample of our Sensory Play Recipes eBook.

Check out some of our most popular playdough recipes:

Peppermint Scented Playdough

Snow PlaydoughSnow Playdough and invitation to play

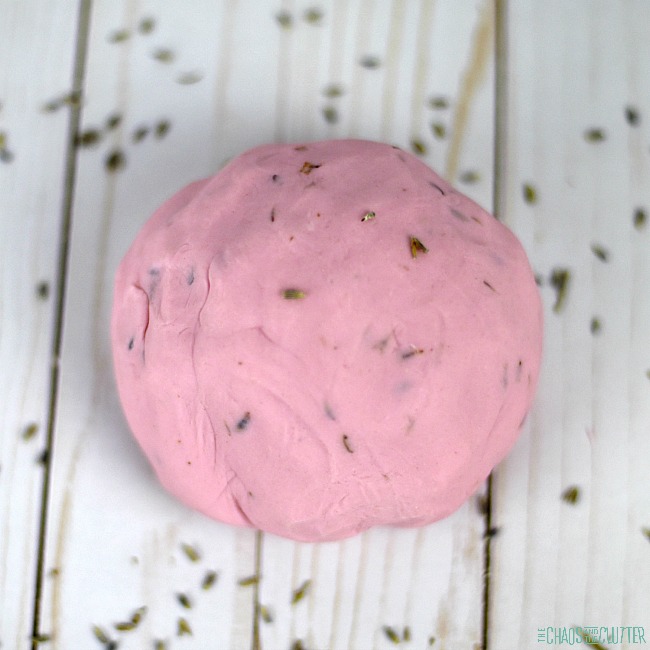
Calming Lavender Scented Playdough

Filed Under: Sensory Tagged With: playdough stations, sensory play

Textured Butter Slime

By Sharla Kostelyk

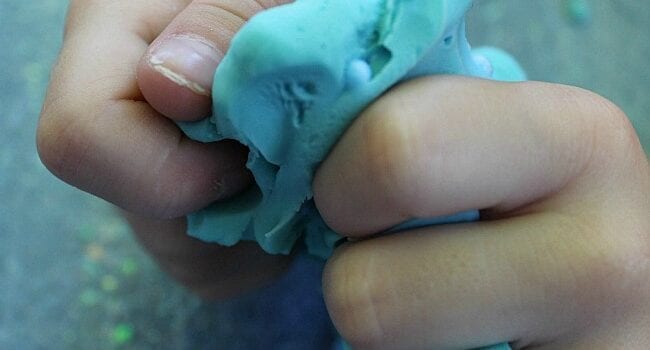
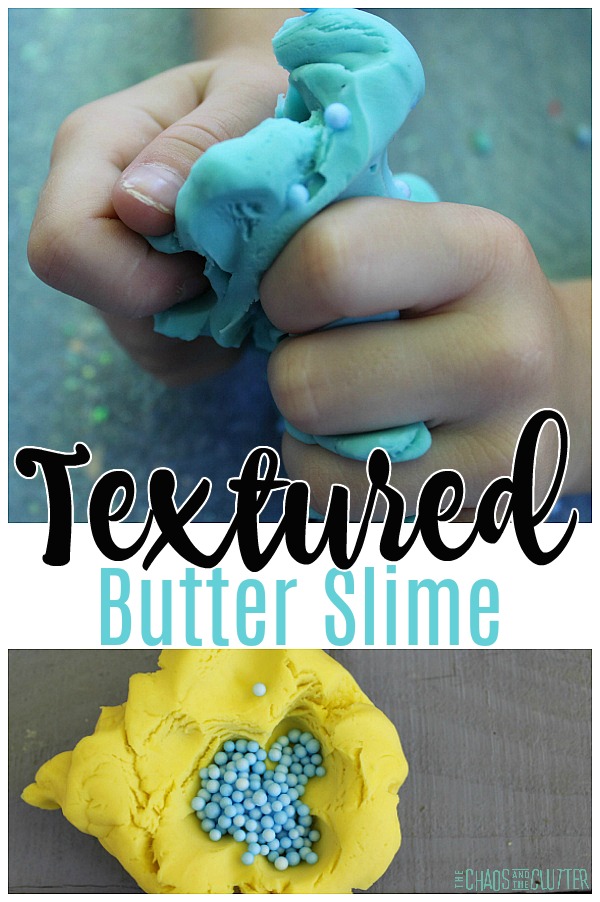
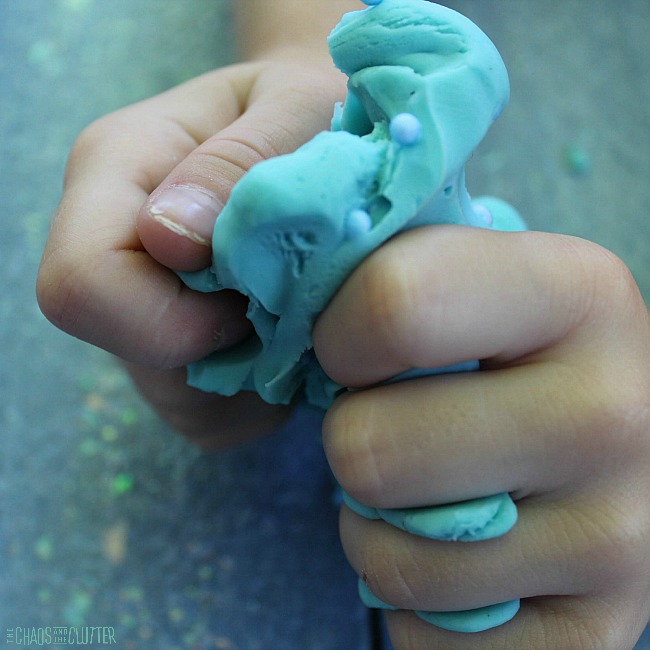
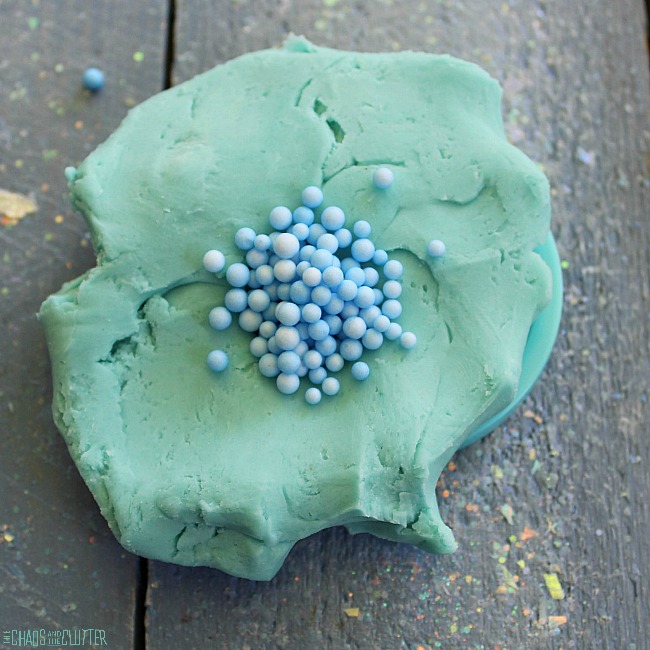
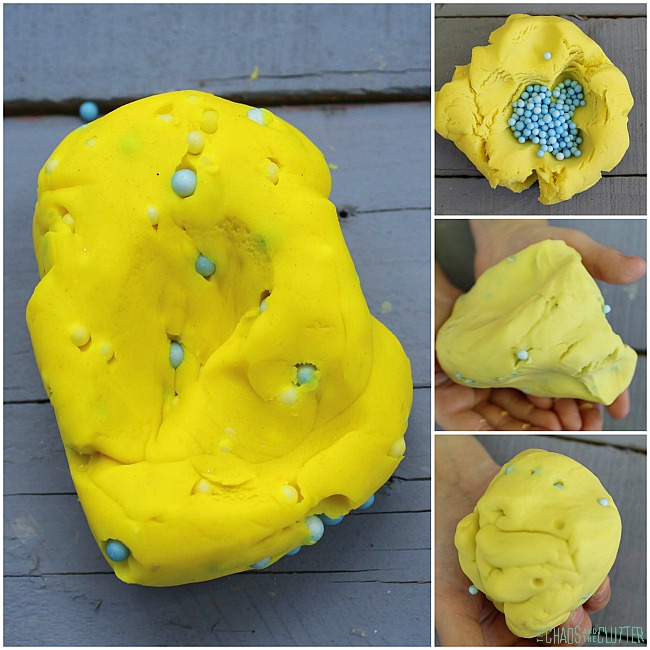
There are so many types of slime. Every time I think we’ve tried them all, we discover another type to make! This textured butter slime was a cool experiment that turned out so well. little hands squeezing blue dough and yellow dough with blue foam bits are visible underneath. The text reads "Textured Butter Slime"This sensory play activity engages the tactile, visual, and proprioception sensory systems.
How to make butter slime

Well, first of all, I guess we should start with “what is butter slime?” Contrary to what it sounds like, butter slime doesn’t actually use butter as an ingredient. It gets its name from the buttery texture. Most butter slimes have a non-toxic clay such as Model Magic clay in the recipe. This type of slime moulds well, but it’s not very stretchy.

How to make butter slime without clay

While most butter slime recipes, call for using clay, you can make it without clay. In fact, in our recipe, we didn’t use clay at all. We instead used playdough that had seen better days. If you’re a family or school that uses playdough regularly, chances are, you’ve got some that’s seen better days and needs to be thrown out. The great thing about this recipe is that instead of throwing that dried out playdough out, you can repurpose it into slime!

You can also make butter slime without clay by mixing cornstarch and shampoo. Or it can be made by adding about 2 Tbsp. of cornstarch into a typical liquid starch slime recipe.

Textured Butter Slime Recipe:

Ingredients:

  • 2-3 Tbsp. dish soap
  • foam beads
  • 3 oz. dried out playdough (store bought or homemade)
  • optional: cornstarch

Directions:

  1. Pour about 2 Tablespoons of dish soap into a 3 oz. container of old playdough. If you’ve thrown out the container or are using homemade playdough, do this in a bowl.
  2. Begin mixing. The texture will determine your next step.
  3. If the dough is getting softer and is not at all sticky, you can add an additional Tablespoon of dish soap and continue mixing. If the dough takes on a sticky texture, a sprinkling of cornstarch can be added.
  4. Next, add as many foam beads as you like. This will be what adds the texture.
  5. Mix the beads and the dough together well.

Invite your children to play, stretch and mold the textured doh. The dough can now be stretched, moulded, and played with. It is soft and can also be cut with a craft stick or plastic knife, just like butter.
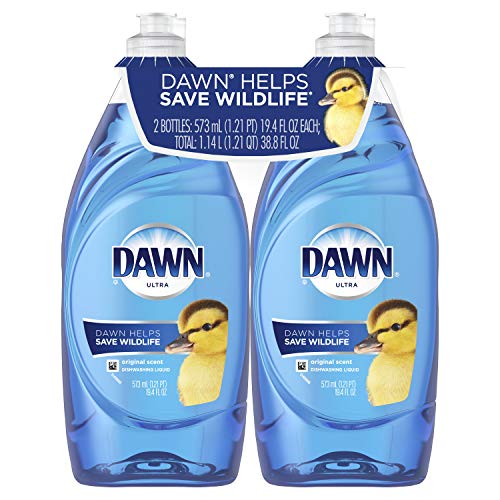
Play-Doh 24-Pack Case of Colors, 3 oz. CansPlay-Doh 24-Pack Case of Colors, 3 oz. CansPlay-Doh 24-Pack Case of Colors, 3 oz. CansStyrofoam Balls for SlimeStyrofoam Balls for SlimeStyrofoam Balls for SlimeDishwashing LiquidDishwashing LiquidDishwashing Liquid

Adding the foam beads offers a great twist on the texture. This provides additional tactile sensory feedback.

Are you looking for more easy sensory play recipes? Join us for a five day email series on Sensory Activities and Solutions and get a free sample of our Sensory Play Recipes eBook.

Other popular slime recipes:

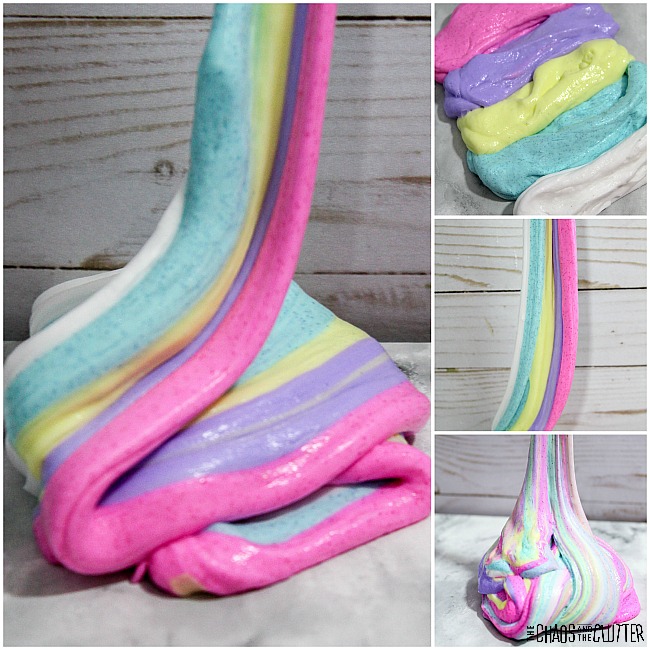
Unicorn Fluffy Slime

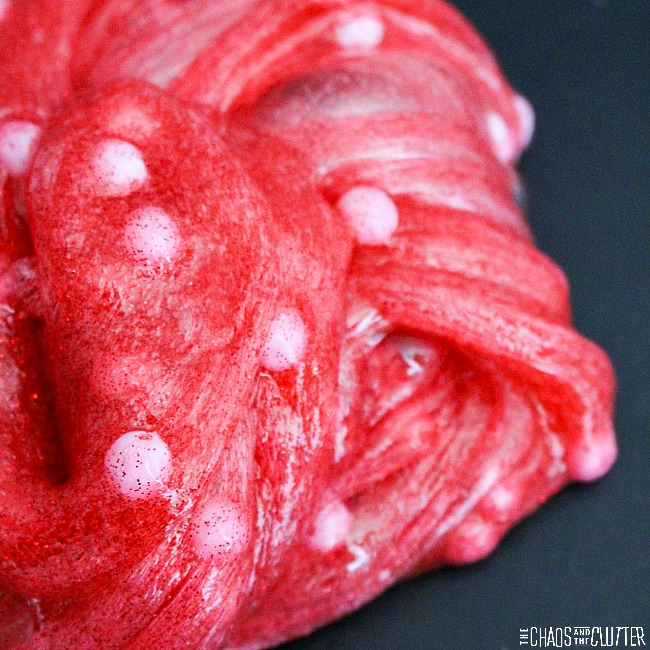
Minnie Mouse SlimeOn a black background sits a swirly clump of glittery red slime with white balls that look like polka dots.

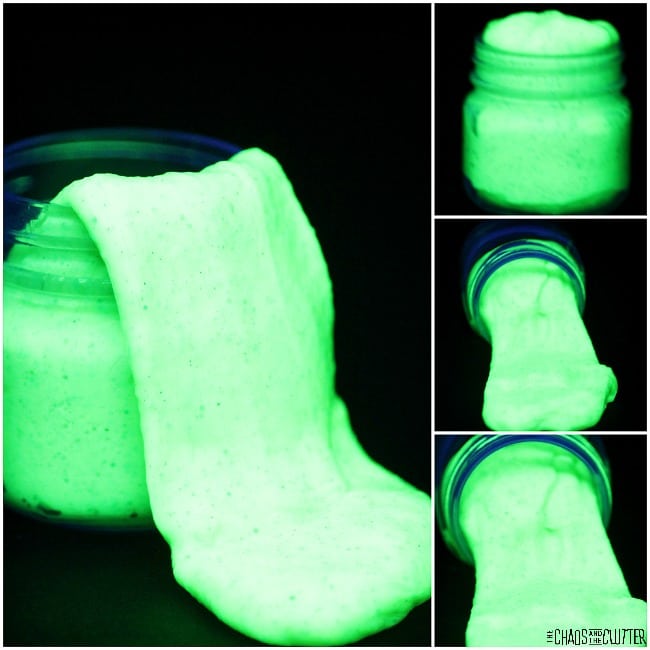
Glow in the Dark Slime

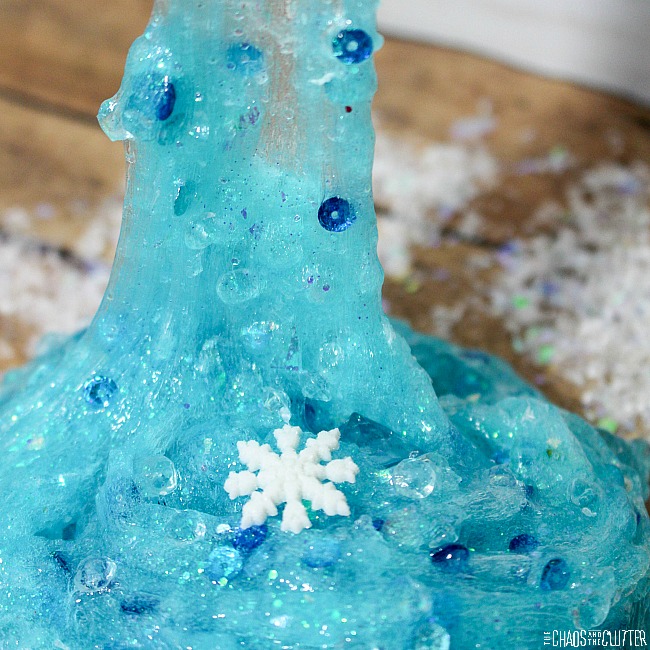
Frozen Inspired Elsa Slime

Filed Under: Sensory Tagged With: sensory play, slime

  • « Go to Previous Page
  • Page 1
  • Interim pages omitted …
  • Page 9
  • Page 10
  • Page 11
  • Page 12
  • Page 13
  • Interim pages omitted …
  • Page 50
  • Go to Next Page »

Primary Sidebar

Categories

We are a participant in the Amazon Services LLC Associates Program, an affiliate advertising program designed to provide a means for us to earn fees by linking to Amazon.com and affiliated sites.

Copyright © 2026 • The Chaos and the Clutter • Site Design by Jeni @ The Blog Maven

Return to top of page

Copyright © 2026 · Chaos and the Clutter 2.0 on Genesis Framework · WordPress · Log in