• Skip to primary navigation
  • Skip to main content
  • Skip to primary sidebar
  • Home
  • About
  • Contact
  • Privacy + Terms
  • Affiliates

The Chaos and the Clutter

  • Facebook
  • Twitter
  • Pinterest
  • Google Plus
  • RSS
  • Email
  • School at Home
  • Sensory
    • Sensory Processing Disorder
    • Awesome Sensory Play Activities
      • Sensory Bins
      • Sensory Bottles
      • Sensory Bags
  • Family Games
    • Minute to Win It Games
  • Special Needs Parenting
    • Childhood Anxiety
    • Reactive Attachment Disorder
    • Sensory Processing Disorder
  • Store
  • Course Login

Sensory

How to Make Slime – A Comprehensive Guide

By Sharla Kostelyk

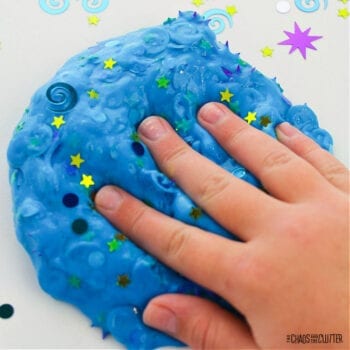
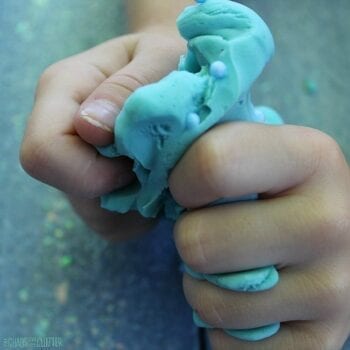
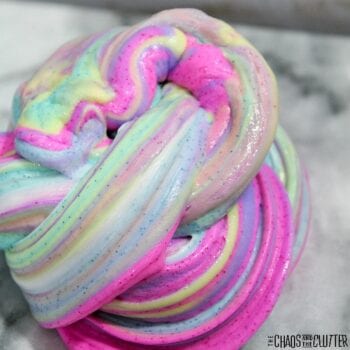
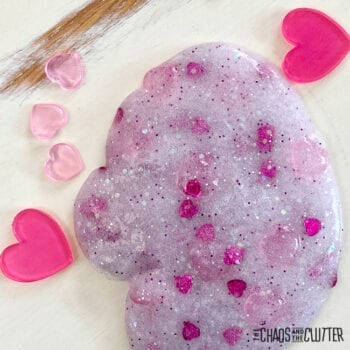
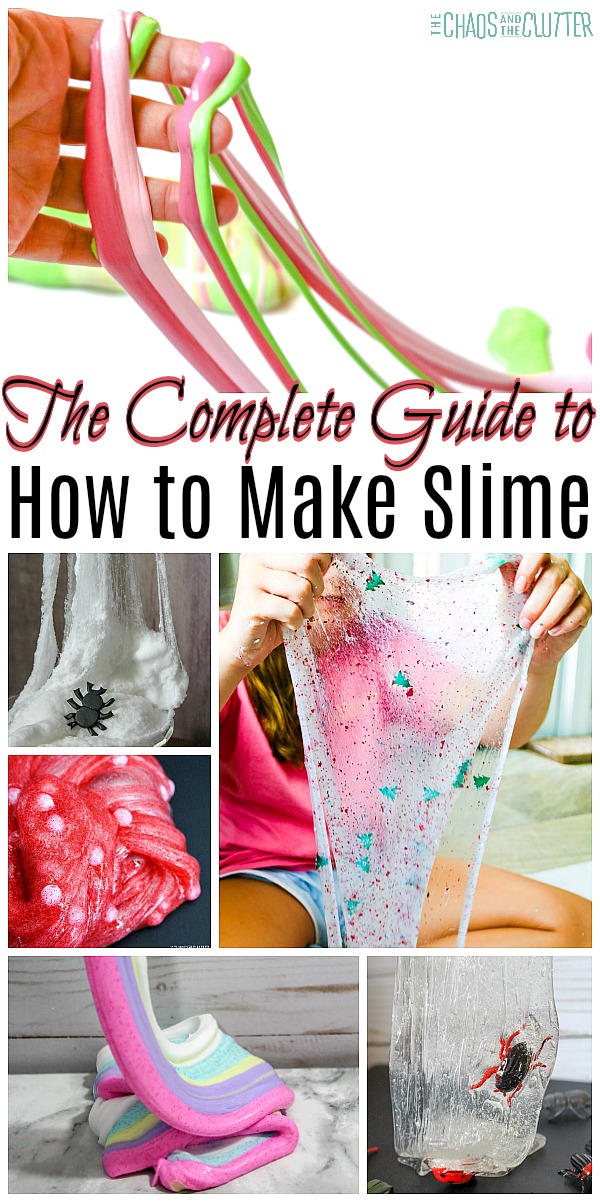
Have you ever wondered how to make slime or are you looking for new ways to make it? Making slime is one of my kids’ favourite things to do. They could sit at the table for hours and play with it. If you think there is just one way to make slime, you’re wrong. There are multiple ways to make it and just as many ways to play with it! a collage of slimes with the text "The Complete Guide to How to Make Slime"
How to Make Slime Not Sticky

Once you’ve made your slime, you don’t want it to be sticky. You don’t want it sticking to your table, hands, and everything else. Once slime sticks, it certainly is hard to unstick!

Knead the Slime

One way to get rid of the stickiness is to knead it. Think about flour and how when you knead it, it makes it less sticky. The same thing goes with slime.

Small Amount of Baby Oil

If you’re looking to unstick the slime, then a tiny bit of baby oil will do the trick. You don’t want it slime to get super oily though. Keep this in mind as you add the baby oil to the slime. One drop at a time.

Drop or two of Contact Solution

If you’re using a recipe that uses contact solution and it’s still too sticky, you can add a drop or two more of contact solution.

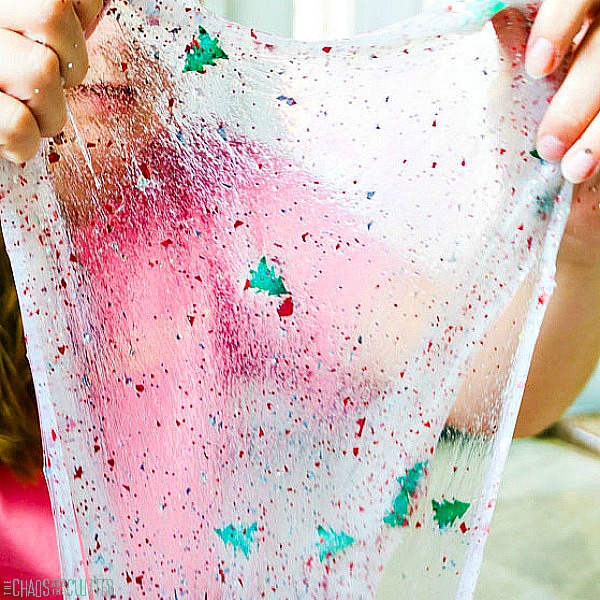
How to Make Slime Stretchy

Has your slime become a blob that just sits there and doesn’t do anything? Slime is a lot more fun when it’s stretchy! If you’re wondering how to make your slime stretchy again, it’s time to follow these tips.

Hot top water

When it comes to making slime stretchy, hot tap water can do the trick. Just soak the slime in the hot tap water if it’s become too hard. This will breathe new life into it. 

Small amount of lotion

Have hard slime that doesn’t stretch? Consider a small amount of lotion in the slime. A really small amount of lotion does the trick, so don’t add much more than that.

Take the time to move it around and see if it stretches.
How to Ensure Your Slime is Not Runny

If your slime is runny, that is no fun! There are actually ways in which you can make slime not so runny. One of those tips is to add in a thickening agent.

For example, runny slime may need liquid glue to be added to it or a small amount of borax. Depending on what slime recipe you used, this will determine what you add to it to make it not runny.

Also, keep in mind that it does take some trial and error. Start with small amounts to see if this helps.

Classic Slime Recipe

What is considered a classic slime recipe is one that uses borax and glue. There are many ways to make the recipes more exciting by adding in glitter, confetti, or like the instant snow in the unique recipe below.

Slime Without Borax

Don’t have borax on hand? No worries! You can totally make slime without borax, you just need to know how. Borax is a thickening agent. So in order to create a slime without it, you’ll need to use another thickening agent. 

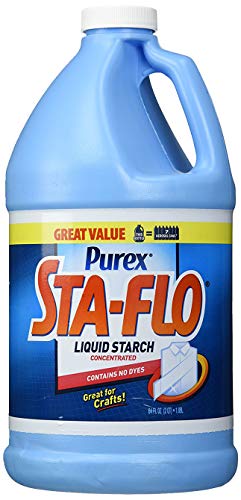
Thickening agents out there are things that contain boric acid, sodium borate, or borax. Some of these products are liquid starch and eye drops! You’ll need to check the ingredient list to be sure they have one of those materials listed. They both work great for helping to make slime.

Other ways to make slime without borax include making it with shampoo or making edible slime.

Making Slime with Shampoo

If you have shampoo on hand, it can be the magic ingredient. Here are the steps for making slime with shampoo:

  • You will need a ½ cup of shampoo and a ¼ of a cup of cornstarch in a bowl.
  • You will want to mix this mixture up very well.
  • From there, you’ll add a teaspoon of water and stir. Slowly add in five more teaspoons of water.
  • To make the slime usable, you’ll want to knead the slime for about 5 minutes.

If the slime is too hard, you’ll want to add a little bit of water. If it’s too runny, you’ll want to add a little more cornstarch.

Making Slime with Contact Solution

Do you have contact solution on hand? It can be a perfect ingredient in making slime. You can look at contact solution as a slime activator.

To make contact solution slime, you’ll need a bottle of Elmer’s glue, baking soda, and contact solution, plus water if you like the slime a little stretcher. You can find an exact recipe for it here.

Not everyone wants to use their contact solution for this, but if you do, this recipe works great.
How to Make Fluffy Slime

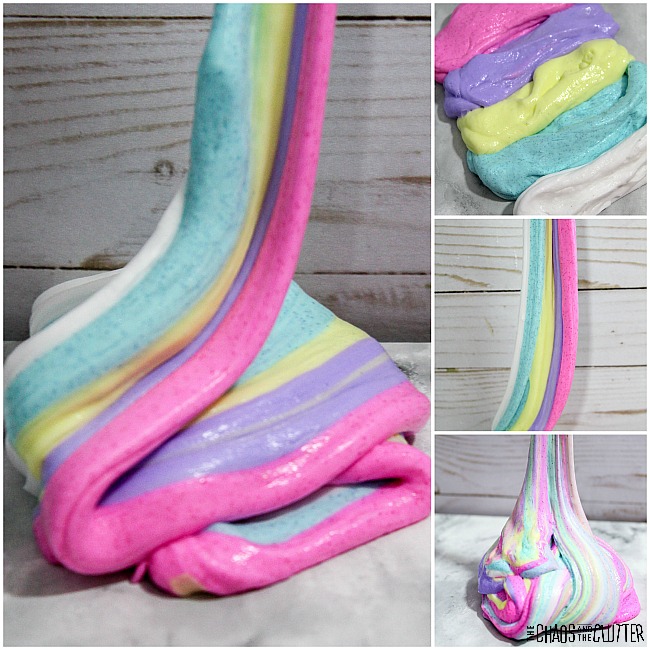
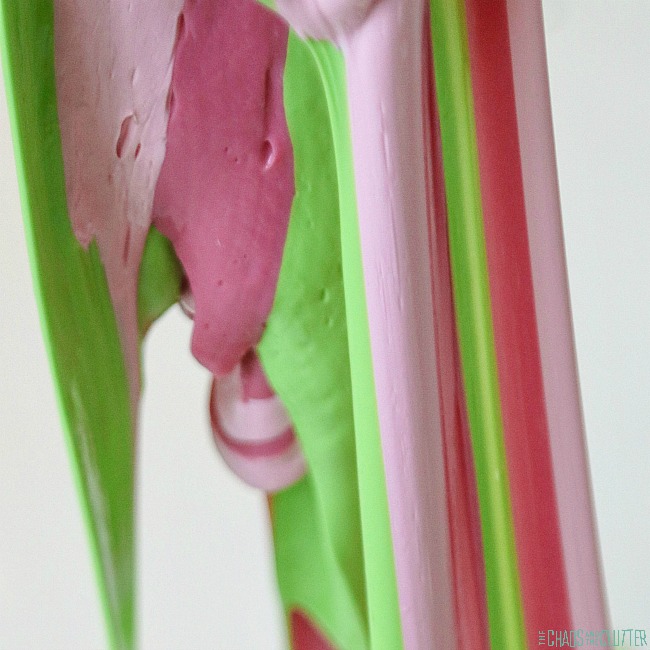
Making your own fluffy slime isn’t as hard as it may seem. Who doesn’t love playing with beautiful and big fluffy slime?! The secret?

FOAM SHAVING CREAM!

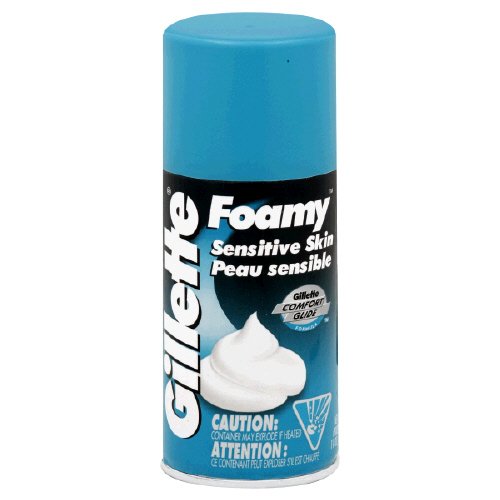
YUP. I love that shaving cream is so cheap too! You can easily add foam shaving cream to the recipe and from there you can have some fun slime on your hands. I pick mine up from the dollar store. You can buy it in different scents which then results in a scented slime.

Making it scented is a great way to incorporate the olfactory sense into this sensory play.

Edible Slime

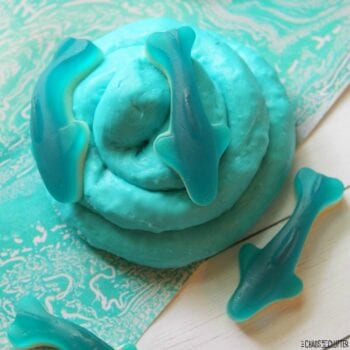
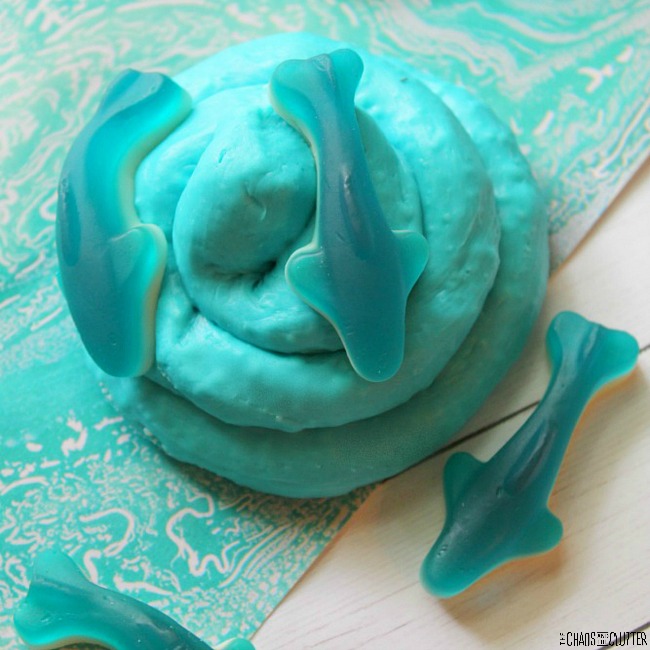
One of the latest trends is slime that is taste safe or edible. This Edible Shark Fluffy Slime is our favourite. There are many other edible slime recipes you can make that use ingredients such as pudding, candy, marshmallow fluff, icing, and Jello.
Ensuring that Slime is Safe

When you’re making sensory play recipes with your kids, you need to make sure that they are safe. One of the rules to making slime safe is to make sure your kids don’t eat it.

There are ingredients in typical slime that don’t make it safe to eat. Kids who have sensitive skin can also react to it when it comes in contact with their skin. You can instead use an edible recipe which will be safer for the skin and takes away the worry of toxicity. 

If your kids have sensitive skin, they can also wear clothes and gloves while they make it and play with it.

You can read more important safety tips here.

Slime Ingredients

There are many different ingredients that can be used to make slime. These are some of the most common:

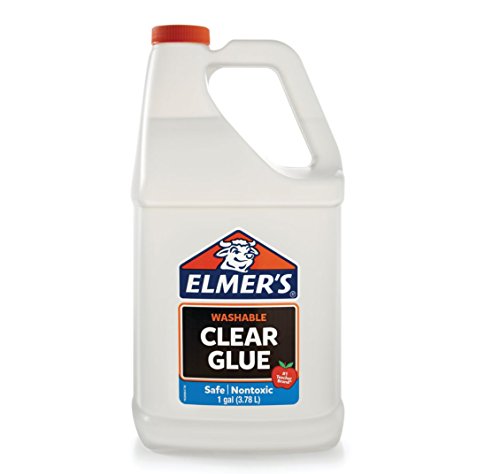
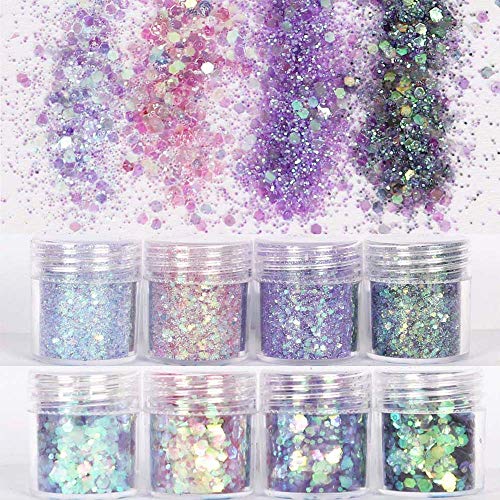
Styrofoam Balls for SlimeStyrofoam Balls for SlimeStyrofoam Balls for SlimeLiquid StarchLiquid StarchLiquid StarchElmer's Liquid School Glue, ClearElmer’s Liquid School Glue, ClearElmer's Liquid School Glue, ClearElmer's Liquid School Glue, WhiteElmer’s Liquid School Glue, WhiteElmer's Liquid School Glue, WhiteSaline SolutionSaline SolutionSaline SolutionShaving CreamShaving CreamShaving CreamHolographic Chunky Glitter SequinsHolographic Chunky Glitter SequinsHolographic Chunky Glitter Sequins

Why make slime?

Not only is slime a cool science lesson in chemistry, it is great for providing sensory input and it is good as a calming tool. For kids (or adults) who are struggling with anxiety, it provides a stress reducing effect. It can be used like a stress ball, but that’s not the only way that it is calming.

Slime engages both the visual, tactile, and proprioceptive sensory systems. Proprioception (also sometimes called heavy work) is very effective in calming as it provides much needed feedback to the body.

Depending on the type of recipe you use, there may also be other sensory systems such as olfactory (smell) engaged with this type of sensory play as well. You can find some fun ways to play with your slime here.

Our Favourite Slime Recipes
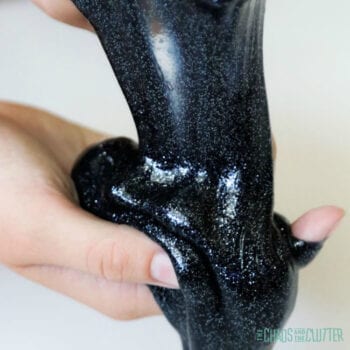
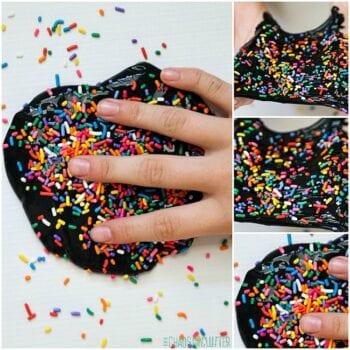
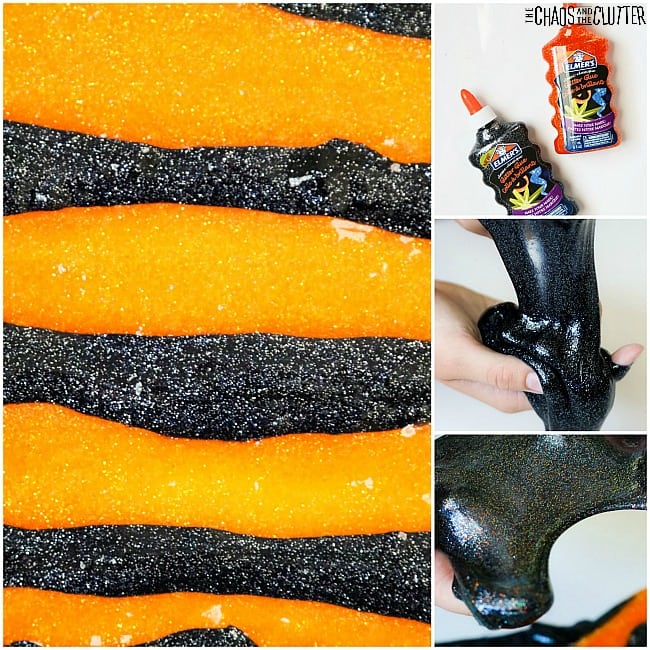
hands holding dripping black slimeBlack Glitter Slime Easy Recipe
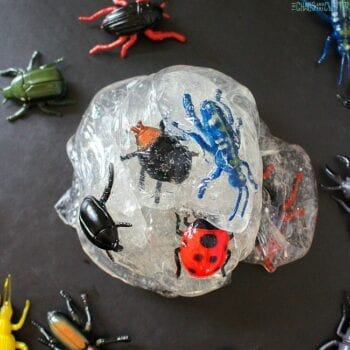
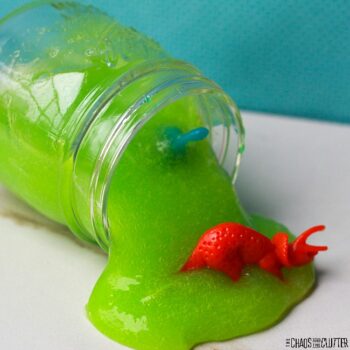
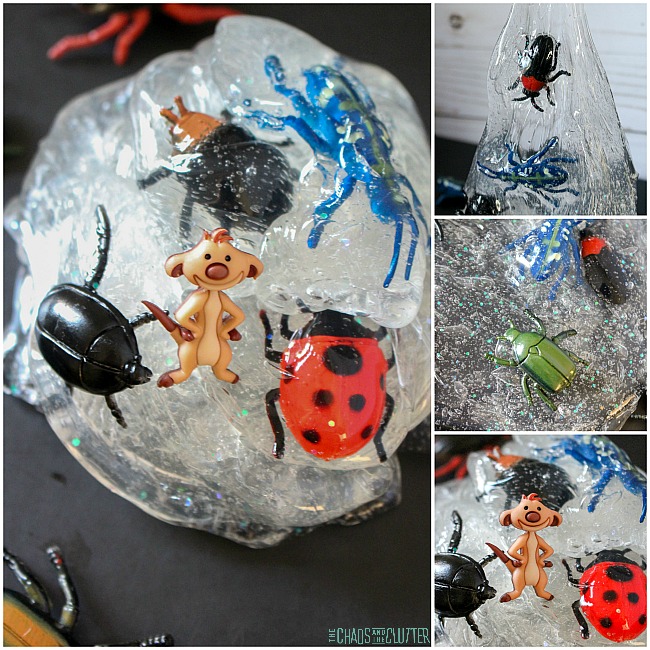
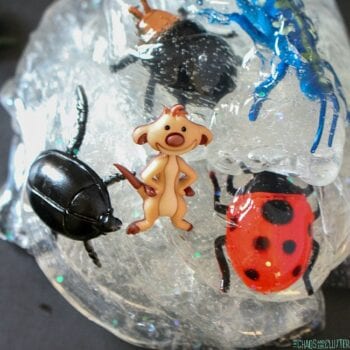
Bug Slime without Borax
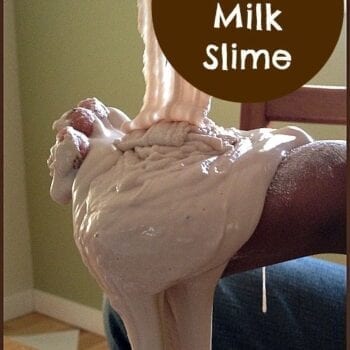
Easy to make Chocolate Milk Slime from The Chaos and The ClutterMilky Slime Recipe
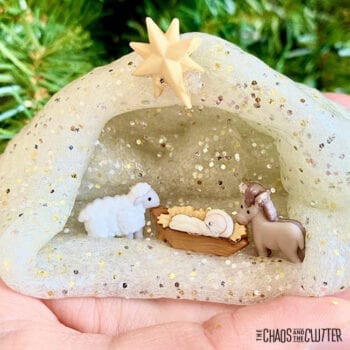
Christmas Nativity Slime
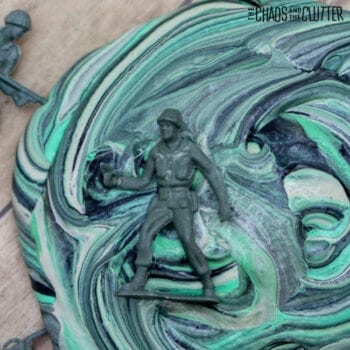
Cool Camo Fluffy Slime
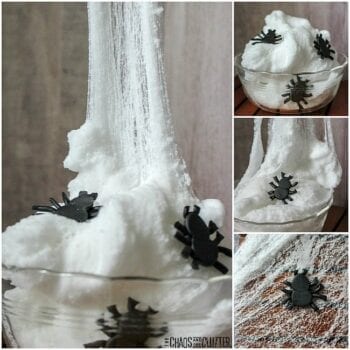
Spider Slime Recipe: Just Like A Spider Web
Dino-riffic Dinosaur Slime
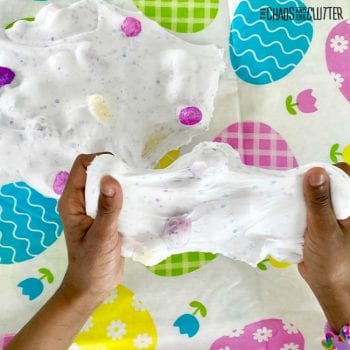
Easter Fluffy Slime
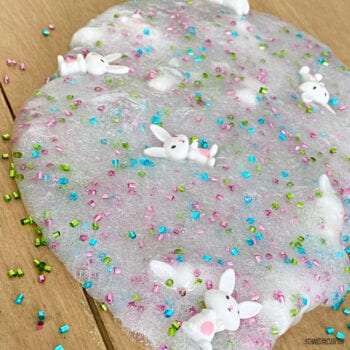
slime that has coloured mini beads and small bunny toys in itEasy Easter Slime Recipe
Edible Shark Fluffy Slime
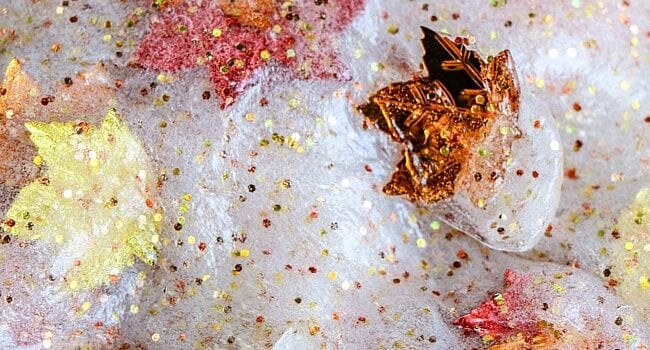
Fall Leaves Slime
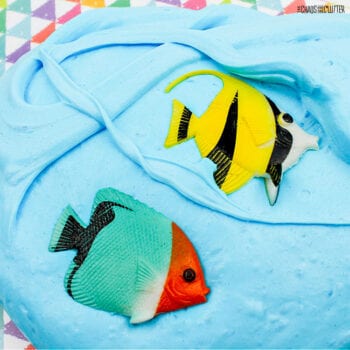
blue slime with a yellow toy fish and a green and red toy fish in itFluffy Fish Slime
Frozen Inspired Elsa Slime
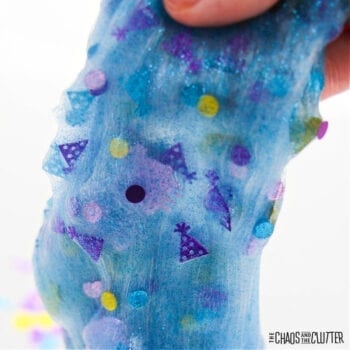
thumb pulling blue slime filled with confettiFun Birthday Slime Recipe
Glow in the Dark Slime with Glitter
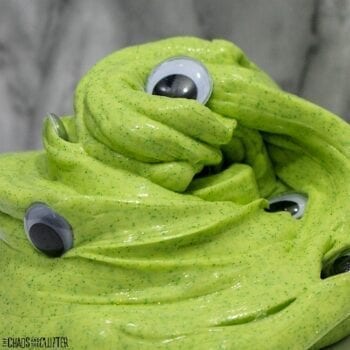
Googly Eye Monster Slime
Hallowe’en Sensory Game
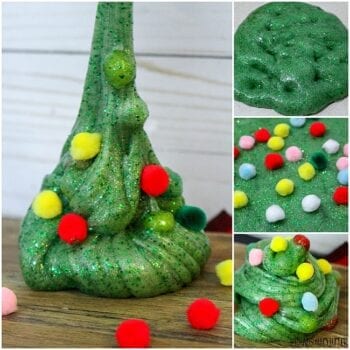
Holiday Scented Christmas Tree Slime
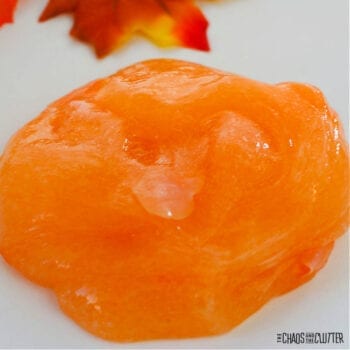
clump of orange slimeHow to Make Pumpkin Slime
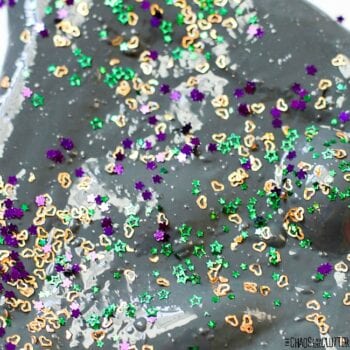
Mardi Gras Slime
Minnie Mouse Slime
Peppermint Scented Slime Recipe
Rainbow Confetti Party Slime
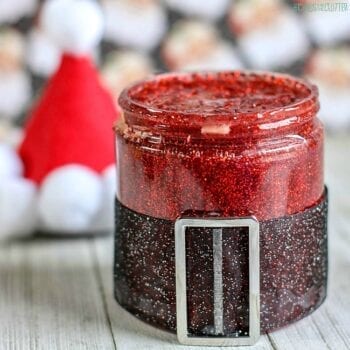
Santa Slime Christmas Gift Idea
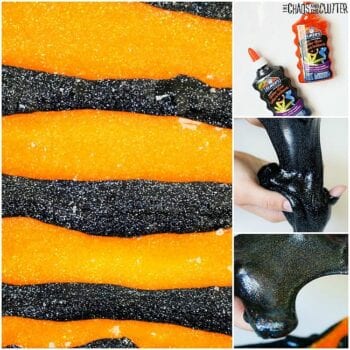
Simple Hallowe’en Slime
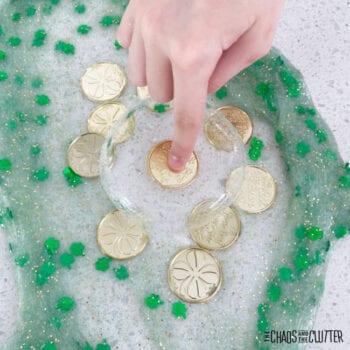
finger presses into an air bubble in shamrock slime to get at a gold coinSt. Patrick’s Clear Slime
St. Patrick’s Day Fluffy Slime
Stretchy Butterfly Slime
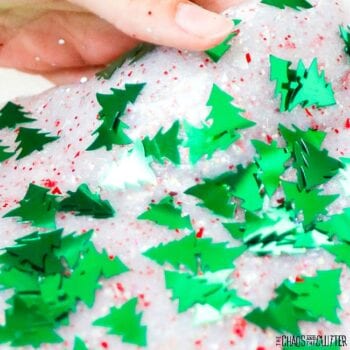
an almost opaque white slime with red round confetti and bright green tree shaped confetti is seen held in a hand with only the thumb visibleHow To Make Stretchy Slime
hand presses into blue slime with coloured confetti in itStretchy Superhero Slime
Textured Butter Slime
Timon Inspired Lion King Slime
Unicorn Fluffy Slime
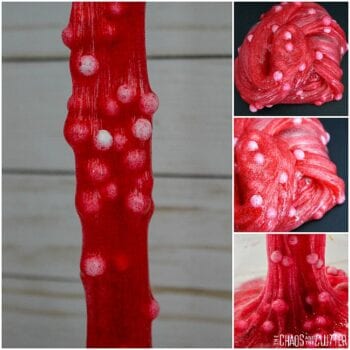
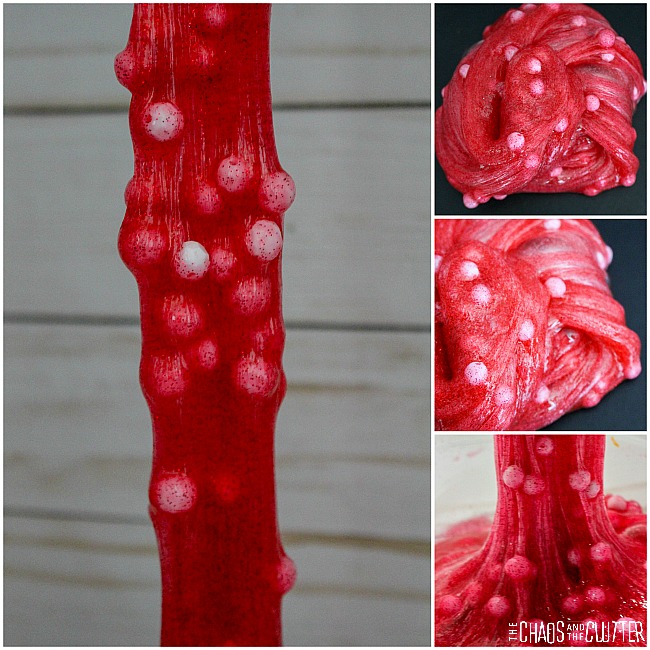
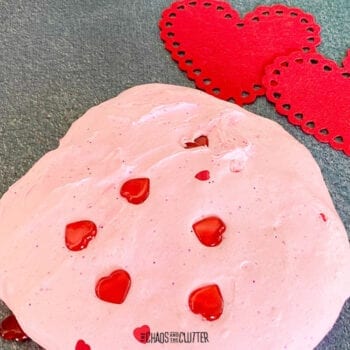
Valentine’s Day Fluffy Slime
Valentine’s Day Slime

Do you enjoy making slime? What’s your favourite thing about it?

Looking for more great sensory play recipes? Join us for a five day email series on Sensory Activities and Solutions and get a free sample of our Sensory Play Recipes eBook.
Filed Under: Sensory

Frozen Inspired Elsa Slime

By Sharla Kostelyk

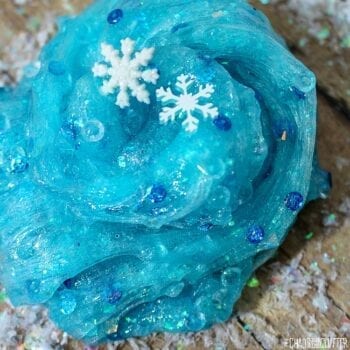
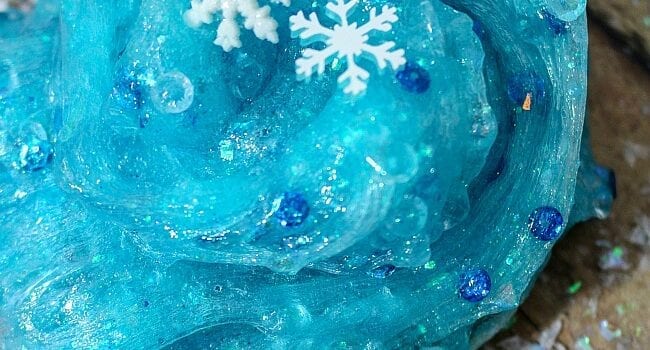
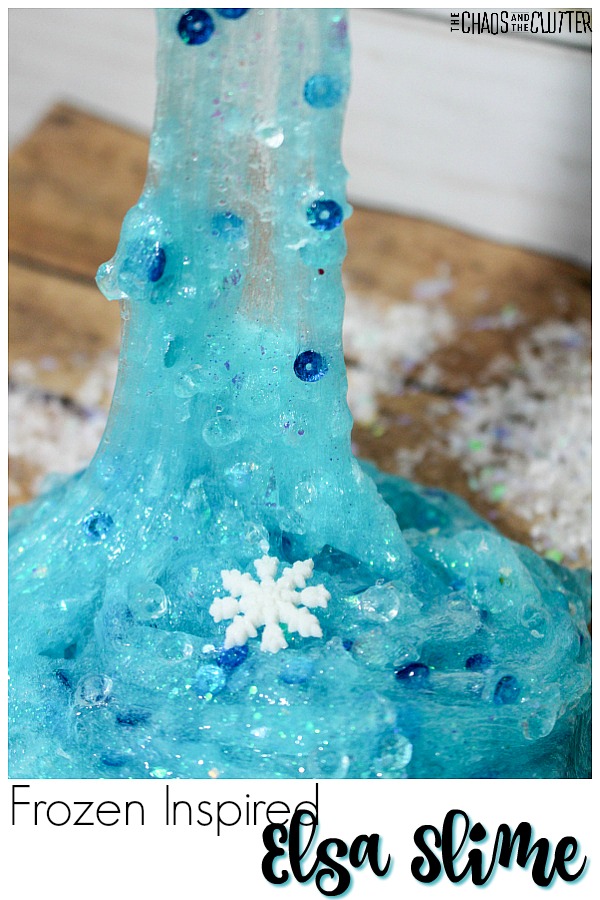
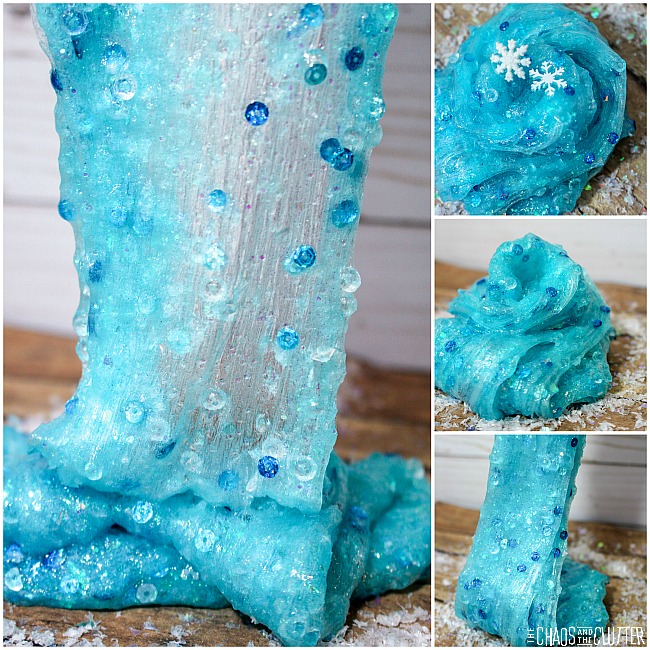
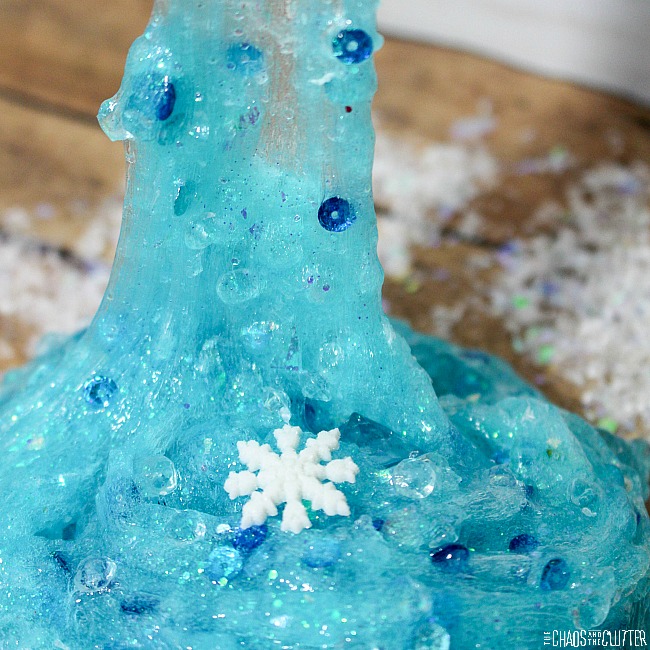
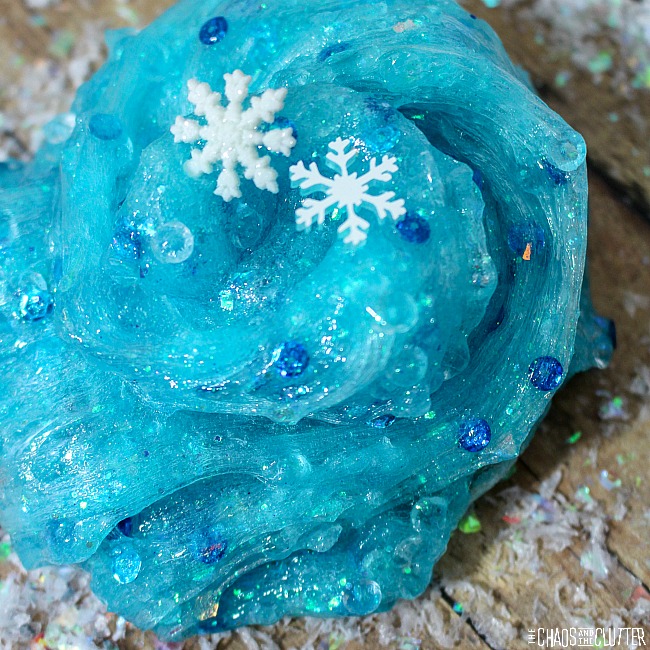
This Frozen Inspired Elsa Slime is an interesting slime because of the textures and colours. With the addition of all the add-ins, it becomes a crunchy slime. This is particularly good for kids who are sensory seekers. 

Frozen Inspired Elsa Slime #slime #slimerecipes #sensoryplay #frozenWhen you think about the movie Frozen, a certain song may come to mind. If you want to give the full Elsa effect, you can sing the song while you make this slime.
Frozen Inspired Elsa Slime Recipe:

Supplies:

  • 5 oz. of Elmers school clear glue
  • 1/2 cup water
  • blue colorant (you can also use food colouring, paint or pigment)
  • blue glitter
  • blue sequins
  • faux snow (confetti)
  • beads
  • ‘diamond’ beads
  • snowflake charms 
  • 1/2 tsp. baking soda
  • 1 Tbsp. contact solution

Directions:

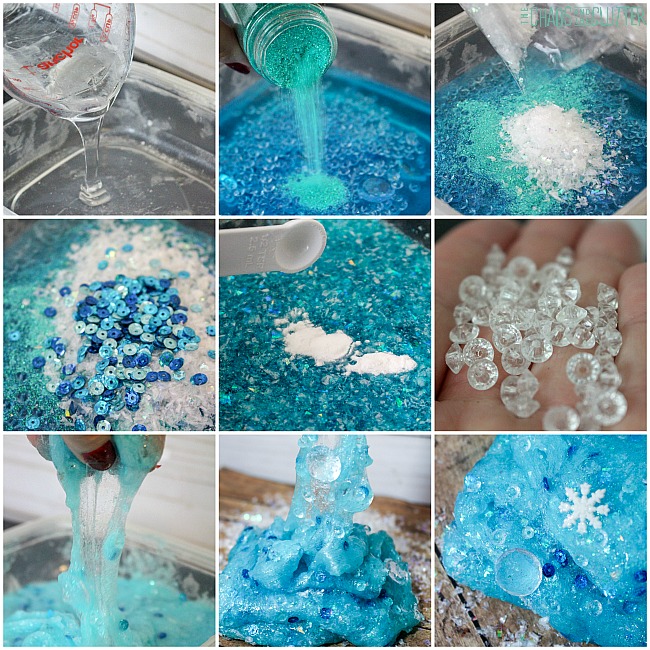
  1. In a bowl, pour 5 oz. clear glue.
  2. Add 1/2 cup water.  Mix until the glue has broken up and is incorporated into the water.
  3. Add a few drops of blue colorant, mixing until you get the perfect blue.
  4. Sprinkle in your glitter. Stir.
  5. Add in all of your mix-ins (snow, snowflakes, sequins, etc.).
  6. Mix in 1/2 cup baking soda. Baking soda will help determine your slime’s thickness.
  7. Add 1 Tbsp. of contact solution. Mix in. The slime will be ready to knead when the slime pulls away from the sides of the bowl.  
  8. Knead the slime. It will be sticky at first, but as you continue to knead it, it should become more the consistency that you’re looking for. If it’s still too sticky, you can add a drop or two more of the contact solution, but be careful not to over activate.
  9. Store in an airtight container when not in use. 

Sensory play:

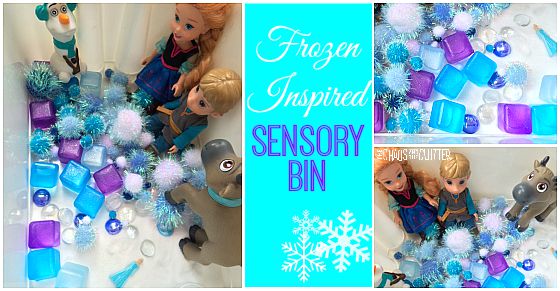
This slime provides visual, tactile, and proprioceptive feedback. Because of all the textures and crunch incorporated in this, it has more tactile input than most slimes. By stretching, pushing, kneading, pulling, and pressing, kids will get proprioceptive feedback as well.You can expand the sensory play value of this by adding in Frozen mini figurines. This allows kids to use their imagination and create different storylines. You could also make a Frozen Inspired Sensory Bin. Frozen Inspired Sensory Bin
Check out our other slime recipes:

Unicorn Fluffy Slime Minnie Mouse Slime Lion King Slime

Filed Under: Sensory Tagged With: sensory play, slime

Fall Leaves Slime

By Sharla Kostelyk

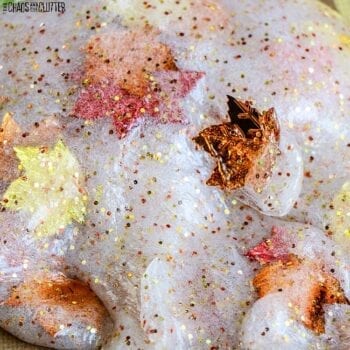
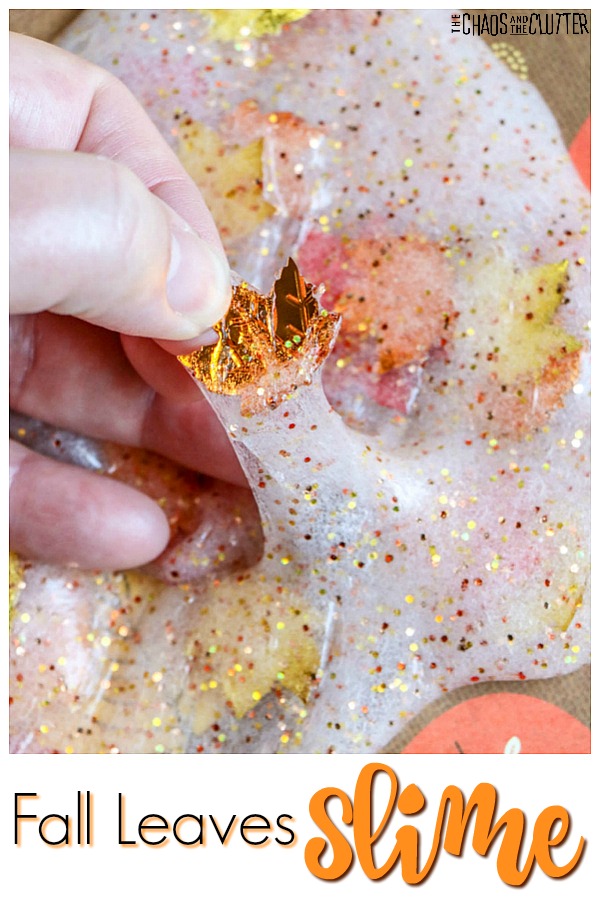
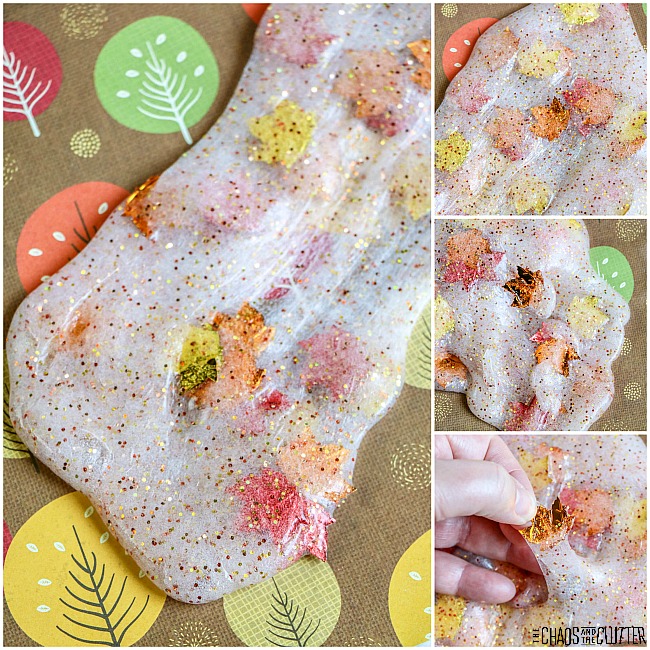
Fall happens to be my favourite season. The colours, the crisp cool air, and the feeling of change and new beginnings are what I love most. This fall leaves slime enables me to bring a bit of that feeling inside.a thumb and pointer finger grab at an orange leaf in a glittery white slime filled with orange and yellow leaves with text that reads "fall leaves slime"For this slime, I used maple leaf confetti that was leftover from the Fall Leaves Sensory Jar I made. By making both, I was able to get maximum use out of purchasing the confetti.
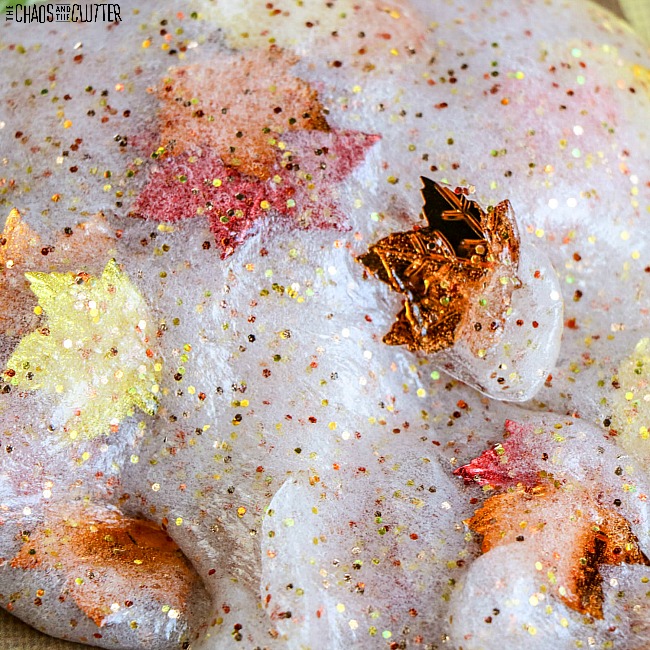
Slime is great for sensory input. It provides visual and tactile input and with the kneading and stretching, it also gives good proprioceptive feedback. These are an important part of your child’s day and slime provides a fun way to get them in.

Fall Leaves Slime

Supplies:

  • 6 oz. bottle clear Elmer’s Glue
  • approximately ¼ cup warm water
  • ½ tsp. baking soda
  • 1½ Tbsp. contact lens solution (be sure that it contains boric acid)
  • maple leaf foil confetti
  • optional: 1 ½ tablespoon glitter in copper, gold, and red

Directions:

  1. Empty the glue into a large bowl.
  2. Fill the empty glue bottle about ⅓ full with warm water (this will be about ¼ cup) and seal with the lid. Shake well to combine the remaining glue and water. Pour this mixture into the bowl with glue and stir to combine.
  3. Add the baking soda to the glue and mix thoroughly.
  4. If you are adding glitter, stir the glitter into the glue mixture in this step.
  5. Add the contact lens solution to the glue mixture and stir well. Add the contact lens solution slowly, mixing between additions. Only add enough to bring the glue together into a soft ball.
  6. Remove the slime from the bowl allowing any excess liquid to remain in the bowl. The slime will be sticky. Begin to play with the slime, kneading it as you would bread dough to bring the slime together. The slime is ready when it is no longer sticky.
  7. Set the maple leaf foil confetti on top of the slime and knead it in, stretching and pulling until everything is well combined.
  8. Store in an airtight container in the refrigerator when the slime isn’t being played with.

For a different look, you could also make this slime with glitter glue in place of the regular glue. This will create an entirely new look.

You may also be interested in these fall slimes and sensory activities:

Fall Leaves Sensory Jar

Simple Hallowe’en Glitter Slime

Pumpkin Scented Puffy Paint

Easy Fall Sensory Bottle

Filed Under: Sensory Tagged With: sensory play, slime

Fall Leaves Sensory Jar

By Sharla Kostelyk

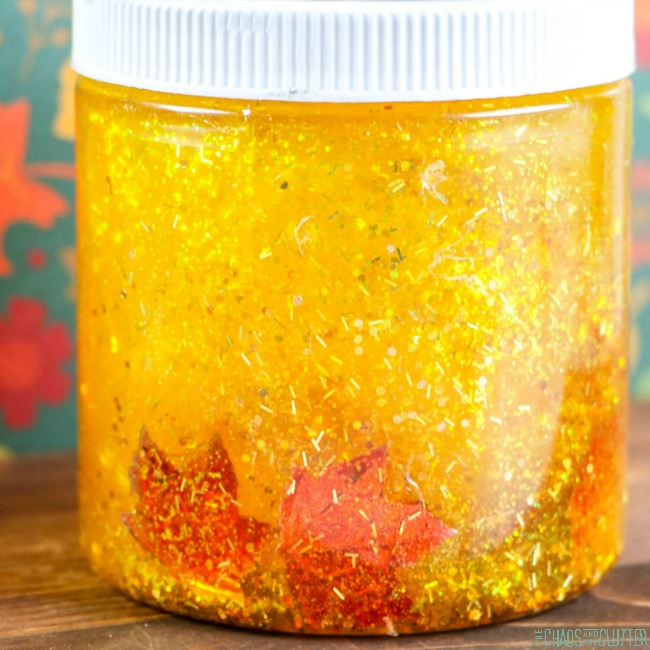
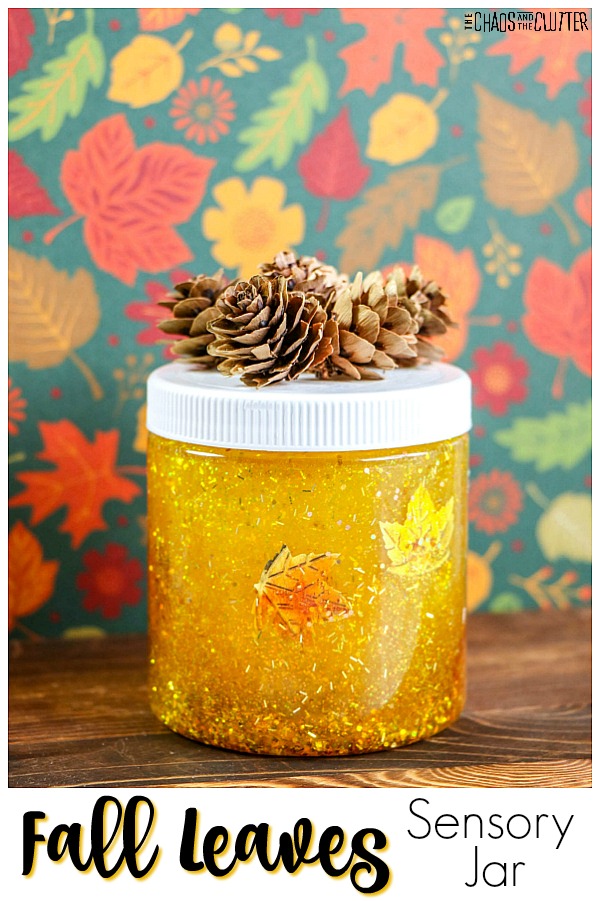
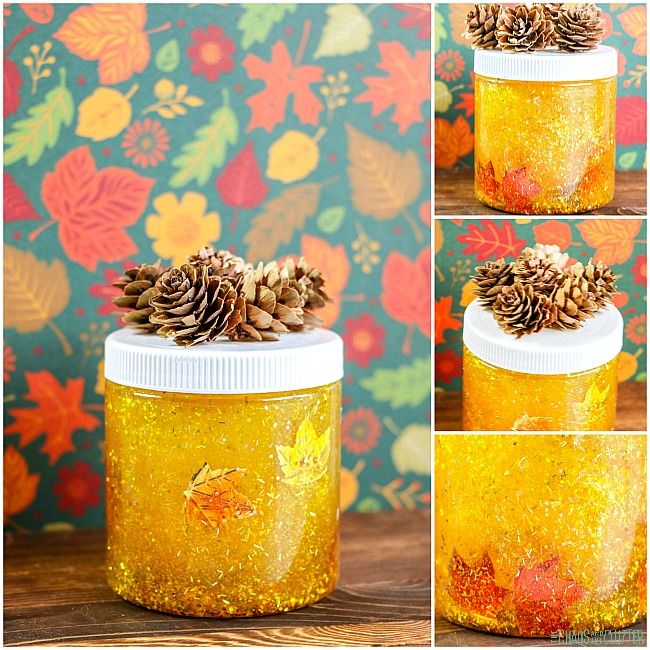
This fall leaves sensory jar can be for sensory exploration or as an autumn decoration or both. Bring the colour and feel of the season inside.a jar is filled with a glittery yellow mixture with foil leaves visible in it. The lid is white with pine cones on top with a background of leaves in multiple colours with text that reads "Fall Leaves Sensory Jar"While we normally make sensory bottles in all kinds of themes, I thought a sensory jar might be a nice change. The size allows it to sit nicely on a mantle or counter as a decoration when it’s not being used as a sensory toy.

Fall Leaves Sensory Jar

Supplies:

  • 8 oz. plastic storage jar
  • 6 oz. bottle Elmer’s yellow glitter glue
  • approximately ½ cup warm water
  • 1 Tbsp. maple leaf foil confetti
  • optional: seasonal cupcake liner, washi tape, duct tape, or pine cones for decoration

Directions:

  1. Empty the yellow glitter glue into the jar.
  2. Fill the empty glue bottle about half full with warm water (about ¼ cup) and seal with the lid. Shake well to combine the remaining glue with the water. Pour into jar with the glue and stir to combine.
  3. Add the maple leaf confetti.
  4. Seal the jar and shake well. If the glitter or confetti don’t move easily, you can add more warm water. If the glitter or confetti move too quickly, you can add additional glue.
  5. When you’ve got things looking the way you want them to, seal the jar and glue the lid closed to avoid spills.
  6. If you want to, you can cover the lid with a cupcake liner, washi tape, seasonal duct tape, or other decoration. If you want to achieve the look of ours, use a hot glue gun to attach pine cones to the lid.

Note that supervision should be used when giving this jar to children as they will be able to get the lid off and that could make quite a mess! You also don’t want kids eating the contents of this jar so be sure to keep an eye on them with it.

You may be interested in some of other Fall themed sensory play activities:

Easy Fall Sensory Bag

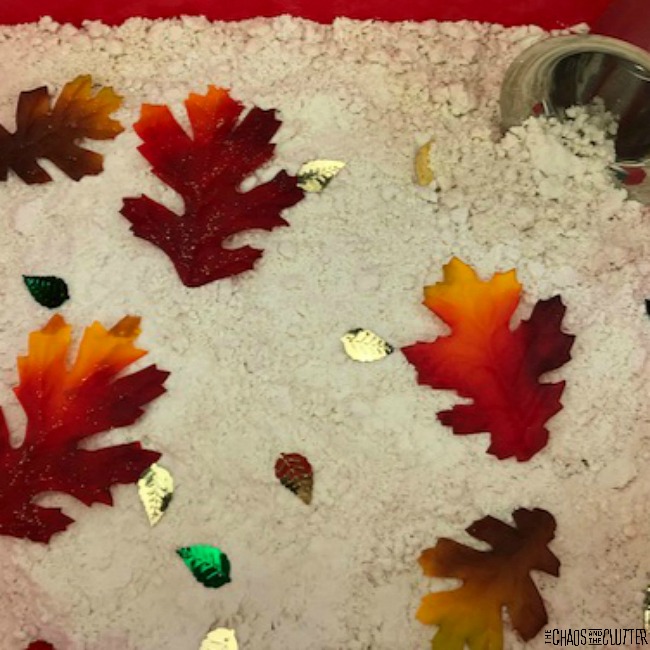
Pumpkin Pie Scented Cloud Doughin a red plastic bin, light almost white cloud dough is sprinkled with fall coloured plastic leaves and small metallic leaf shaped confetti. There is also a metal scoop in the corner.

Fall Leaves Slime

Filed Under: Sensory Tagged With: sensory bottles, sensory play

At the Beach Nature Sensory Bottle

By Sharla Kostelyk

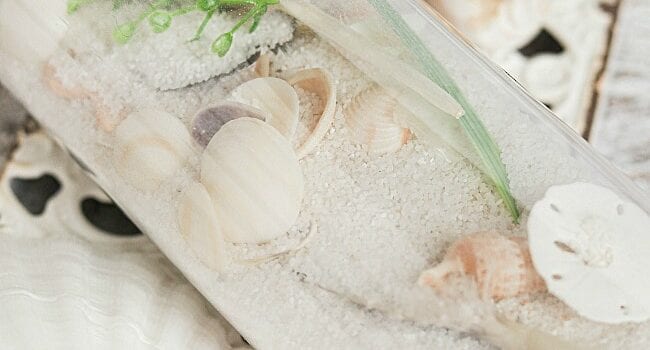
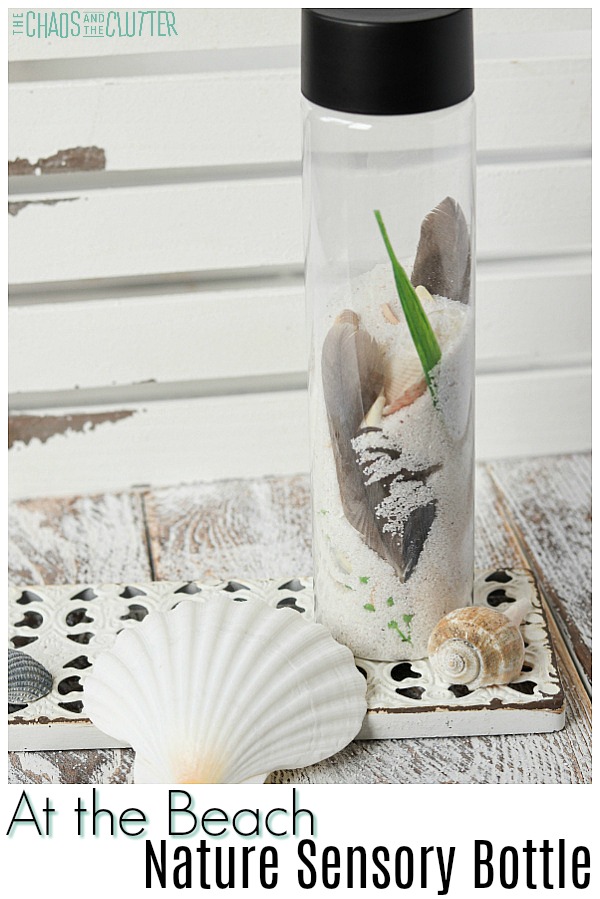
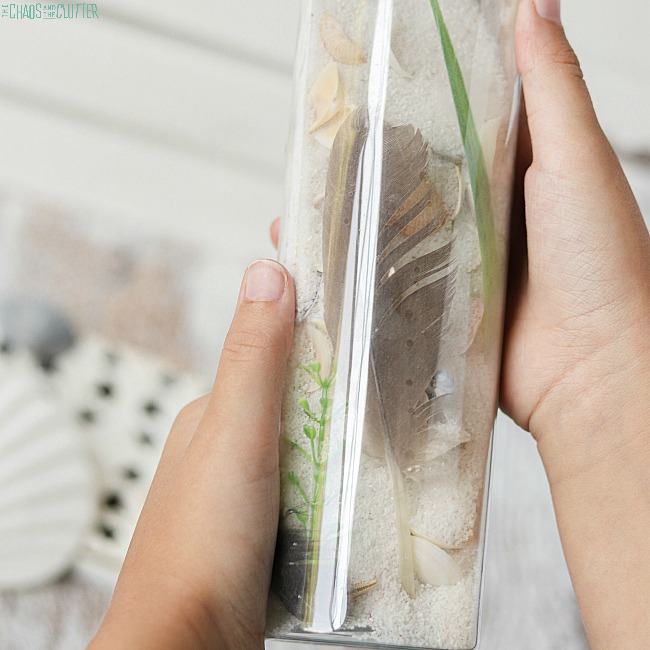
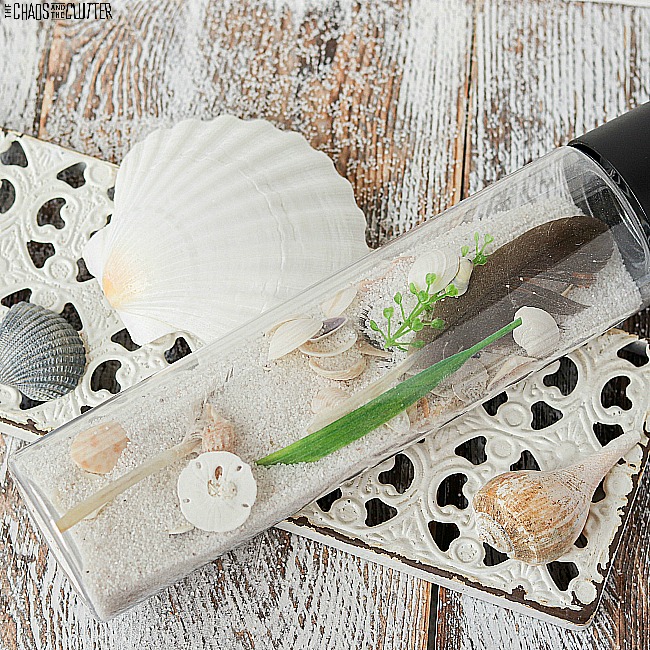
It’s so easy to create this At the Beach Nature Sensory Bottle. It makes a great memento of a tropical or beach vacation too. You can gather the items while on holiday and bring the bottle home with you to remember the trip by. a bottle half filled with white sand, seashells, green seaweed, and a seagull feather sits on a distressed paint table with a few larger seashells. The text reads "At the Beach Nature Sensory Bottle"

I love that this discovery bottle uses things found in nature. Just like our Seashell Fossils in Playdough activity, this allows kids to explore using their senses and items they found themselves.

At the Beach Nature Sensory Bottle:

Supplies:

  • empty water bottle (I like the look of Voss bottles, but you can also purchase these empty sensory bottles)
  • seashells
  • sand
  • seagull feathers
  • seaweed
  • optional: super glue to seal the bottle cap

Directions:

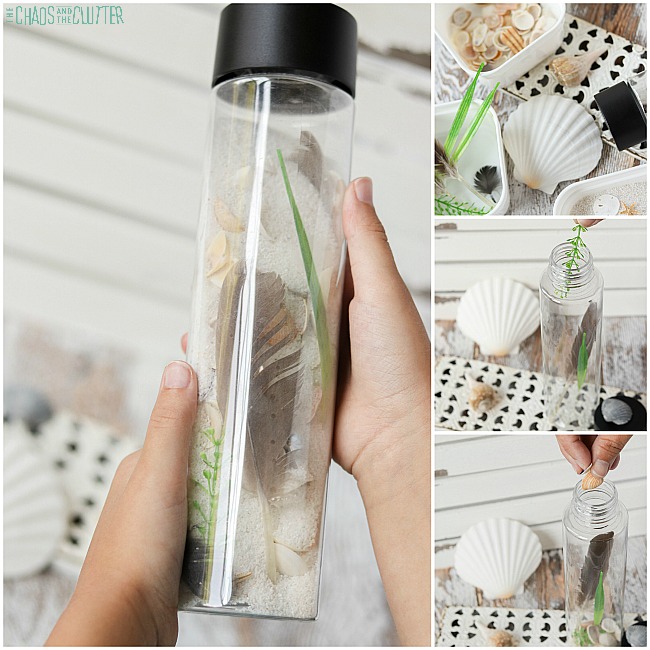
  1. Take a walk on the beach to collect the items you want to include in the sensory bottle.
  2. Wash the items (other than the sand) and lay them out on paper towels to dry. Be sure they are fully dry before adding them.
  3. Pour sand into the bottle until it is 1/4 to 1/3 of the way full. You can use a funnel to make this easier.*
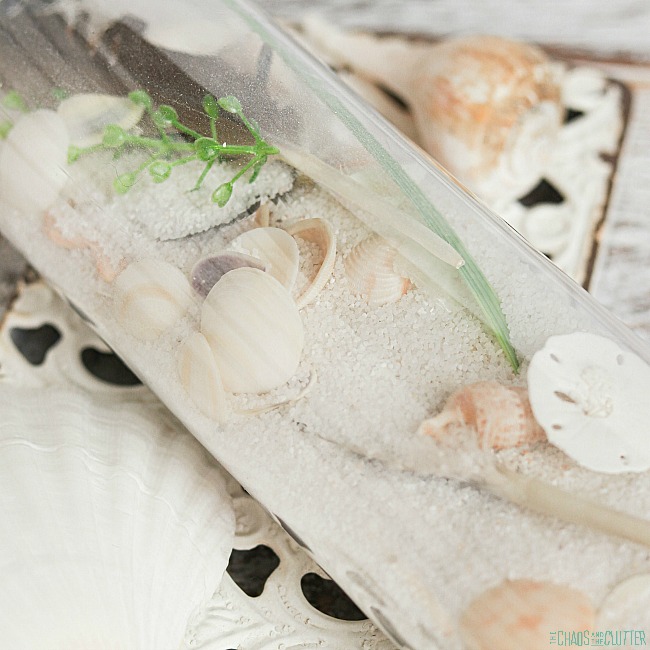
  4. Drop in small seashells, small sand dollars, seaweed, and feathers. You could also add small driftwood or rocks found on your walk.

*If you are on vacation and don’t have a funnel with you (because who brings a funnel on vacation?!), you can roll up a piece of paper into a funnel and pour the sand through that.

You can keep your creation as a keepsake from your vacation. You can use a permanent marker to write the location and year on the bottle and display it in your home.

Sensory and Learning Opportunities:

Sensory: This sensory play activity begins with the walk along the beach. The feel of the sand under their feet, the wind on their skin, the sound of the waves, the smell of the sea all engage the senses.

The experience continues with adding the collected items to the bottle. This beach sensory bottle involves the visual and tactile sensory systems and during the walk, the olfactory and auditory systems. Science: This activity encourages children to explore the world as they get up close to the beach. You can expand on what they learn by providing books about sea life and seashells so that they can discover what animals lived in the shells at one time.
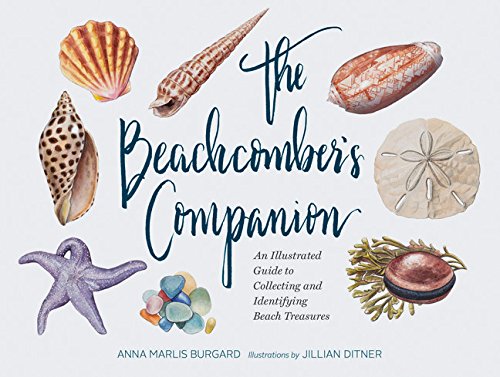
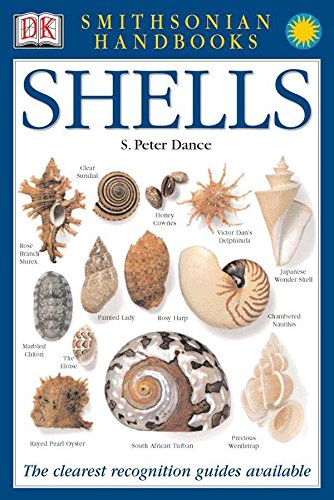
Children can use the books or the internet as a reference for reading about how sand is made, the benefits of eating seaweed, or any other questions they have about the beach or the ocean. Here are some books that would fit well:

The Beachcomber's CompanionThe Beachcomber’s CompanionThe Beachcomber's CompanionSeashells, Crabs and Sea StarsSeashells, Crabs and Sea StarsSeashells, Crabs and Sea StarsShells HandbookShells HandbookShells Handbook

Communication: Kids can expand their vocabulary as they learn about the ocean, sea life, and the beach on their walk. They can further that discussion when filling the bottle and exploring it afterwards. This gives them the opportunity to ask questions and to talk about their discoveries.

Other sensory play ideas using things found in nature:

Seashell Fossils in Playdough

Nature Sensory Bottle

Outdoor Sensory Scavenger Hunt

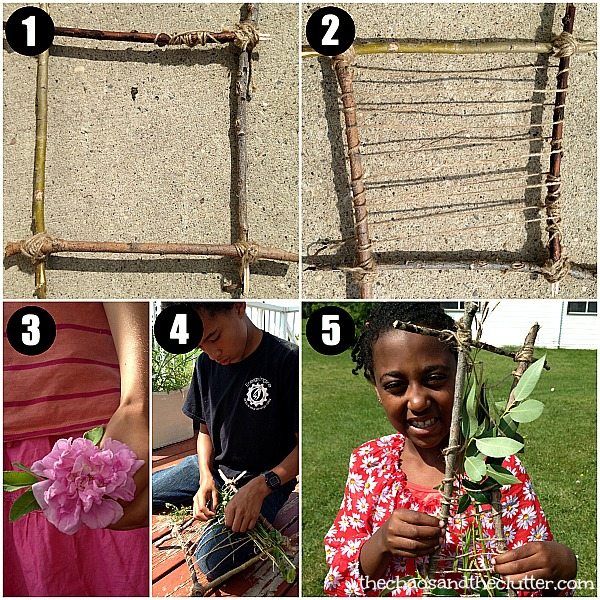
Nature Weavingnature weaving step by step


Filed Under: Sensory Tagged With: sensory bottles, sensory play

Shark Week Sensory Bottle

By Sharla Kostelyk

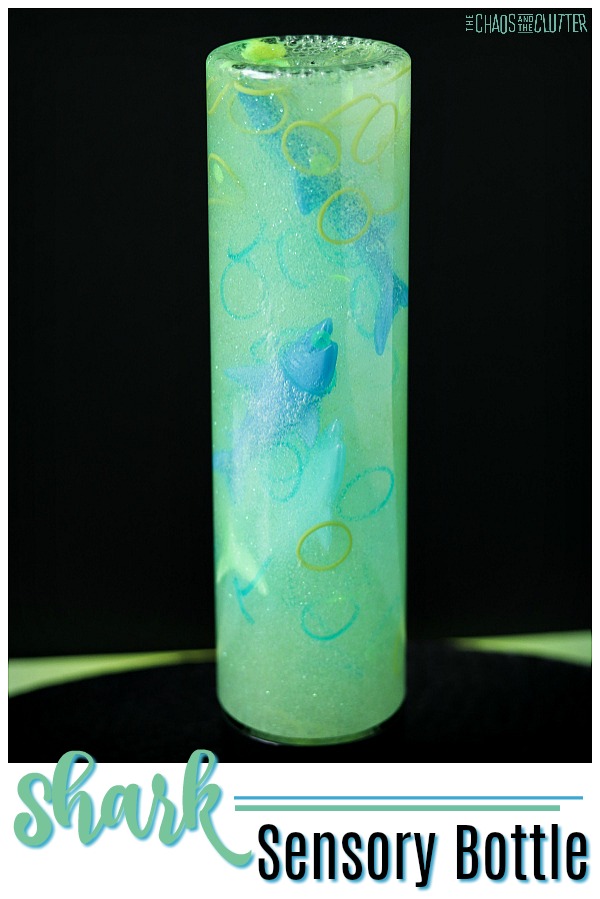
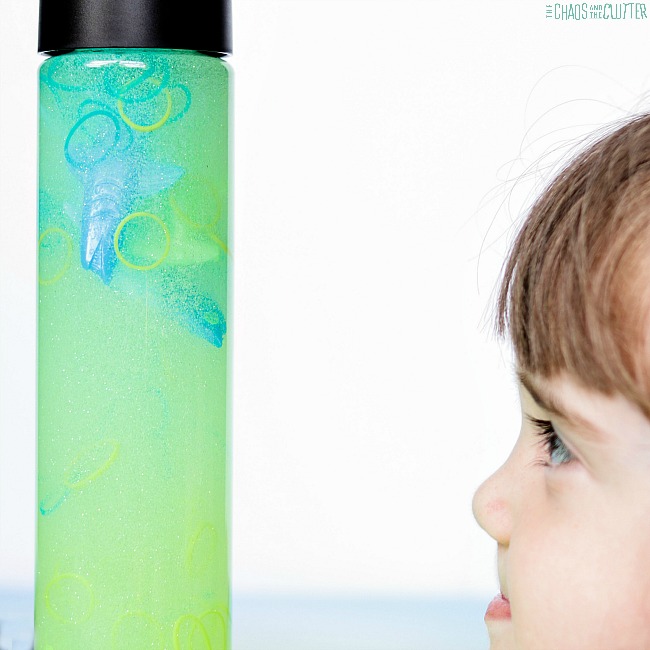
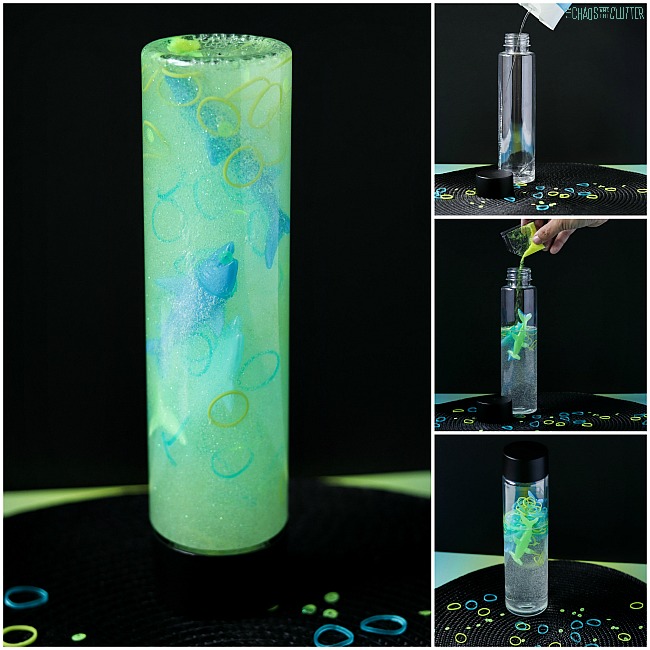
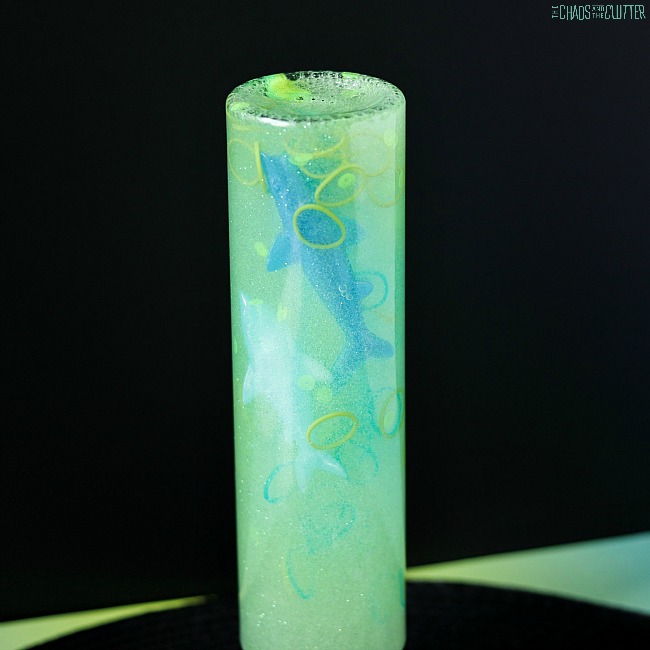
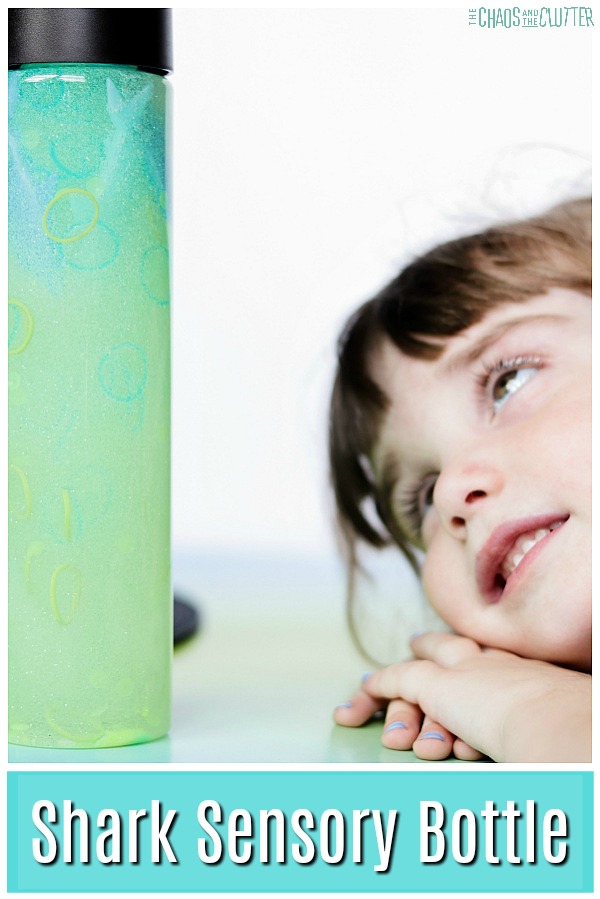
Celebrate Shark Week with this Shark Week Sensory Bottle. Kids are fascinated by sharks. They will enjoy the discovery using this sensory activity.

a bottle filled with aqua green liquid, plastic blue sharks, elastics, and glitter is on a black background. The text reads "Shark Sensory Bottle"

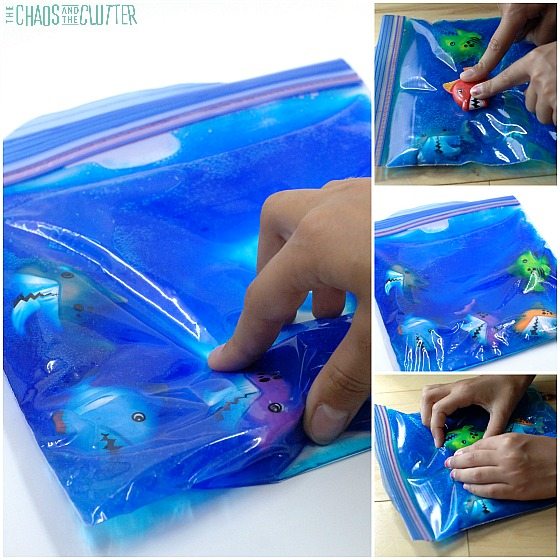
We have made several shark sensory play opportunities over the years including our shark sensory bag and edible shark slime.

What is Shark Week?

Shark Week has become so much more than TV shows on Discovery Channel. It originally began on July 17, 1988 and has grown increasingly in popularity since. It is designed to expand knowledge about sharks and therefore, lead to conservation efforts.

Shark Week is now celebrated through TV specials and activities. It has become so popular in fact that a hospital in Cincinnati began dressing its newborns in Baby Shark onesies in honour of Shark Week!

There are worksheets, crafts, themed camps, parties, recipes, and sensory activities. It seems that many countries have embraced the opportunity to learn about this animal. We decided to get in on this ourselves with this sensory bottle.

When is Shark Week?

Shark Week generally starts on a Sunday and takes place at the end of July or beginning of August. This year, it begins on July 28, 2019.

Shark Week Sensory Bottle:

Supplies:

  • empty water bottle (I like the look of Voss bottles, but you can also purchase these empty sensory bottles)
  • clear dish soap (I prefer Dawn or LemiShine because they are very thick)
  • shark figurines (these ones are from Dollar Tree and are stretchy)
  • green and yellow glitter
  • yellow sequins
  • green and teal small elastics (use those leftover rainbow loom ones!)
  • optional: super glue to seal the bottle cap

Directions:

  1. Pour clear dish soap into the container until it’s about 2/3 full.
  2. Add beads, sequins, glitter, mini elastic bands, and shark figurines.
  3. Fill the remaining space with water.
  4. If you’re going to be using this sensory bottle with small children, I suggest that you secure the lid by using Super Glue and allowing it to dry before allowing a child to play with it.

Small parts are contained in this bottle, so even if you secure the lid with glue, use adult supervision at all times.

Sensory and Learning Opportunities:

This sensory bottle is a great way for kids to become interested in learning more about sharks. They can watch the sharks “swim” and observe the different characteristics that they have.

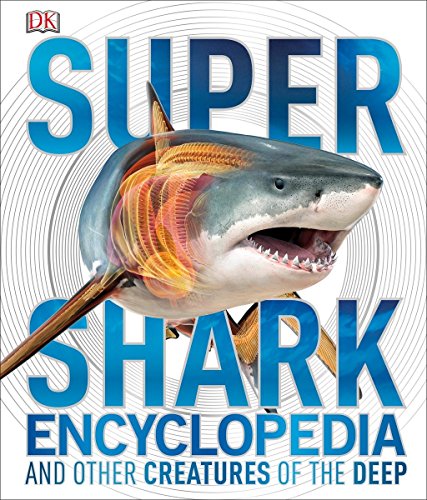
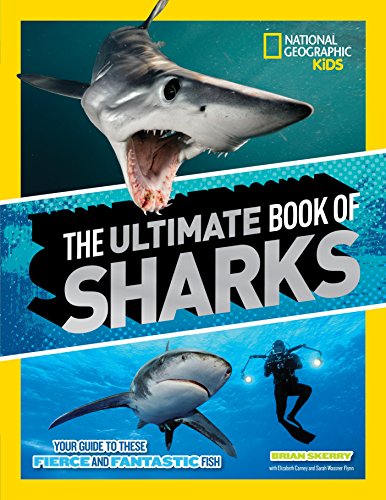
Set out books about sharks for kids to further their interest. This will enable them to learn and ask questions.

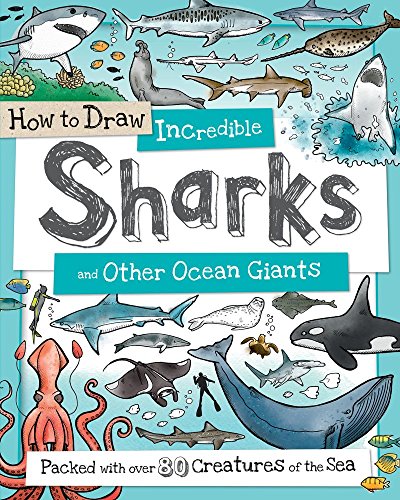
Super Shark Encyclopedia: And Other Creatures of the DeepSuper Shark Encyclopedia: And Other Creatures of the DeepSuper Shark Encyclopedia: And Other Creatures of the DeepThe Ultimate Book of Sharks (National Geographic Kids)The Ultimate Book of Sharks (National Geographic Kids)The Ultimate Book of Sharks (National Geographic Kids)How to Draw Incredible Sharks and Other Ocean GiantsHow to Draw Incredible Sharks and Other Ocean GiantsHow to Draw Incredible Sharks and Other Ocean Giants

This would correspond well with a shark or ocean themed unit in your classroom or homeschool.

Visual sensory input occurs while your child uses their eyes to explore what is in the bottle and the way that it moves. They also engage their tactile sensory system in holding the bottle, shaking it, and tipping it upside down.

Check out these other shark sensory activities!

Squishy Shark Sensory Bag

Taste Safe Shark Fluffy Slime

Filed Under: Sensory Tagged With: sensory bottles, sensory play

  • « Go to Previous Page
  • Page 1
  • Interim pages omitted …
  • Page 10
  • Page 11
  • Page 12
  • Page 13
  • Page 14
  • Interim pages omitted …
  • Page 50
  • Go to Next Page »

Primary Sidebar

Categories

We are a participant in the Amazon Services LLC Associates Program, an affiliate advertising program designed to provide a means for us to earn fees by linking to Amazon.com and affiliated sites.

Copyright © 2026 • The Chaos and the Clutter • Site Design by Jeni @ The Blog Maven

Return to top of page

Copyright © 2026 · Chaos and the Clutter 2.0 on Genesis Framework · WordPress · Log in