• Skip to primary navigation
  • Skip to main content
  • Skip to primary sidebar
  • Home
  • About
  • Contact
  • Privacy + Terms
  • Affiliates

The Chaos and the Clutter

  • Facebook
  • Twitter
  • Pinterest
  • Google Plus
  • RSS
  • Email
  • School at Home
  • Sensory
    • Sensory Processing Disorder
    • Awesome Sensory Play Activities
      • Sensory Bins
      • Sensory Bottles
      • Sensory Bags
  • Family Games
    • Minute to Win It Games
  • Special Needs Parenting
    • Childhood Anxiety
    • Reactive Attachment Disorder
    • Sensory Processing Disorder
  • Store
  • Course Login

Sensory

Lemonade Oobleck Summer Sensory Play for Kids

By Sharla Kostelyk

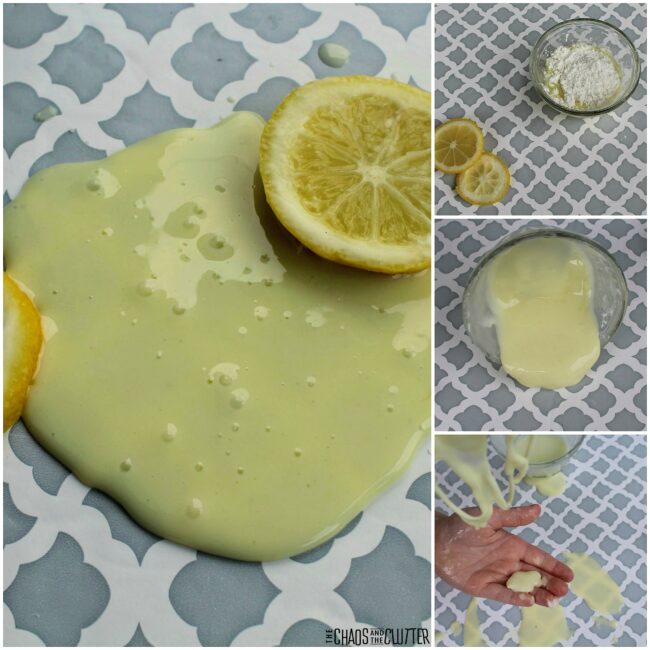
Oobleck is a great sensory play opportunity for kids. This lemonade oobleck brings the feel of summer into play even if it’s the middle of winter. It combines sensory and science to create a very cool sensory play material. I was inspired by our lemonade sensory soup.
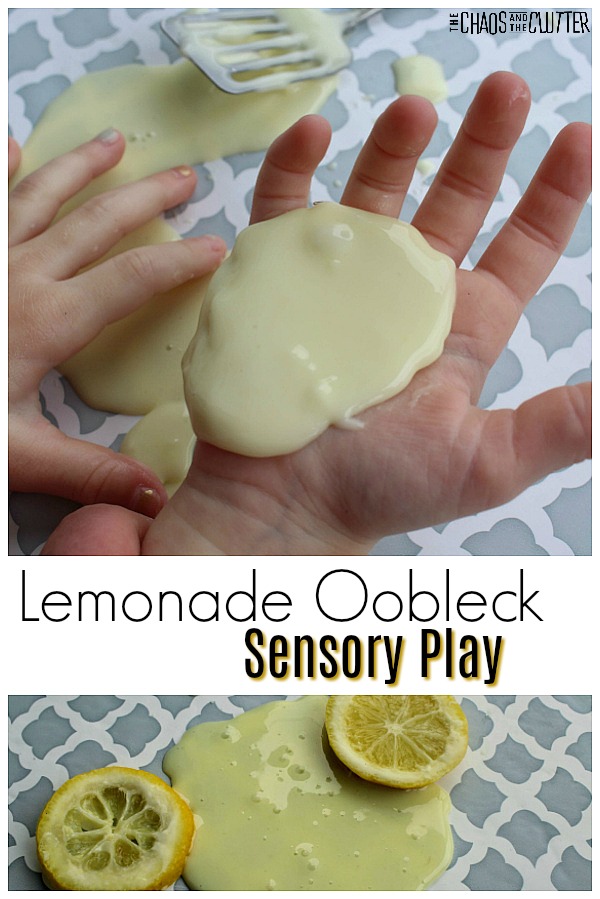
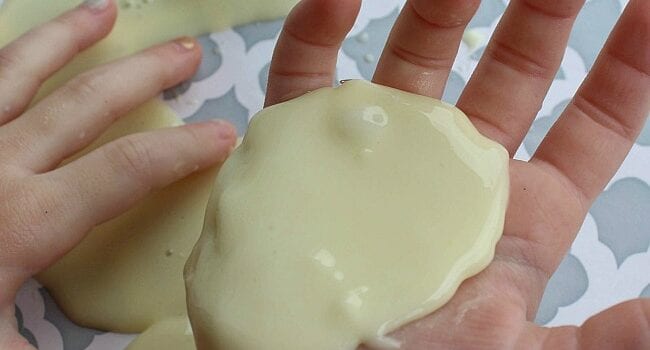
A young child's hands are visible. With one hand, he is touching a light yellow slimey substance that is on a table and with the other hand, he is holding the yellow substance in the palm of his open hand. The words "Lemonade Oobleck Sensory Play" appear on white in the middle of the image and at the bottom, the light yellow substance is spread on a table and there are two lemon slices on top of it.This scented sensory play recipe is so simple. Only 3 ingredients are needed. Kids can easily make this oobleck slime themselves. Younger ones that need mom or dad’s help can help to measure and pour by stirring.

Lemonade Oobleck Recipe:

Materials needed:

  • 1 cup of cornstarch
  • 1/2 cup of water
  • 2 Tbsp. of powdered lemonade mix
  • bowl
  • craft/popsicle stick

Directions:

  1. Pour the water into the bowl.
  2. Add the powdered lemonade mix and stir with the popsicle stick until well mixed.
  3. Add the cornstarch and mix.

Sensory and Learning Opportunities:

Math – Kids can measure the ingredients. Doubling the recipe or halving the recipe provides a more advanced math learning opportunity.

Science – This hands-on science project is a great example of suspension, as the grains of cornstarch are suspended in the water, but over time will settle to the bottom if allowed to rest for an extended amount of time.

Is it a liquid? Is it a solid? That depends on how you touch it. When pressure is applied, the cornstarch bonds together to form a solid. Yet, when a soft touch is applied, it remains in its liquid state.

To expand on the science lesson, research non-Newtonian fluids and why oobleck can be both a liquid and a solid. Read more about the science behind this substance. Sensory – Lemonade oobleck provides visual, tactile, proprioception, and olfactory sensory input. Children can see (visual) the colour and explore shape as it changes from liquid to solid. They can touch (tactile) and feel the texture of the state of matter change.
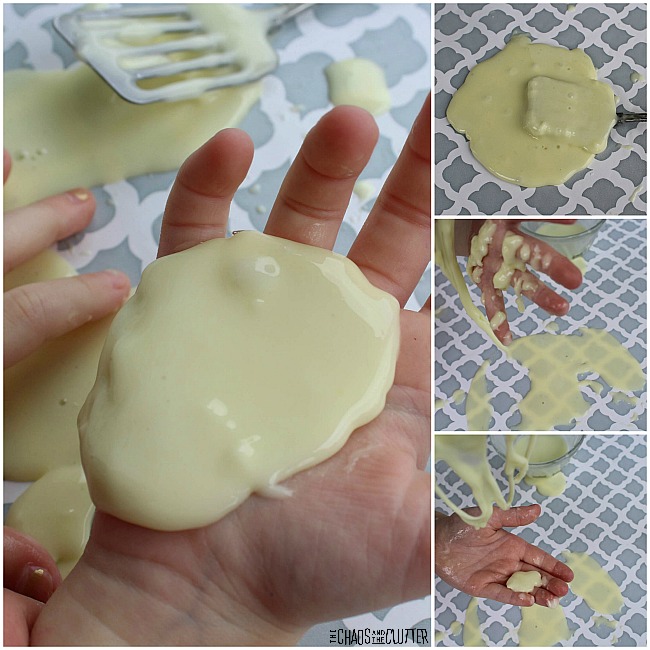
Their proprioception will be engaged while they apply pressure to the oobleck to form it into a solid. And they will smell (olfactory) the scent of lemon.

Vocabulary and communication – Kids can communicate their observations of this sensory science activity. They can ask questions and expand their vocabulary as they learn.

Looking for more great sensory play recipes? Join thousands of others who are loving the five day email series, Sensory Activities and Solutions and you’ll get a free sample of our Sensory Play Recipes eBook.

Check out some of our other scented sensory play recipes:
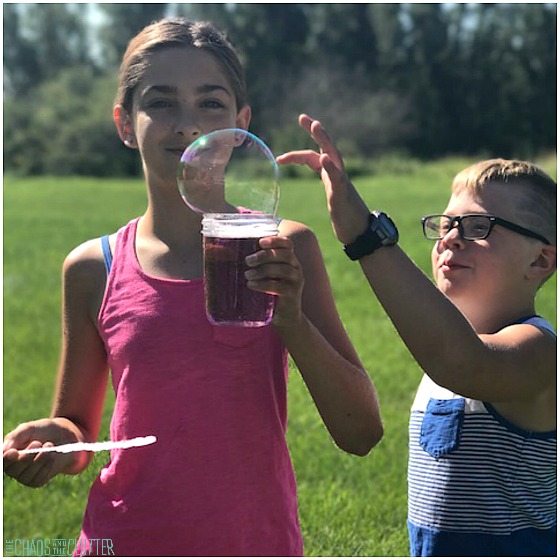
Calming Lavender Scented Bubbles

Peppermint Scented Slime

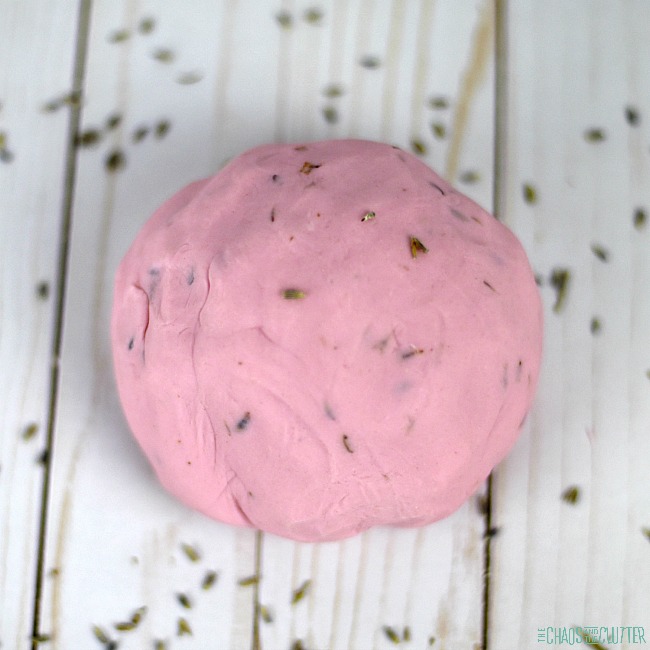
Lavender Scented Playdough

Filed Under: Sensory Tagged With: sensory play

4th of July Stars and Stripes Sensory Bin

By Sharla Kostelyk

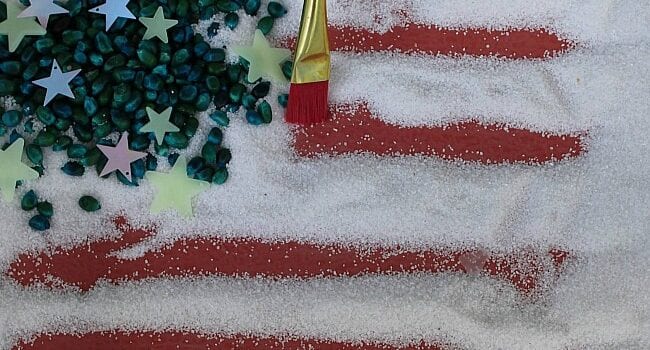
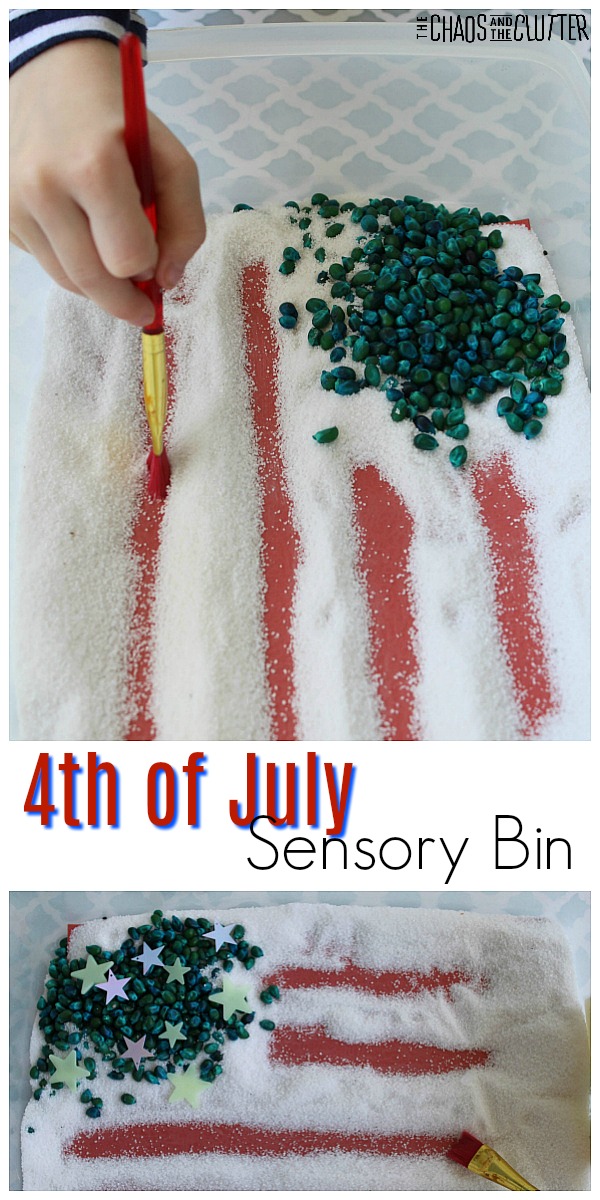
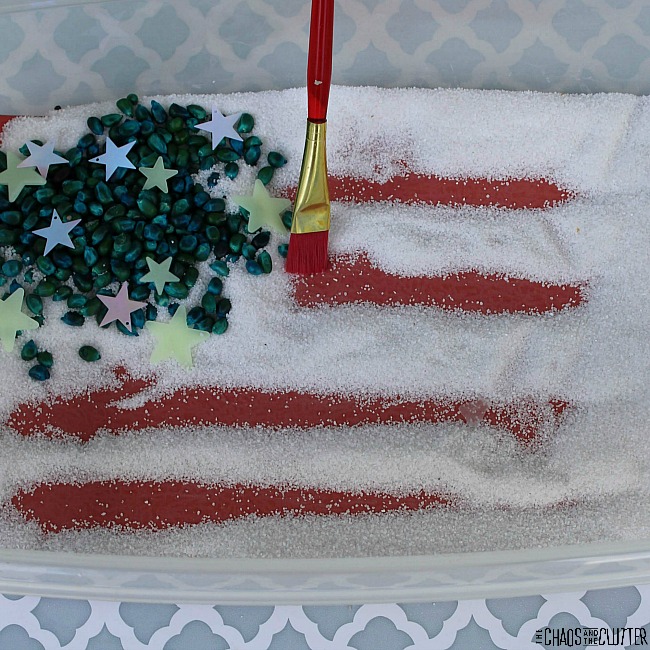
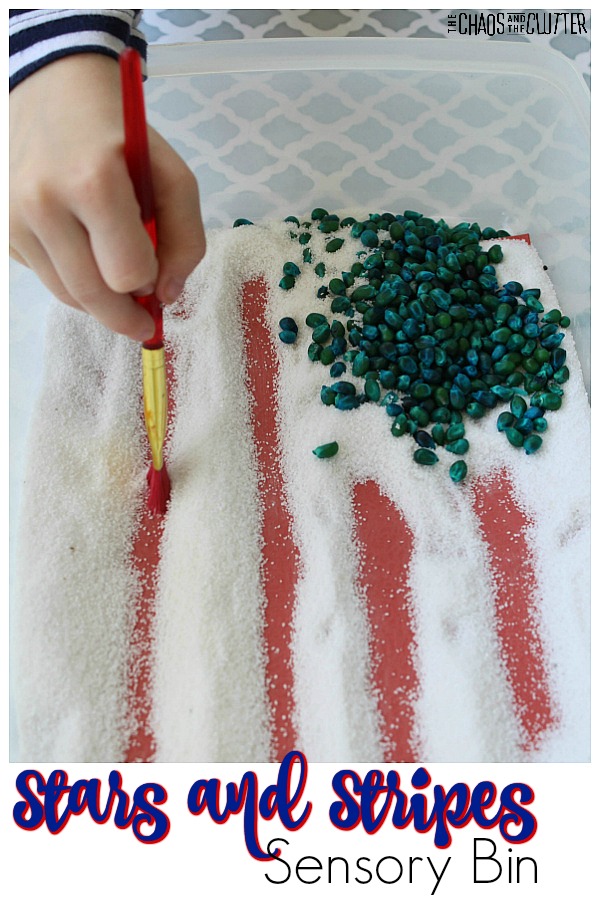
There’s something that I should probably get out of the way before we start. I’m Canadian. I actually had someone else make this sensory bin for me and take the photos of it because it just wouldn’t be authentic for me to have my kids playing in this 4th of July Stars and Stripes Sensory Bin! In the top part of the image, a young child's hand holds a red paintbrush and is brushing aside white sand to reveal red paper underneath. There is a pile of blue popcorn kernels in the corner. The words "4th of July Sensory Bin" are in the middle of the image. On the bottom is a sensory bin with red stripes in white sand, a pile of blue popcorn in the top corner, and stars sprinkled on top of the popcorn kernels.

Rest assured that the sweet little hands you see in the bin are 100% American! I wanted to be as authentic as possible, so I want to be up front about the whole US thing!

Even though I’m Canadian, I wanted to have an example of something like this for my American friends and readers. This sensory bin would be great for your 4th of July celebrations. It imitates the USA flag.

I love how interactive this sensory activity is. It doesn’t look like the American flag until the child begins to use their paintbrush to create the stripes. They will love seeing the stripes appear.

Stars and Stripes Sensory Bin:

Materials needed:
  • popcorn kernels
  • hand sanitizer
  • blue food colouring
  • white craft sand (or salt if you don’t have white sand)
  • red card stock paper
  • star confetti
  • small glow in the dark stars
  • paint brush
  • plastic bin with lid
  • scissors
  • resealable plastic bag
Directions:
To make the blue dyed popcorn:
  1. Place 1/2 a cup of unpopped popcorn kernels, 2 generous drops of hand sanitizer and several drops of blue food colouring in a resealable plastic bag and seal.
  2. Shake well.
  3. Allow the kernels to dry in the bag overnight or spread them out on a paper towel on a cookie sheet to dry for several hours.
To assemble the sensory bin:
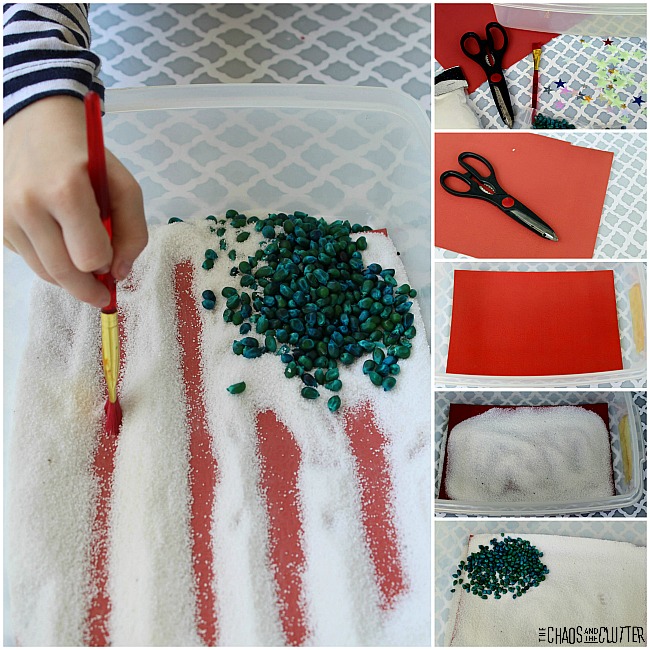
  1. Cut a sheet of red card stock so that it fits inside the bin. Place it in the bottom of the bin.
  2. Pour white craft sand (or salt) over the red paper.
  3. In the upper left section, pour the blue dyed popcorn kernels.
  4. Add a paint brush and an assortment of stars.
  5. Invite your child to brush some of the sand away to create the stripes.
  6. Encourage your child to add the stars to the area where the popcorn kernels are.
  7. When not in use, replace the lid on the bin for easy storage for future play!

This patriotic sensory play activity is also a good way to talk to kids about the American flag and its history. You can read a book such as F is for Flag together.
Looking for some great sensory play recipes? Join for a five day email series on Sensory Activities and Solutions and get a free sample of our Sensory Play Recipes eBook.

Check out these other fun Summer sensory bins:

Sky Sensory Bin

Insect Sensory Bin

Summer Sensory Bin

Filed Under: Sensory, Sensory Bins

Playdough Made with Hair Gel

By Sharla Kostelyk

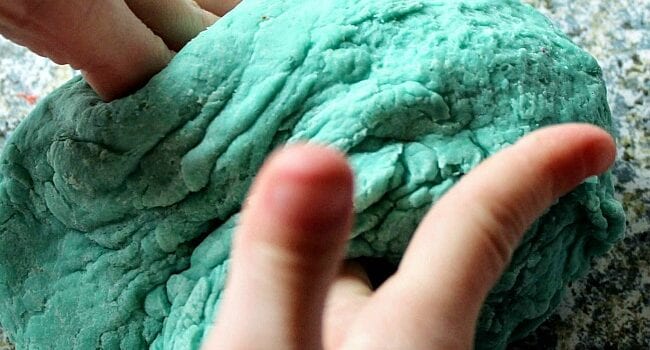
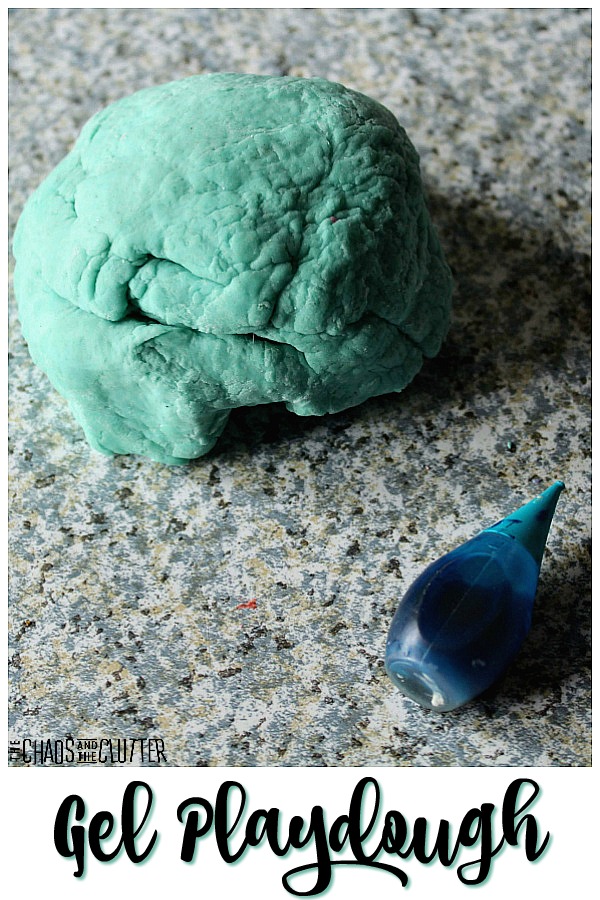
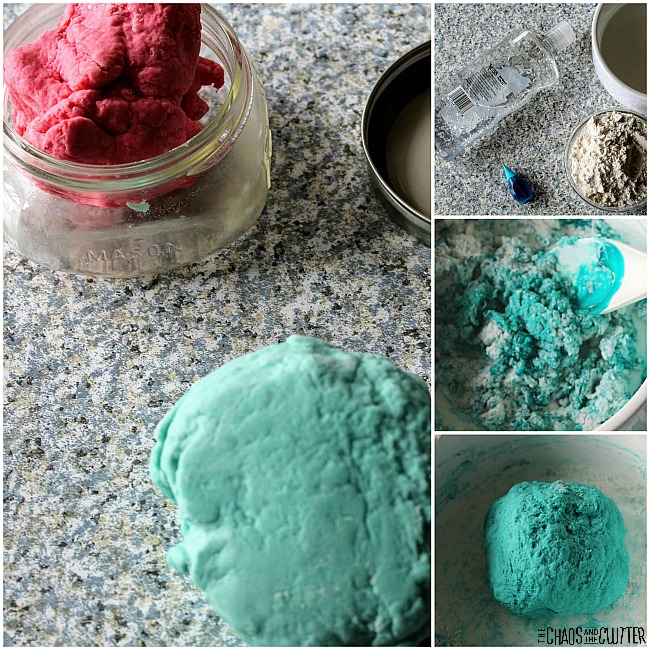
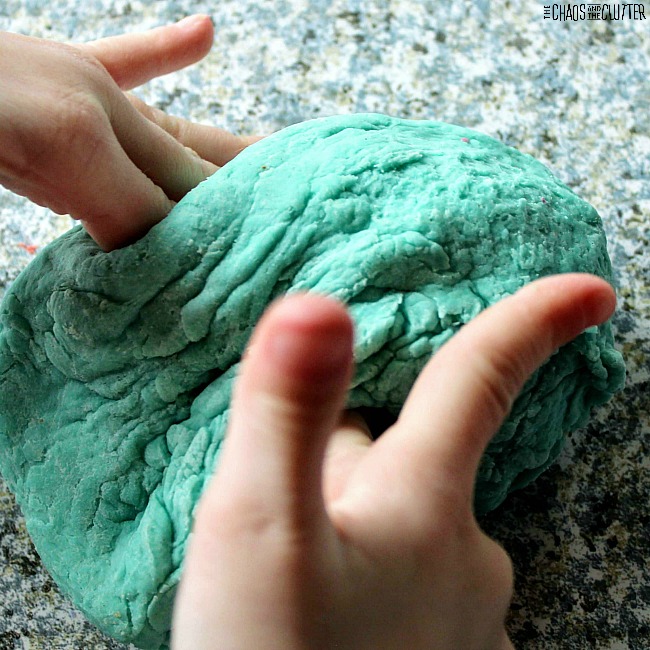
Homemade playdough is always so much better than store bought. Over the years, we have come up with some go-to playdough recipes that are sure to work. While there is nothing wrong with a guaranteed recipe, I wanted to try something different. This playdough made with hair gel certainly fits that description!Playdough made with hair gel #playdough #sensoryplay #kidsactivities
One of the nicest things about this recipe is that it doesn’t need cream of tartar. I don’t always have cream of tartar in the house, so it’s nice to be able to make playdough without it.

Playdough Made with Hair Gel:

Ingredients:
  • 1/2 cup of clear hair gel*
  • 1/4 cup of water
  • neon food colouring
  • 1 to 1 1/2 cups of flour
*Note: This doesn’t need to be good quality hair gel. The containers from the Dollar Store work just as well as the expensive kind.
Directions:
  1. Place 1/4 cup of water and 1/2 cup of the clear hair gel in a medium sized bowl.
  2. Add 5 drops of neon food colouring to the liquid mixture.
  3. Stir until this is well combined.
  4. Add 1 cup of flour to the liquid.
  5. Begin stirring until the contents begin to clump.
  6. At this point, you can decide if you need to add additional flour. If the mixture feels sticky, add an additional 1/4 cup of flour, and continue to stir.
  7. When the flour has been incorporated, test it for stickiness.
  8. Add additional flour if needed.
  9. When the playdough is no longer sticky, it is ready to play with!
  10. Store in an airtight container when not in use. 

Sensory play ideas with playdough:

  • Shape it onto a playdough mat.
  • Play Stuck in the Mud with toy cars.
  • Roll it, squish it, press it, shape it.
  • Use stamps or cookie cutters with the playdough.
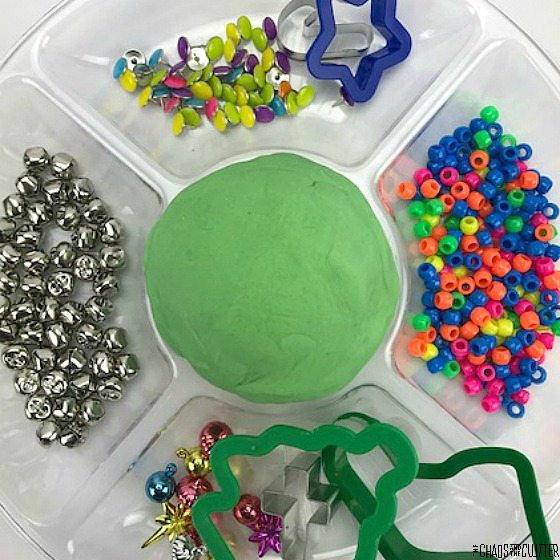
  • Put out a variety of small objects like beads, sequins, and buttons for kids to press into the play dough. This is a great way to work on fine motor skills.
  • Another good fine motor activity is to cut rolls of playdough with scissors.
  • Make pretend food.

Some of our other homemade playdough recipes:

Calming Lavender Scented Playdough Peppermint Essential Oil Playdough 

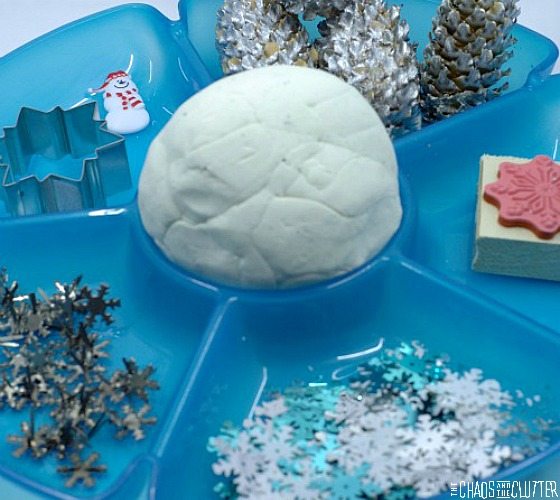
Glittery Snow Playdough Snow Playdough and invitation to play


Filed Under: Sensory Tagged With: sensory play

How to Create Sensory Bins Your Child will Love

By Sharla Kostelyk

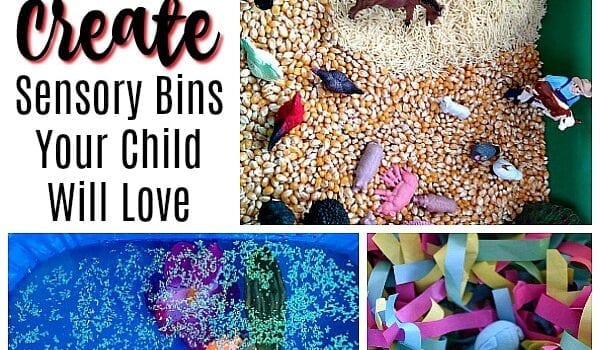
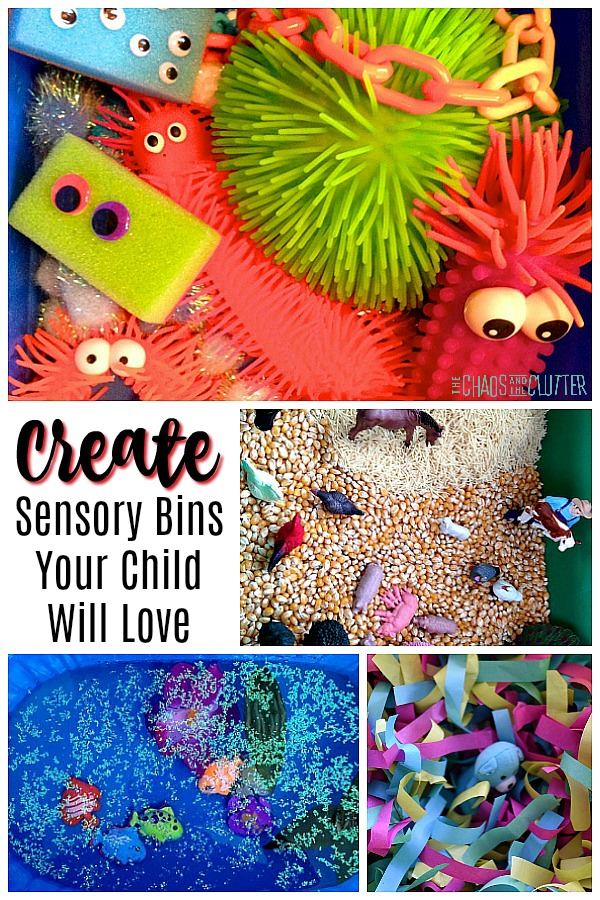
It’s easy to create sensory bins your child will love. Sensory play allows kids to explore through their senses, to improve their vocabulary, practise their fine motor skills, and so much more. Sensory bins are an easy and versatile way to introduce this. Create Sensory Bins Your Child Will Love #sensoryplay #sensory #kidactivitiesNot all sensory bins are created equal. While just plunking a few items in a bin will still result in your child enjoying some sensory input and play, there are ways that you can create sensory bins your child will love.
Those awesome tubs will encourage hours of imaginative play. They will engage multiple senses and bring out the best of their imagination.

How to create sensory bins your child will love:

Incorporate as many senses as possible.

Most sensory bins will engage the visual and tactile senses, but the more senses you can engage, the better. Consider adding auditory (sound) elements. Add smell to provide olfactory input. Place things in the bin to challenge proprioception (pressure). Or even add a taste element to the bin.

Ideas to add sound:

    • items with crunchy textures
    • jingle bells
    • sound shakers
    • fill a small container with seeds or beads
    • bubble wrap
    • sound machine
    • instruments
    • answer buzzers

Ideas to add smell:

  • cinnamon sticks
  • essential oils
  • smell bottles
  • baby powder
  • flowers
  • citrus (lemons, limes, oranges, grapefruit)
  • coffee beans or grounds
  • chocolate or chocolate powder
  • tea or tea bags
  • herbs
  • grass

Ideas to add taste or oral sensory input:

  • harmonica
  • cooked noodles
  • edible playdough
  • dry cereal
  • edible water beads
  • ice cubes
  • whipped cream
  • pudding
  • jello
  • water
  • sprinkles
  • candy
  • snow

Ideas to add proprioception input:

  • bubble wrap
  • slime
  • playdough
  • cloud dough
  • rubber bands
  • packing peanuts

Use a variety of textures.

Incorporating different textures adds to the sensory experience. When possible, try to incorporate things that are opposites, such as something hard and something soft.

Ideas for adding texture:

  • paper shreds
  • cotton balls or cotton batting
  • ice
  • rocks or pebbles
  • fabric
  • bubble wrap
  • sandpaper
  • water beads
  • bricks or blocks
  • jello

Consider your child’s interests and passions.

Think about the things that your child is interested in. What do they talk a lot about? What are they passionate about? Incorporate that into a sensory bin.

They can even help you plan it out. Maybe your daughter is in a huge dinosaur phase. She probably knows more about dinosaurs than you do, so have her plan out what to include. Allow her to choose the sensory bin base and what items to place inside.

Choose a theme.

It’s easy to create a sensory bin around a theme. Themes also allow for great imaginative play for kids. You can find a huge list of sensory bin theme ideas here.

Include items that can be used for scooping, pinching, and pouring.

Include cups, bowls, tweezers, tongs, spoons, measuring cups or spoons, sieves, funnels, tubes, empty toilet paper or paper towel rolls, small shovels, jars, ladles, slotted spoons, strainers, tea infuser, and bottles. These will encourage a lot of exploration as well as providing opportunity for good fine motor practise.

Make each sensory bin unique.

It’s fun for kids to discover a new sensory bin. Surprising them with a fun new theme or new sensory bin fillers keeps them interested.

Let your child play.

Sensory bins work best when you allow your child to lead. This fuels their imagination. When their play is self-directed, children learn more and better retain what they learn. Create the sensory bin (either for your child or with your child) and then sit back and watch your child play.

These may also interest you:

Check out The Mega List of Sensory Bin Fillers and Tools for lots of great ideas of what to include in your next sensory tub.

If you feel stuck on deciding what to make, this list of sensory bin themes will help get your creativity going.

Filed Under: Sensory

Bright Butterfly Sensory Bin

By Sharla Kostelyk

The inspiration behind this butterfly sensory bin was actually a package of pasta! I was at the store and spotted brightly coloured bow tie pasta. As soon as I saw it, I thought “those look like butterflies”. So of course I bought it so that I could make a butterfly sensory bin.

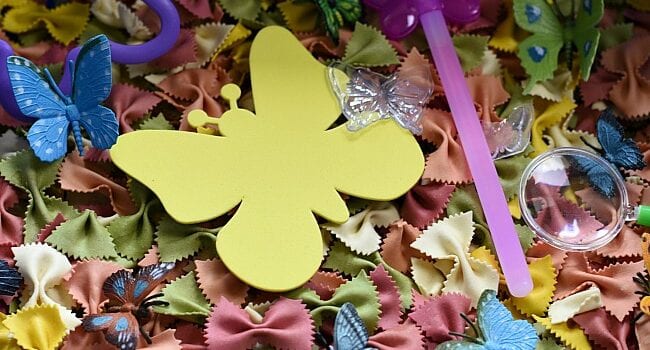
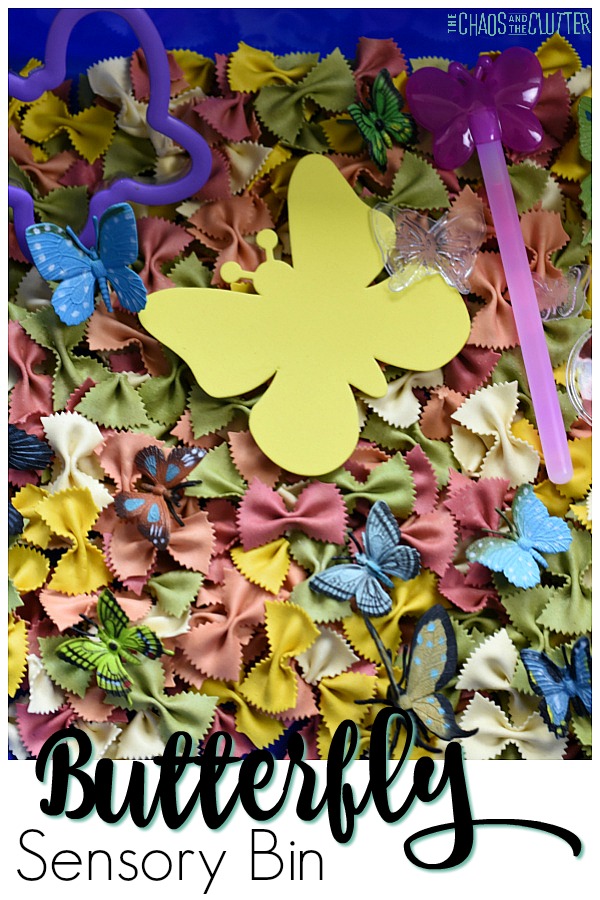
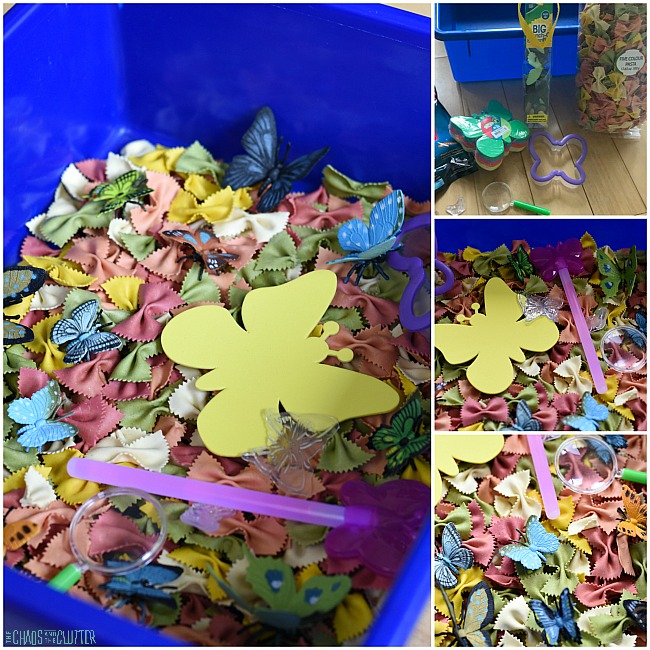
Brightly coloured bow tie shaped dry pasta is in a blue plastic bin. Resting on the pasta are blue and green plastic butterflies, a large yellow butterfly shaped foam piece, a pink butterfly wand, and a purple butterfly shaped cookie cutter. The words "Butterfly Sensory Bin" are on the bottom of the image.The pasta looks so much like little butterflies that the other butterflies in this sensory bin blend in with it. The kids enjoyed exploring with this activity.
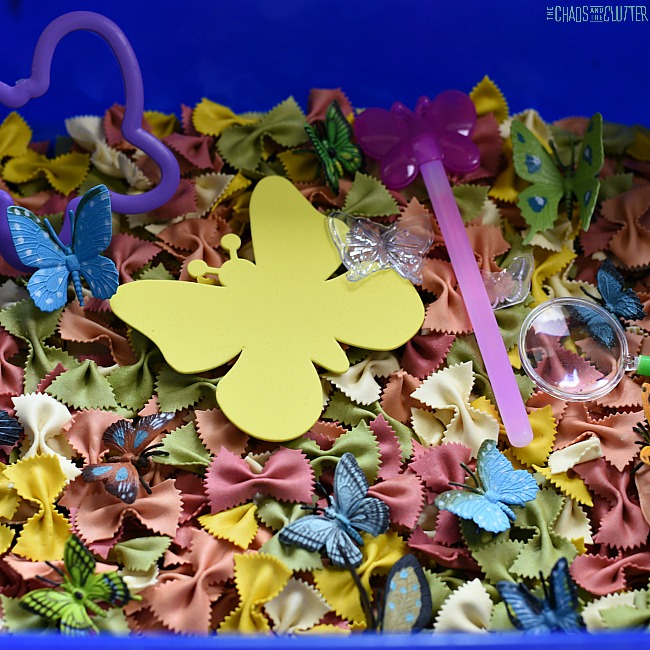
Butterfly Sensory Bin:

Materials needed:

  • brightly coloured bow tie pasta in a variety of colours*
  • clear silicone butterfly stamps
  • butterfly shaped cookie cutter
  • butterfly shaped foam piece
  • small magnifying glass
  • plastic butterflies from the butterfly Toob
  • glow in the dark butterfly wand (I find a 3 pack of these at the dollar store)

*If you can’t find bow tie pasta that’s already coloured, you can buy regular bow tie pasta and colour it yourself. You can find a tutorial on dying pasta for sensory play here.

Directions:

  1. Pour the dry pasta into a plastic bin.
  2. Add the other items.
  3. You can also add small cups or bowls as scoops.
  4. Invite your child to play!

This sensory bin provides visual, auditory, and tactile sensory input.

I always find it interesting the way that each of my kids approaches a sensory bin differently. This one was no different. One of our sons just scooped around in the bin, hiding butterflies and finding them and even mindlessly running his fingers through it to hear the sound of the dry pasta moving. One of our daughters took her time examining the butterflies with the magnifying glass while commenting on their features. She also enjoyed squishing the silicone stamps and foam piece.
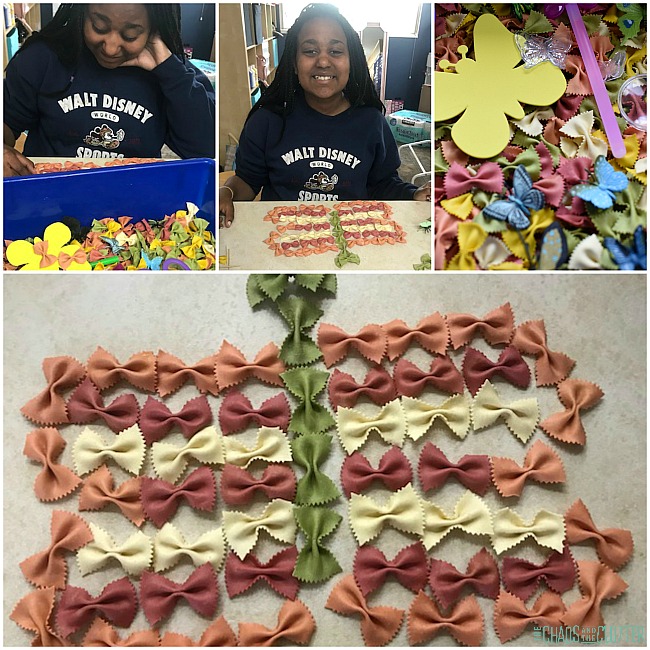
Another of our daughters went about her play very differently. She carefully picked out individual pasta shapes and methodically built a large butterfly on the counter. She planned out the colours and had everything just so. Later, she brushed the pasta into her hands and put the pieces back in the bin.

Ways to expand this and make this sensory bin part of a unit on butterflies:

I bought the shaped foam piece that went in the sensory bin in a large pack. If you do this, you can use the remaining foam to have kids decorate their own. They can use glitter pens, markers, sequins and glue, or stickers.

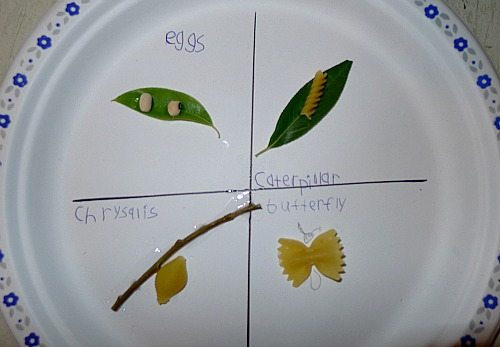
Use pasta, beans, leaves, a twig, and paper plate to create a butterfly life cycle visual.

Raise your own butterflies. We did this one summer and the kids were absolutely fascinated. You can purchase butterfly raising kits that walk you through how to do this. My kids were in awe when the butterflies emerged from their cocoons.
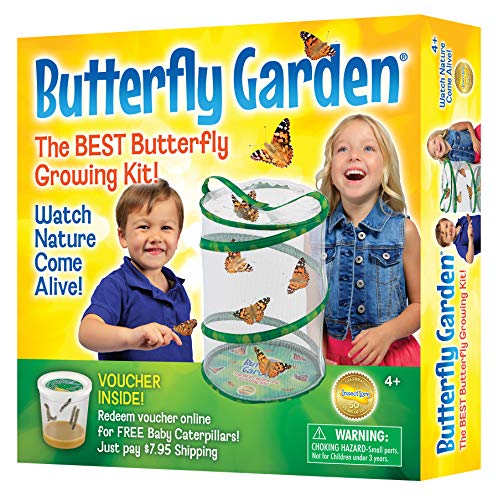
Insect Lore Butterfly Growing Kit - With Voucher to Redeem Caterpillars LaterInsect Lore Butterfly Growing Kit – With Voucher to Redeem Caterpillars LaterInsect Lore Butterfly Growing Kit - With Voucher to Redeem Caterpillars Later

Set out books about butterflies:

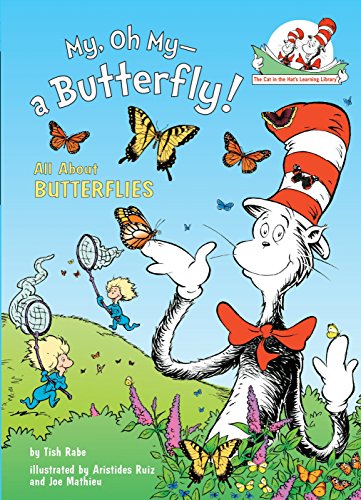
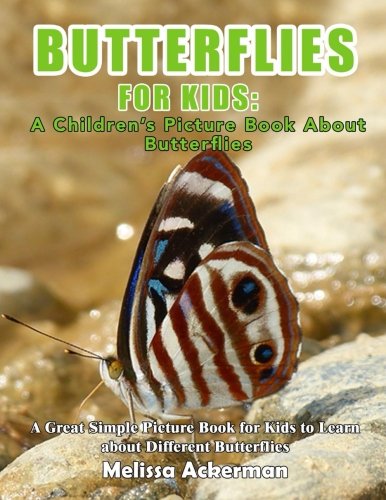
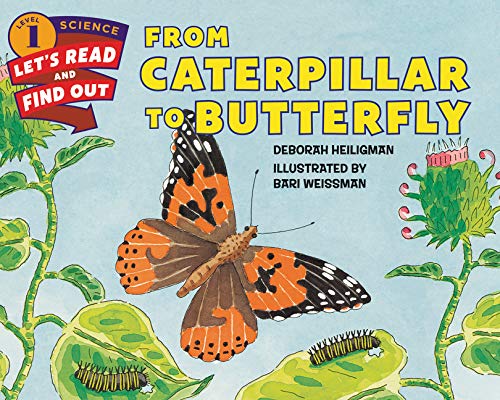
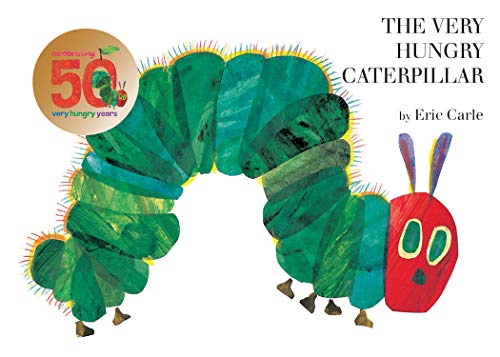
Butterfly Butterfly: A Book of ColorsButterfly Butterfly: A Book of ColorsButterfly Butterfly: A Book of ColorsHandbooks: Butterflies & Moths: The Clearest Recognition Guide AvailableHandbooks: Butterflies & Moths: The Clearest Recognition Guide AvailableHandbooks: Butterflies & Moths: The Clearest Recognition Guide AvailableButterfly Activity Book for Kids Ages 4-8Butterfly Activity Book for Kids Ages 4-8Butterfly Activity Book for Kids Ages 4-8My, Oh My--A Butterfly!: All About ButterfliesMy, Oh My–A Butterfly!: All About ButterfliesMy, Oh My--A Butterfly!: All About ButterfliesButterflies For Kids: A Children's Picture Book About ButterfliesButterflies For Kids: A Children’s Picture Book About ButterfliesButterflies For Kids: A Children's Picture Book About ButterfliesFrom Caterpillar to ButterflyFrom Caterpillar to ButterflyFrom Caterpillar to ButterflyThe Very Hungry CaterpillarThe Very Hungry CaterpillarThe Very Hungry Caterpillar

Butterfly Sensory Bag

Filed Under: Sensory, Sensory Bins Tagged With: sensory play

Mermaid Stress Balls

By Sharla Kostelyk

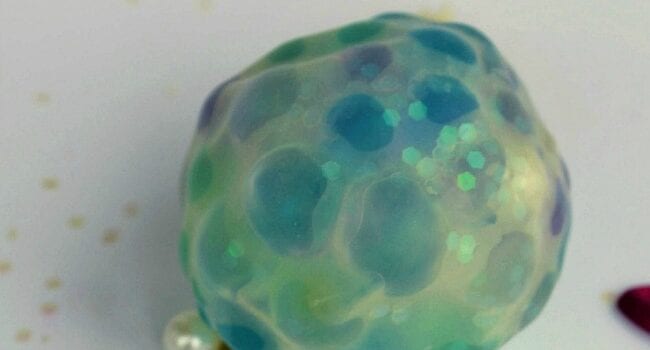
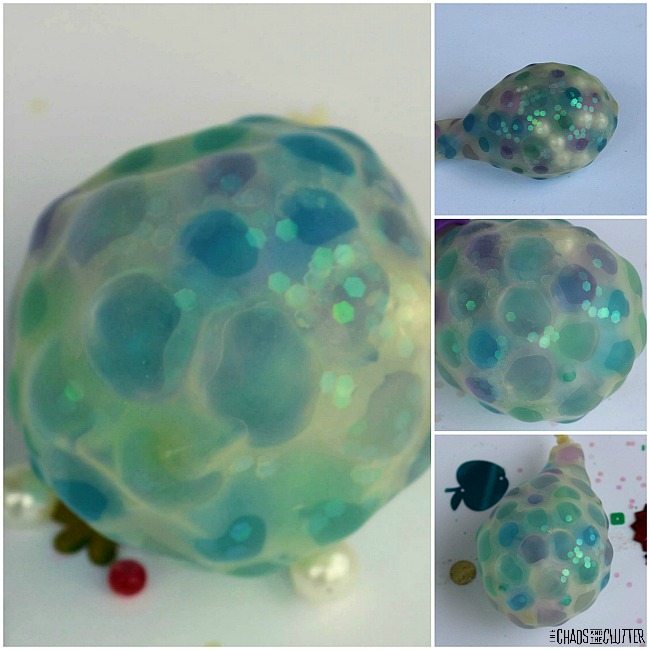
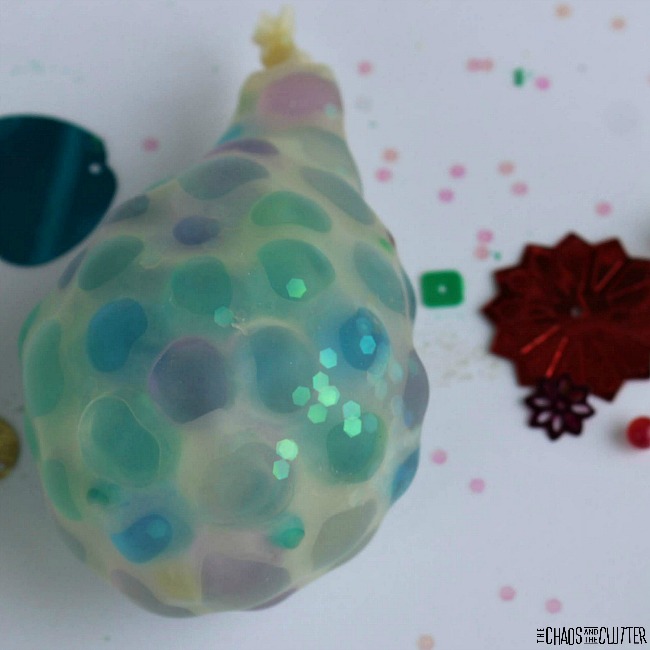
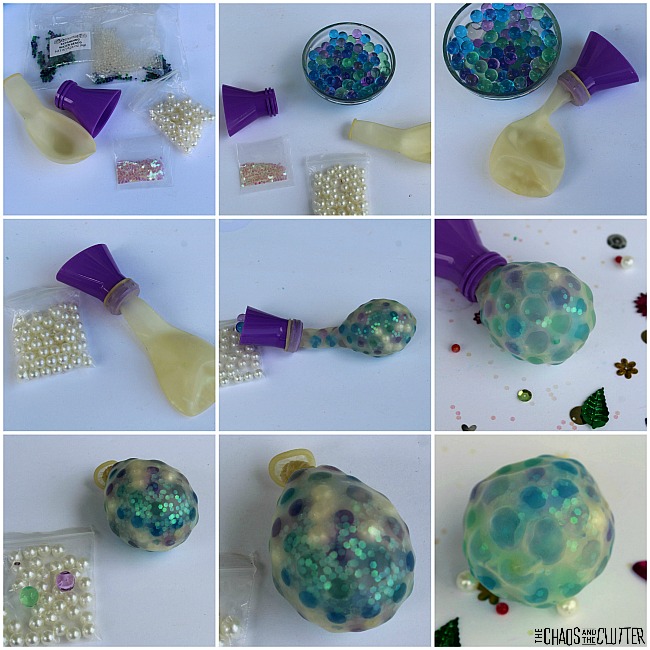
Homemade stress balls are so easy to make. They are so much less expensive than the store bought ones and I actually like the feel of them better as well. We have been making DIY stress balls for years, but this time, I wanted to try something a little bit different, so we made mermaid stress balls.An opaque ball contains green, blue, and clear balls and sits on a white background with confetti sprinkled on it. The words "DIY Mermaid Stress Ball" are in the middle. Below, there is a balloon attached to a small purple funnel and the filled balloon next to a small bag of white faux pearls.
I really love the way they turned out. They look super fun, but they also offer a very different tactile experience because of the textures in them. Children will enjoy exploring through their sense of touch.


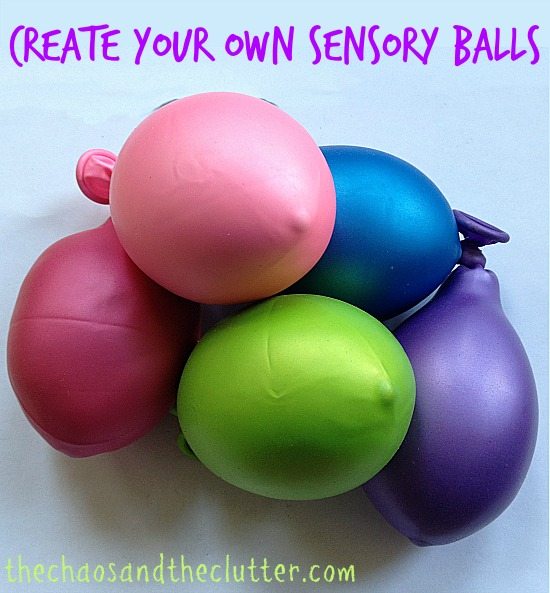
Stress balls are sometimes called squeeze balls or sensory balls. Kids can get visual and tactile sensory input from these. Homemade stress balls are also a great calming tool for kids (and adults). They are perfect for including in your child’s calm down kit.
These are also small enough to be kept in a backpack, desk or a child’s room. This enables kids to have a calm down tool with them wherever they go. They also make a great fidget and are quiet to play with, so most teachers don’t mind students using them in the classroom.

Squeezing stress balls can ease tension and when combined with calm down breathing techniques, are an effective method of reducing overall stress or calming down in the moment.

*Please note that there are small parts in these stress balls and the small parts and the balloon are choking hazards so as with all sensory play activities, adult supervision should be used at all times.

How to make mermaid stress balls:

Materials needed:

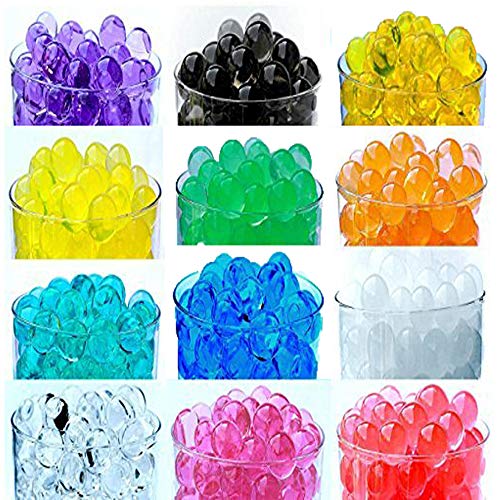
  • blue, green, and clear water beads
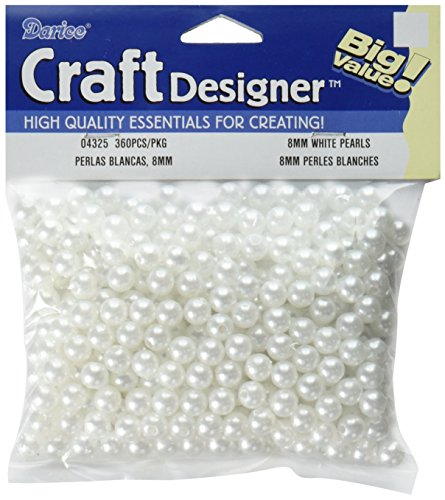
  • faux pearls
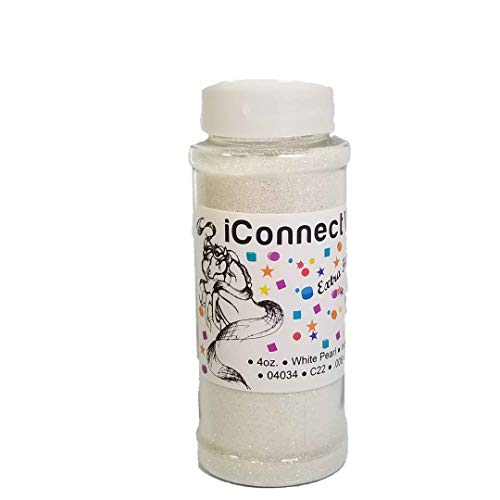
  • holographic white glitter
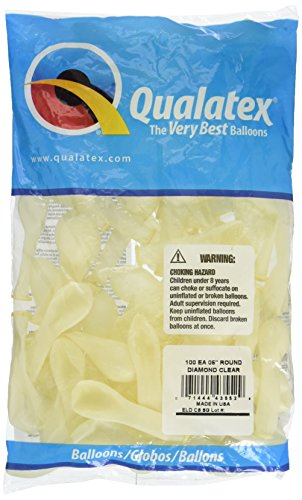
  • clear balloons
  • small funnel or an empty water bottle

Water BeadsWater BeadsWater BeadsFaux PearlsFaux PearlsFaux PearlsHolographic GlitterHolographic GlitterHolographic GlitterClear BalloonsClear BalloonsClear Balloons

Directions:

  1. Soak the water beads according to the directions on the package so that they are full sized.
  2. Stretch the end of the balloon over the end of a small funnel or the tip of an empty water bottle.
  3. Add the glitter, faux pearls and water beads to the balloon. You want to fill it until it is the size you want.
  4. Tie off the end of the balloon. Cut the excess away.
  5. Your mermaid stress ball is now ready to squeeze, squish or hold.

Get 175 sensory activity ideas in convenient printable lists which are ideal for using in the home, classroom or in a therapeutic setting.

You may also want to read:

What to Include in a Calm Down Kit

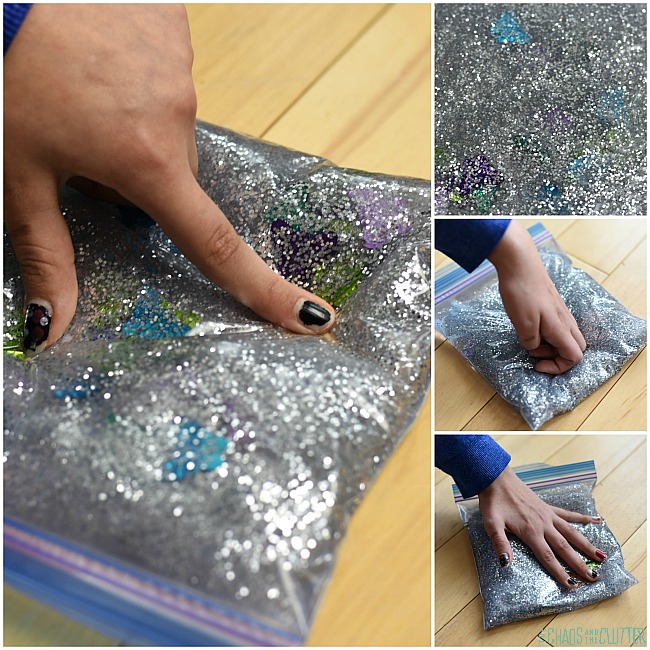
Mermaid Sensory Bag

Homemade Stress Balls

Create Your Own Sensory Balls (for pennies each)

Filed Under: Sensory Tagged With: sensory play

  • « Go to Previous Page
  • Page 1
  • Interim pages omitted …
  • Page 12
  • Page 13
  • Page 14
  • Page 15
  • Page 16
  • Interim pages omitted …
  • Page 50
  • Go to Next Page »

Primary Sidebar

Categories

We are a participant in the Amazon Services LLC Associates Program, an affiliate advertising program designed to provide a means for us to earn fees by linking to Amazon.com and affiliated sites.

Copyright © 2026 • The Chaos and the Clutter • Site Design by Jeni @ The Blog Maven

Return to top of page

Copyright © 2026 · Chaos and the Clutter 2.0 on Genesis Framework · WordPress · Log in