• Skip to primary navigation
  • Skip to main content
  • Skip to primary sidebar
  • Home
  • About
  • Contact
  • Privacy + Terms
  • Affiliates

The Chaos and the Clutter

  • Facebook
  • Twitter
  • Pinterest
  • Google Plus
  • RSS
  • Email
  • School at Home
  • Sensory
    • Sensory Processing Disorder
    • Awesome Sensory Play Activities
      • Sensory Bins
      • Sensory Bottles
      • Sensory Bags
  • Family Games
    • Minute to Win It Games
  • Special Needs Parenting
    • Childhood Anxiety
    • Reactive Attachment Disorder
    • Sensory Processing Disorder
  • Store
  • Course Login

Sensory

Hair Care: Tips for Kids with Sensory Struggles

By Sharla Kostelyk

Hair care can be torture for some kids with sensory issues. While all of us have sensory preferences, for kids with Sensory Processing Disorder or autism, having their hair washed, combed, or cut can go beyond just being unpleasant. I’ve put together a list of tips to help kids who struggle with sensory issues when it comes to their hair.
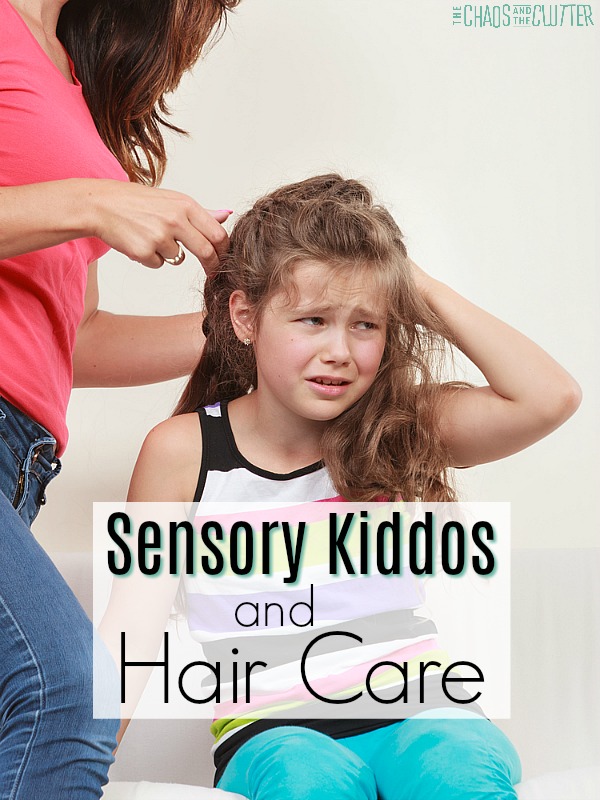
a woman in a coral shirt and jeans tries to comb her daughter's hair. The daughter looks very distraught. The words "Sensory Kiddos and Hair Care" are overlaid on the image.

Lately, a lot of readers have been contacting me for advise about their child’s hair. I understand this concern well as one of our sons used to cower in the corner when he saw me reach for the hair brush. He would scream and beg me not to comb his hair.

Mornings became difficult for both of us. His beautiful curls became knotted if I gave in to his pleas not to comb it which only made it worse. And bath times were another battle ground as he hated the feeling of the water on his face when rinsing the shampoo off.

Obviously with his scalp being as sensitive as it was, there was absolutely no way he would allow a hairdresser near his head.

We got to the point where we just shaved his hair super short so that it didn’t have to be such a daily battle.

Since then, I’ve learned a lot about sensory and together, he and I have come a LONG way! He is a teenager now and actually enjoys getting his hair cut at the barber. He does prefer to keep it short still, but is happy to have it washed and cut.

A lot of sensory kiddos are super sensitive about having their hair washed, cut, combed or even touched. There are many reasons for this.

Sensory Reasons for Hair Struggles:

Vestibular – Some kids are sensitive to having their head tilted backwards or forward for rinsing when having their hair washed. Your vestibular system controls your body’s sense of balance and motion. Kids with vestibular issues can feel unsteady, uncomfortable, or even afraid when tipping their head.

Olfactory (Scent) – Your child may be sensitive to the smell of the hair products you are using on them.

Tactile – Many children with sensory issues have very sensitive scalps or are sensitive to touch in general from hands, brushes or combs, and even water. Water on their face, in their eyes, or having shampoo get in their eyes can be difficult for all kids, let alone ones with higher sensitivities. Tactile is the most common reason for problems with hair care in kids with sensory sensitivities.

Auditory – Some kids struggle with the sound of the clippers at the hairdresser or the sound of the water in a shower.

Tips for managing hair care and sensory needs:

  1. Determine the root cause. Talk to your child and also make your own observations and see if you can determine what the biggest sensory issues are. That way, you’ll be tackling things accurately.
  2. Acknowledge to them and to you that this is not a child being difficult. This is a real thing that is causing them real pain or discomfort. Doing this will give you more patience and empathy.
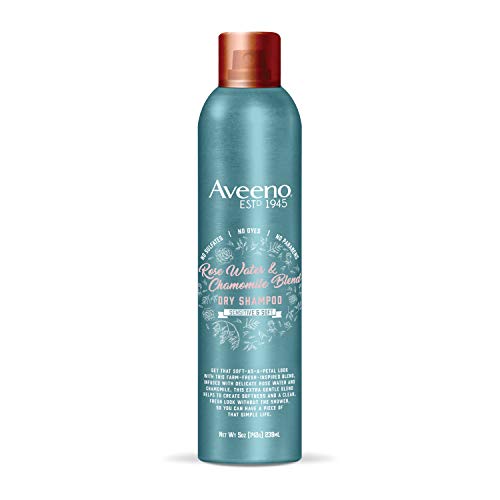
  3. Wash their hair less often. Kids do not need their hair washed daily (unless your physician has given you a medical reason why your child does). Every third day should be sufficient unless they happen to play in the mud on the in between days. You can also use a dry shampoo for the days in between if you’re concerned about the cleanliness of their hair.
  4. If shampoo is your main battle, skip the shampoo. Wash with water and a conditioner and use dry shampoo.
  5. Give your child more control in the process. Allow them to choose their hair products. Let them smell shampoos and conditioners at the store and decide what they like or buy unscented. Let them comb and style their own hair.
  6. Choose a low maintenance hair style for them. This was easier for me to do with my son than it was when one of my daughters had a hard time with having her hair combed and wanted it cut short, but I knew that “pretty hair” wasn’t worth the tears it would take every day to get there.
  7. Don’t expect your child to hold still while you comb or style their hair. Give them a fidget to play with or a weighted lap pad. Let them play Lego or watch TV or both. It won’t be easy for you to comb hair on a moving target, but it will be less stressful if they are less upset.
  8. Make changes. (see list below)
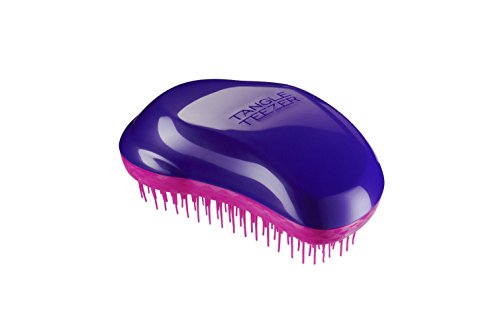
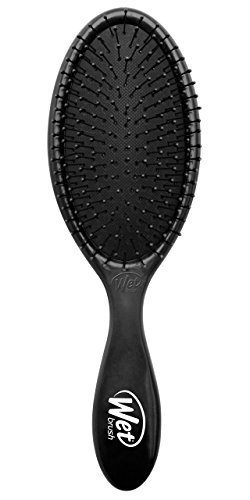
  • Try a different comb such as a Tangle Teaser or Wet Brush.
  • Try a bath rather than a shower or a shower rather than a bath.
  • Wash their hair in the sink rather than in the bath.
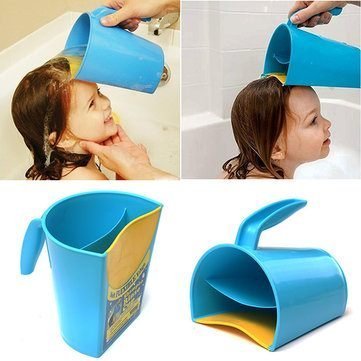
  • Try dumping water on their head using a Rinse Cup rather than having them tip their head back.
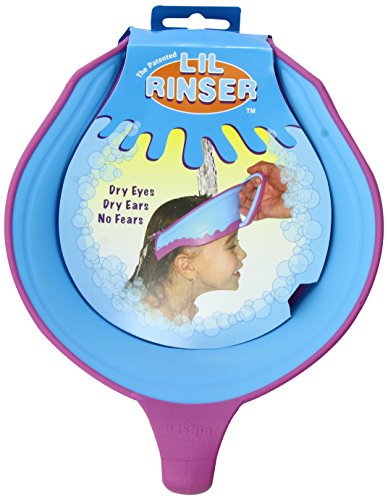
  • Have your child use a Bath Visor to avoid getting as much water on their face. You can also use this during haircuts to avoid pieces of hair getting on their face.
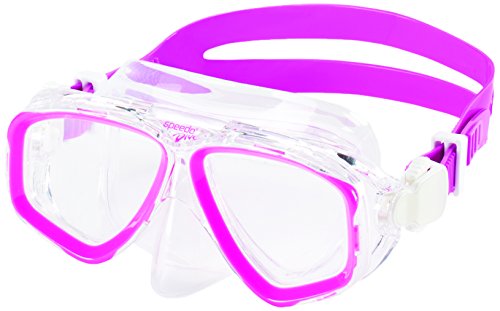
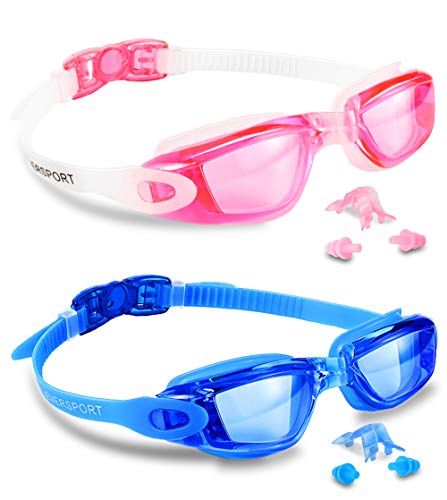
  • Allow your child to wear swim goggles or a snorkel mask in the bath or shower.
  • Be sure you are using an excellent detangler so that knots are not making the hair combing situation even worse.
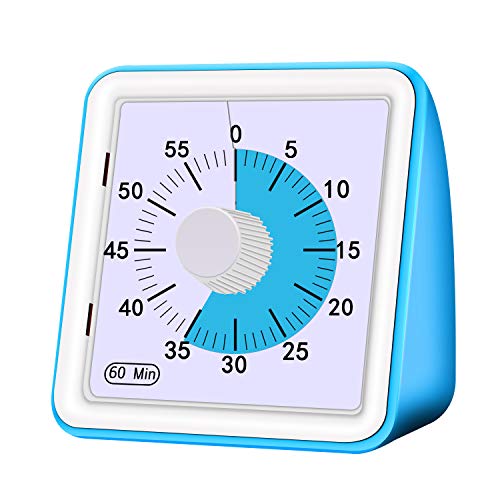
  • Use a visual timer so that your child knows how long they have to “endure” having their hair brushed.

Rinse Cup for hair washingRinse Cup for hair washingRinse Cup for hair washingBath VisorBath VisorBath VisorDive MaskDive MaskDive MaskSwim GogglesSwim GogglesSwim GogglesVisual TimerVisual TimerVisual TimerTangle Teezer BrushTangle Teezer BrushTangle Teezer BrushWet BrushWet BrushWet BrushDry ShampooDry ShampooDry Shampoo

A note about haircuts:

Our hairstylist comes to our house and used to cut our kids’ hair where they are comfortable while they play with toys or read or watch TV to distract them. If this isn’t possible for you, pass these tips along to your salon to help them be more sensory friendly.

You also may want to ask them about the calming clipper kit. This sensory friendly barber kit is made just for kids with sensory needs. You can also use it yourself at home where your child is most comfortable.

Biggest tip about hair and sensory needs:

As odd as this sounds, don’t work at all on trying to increase your child’s ability to handle having her head or hair touched. Leave the hair alone as much as possible and instead, focus on increasing other sensory activities: sensory play, heavy work, sensory input.

If you are working with an OT, ask them about dry brushing. This type of brushing is for the skin, not the hair, but is best under the care of an OT.

By increasing your child’s range of sensory experiences (sensory diet), it will eventually begin to be easier for them to have their head and hair touched.

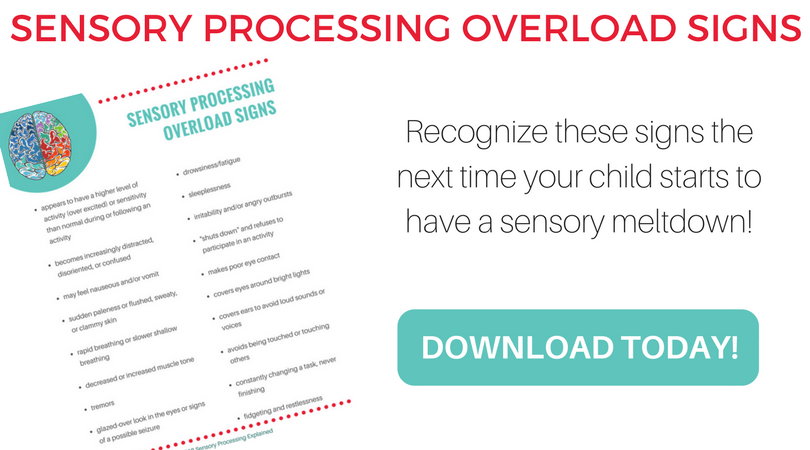
Get a copy of Sensory Processing Overload Signs to print off and keep as a reminder here. 
Filed Under: Sensory, Special Needs Parenting

Going on a Bug Hunt Sensory Bin

By Sharla Kostelyk

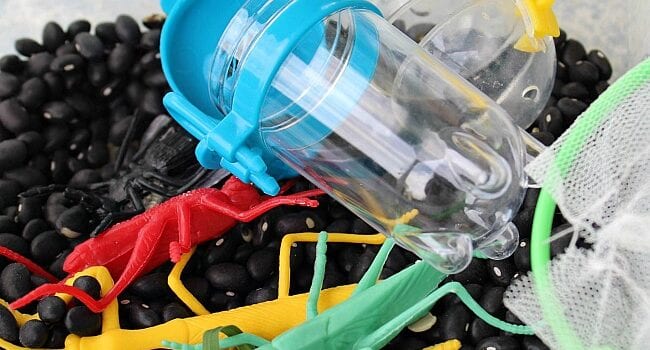
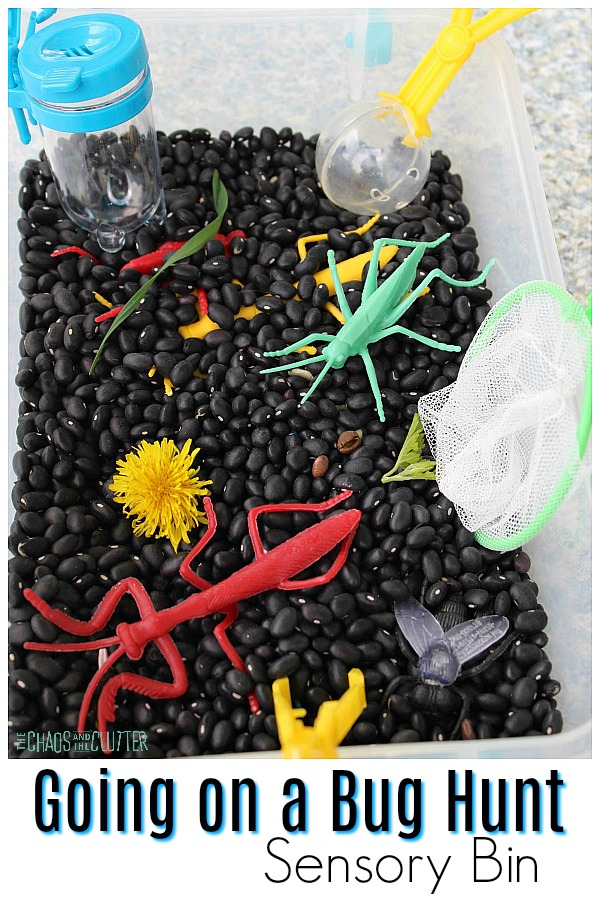
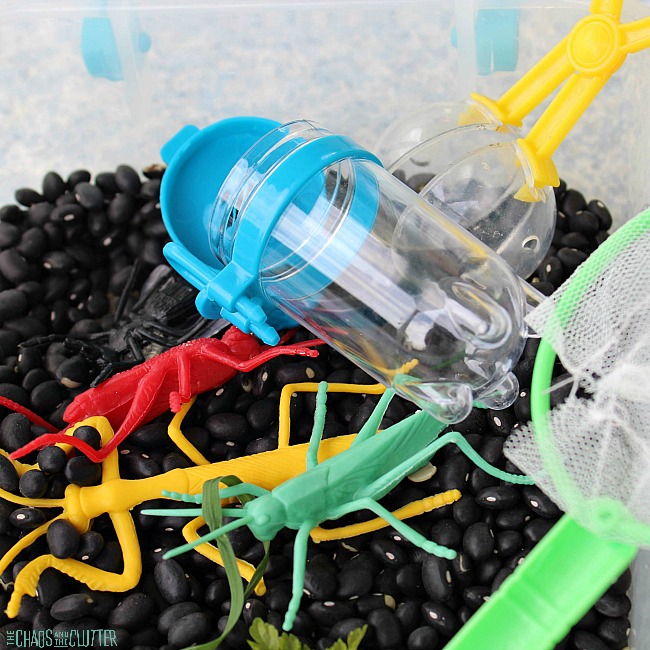
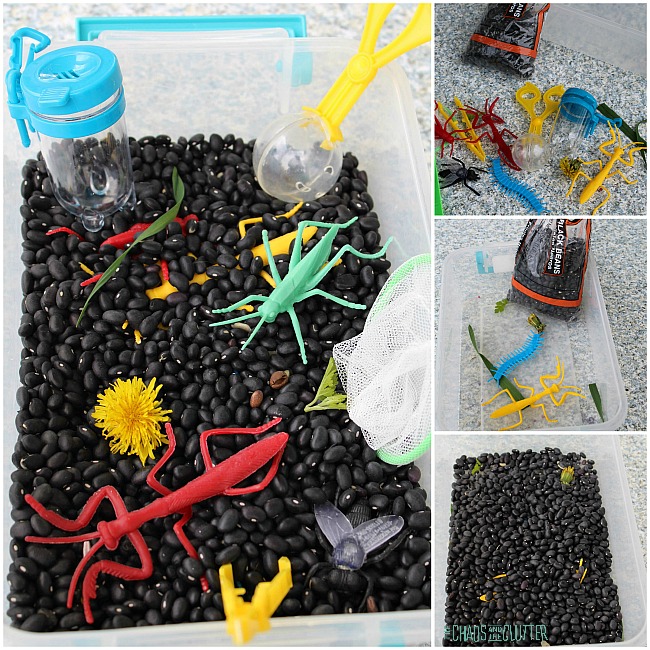
The contrast of the bright colours against the black beans makes this Bug Hunt Sensory Bin so visually appealing. If you’re brave, you can include real life bugs in this sensory activity as well!clear plastic bin filled with black beans, bug net, dandelions, bright coloured toy bugs, and bug container with blue lid
If you’re like me, you can invite your child to add insects that they find but keep your distance and insist that they keep the bin outside! Adding real life insects allows a whole other level of exploration and discovery. This sensory bin encourages interacting with nature and can begin with a nature hunt.
This activity is perfect for classrooms or preschools or homeschools. It can be incorporated into an insect unit in science or be a sensory break option during springtime. 

Bug Hunt Sensory Bin:

Materials needed:
  • plastic bin
  • dry black beans
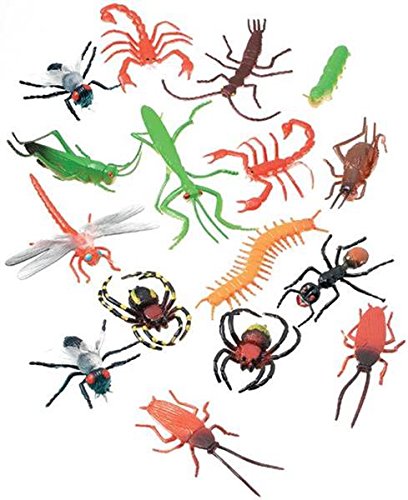
  • plastic bugs (bright colours look best on the black background)
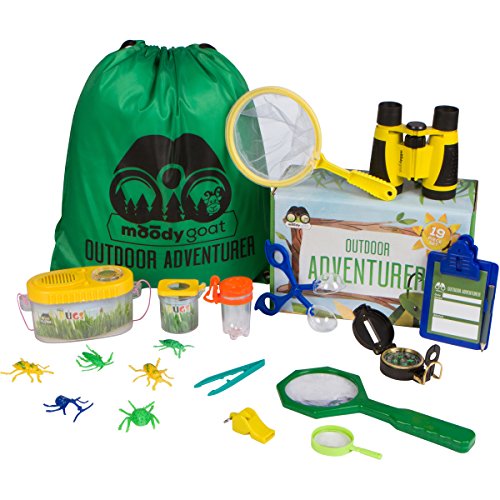
  • Outdoor Discovery Kit you can find it on Amazon or at Dollar Tree. The kit includes a bug net, bug catcher, tweezers, magnifying glass, and bug containers – perfect for catching and observing real bugs!
  • flowers, leaves, and grass

Outdoor Discovery KitOutdoor Discovery KitOutdoor Discovery KitPlastic BugsPlastic BugsPlastic BugsDry Black BeansDry Black BeansDry Black Beans

Instructions:
  1. Begin by putting half of the pretend insects in the plastic bin you plan to use.
  2. Add half of the flowers, grass and leaves that your child has gathered.
  3. Pour the dry black beans into the bin so that the items you have already placed inside are covered.
  4. Add the remaining plastic bugs and flowers, grass, and leaves to the bin. You can push them down a bit into the beans so that they are slightly covered.
  5. Add tweezers, a small bug net, magnifying glass, and a small container for examining specimens.
  6. Invite your child to go on a bug hunt in the bin. Have them try to identify the types of insects they find.
  7. Optional: Arm your child with the bug catcher and one of the bug containers and have them go on a real bug hunt. They can then add the bug container to the sensory bin or add the bugs themselves to the bin (be sure to do this outdoors!). 

Learning and Sensory Opportunities:

This bug hunt sensory bin offers visual, tactile, and auditory sensory input. If kids carry the bin, this offers proprioceptive feedback as it will be quite heavy. Hands-on learning will be happening while their sensory needs are met. There are opportunities for communication and vocabulary expansion while they explain their observations and ask questions.
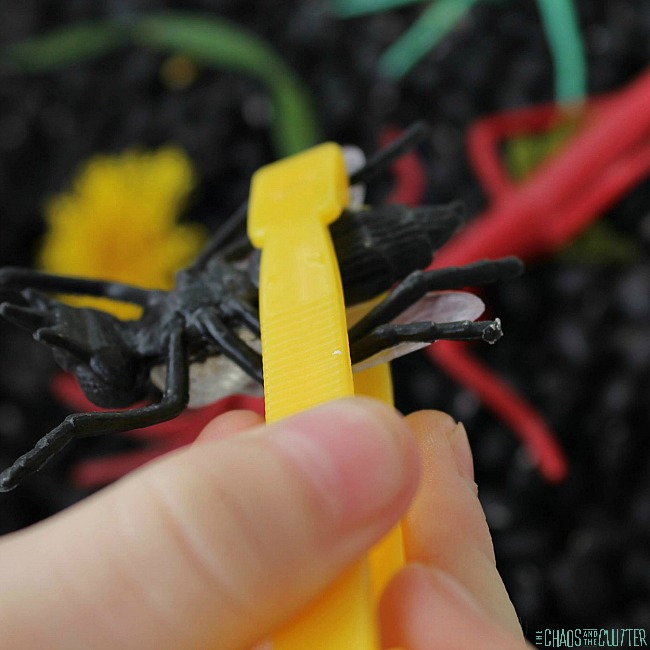
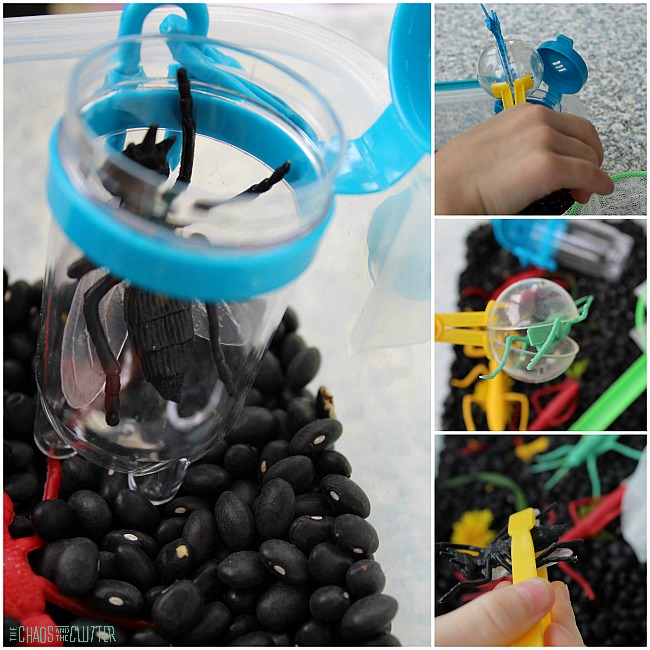
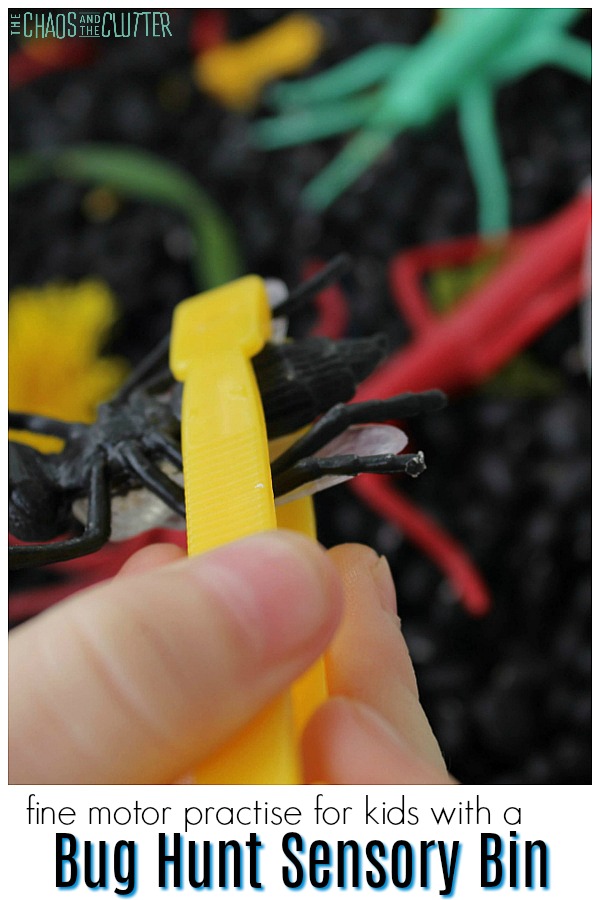
This sensory bin provides excellent options for fine motor practise. The tweezers and the bug catcher each give kids the chance to use and improve their fine motor skills. a child hand pinching yellow tweezers that are holding a black plastic bugChildren can learn about insects as they explore this bin. This can happen with the plastic insects only or with the addition of those found in nature. They can make observations in a nature journal or discuss what they learn. You can set out books about bugs that they can use as references.
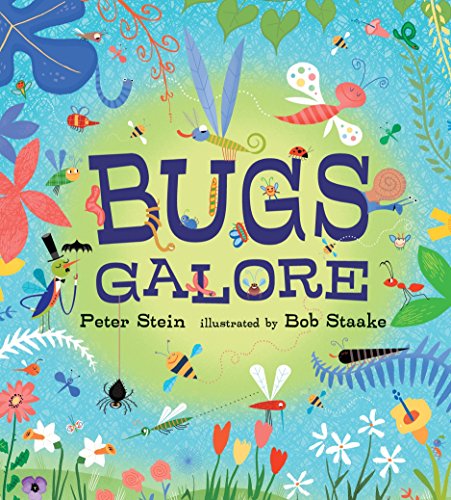
Book Suggestions to go along with a Bug Sensory Bin:

Bugs Galore

This silly book will keep kids engaged with its retro illustrations and plenty of rhymes. Great introduction to bugs for little learners.

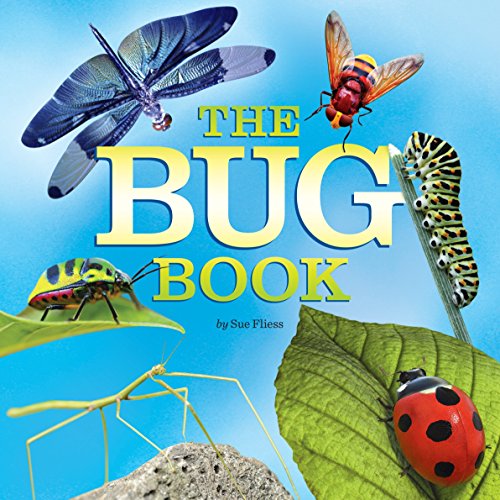
The Bug Book

This book is factual meets fun for preschoolers. Kids can explore all kinds of bugs in vivid photographs to learn more about the insects they might see this summer in their own backyard.

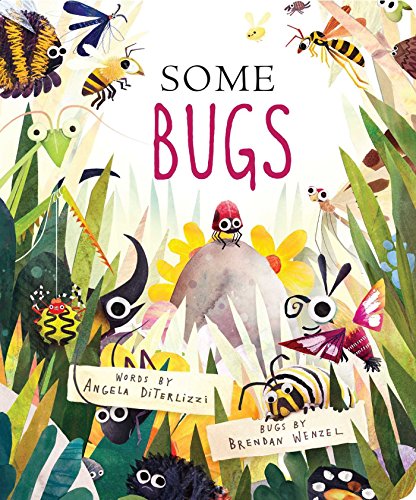
Some Bugs

With cute rhymes and vibrant illustrations, this book embraces the behaviours of backyard bugs and encourages exploration for preschoolers.

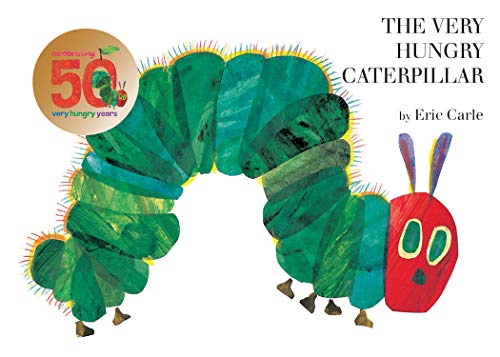
The Very Hungry Caterpillar

In this classic book, a very hungry caterpillar (as the title suggests) munches his way through a variety of goodies to transform into a beautiful butterfly.

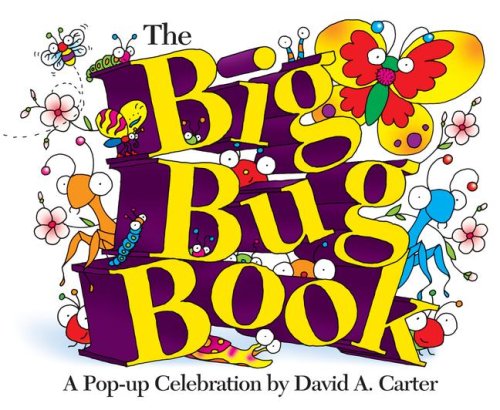
Big Bug Book

I’m a sucker for pop-up books. This one is packed with all kinds of creepy, crawly fun!

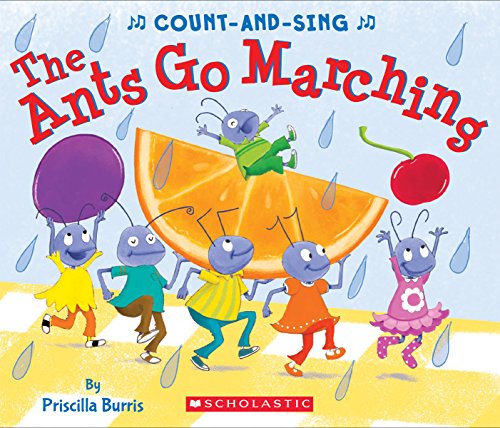
The Ants Go Marching

This book is a good segue into taking your insect unit into other subjects such as math for preschoolers. The repetition and counting up to 5 is a great early learning approach to math that kids can’t get enough of.

Bugs GaloreBugs GaloreBugs GaloreThe Bug BookThe Bug BookThe Bug BookSome BugsSome BugsSome BugsThe Very Hungry CaterpillarThe Very Hungry CaterpillarThe Very Hungry CaterpillarThe Big Bug Book: A Pop-up CelebrationThe Big Bug Book: A Pop-up CelebrationThe Big Bug Book: A Pop-up CelebrationThe Ants Go Marching: A Count-and-Sing BookThe Ants Go Marching: A Count-and-Sing BookThe Ants Go Marching: A Count-and-Sing Book

a child's hand shown holding yellow tweezers that are pinching a black plastic bugCheck out these other great sensory bins to help kids to discover the world around them:
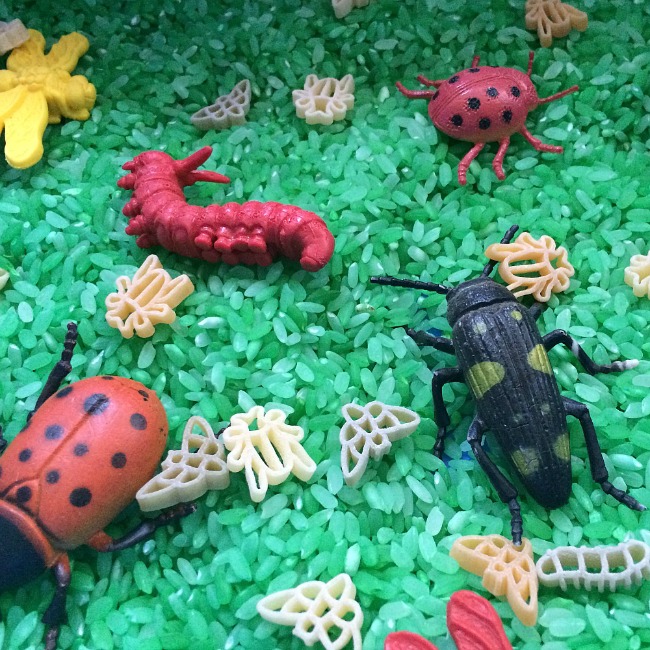
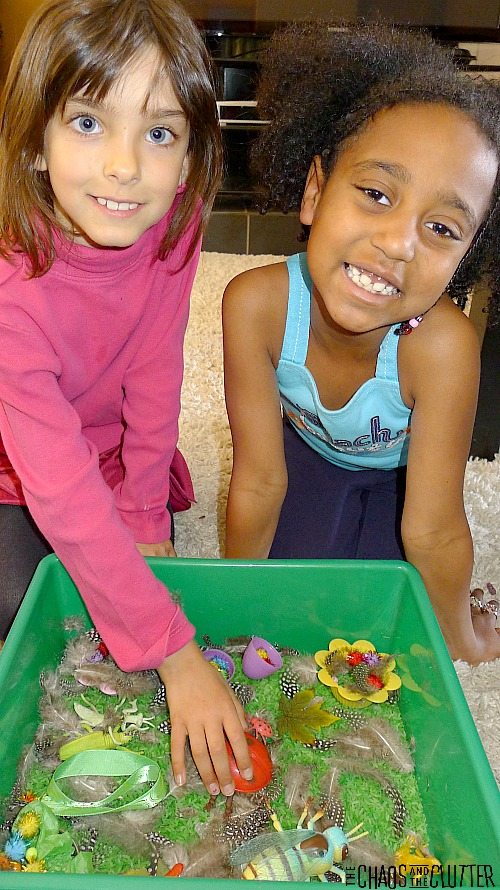
Insect Sensory Bin with Dry Pasta

Simple Spring Sensory BinSimple Spring Sensory Bin for kids

Filed Under: Sensory, Sensory Bins

Glow in the Dark Sensory Bottle

By Sharla Kostelyk

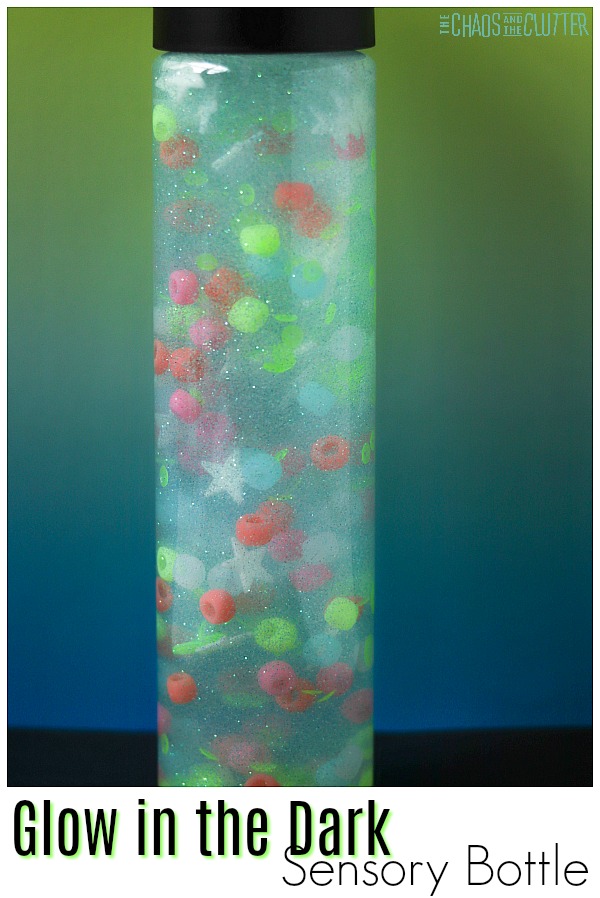
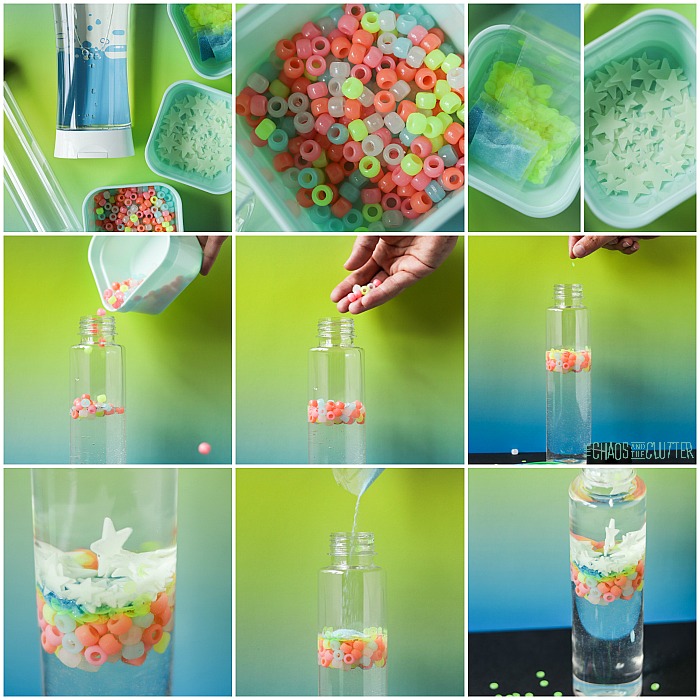
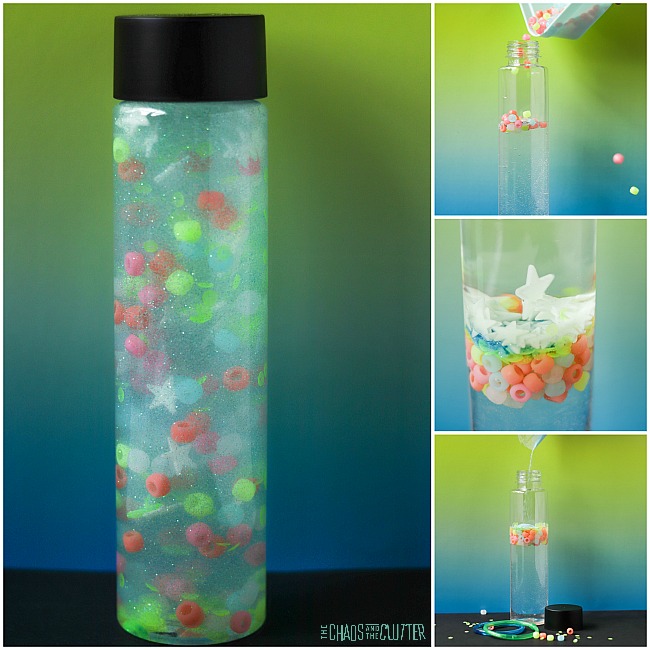
There are lots of ways to make a glow in the dark sensory bottle, but you know me; I like to keep things simple. Instead of making this glow through a complicated scientific process, this involves using glow in the dark items so that the hard part is done for you. bottle filled with multicoloured beads and stars and liquid on a blue and green background

I don’t know about your kids, but mine have always loved anything glow in the dark. They like to take it into the one bathroom we have that doesn’t have a window and turn the lights off so that it’s as dark as possible. 

Glow in the Dark Sensory Bottle:

Supplies to make the sensory bottle:

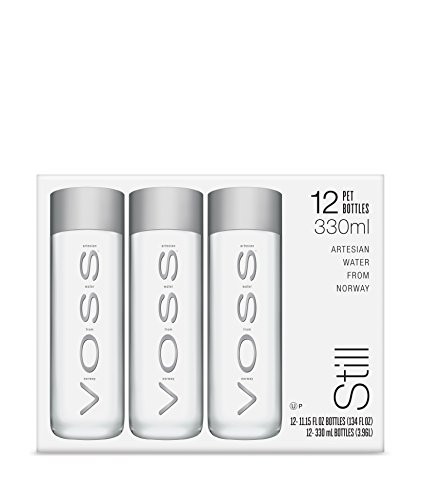
  • Voss style plastic water bottle* (see note)
  • clear dish soap
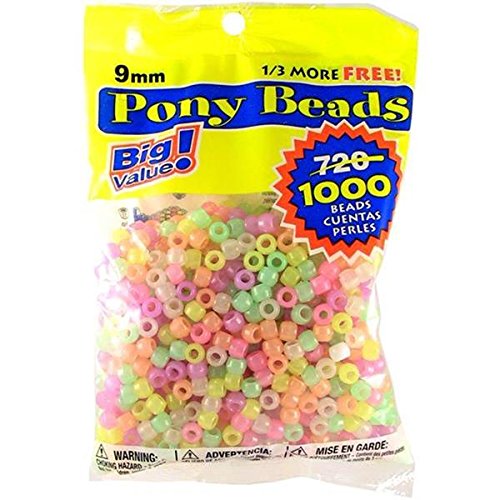
  • glow beads
  • bright sequins
  • glitter
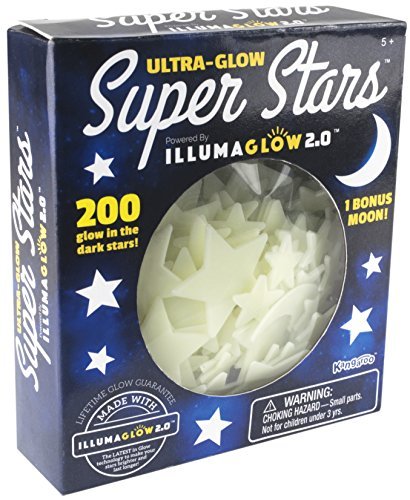
  • glow ceiling stars
  • super glue

*I like to look of Voss water bottles, but sometimes Michael’s carries empty bottles that look similar but are just slightly smaller. The Michael’s ones are a bit easier for little hands to grip. The problem is that they are not always easy to find. 

VOSS Plastic Water BottlesVOSS Plastic Water BottlesVOSS Plastic Water BottlesGlow in the Dark Pony BeadsGlow in the Dark Pony BeadsGlow in the Dark Pony BeadsGlow in the Dark StarsGlow in the Dark StarsGlow in the Dark Stars

Instructions:

  1. Pour dish soap into the empty bottle until it is 2/3 of the way full.
  2. Add glow beads, glitter, sequins, and stars.
  3. Fill the remaining space in the bottle with water. Super glue the lid in place, especially if young children will be using the bottle.
  4. When your child is not playing with this sensory bottle, keep it in the light so that the “glow” items can recharge.

Parental supervision should be used for this or any other sensory play activity. Even if the lid is secure with glue, it is possible that your child could get it open and there are small objects inside that could be choking hazards.
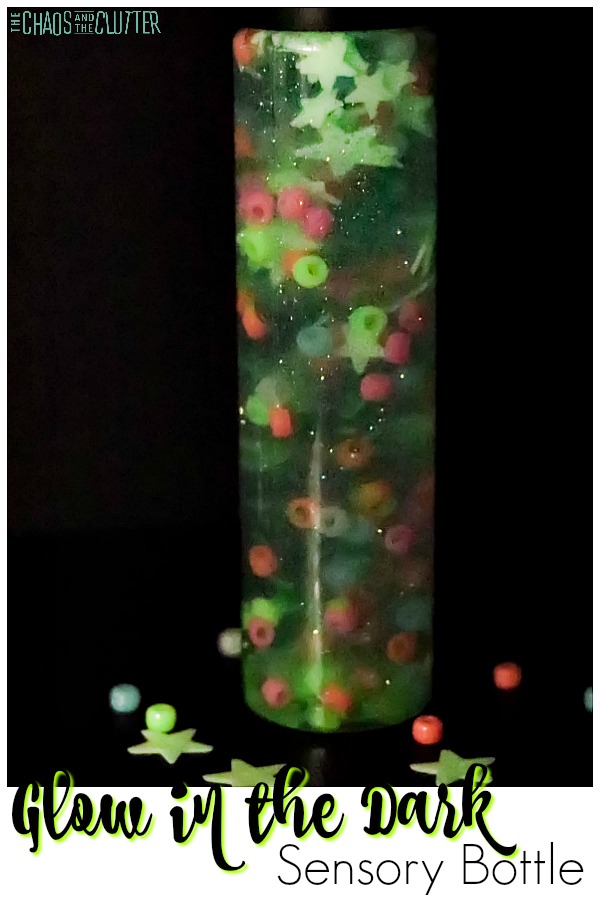
Learning and Sensory Benefits:

This activity provides children the chance to improve their communication and vocabulary as they describe what they observe.

Kids can experience the change when taking the sensory bottle from the light into the dark. Older kids may want to research what it is that causes the glow in the dark items to glow and why they need to recharge. This sensory play activity offers visual sensory input as well as a bit of tactile (holding the bottle) and proprioceptive (carrying and flipping over the bottle) input.
You can also incorporate math concepts by having your child count the number of stars they see or the number of a certain colour of bead.

Join the thousands of others who have enjoyed the free 5 part email series Sensory Solutions and Activities (just pop your email into the box below) and get a printable list of 175 Great Sensory Ideas.

You might also enjoy these sensory bottles:

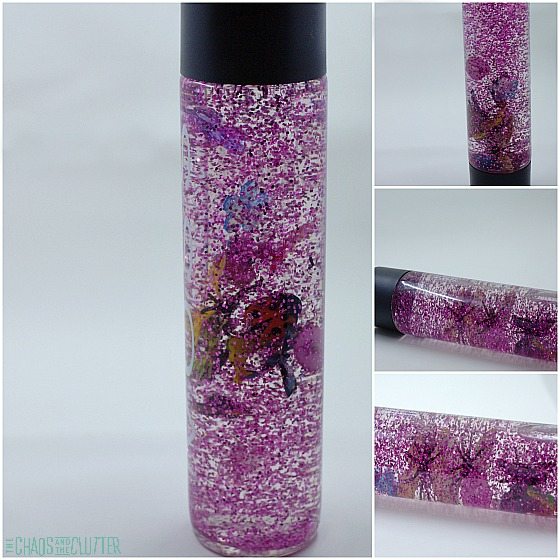
Spring Sensory Bottle 

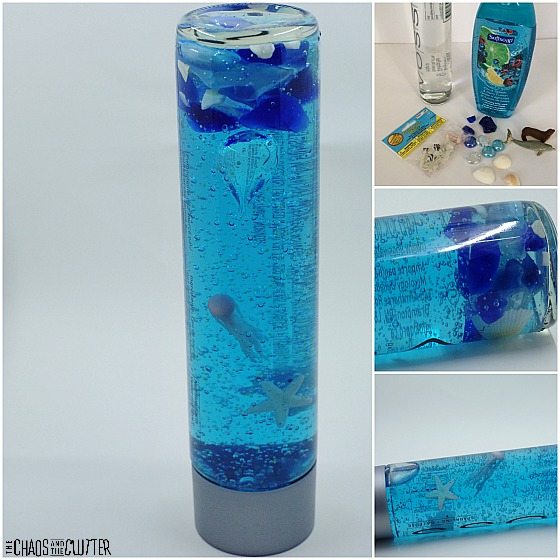
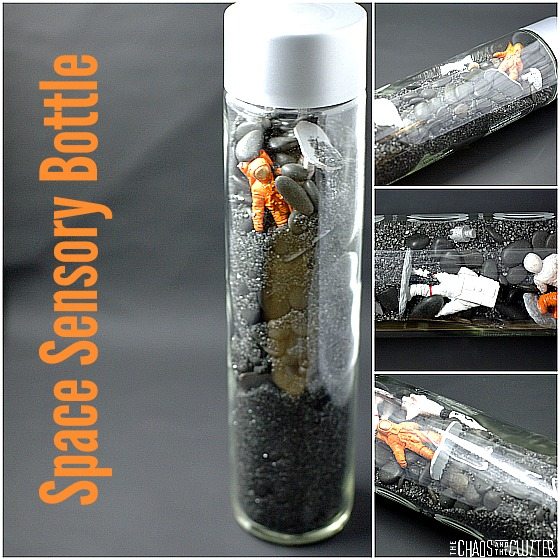
Ocean Sensory Bottle (one of our all-time favourites!) Space Sensory Bottle This Space sensory bottle is naturally weighted. Kids can also use it as an I-Spy activity.

Filed Under: Sensory Tagged With: sensory bottles, sensory play

Nature Inspired Spring Sensory Soup

By Sharla Kostelyk

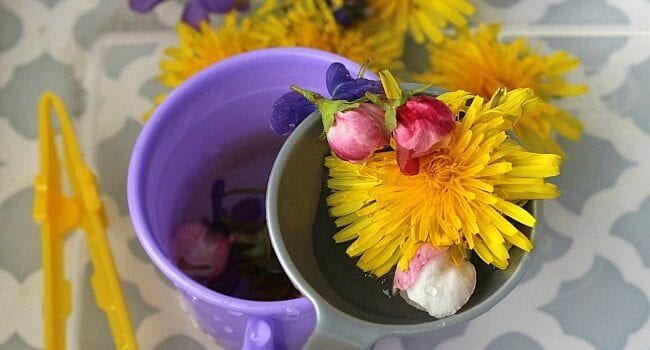
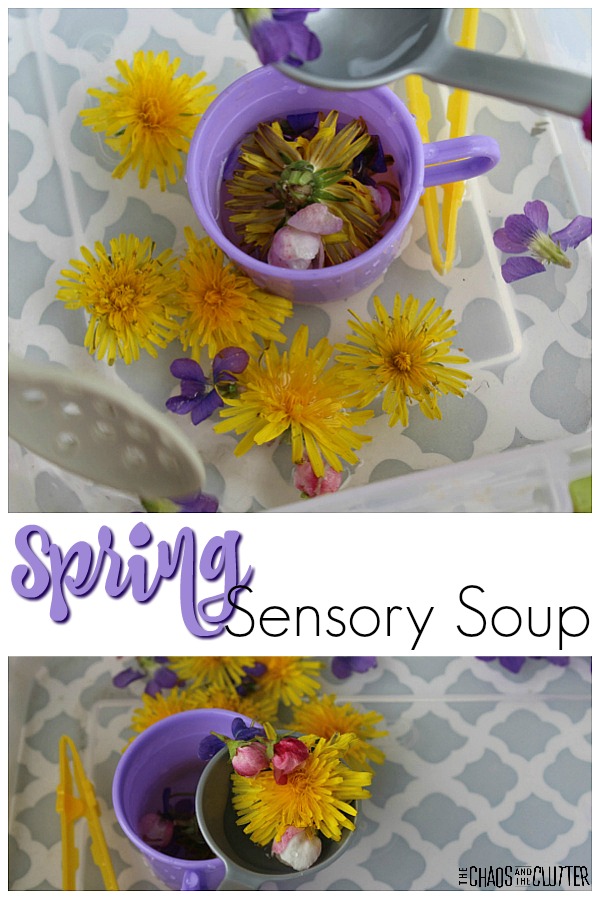
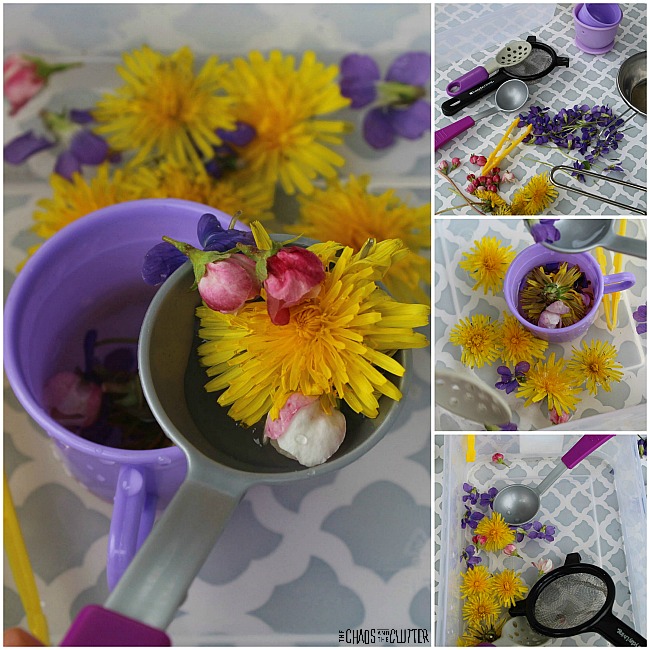
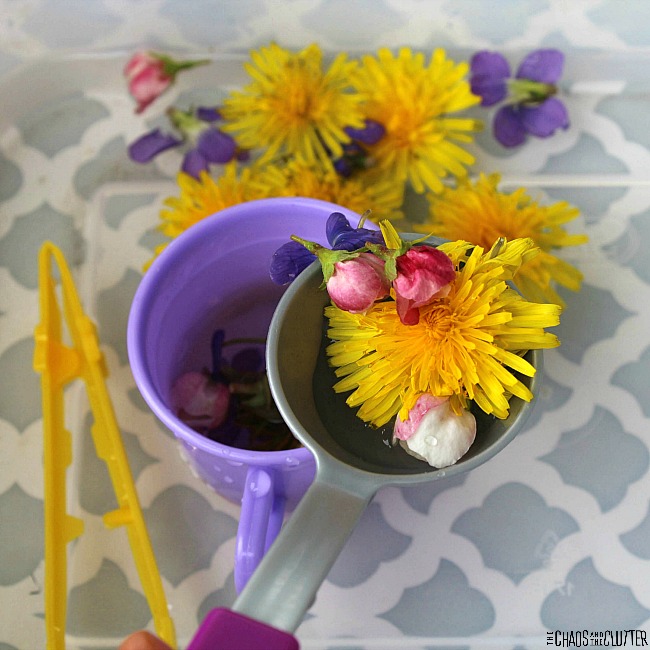
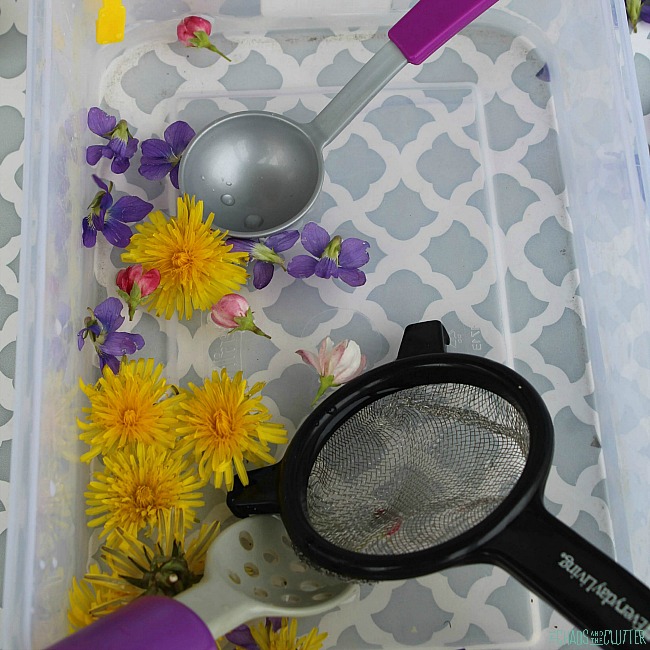
I love this Spring sensory soup activity. It is inspired by nature. Each soup will be different depending on what is available in your area and what your child decides to include.plastic bin filled with water filled with yellow, purple, and pink flowers, leaves, a purple cup, and a grey strainer
I like the idea of being able to gather and use local materials. Other than the plastic bin, this sensory play activity costs nothing!
 
Since you don’t need to buy any supplies, you won’t have to plan ahead before making this.

What is sensory soup?

Sensory soup is essentially a water based sensory bin. Items are added to the water and usually, kitchen gadgets are included as well to encourage kids to scoop, stir, spoon, and pour.
 
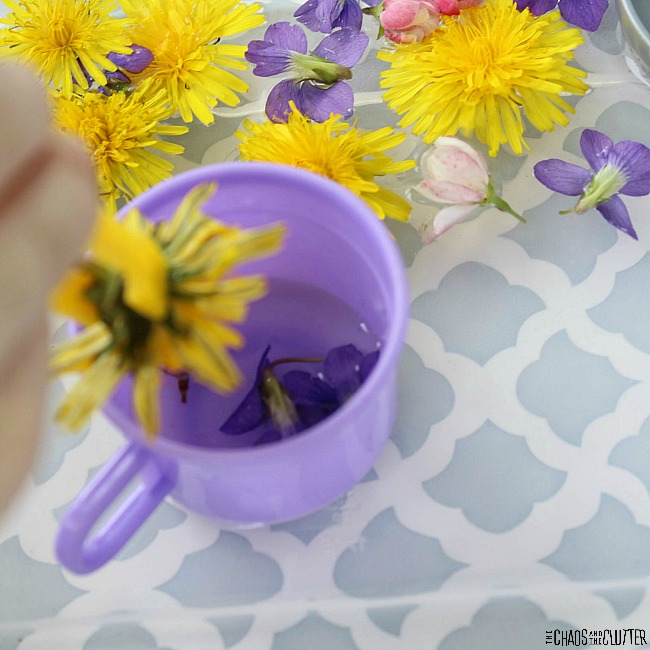
Kids can engage their senses as well as use their imaginations. They can pretend to make a soup, as well as stir and serve the soup.a child's hand dipping a yellow dandelion into water in a purple cup that is inside a sensory bin filled with water and other flowers

Spring Sensory Soup:

Materials needed:
  • plastic bin
  • spoons, ladles and tongs
  • stainer
  • small plastic cups and bowls
  • spring flowers and flower petals gathered from the yard or forest (dandelions, forget-me-nots, tulips, etc.)
  • leaves, grass, weeds, twigs, etc.
  • water
Instructions: 
  1. Explore outside with your child. Collect various flowers, grasses and weeds. Allow your child to take the lead on what they want to choose to include in their soup. You can bring a bag or container with you on your nature walk to gather things as you go.
  2. When you have collected a good assortment of natural items, fill a plastic bin about halfway with water.
  3. Float the flowers, petals, weeds, leaves and anything else you collected in the water.
  4. Add spoons and tongs to the bin. It’s best to include a variety of spoons such as slotted spoons, soup spoons, and ladles. These can be actually kitchen utensils or plastic toy ones.
  5. Add small plastic cups and bowls to the sensory bin.
  6. You can add a strainer or two as well.
  7. Invite your child to stir and serve spring soup using the utensils, cups and bowls.

Learning and Sensory Benefits:

Using the spoons will give kids the opportunity to practice manipulation skills as they transfer the flowers to the cups and bowls.

If you include measuring cups and measuring spoons, your child can practise their math skills.
 
The tongs are good for kids to practice their fine motor skills.
Water play creates the opportunity to splash and pour without worry because any that gets out of the bin will dry out and not create a mess.
 
This Spring sensory soup provides visual, tactile, and olfactory sensory input. Kids can see the different shapes and colours with their eyes. They can explore textures through touch and they can smell the leaves and flowers with their nose. They can also see how the smells change as the flowers mix together in the “soup”.

Join thousands of other people who have found help and guidance in the free 5 part email series, Sensory Solutions and Activities. (You’ll also get a printable list of 175 Great Sensory Ideas.) 

Check out some other Spring Sensory Soup ideas:

Lemonade Sensory Soup 

Calming Lavender Sensory Soup Lavender Sensory Bin

Filed Under: Sensory, Sensory Bins Tagged With: sensory play

Lemonade Sensory Soup

By Sharla Kostelyk

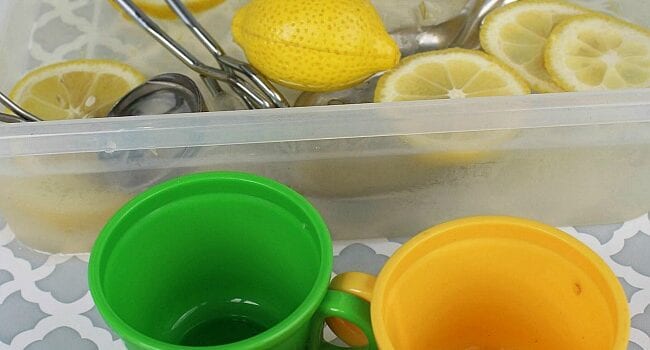
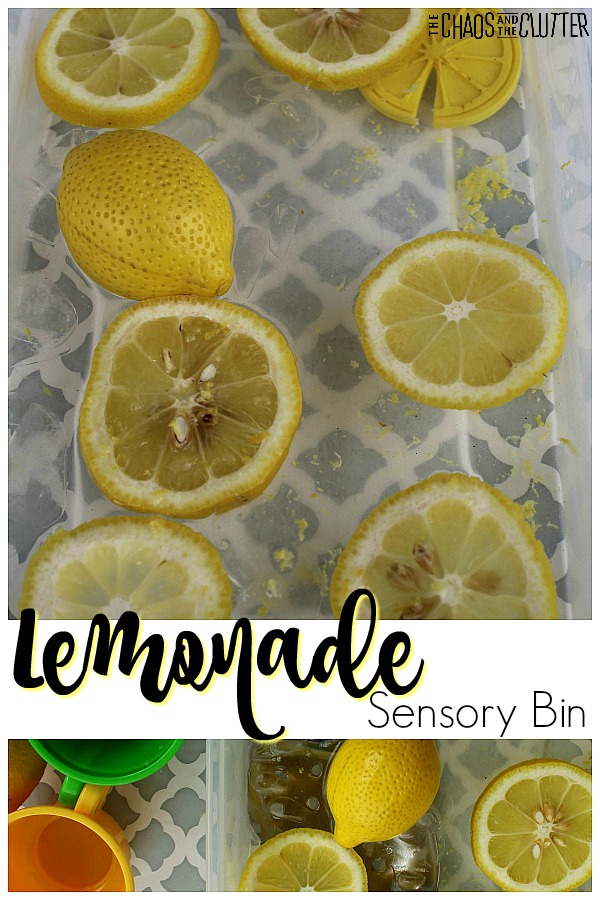
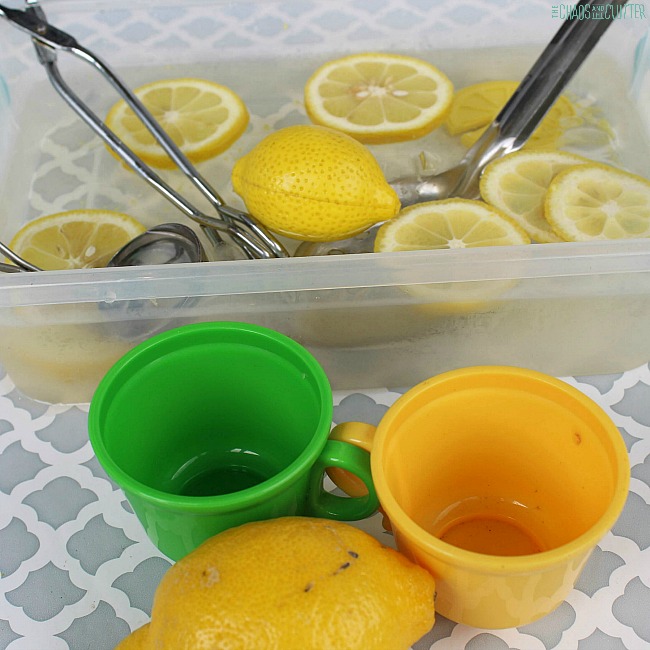
Have the feeling of summer any time of the year with this lemonade sensory bin water play activity. Give kids the opportunity to explore through many senses. In the colder months, you can bring a bit of sunshine in by creating this bin inside. And in the Spring or Summer, this is a great sensory play activity for outside. Lemonade Sensory Bin #sensorybins #sensorybin #sensoryplay #sensory #sensoryactivitiesThis lemonade sensory bin offers olfactory, tactile, gustatory, and visual sensory feedback.
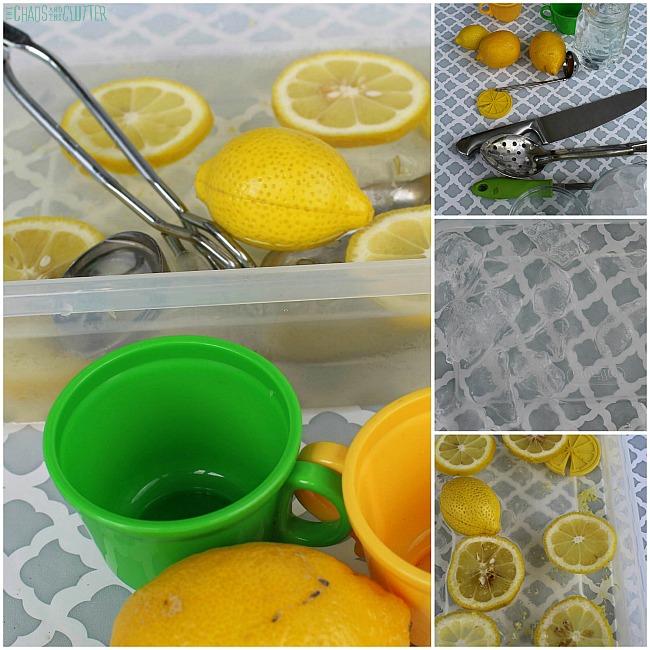
Olfactory (smell) – Kids can smell the lemons.

Tactile (touch) – Children have the opportunity to explore temperature with the cold of the ice. They can discover textures with the feel of the outside of the lemon contrasting with the inside, the seeds, the water, the ice, and the added kitchen tools.

Gustatory (taste) – This is a sensory activity where tasting is encouraged. Some kids will love the sour taste while others will not. But this gives them the chance to talk about their thoughts on the taste of the lemons.

Visual (sight) – The bright colour of the lemons against the water really pops. Most children will find this activity visually appealing. 

Lemonade Sensory Bin:

You’ll want to prepare this sensory bin immediately before your child plays with it so that the ice doesn’t melt before they begin to play.

Materials needed:

  • lemons
  • ice cubes
  • water
  • tongs
  • ladle
  • slotted spoon
  • plastic cups
  • bin
  • optional: zester
  • play food lemons or play lemon slices
Directions:
  1. Pour several cups of water into a plastic container.
  2. Slice several lemons. (This step should be done by an adult or by an older child with adult supervision.)
  3. Add a few cups of ice cubes to the bin.
  4. Float the lemon slices in the bin.
  5. If desired, you can zest some lemon peel into the water. This will add more scent.
  6. Add spoons, ladles, tongs, cups, or other kitchen gadgets to the bin.
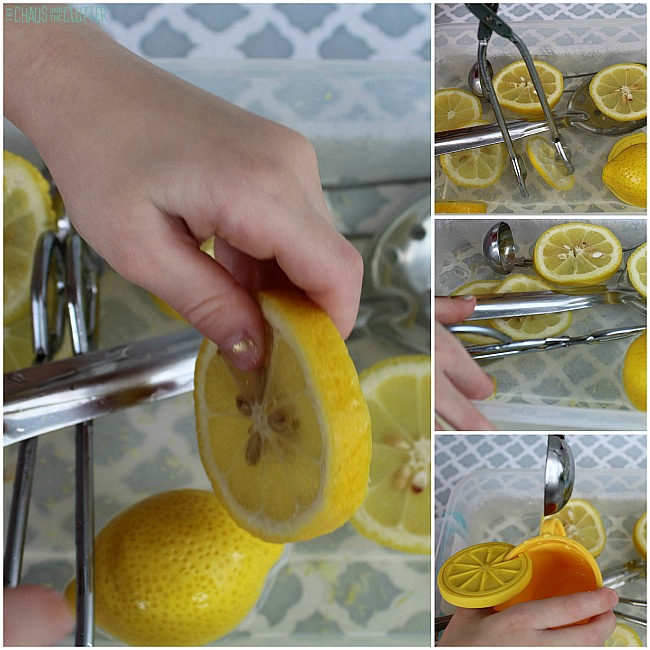
Invite your child to play in the bin. They can touch, squeeze, smell and even taste the lemon slices. Kids can pretend to be making lemonade or lemon soup. playing in Lemonade Sensory Bin
The opportunity to taste and smell the lemons will also provide a chance for vocabulary practise as they learn or reinforce words like “yellow”, “sour”, “fresh”, “bright”, “cold”, and more.
This sensory invitation to play activity is great for kids of all ages. As with all sensory play activities, adult supervision should be used.
Check out some of our other olfactory sensory activities:
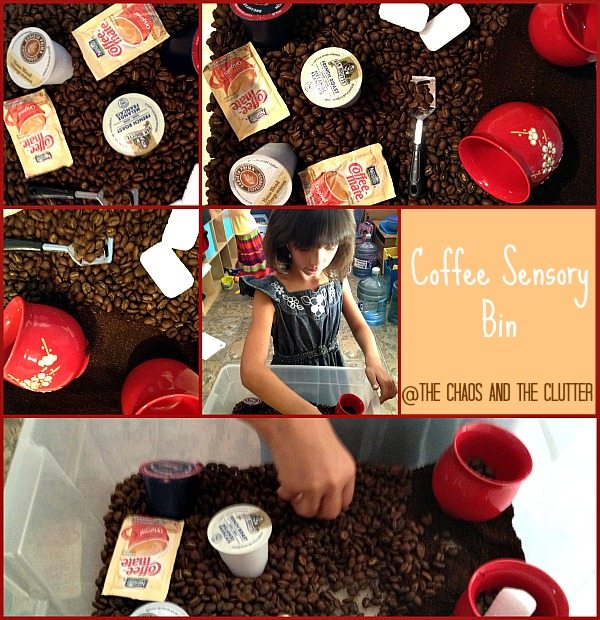
Coffee Sensory Bin Coffee Sensory Bin at The Chaos and The Clutter
Calming Lavender Sensory Bin Water Play Lavender Sensory Bin
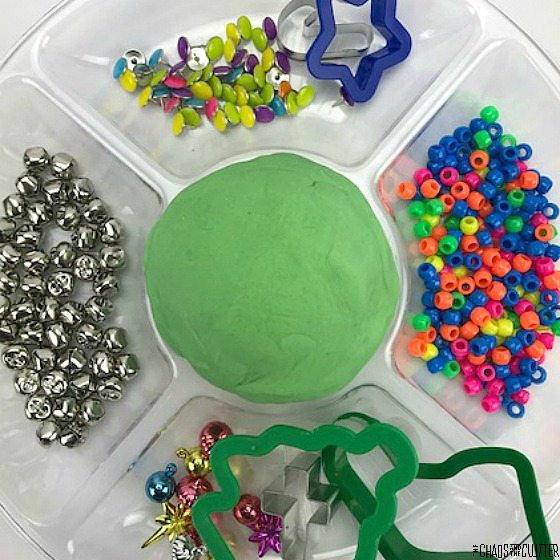
Peppermint Scented Playdough Invitation to Play 

Filed Under: Sensory, Sensory Bins Tagged With: sensory play

DIY Sensory Wall – Inexpensive and Easy to Make

By Sharla Kostelyk

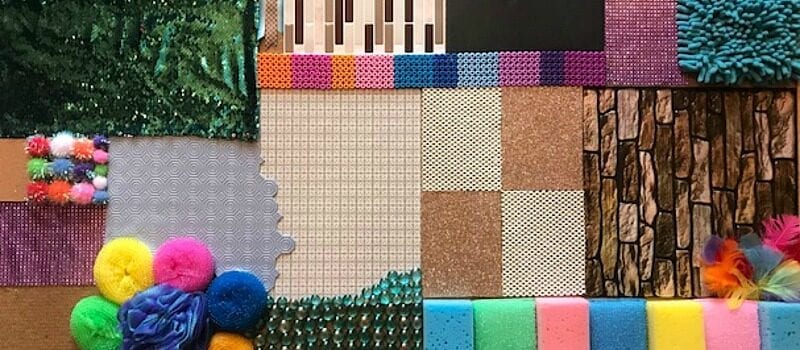
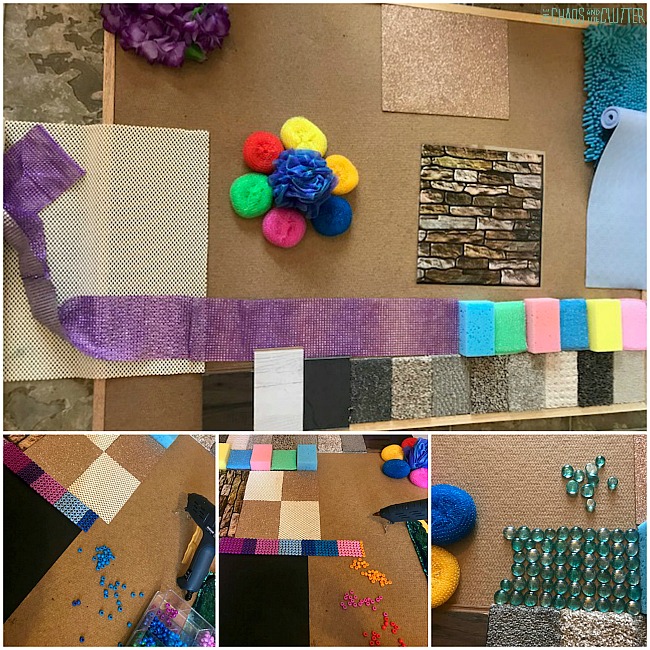
As soon as I started to plan out our Sensory Room, I knew I wanted to include a sensory wall. My DIY skills aren’t that impressive, so I had to come up with something that was easy and could be done on a budget. This tactile sensory wall is a great addition to our sensory room.DIY Textured Sensory Wall #sensory #sensoryroom #sensoryprocessingdisorder #sensoryboard #texturewall #tactileThe room that we are using for our sensory room isn’t ideal (it’s a converted closet area, so it’s smaller than I’d like), so I didn’t want to affix anything permanently to the wall in there which is what brought me to the decision to essentially create a large sensory board.
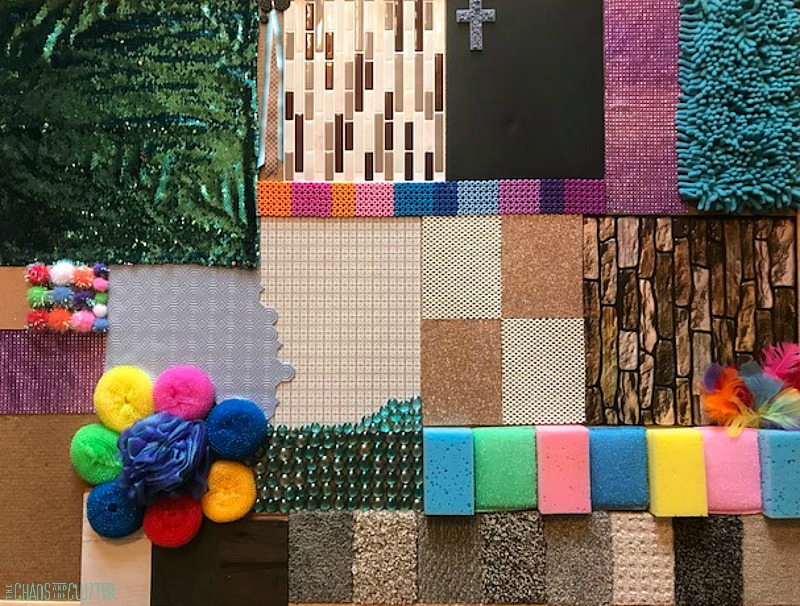
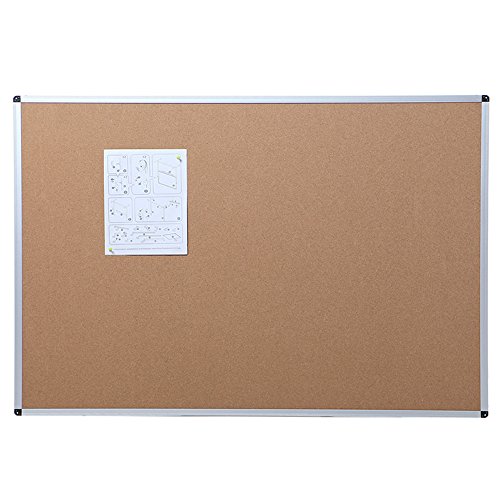
Sensory boards sell for hundreds of dollars, but I was able to make this one for under $100. In fact, if I had already owned a cork board, my cost would have come in at under $25!

There were parts of the project that were a bit tedious, so it was a time commitment, but it was so easy. Even with my limited DIY skills, I was easily able to complete this project myself.

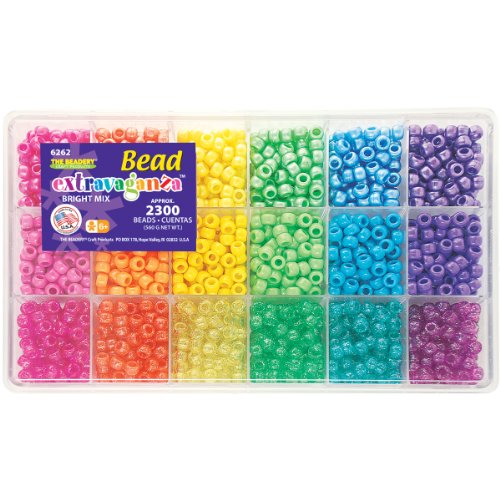
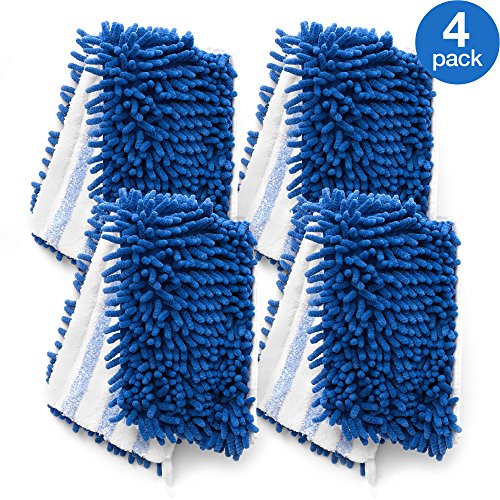
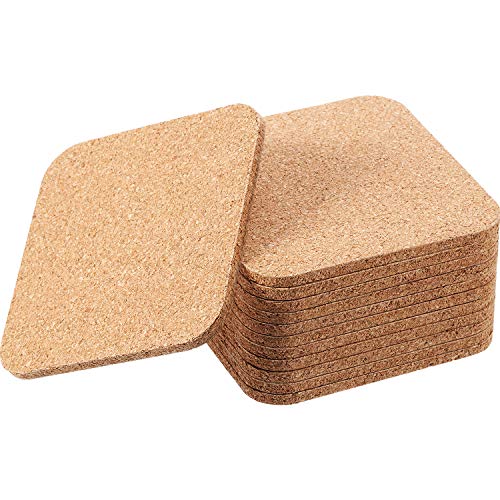
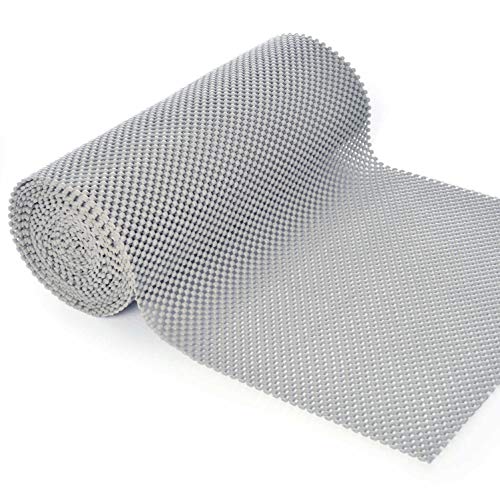
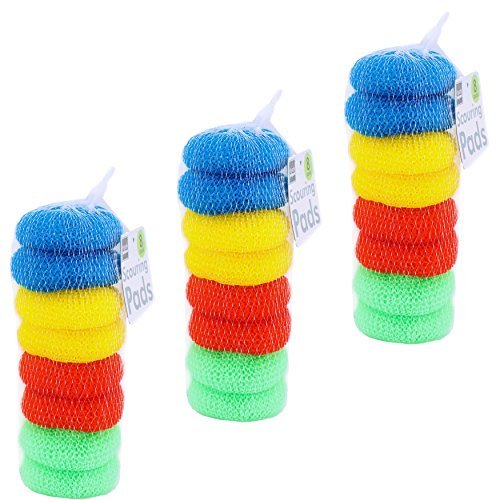
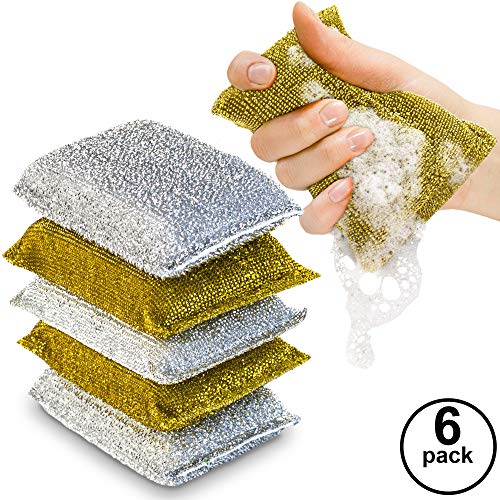
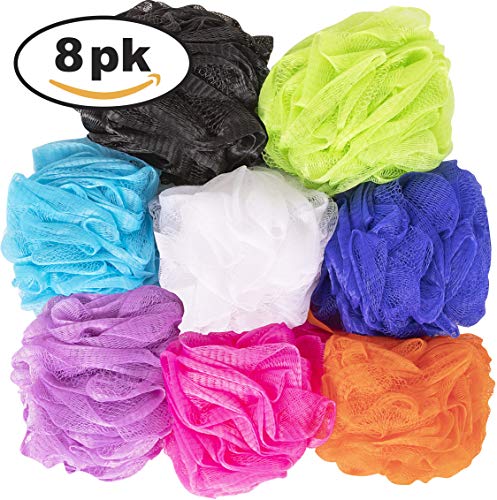
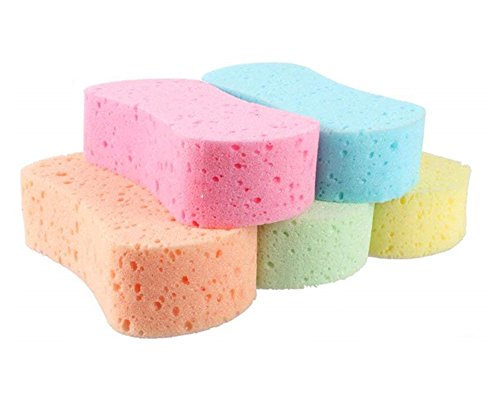
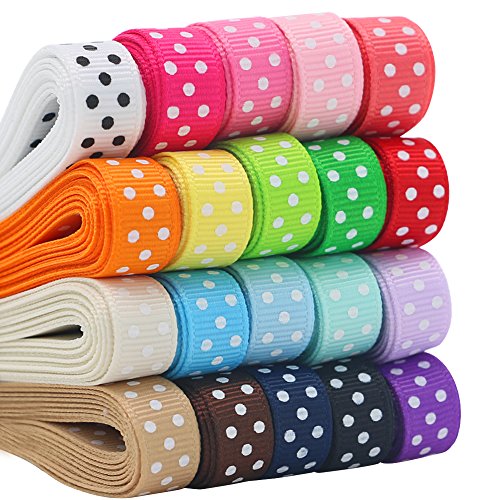
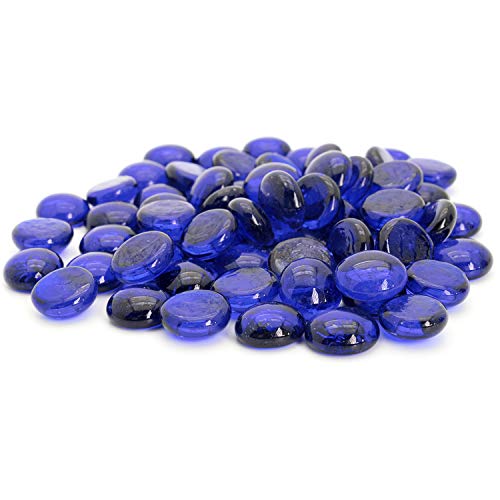
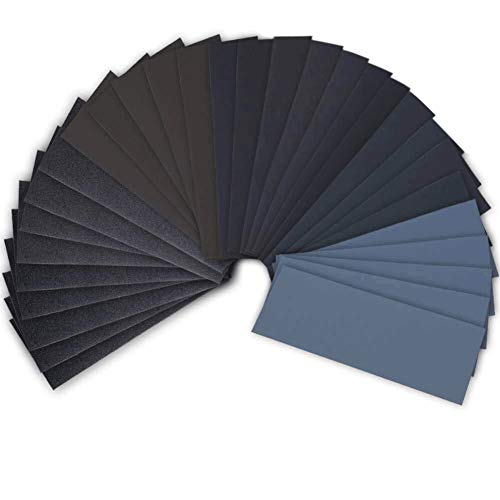
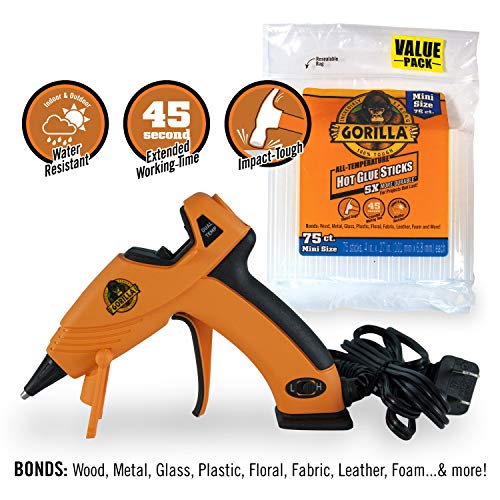
Cork Board 48 X 36 InchesCork Board 48 X 36 InchesCork Board 48 X 36 InchesReversible Mermaid Sequin FabricReversible Mermaid Sequin FabricReversible Mermaid Sequin FabricPeel & Stick Faux TilePeel & Stick Faux TilePeel & Stick Faux TilePony Bead BoxPony Bead BoxPony Bead BoxMop HeadsMop HeadsMop HeadsCork CoastersCork CoastersCork CoastersGrip Cupboard LinerGrip Cupboard LinerGrip Cupboard LinerRound Nylon Dish Scouring PadsRound Nylon Dish Scouring PadsRound Nylon Dish Scouring PadsKitchen Scrubbing SpongesKitchen Scrubbing SpongesKitchen Scrubbing SpongesMesh Bath SpongesMesh Bath SpongesMesh Bath SpongesCar Wash SpongesCar Wash SpongesCar Wash SpongesRibbonRibbonRibbonGlass BeadsGlass BeadsGlass BeadsSandpaperSandpaperSandpaperGorilla Hot Glue Gun and SticksGorilla Hot Glue Gun and SticksGorilla Hot Glue Gun and Sticks

How to make a sensory wall:

Supplies needed:

  • large cork board with frame (the one I used was 36×48)
  • carpet samples
  • flooring samples
  • sandpaper (use coloured sandpaper if you want)
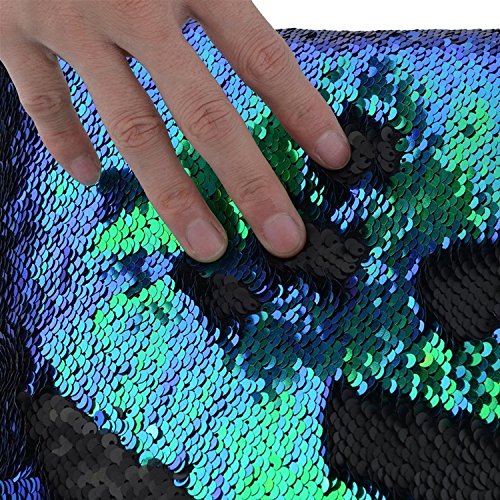
  • reversible sequin mermaid fabric*
  • glittered foam sheet
  • feathers
  • pony beads
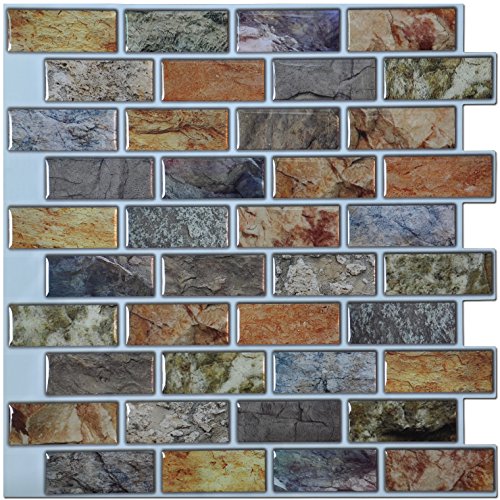
  • faux tile or brick panels
  • cork coaster
  • beaded or sequinned fabric
  • glass beads
  • mop head
  • ribbon
  • textured brads
  • embroidered cross
  • cupboard liners (I used several types)
  • pompoms
  • dish scrubbers
  • sponges
  • nylon dish scrubbers (round)
  • mesh bath sponge
  • textured paper
  • hot glue gun (not the small ‘warm’ glue guns)
  • hot glue sticks
  • optional: scissors

making a sensory wall

Instructions to make the sensory board:

  1. Shop for the supplies. I bought the cork board at an office supply store. I got the carpet samples (free) and the flooring samples (under $1 each) from a home improvement center. All the other items were purchased at the dollar store or things I already owned.
  2. Lay the cork board on the floor. Set items on top of it and move them around until you’re happy with how it looks. I played around with different layout options for quite awhile before I decided where I wanted things.
  3. Begin attaching the items to the board using the hot glue gun. This should be done by an adult as the glue gun and the glue are hot enough to cause burns. Note that if you are gluing something like mesh or lace, you’ll want to use a book to press it down instead of your hand or the glue will seep through and burn you. (ask me how I know!)
  4. For smaller items such as the beads, I put down a line of glue directly on the board before placing the beads using tweezers. I then pressed them into the glue.
  5. Allow the glue to dry completely before lifting the board up.
  6. Lean the board up against the wall or attach it securely to the wall. I suggest you do this at the bottom of a wall so that even young children can touch everything on it.

I used glue for attaching everything, even materials such as the faux tile panels that had a sticky back because I wanted to secure things well.

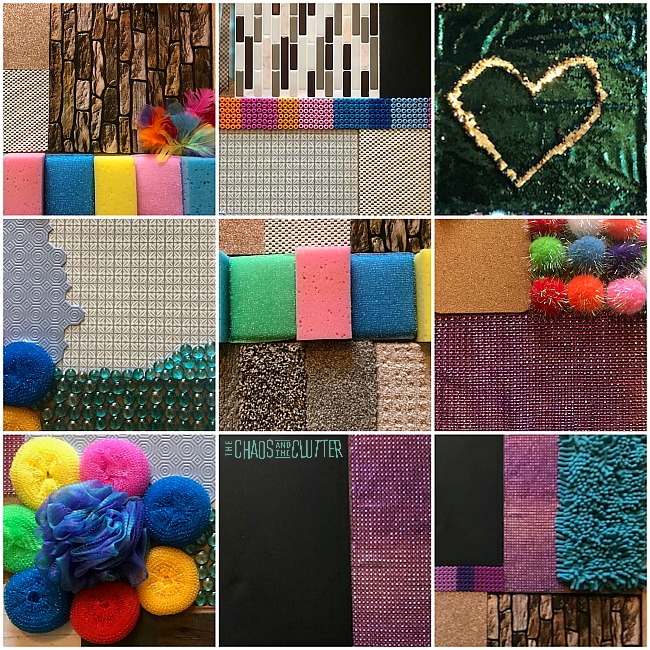
Using scissors, I cut some of the items to make things fit or to create interesting lines. I tried to place things in such a way that maximized different textures, heights, and colours. Just for added visual appeal, I created a flower out of nylon dish scrubbers and a mesh bath sponge.

*For the sequin mermaid fabric, I was able to find a pillow cover at the Dollar Store. My oldest daughter took the stitching out to remove the back. It was satin, so I had been planning to use that as a separate texture element but I ran out of space. 

Other ideas to include on your texture wall:

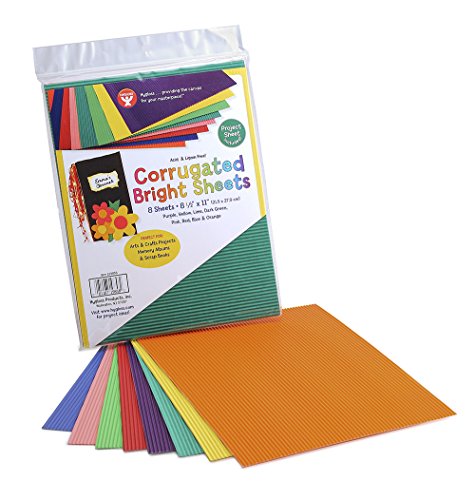
  • corrugated cardboard
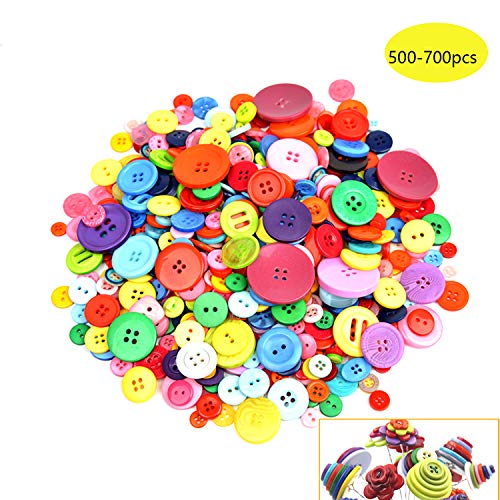
  • buttons
  • silicone moulds
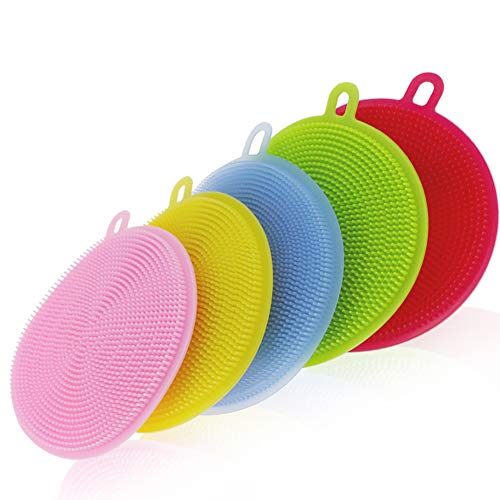
  • silicone dish scrubbers
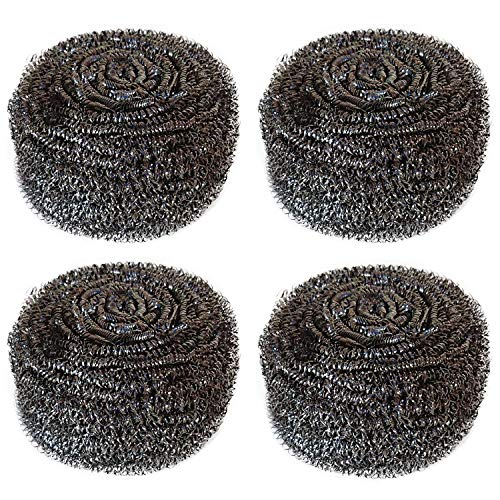
  • metal scouring pad
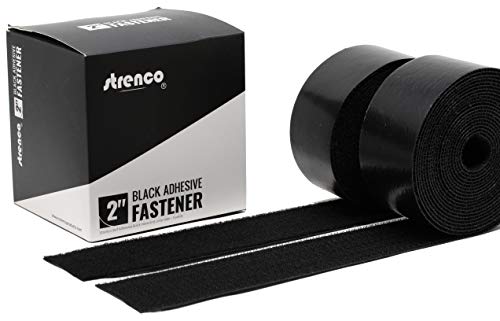
  • velcro
  • dry pasta
  • seashells
  • pipe cleaners
  • cotton balls
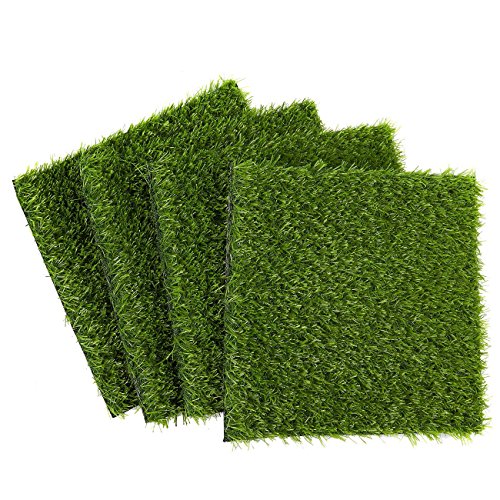
  • fake grass
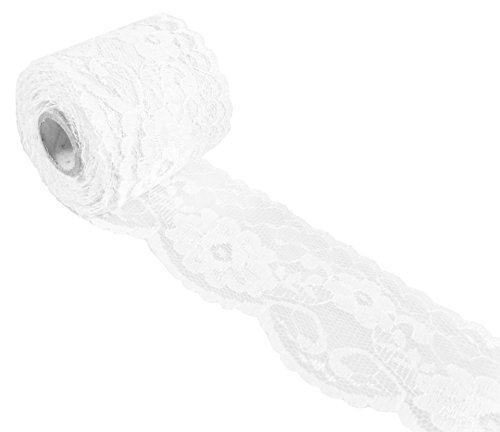
  • lace
  • glue (make designs in glue and allow to dry for kids to trace with their fingers)
  • a variety of fabric swatches (silk, satin, flannel, cotton, denim, spandex, wool, suede, seersucker, etc.)
  • faux fur
  • rocks
  • beans
  • straws
  • crayons
  • toothpicks
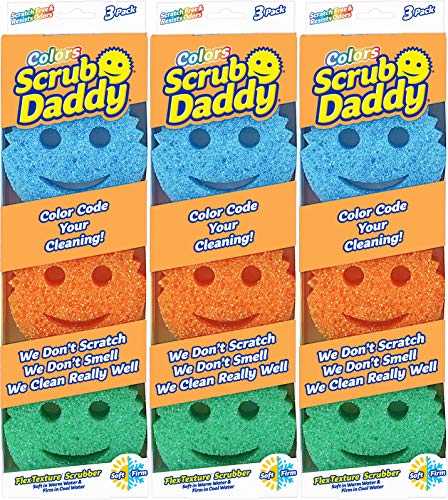
  • happy face sponges
  • foam
  • tissue paper
  • lycra or latex band
  • mesh
  • screen
  • makeup sponges
  • foam shapes
  • tin foil
  • cotton
  • corks
  • wire
  • pretend flowers
  • straw beach mat
  • costume jewelry such as Mardi Gras beads
  • balloons
  • bubble wrap
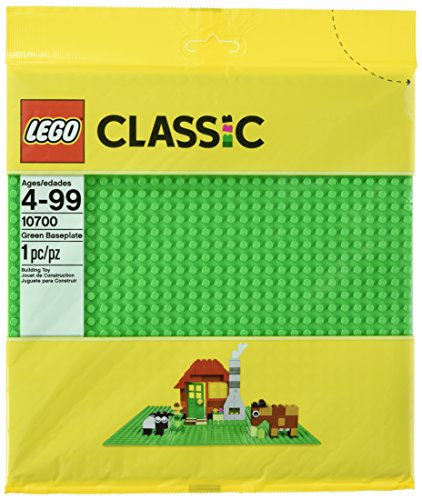
  • Lego plates
  • wood
  • bag filled with gel
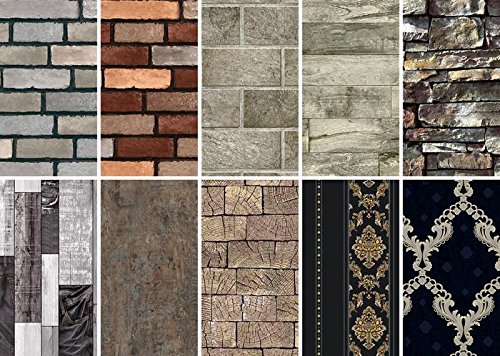
  • wallpaper samples
  • bamboo
  • burlap
  • bark
  • twigs
  • felt
  • shammy
  • gauze
  • doily
  • old curtains or tablecloth

Corrugated CardboardCorrugated CardboardCorrugated CardboardSilicone ScrubbersSilicone ScrubbersSilicone ScrubbersButtonsButtonsButtonsMetal ScrubbersMetal ScrubbersMetal ScrubbersVelcroVelcroVelcroFake GrassFake GrassFake GrassFaux Fur Fabric PieceFaux Fur Fabric PieceFaux Fur Fabric PieceSensory Latex BandsSensory Latex BandsSensory Latex BandsHappy Face ScrubbersHappy Face ScrubbersHappy Face ScrubbersLEGO BaseplateLEGO BaseplateLEGO BaseplateWallpaper SamplesWallpaper SamplesWallpaper SamplesLace RibbonLace RibbonLace Ribbon

Why create a sensory wall?

Sensory walls provide an opportunity for rich sensory exploration. They give tactile, visual, and auditory sensory input. They are an invitation for children to explore through their senses and discover more about their own sensory preferences. It is important for kids to learn about the sensory systems and sensory preferences.

A sensory wall can be enjoyed by toddlers, preschoolers, and even older kids and adults. You are never too old to explore through your senses!

As kids explore through touch, they will find texture they like and ones they don’t. They will have their favourites and ones that they never touch again. One of my daughters even has a particular carpet sample she likes best and keeps going back to.

A perfect example of sensory preferences is that my middle daughter asked me to please keep a section of the cork board empty because she couldn’t get enough of touching it. It’s hard to describe the feel of it. It’s not traditional cork (though I did attach a cork coaster). This cork board is kind of hairy and rough. The funny part was that I couldn’t stand touching it. I was avoiding it as I worked on building the sensory wall and here my daughter was saying that it was her favourite part!

Strangely enough, the mop head turned out to be my favourite thing on the board.
Children can also discover with their eyes as they take in the colours, shapes, and patterns on the wall. They can explore sounds by running their fingers or nails over the beads or scratching on the sandpaper or scrunching the kitchen scrubbers.

This type of play is also great for vocabulary and communication. Kids can describe what they are seeing, hearing, and feeling. They can ask questions and express their likes and dislikes.

Other sensory wall ideas:

Use a pegboard to attach things to. This creates a sensory board that can be changed around for different seasons, themes, or as your child grows and their interests and sensory needs evolve.

Sensory Wall for a Large Room – Teach Me Mommy

Busy Board for Babies and Toddlers – Kara Carrero

DIY Sensory Boards for Little Ones – Fun at Home with Kids

If you create you own sensory wall, send me a picture or tag me on social media. I would love to see what you come up with!

Looking for sensory play recipes? Join for a five day email series on Sensory Activities and Solutions and get a free sample of our Sensory Play Recipes eBook.

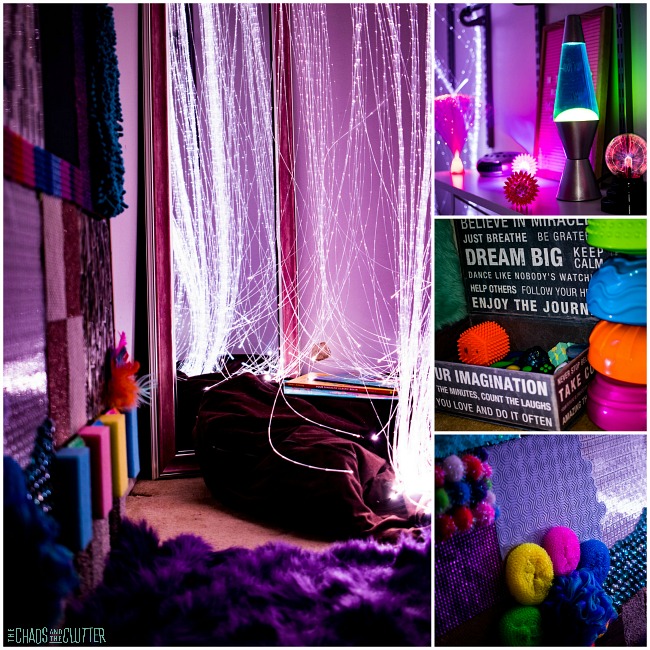
Check out our whole Sensory Room (including a video tour)!

These other articles may interest you as well:

Sensory Bin Fillers and Tools 

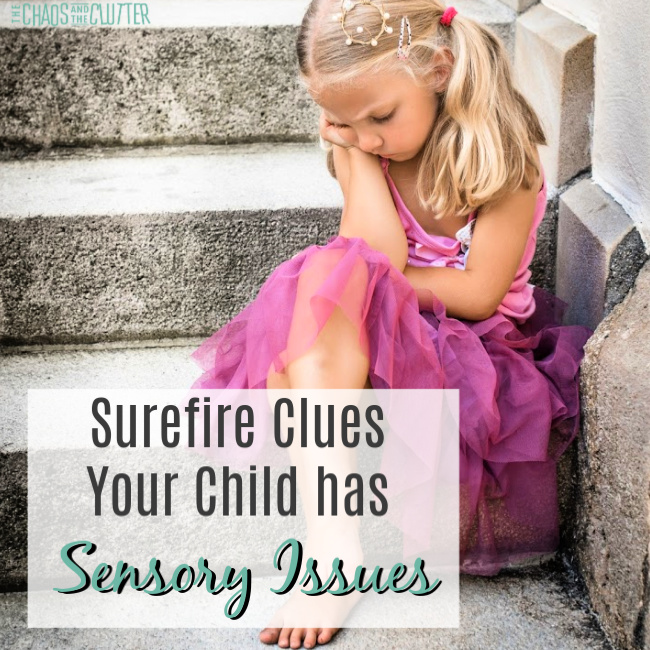
Surefire Clues Your Child has Sensory Issues

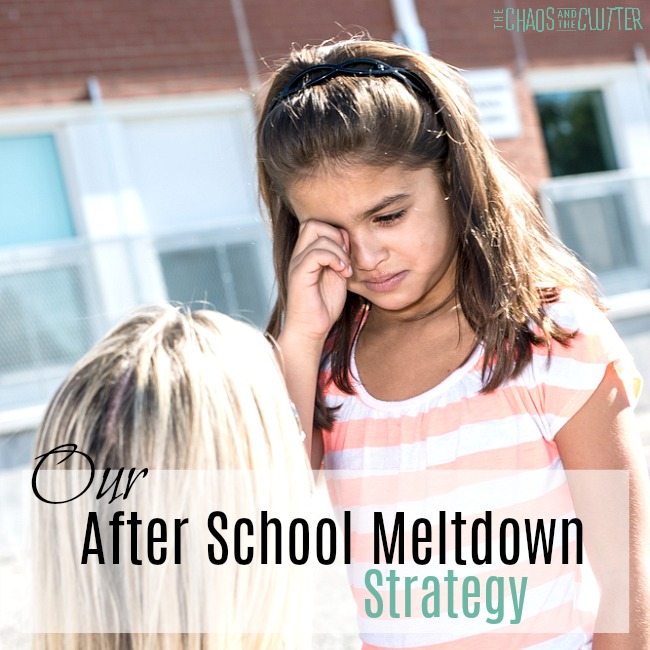
An After School Meltdown Strategy that actually works 

Filed Under: Sensory

  • « Go to Previous Page
  • Page 1
  • Interim pages omitted …
  • Page 13
  • Page 14
  • Page 15
  • Page 16
  • Page 17
  • Interim pages omitted …
  • Page 50
  • Go to Next Page »

Primary Sidebar

Categories

We are a participant in the Amazon Services LLC Associates Program, an affiliate advertising program designed to provide a means for us to earn fees by linking to Amazon.com and affiliated sites.

Copyright © 2026 • The Chaos and the Clutter • Site Design by Jeni @ The Blog Maven

Return to top of page

Copyright © 2026 · Chaos and the Clutter 2.0 on Genesis Framework · WordPress · Log in