• Skip to primary navigation
  • Skip to main content
  • Skip to primary sidebar
  • Home
  • About
  • Contact
  • Privacy + Terms
  • Affiliates

The Chaos and the Clutter

  • Facebook
  • Twitter
  • Pinterest
  • Google Plus
  • RSS
  • Email
  • School at Home
  • Sensory
    • Sensory Processing Disorder
    • Awesome Sensory Play Activities
      • Sensory Bins
      • Sensory Bottles
      • Sensory Bags
  • Family Games
    • Minute to Win It Games
  • Special Needs Parenting
    • Childhood Anxiety
    • Reactive Attachment Disorder
    • Sensory Processing Disorder
  • Store
  • Course Login

Sensory

Colour Mixing Sensory Science

By Sharla Kostelyk

Learning about colours doesn’t have to be boring. Our colour mixing sensory science made for a very fun few days! Colour Mixing Sensory Bags #sensoryplay #sensorybags #sensoryscienceWe were inspired by our Rainbow theme last week and decided to extent our learning about colors into this week. There is a song that we sang (to the tune of “If You’re Happy and You Know It”):
“When you hug blue and yellow, it makes green; when you hug blue and yellow, it makes green; when you hug these two you’ll see a new color magically; when you hug blue and yellow, it makes green.”

Of course, for the next two versus, you make orange by “hugging” red and yellow and make purple by “hugging” red and blue.

We did a few easy color mixing experiments.

Colour Mixing Sensory Bags:

Supplies needed:

  • resealable plastic sandwich bags
  • red paint
  • blue paint
  • yellow paint

Instructions:

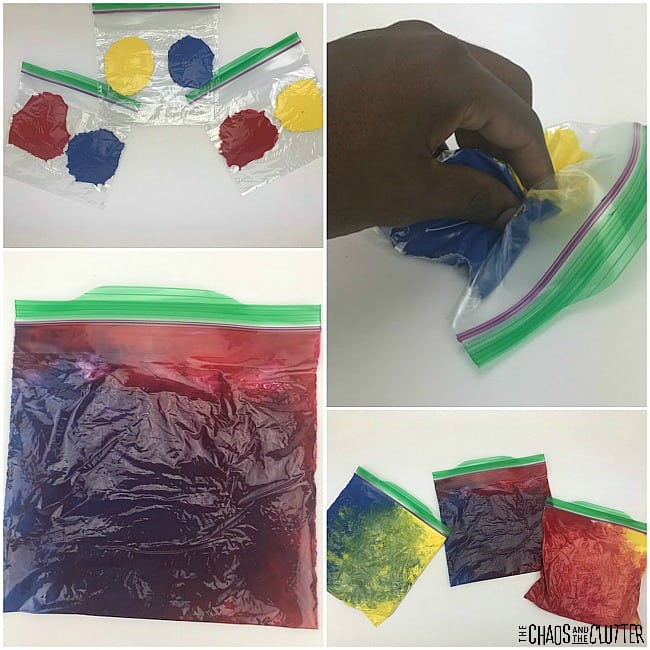
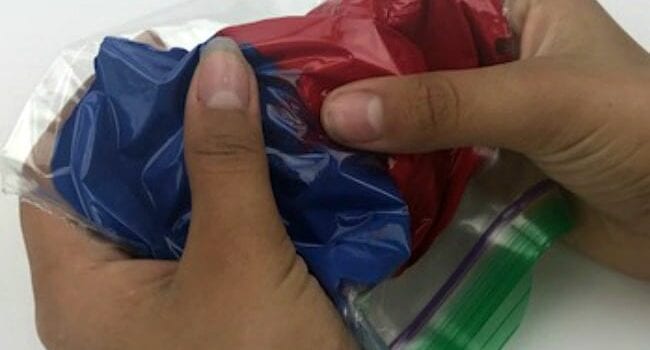
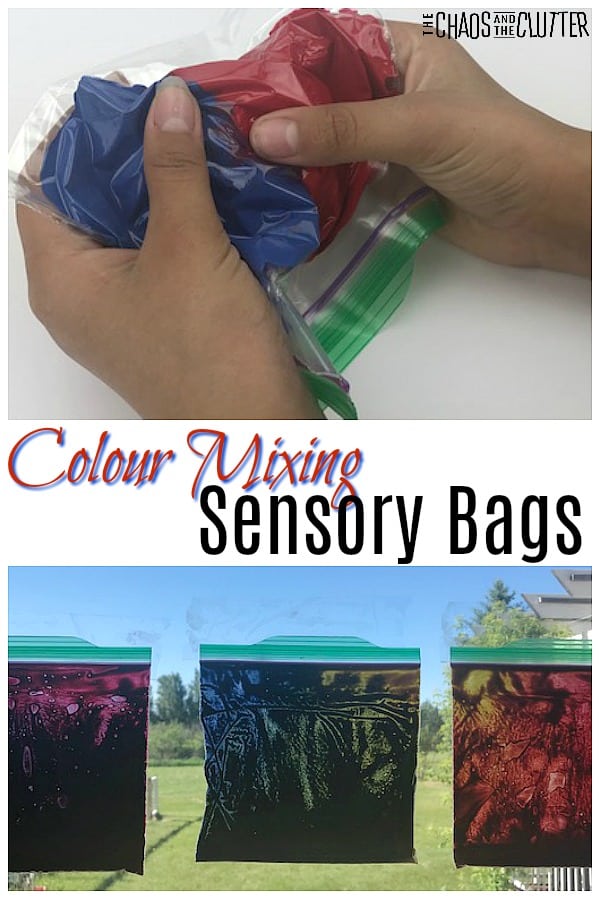
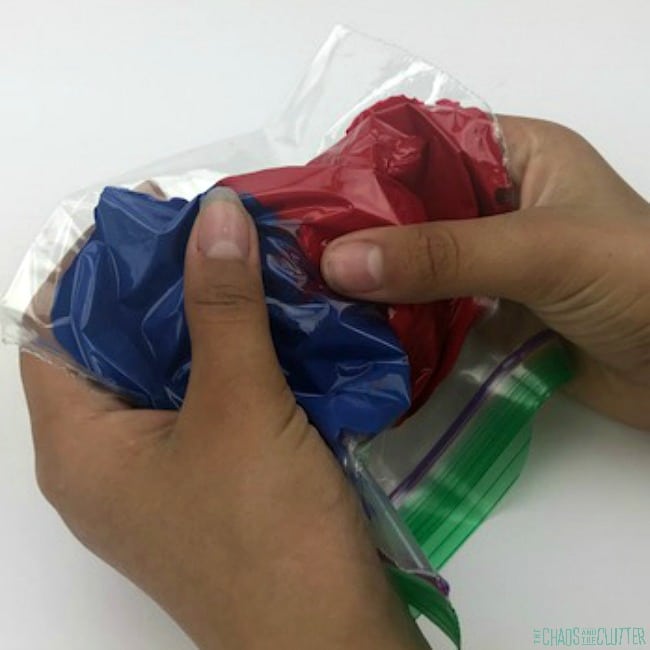
Squirt some blue paint and red paint into one bag, ensuring that the paints are on opposite sides of the bag. Do the same in other bags with blue paint and yellow paint in one and red paint and yellow paint in another.

Seal the bags, removing as much of the excess air as you can.

Discuss primary and secondary colors.

Have the child hypothesize what colours will be created when the paint is mixed.

Have the child mix the paints together with their fingers by moving the paint around through the bag. This is a great sensory activity too. The kids are able to create other colours by squishing the primary colours into each other.
You can hang the bags on the window using clear packing tape and have the child observe how the sun shining through affects the appearance of the colours.

This experiment is one of many included in the first volume of our Sensory Science Book. It is full of engaging hands-on learning designed to help kids retain what they learn because of using their senses in the process. 
Colour Mixing Mini Volcanos:
Supplies needed:

  • baking soda
  • cake pan
  • vinegar
  • food colouring
  • droppers

Instructions:

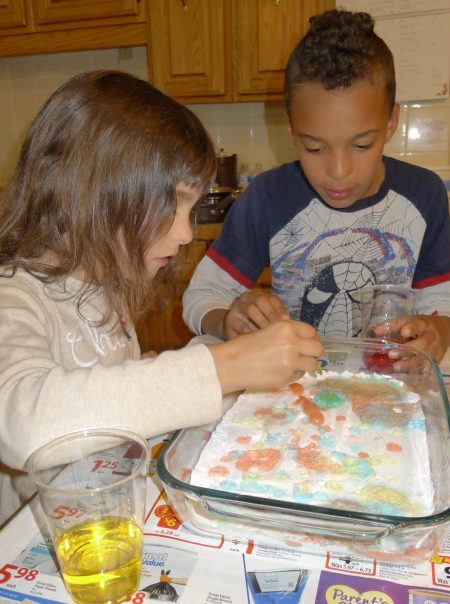
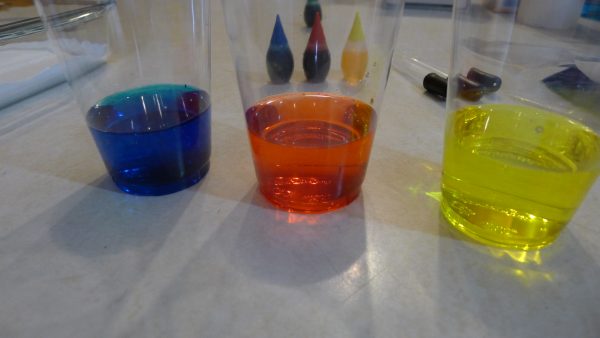
Place a layer of baking soda in a cake pan. Fill three cups a third of the way with vinegar and add about five drops of food colouring to each cup.

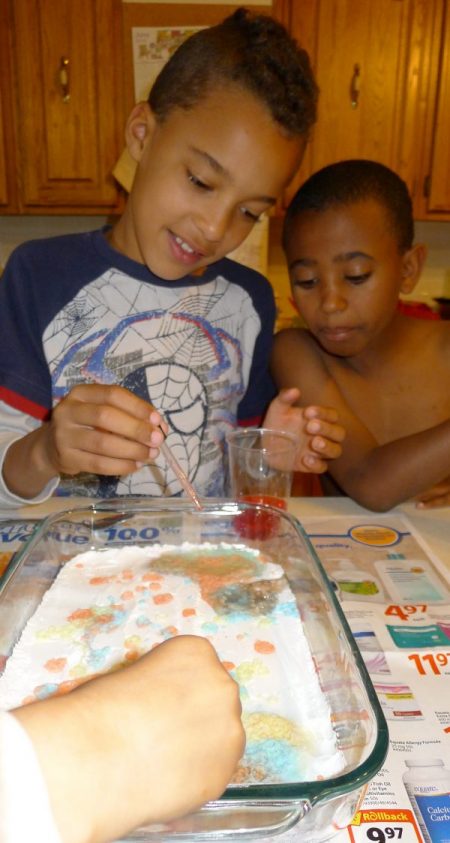
Fill the droppers with the coloured vinegar and squeeze it out onto the baking soda. By adding another colour on top, you can create little volcanos of new colour in mixing them. 
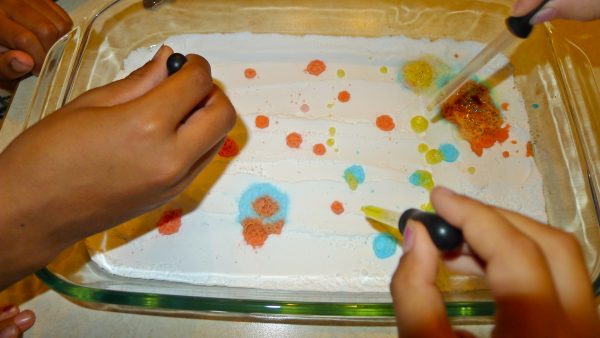
They loved this activity!The kids learned:

-that the best way to form a new colour was to have a person with one dropper of one colour and another person with another colour squeeze at the same time in the same area. Once left on the baking soda, the colours did not mix as easily.

-that mini volcanos are fun.

-that when you pour the three glasses of color into each other, you end up with almost black.

Mommy learned that when you do this activity, you should put newsprint down to protect your counters!!! (note that in the early picture, there was none underneath!)

The kids especially liked the look of the bottom of the cake plate after we were done and wished we could hang it like artwork. Unfortunately, a picture of it will have to do!
Some of the books that we read that were related to colour:


The kids also completed a great colour mixing worksheet (find it here) and had fun with some Mandala coloring pages that I printed for free from here.

They also had plenty of opportunity for hands-on learning on colour mixing with paint.

Check out these other great sensory science activities:
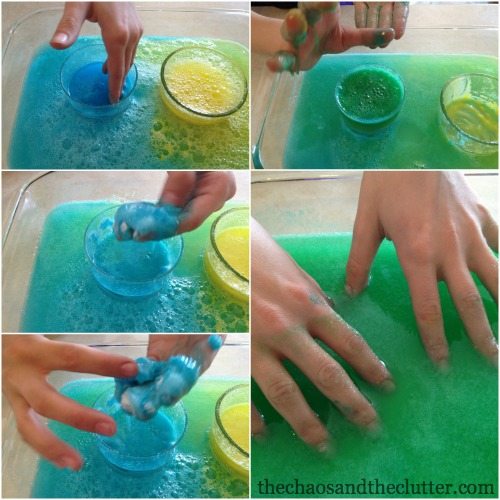
Jello Science Experimentsjello colour mixing experiment

Sensory Smell Bottles

Filed Under: Crafts and Activities, Homeschooling, Sensory, Simple Science Tagged With: sensory play

Sensory Smell Bottles

By Sharla Kostelyk

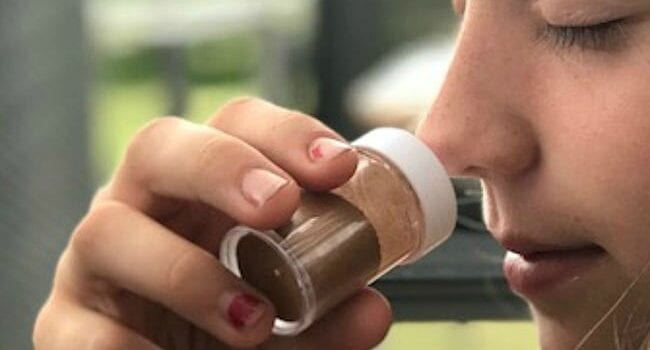
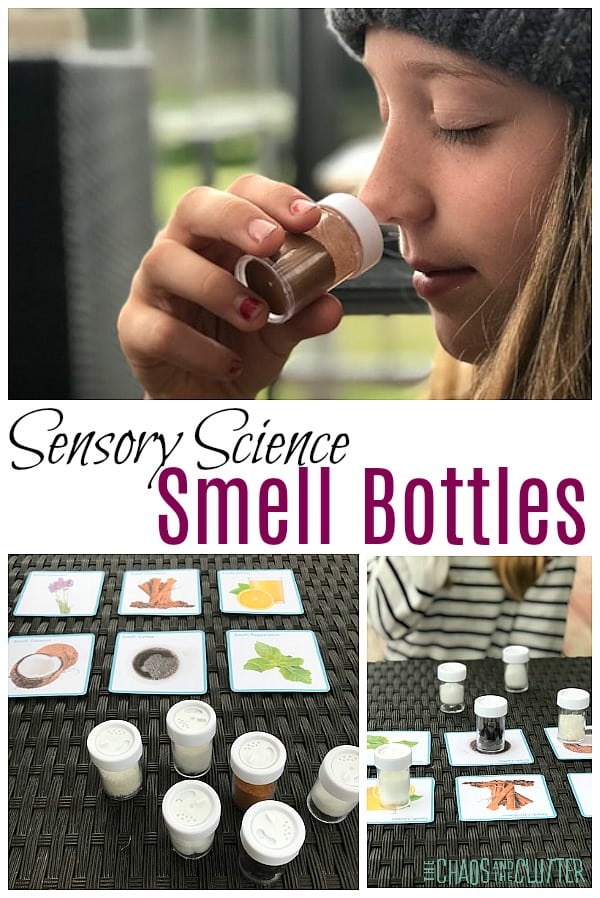
I’ve been wanting to make smell bottles for a long time. I first learned of them as a Montessori activity. They are also an amazing sensory activity for teaching about olfactory and providing sensory input. Sensory Science Smell Bottles #sensoryscience #smellbottles #sensoryplayMy kids really enjoyed this activity. Of course, boys being boys, I got to hear what other smells we could have bottled!!! How is it that boys can always find a way to find the gross factor?!
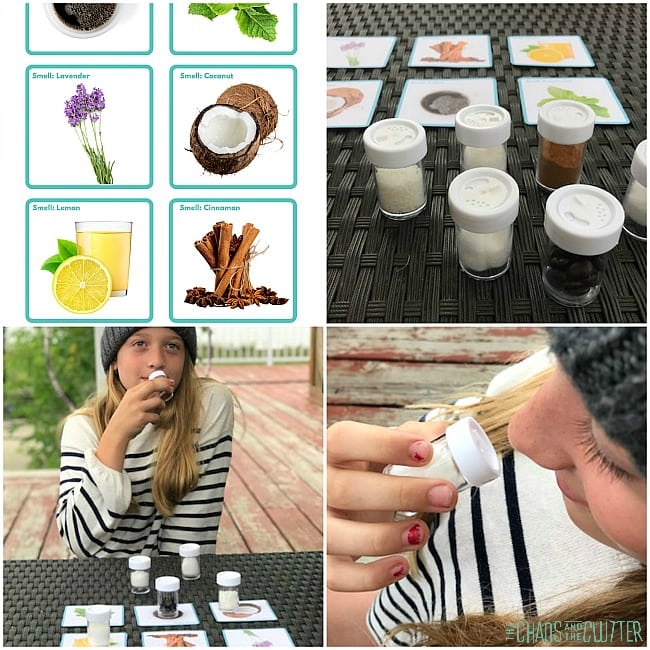
If you’re doing a unit on the Senses, this is a good way to introduce the sense of smell.

This is an inexpensive activity as you will likely have most of the supplies at home already. I found the travel spice bottles we used at the dollar store. You could also use leftover empty spice bottles if you have any.

How to Make Sensory Smell Bottles:

Supplies needed:

  • travel spice bottles
  • cotton balls
  • coffee beans or coffee grounds
  • cinnamon
  • peppermint extract or peppermint essential oil
  • lavender essential oil or lavender
  • coconut
  • lemon essential oil or lemon juice

Instructions:

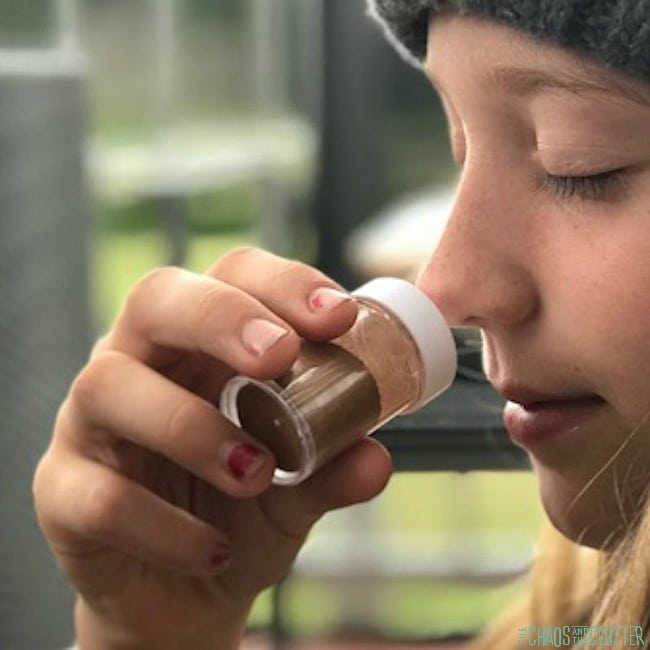
  1. Put the coffee grounds or beans in one bottle, some cinnamon in another, some coconut in another.
  2. Put some peppermint extract or essential oil on a cotton ball, lavender essential oil on another, and lemon juice or lemon essential oil on another cotton ball. Place each cotton ball into a container.
  3. Have the child guess what each smell is. With younger kids, allow them to use their visual sense as well. They can look for clues such as colour and pair that with the smell to help them figure out what it is.
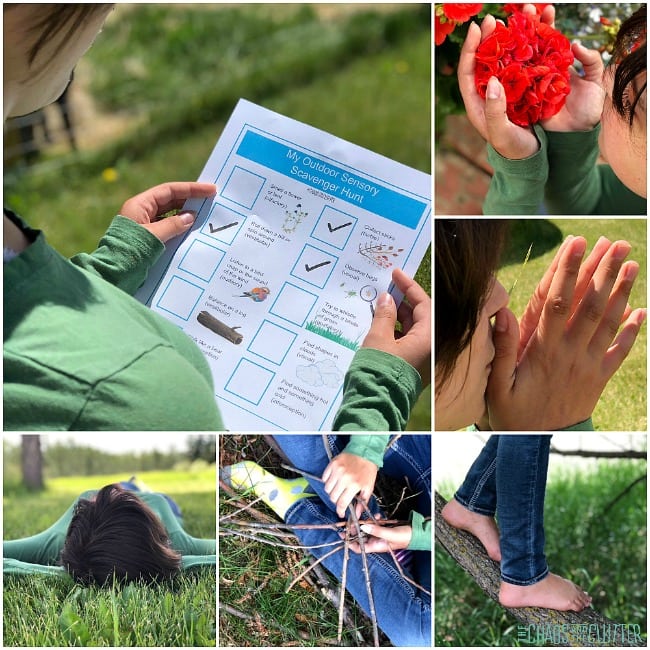
Help your child play “Sensory Detective”. If you print out the corresponding Smell Bottle Cards (available in the Sensory Science Book Volume 1), lay them out for your child to match the scents to.

With older kids, have the child try the activity blindfolded so that they are only using their sense of smell.

Try filling the bottles with more challenging scents to identify such as a flower, dirt, honey, pepper, salt, or orange.

Talk about what the smells are and how our sense of smell also affects what things taste like. You can find an explanation about smell and taste to share with kids here.

Note that just like all senses, some kids will be more sensitive. They may find some (or all) of the smells too strong or even offensive.

Allow them to go at their own pace. Let them hold the bottle further away or even smell through the lid. Some kids’ sense of smell is so strong that they will be able to smell it through the closed lid.

Find this sensory science activity and many more in The Sensory Science Book, full of engaging hands-on learning ideas.

Check out these other sensory science activities: 

Jello Colour Mixing Experiment jello colour mixing experiment

Outdoor Sensory Scavenger Hunt 

Join me for a free 5 part email series Sensory Solutions and Activities (just pop your email into the box below) and get a printable list of 175 Great Sensory Ideas.

Filed Under: Sensory, Simple Science Tagged With: sensory bottles, sensory play

Simple Hallowe’en Slime

By Sharla Kostelyk

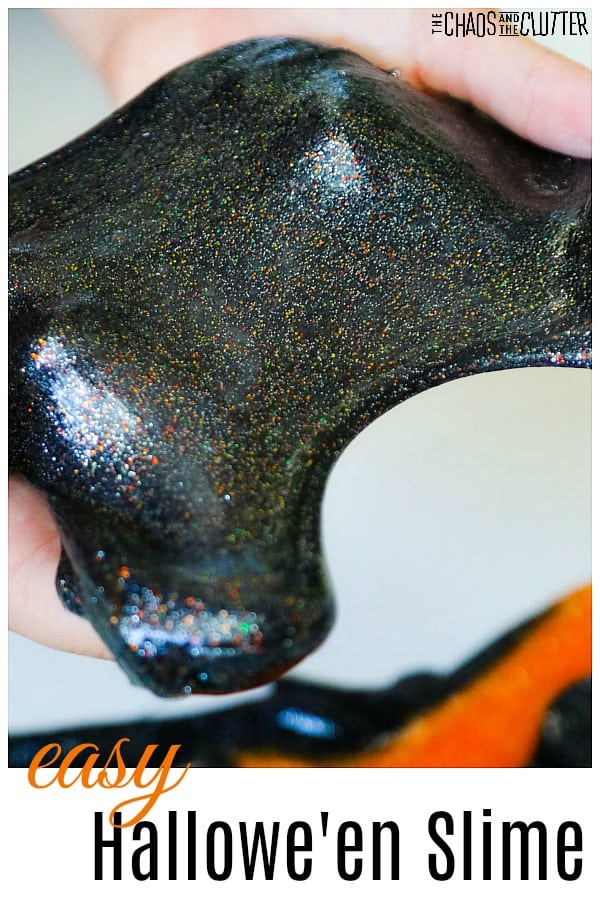
Any excuse is a good excuse to make slime (according to my girls anyway!). With the leaves changing, I guess it’s time for Hallowe’en Slime! Easy Hallowe'en Slime #slimerecipes #glitterslime #halloweenslime #sensoryplayThe thing that makes this particular slime so simple is the glitter glue. You don’t have to mess with food colouring or paint or glitter because the glitter and colours are already in the glue. Super easy!
Simple Hallowe’en Slime Recipe:

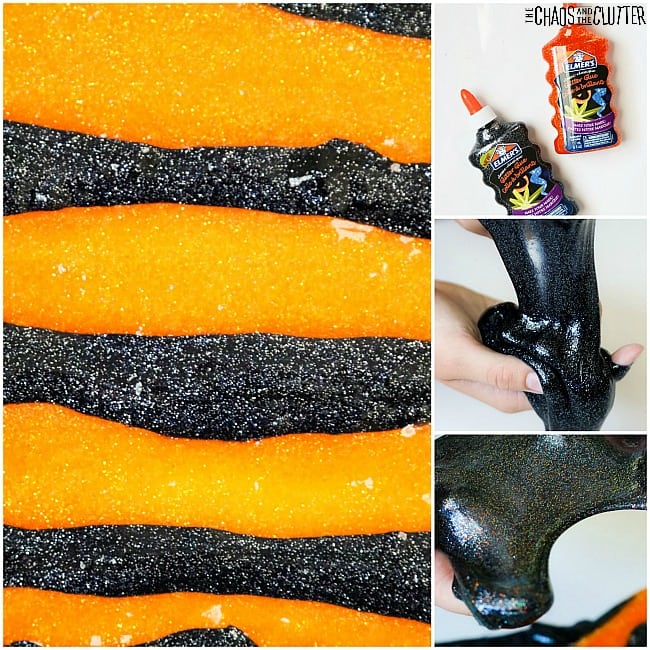
  • 6 oz. bottle of Elmer’s black glitter glue
  • 6 oz. bottle of Elmer’s orange glitter glue
  • about 3/4 cup liquid starch

In one bowl, slowly mix the black glitter glue with about half of the liquid starch. Add 1 Tbsp. at a time and continue to mix. You’ll know you have the right amount of liquid starch when the mixture starts to pull away from the sides of the bowl and form a clump. Take out the mixture and knead by hand about five minutes, pulling, stretching, and pushing it until slime consistency is formed and it’s no longer sticking to your hands.
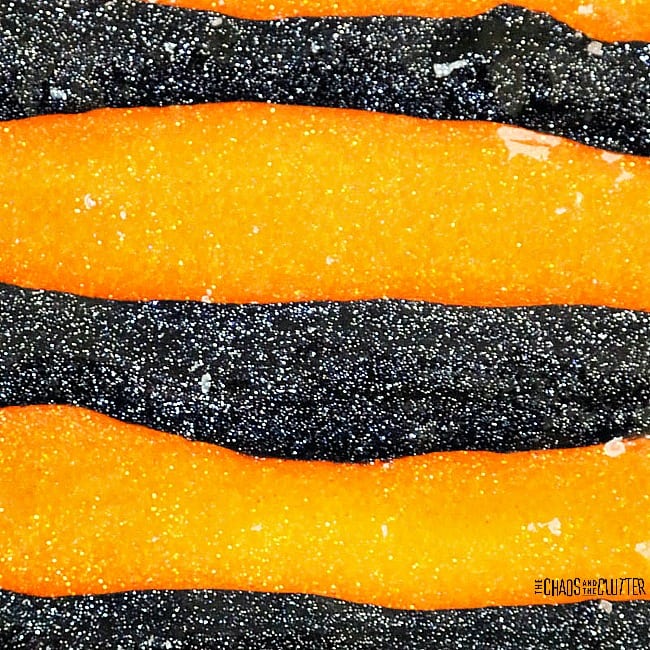
In another bowl, repeat the exact same process using the orange glitter glue.

Once both mixtures are slime-like, you can make alternate strips of each colour to create a really cool look.

Please be aware that once you start to play with the colours together, they will mix and a black slime with orange and black glitter will form.
This slime will also look like it fits in with the season as the orange will still be visible in the glitter.

Homemade slime tip: When I make slime, I like to use wide craft sticks rather than spoons when I stir. That way, I don’t have to wash glue off the spoons later!

This Hallowe’en slime recipe is fun to play with and would make such cute favours to hand out at a party or at the door to little Trick or Treaters. You can buy small plastic containers with lids to hand this slime out in.

If you’re using it for play at home or at school, store it in an airtight plastic or glass container or resealable plastic bag.

Check out some of our other Hallowe’en slime ideas:

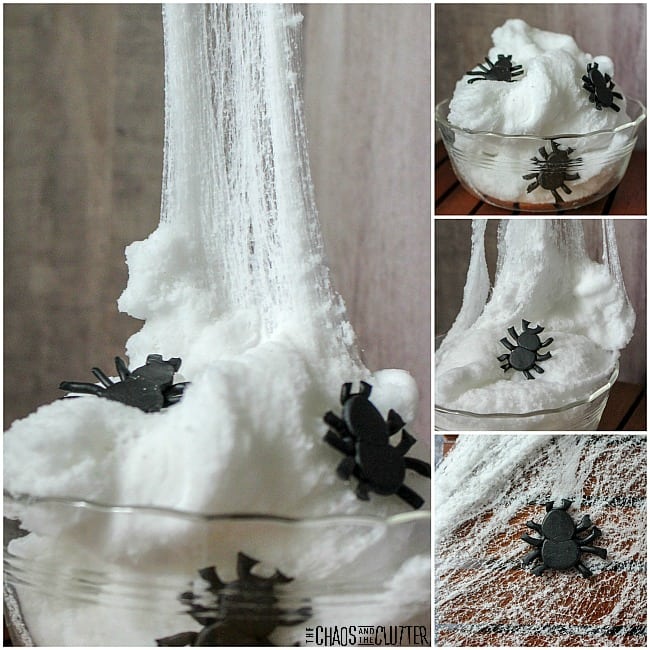
Creepy Spider Web Slime Hallowe’en Sensory Game with Slime

Filed Under: Crafts and Activities, Sensory Tagged With: sensory play, slime

Hallowe’en Sensory Game

By Sharla Kostelyk

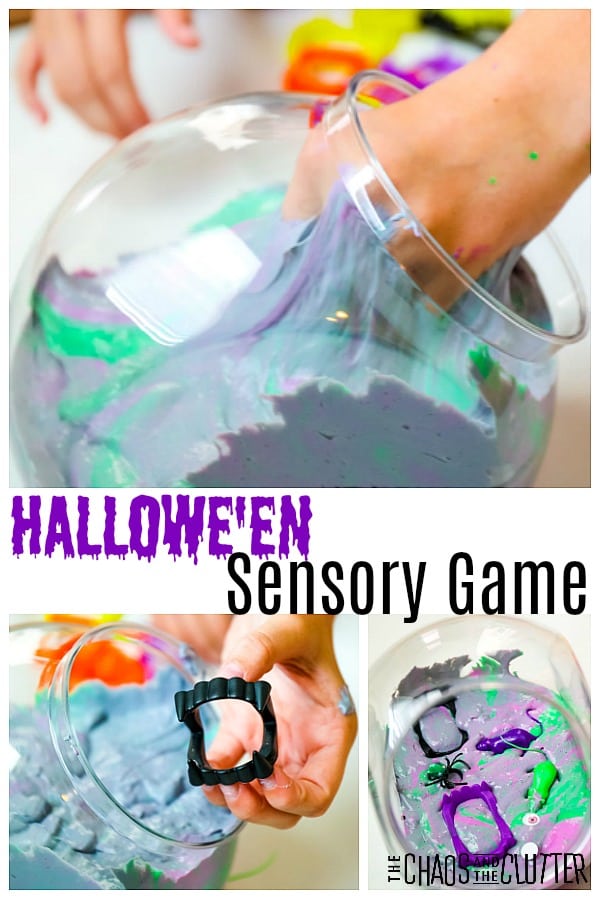
This Hallowe’en sensory game is so much fun! It combines a very popular sensory material with learning and fun. This game engages the visual, tactile, and proprioceptive sensory systems. Hallowe'en Sensory Game #sensoryplay #halloween #forkids #slimeactivities

I remember when I was about eight years old. The neighbourhood moms put together a Hallowe’en party for all the kids. One of the activities was us having to reach our hands into things and guess what was inside.

It was things like cooked spaghetti (brains) or jello (guts). I still remember the feeling of the squishy spaghetti noodles slipping between my fingers. Yuck!

This sensory game is a bit of a play on that idea. It uses one of the most popular sensory materials out there, slime.

How to Play the Hallowe’en Sensory Game:

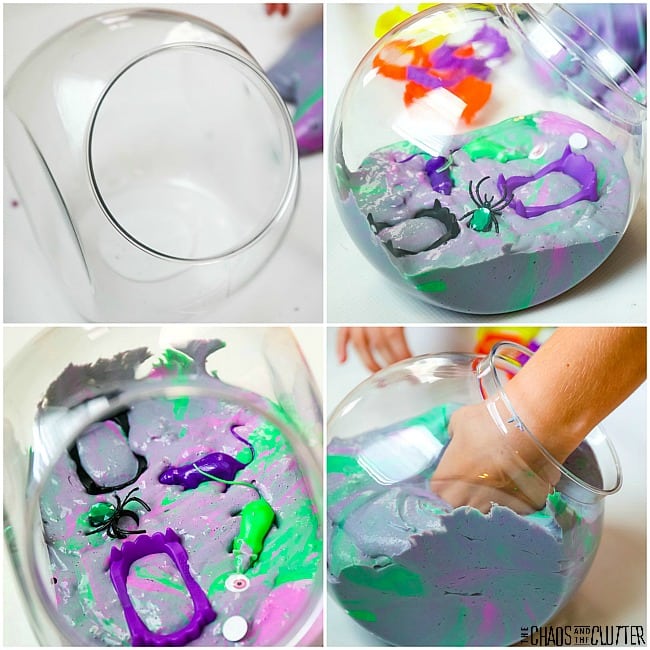
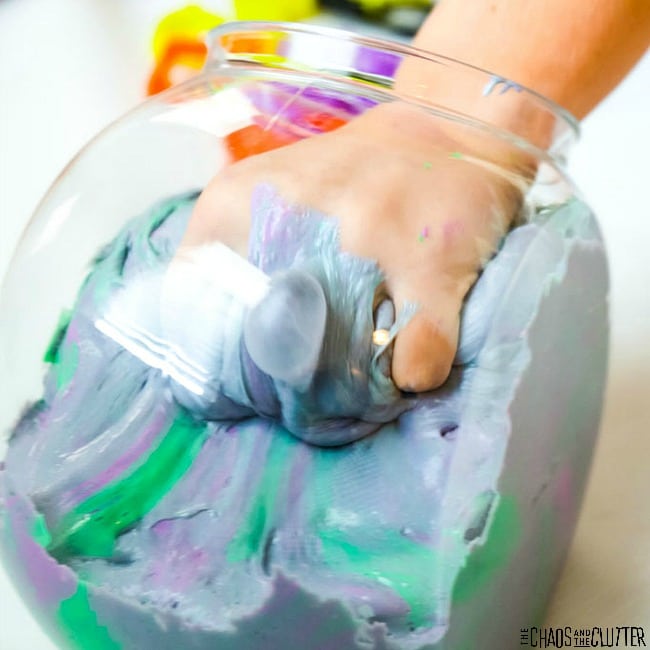
In order to set this game up, you’ll need to first make one or several recipes of fluffy slime. There is a recipe listed below. The reason that you want to use fluffy slime for this is that it sticks to hands less than other slime does.

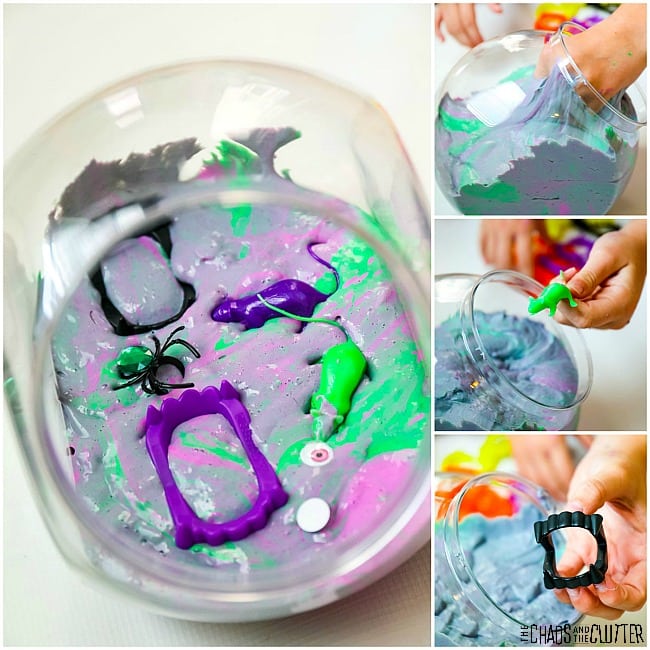
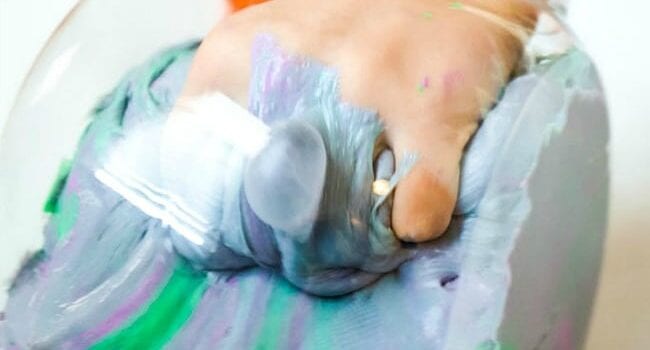
Take a medium sized bowl or plastic container and put a layer of slime inside. Add in some small Hallowe’en trinkets and toys. Put another layer of slime and another layer of small toys. Top with more slime to cover the toys. setting up Hallowe'en sensory gameIdeas of toys to use:

  • plastic fangs
  • plastic googly eye rings
  • toy mice
  • stretchy frogs or snakes
  • plastic spiders
  • Zombie fingers
  • stretchy nose, ear, etc.
  • Hallowe’en erasers
  • eyeball bouncy balls
  • glow in the dark plastic bugs

For older kids, you can pick gory type toys like the Zombie fingers in a black slime for maximum fun factor. For younger kids, brighter coloured slime and cute little toys are best.

There are two ways to play. Of course, if you can’t decide which to try, you can always play both versions!

  1. Have each child reach in and retrieve an item. You can let them keep their item as a prize.
  2. Have each child reach into the container and try to guess (without looking at the item) what the item is only using their sense of touch (tactile).

Fluffy Slime Recipe:

  • 16 oz. Elmer’s washable white school glue
  • 3 cups of shaving cream
  • food colouring or acrylic paint
  • 1 cup liquid starch

In a large bowl, mix together the glue and shaving cream. Add some food colouring or paint in the colour you want to create. With fluffy slime, because of the shaving cream, you’ll have to use more colouring than you do with regular slime to get the same colours.

Once the glue, shaving cream, and colour are well mixed, slowly begin to add in the liquid starch. Continue to stir and add the starch in until the mixture begins to pull away from the sides of the bowl and form a clump.

At this point, remove it from the bowl with your hands. Knead it until it has reached the consistency of slime. It is now ready to be used to set up the Hallowe’en game.

You can use all one colour of slime or make several colours and combine them or layer them. You can use Hallowe’en colours like black and orange or green and purple. Any colour will work though. It just looks more Hallowe’en-y if the colours fit. I hope you enjoy our little Hallowe’en sensory game. It would be fun for the classroom, home, or for a Hallowe’en party.
Check out these other Hallowe’en Sensory Activities:

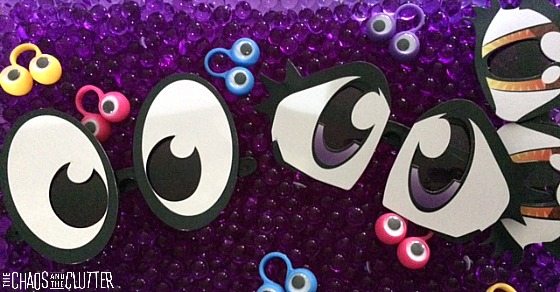
Eyeball Sensory Bin Eyeball sensory bin with purple water beads

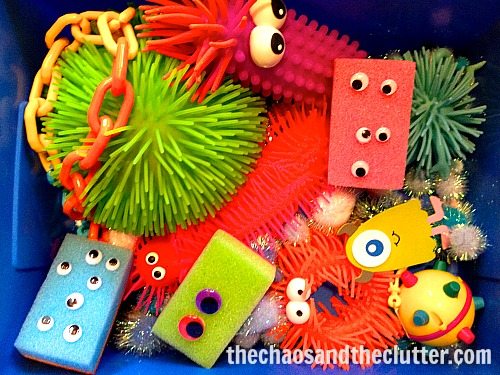
Monsters Sensory Bin

Filed Under: Crafts and Activities, Sensory Tagged With: sensory play, slime

How To Make Squishies

By Sharla Kostelyk

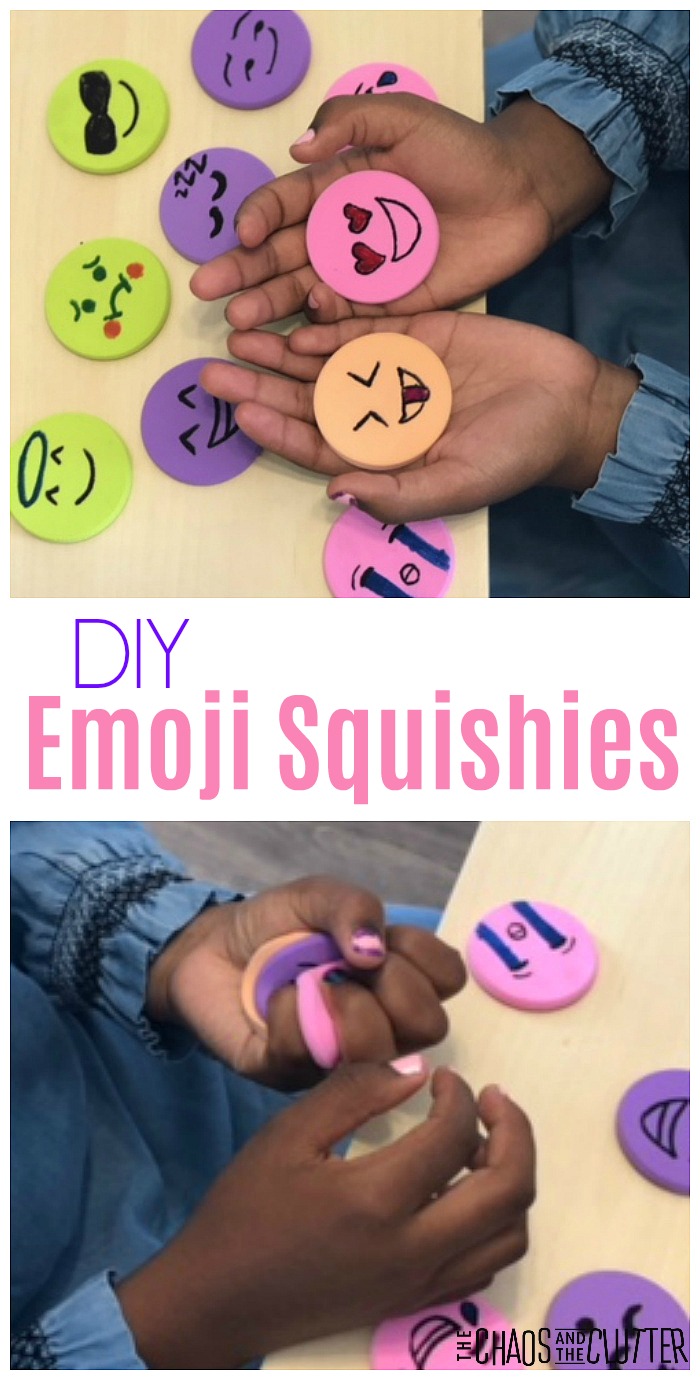
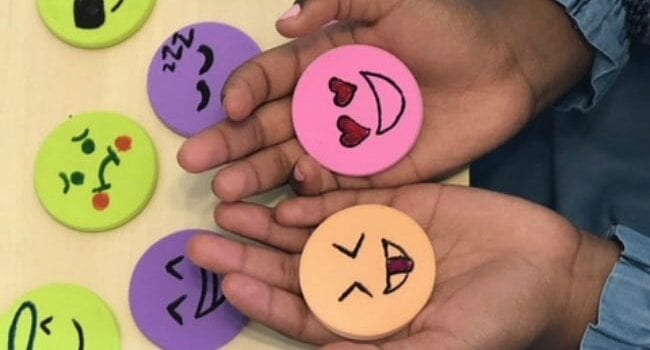
My kids love squishies. They are a great sensory tool. I came up with the idea to make a DIY squishy for them. I had a hard time figuring out how to make them myself until I stumbled upon something. That’s how these DIY Emoji Squishies were born. DIY Emoji Squishies #sensorytoys #sensoryplay #emoji #DIYkidsI found that the size of these was perfect for my kids to squeeze. They fit easily into their hands. So satisfying to squish!
Squishy toys help you release intense emotions, relieve stress, and get that happy chemical (dopamine) going, leading to those feel good feelings. They can also help boost focus, memory, and attention. Read more about the benefits of squishy toys. 

Materials to make Homemade Emoji Squishies:

  • round makeup sponges (we found these colourful ones at the dollar store)
  • permanent markers in a variety of colours (you’ll need black and red at minimum)

How to make Homemade Emoji Squishies:

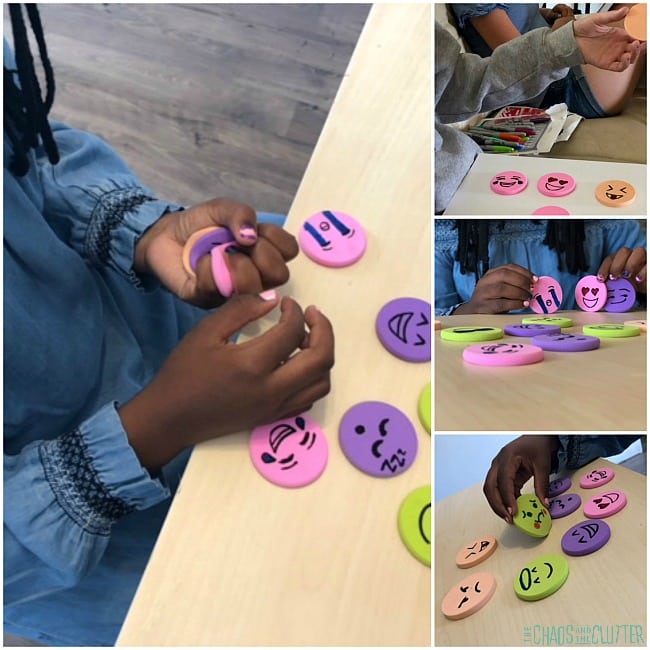
Draw an emoji face onto each round makeup sponge with permanent markers.

Set them aside overnight to dry. It is important that you resist the urge to squish them until they are fully dry or the faces will smear. We made that mistake initially. And sad little smudged faces are not cute!Once they have sat overnight, squish them, play with them, share them.
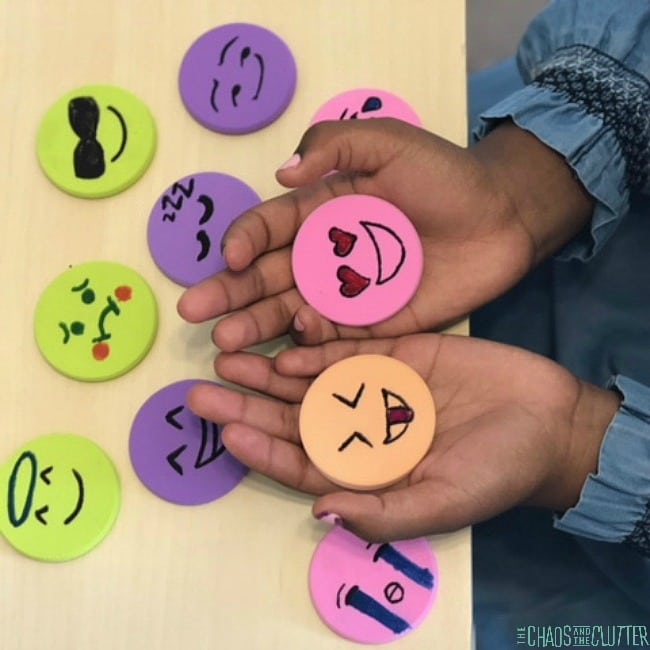
Toss some into backpacks or purses for on-the-go fidgets.

I love how these emoji squishies are not only a sensory tool, but a great way to help kids talk about their emotions too. You know I’m all about helping kids to develop an emotional vocabulary and making it fun and natural for them to talk about their feelings. I encouraged the kids to tell stories using the emoji faces. I thought this would be a great way for them to practise their emotional vocabulary.
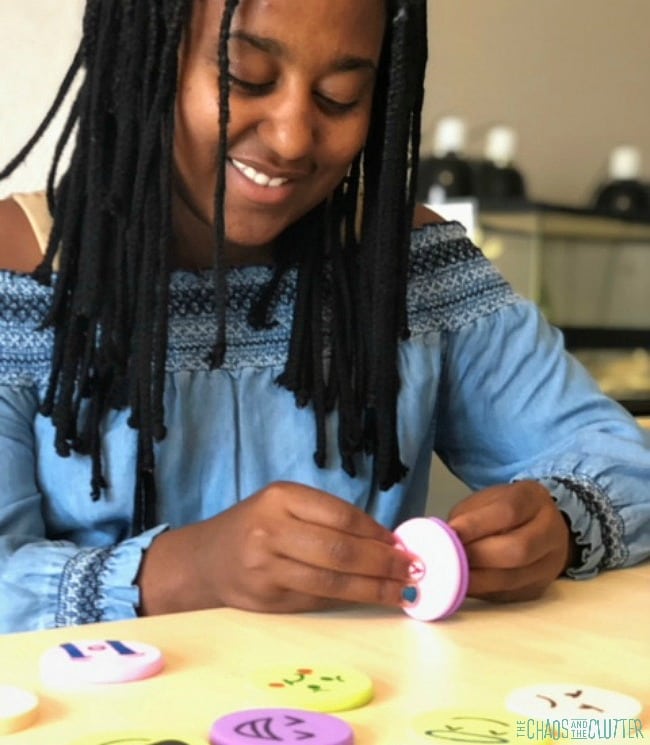
My plan may have backfired a bit when little miss here decided to create a love story between two of the emoji faces. Her little drama ended in them kissing! Silly girl!If you’re able to find your makeup sponges at the dollar store, then these are so inexpensive to make. Ours came in a pack of 6, making these less than 25 cents each to make! They would be cute to give as party favours or to make with a group.
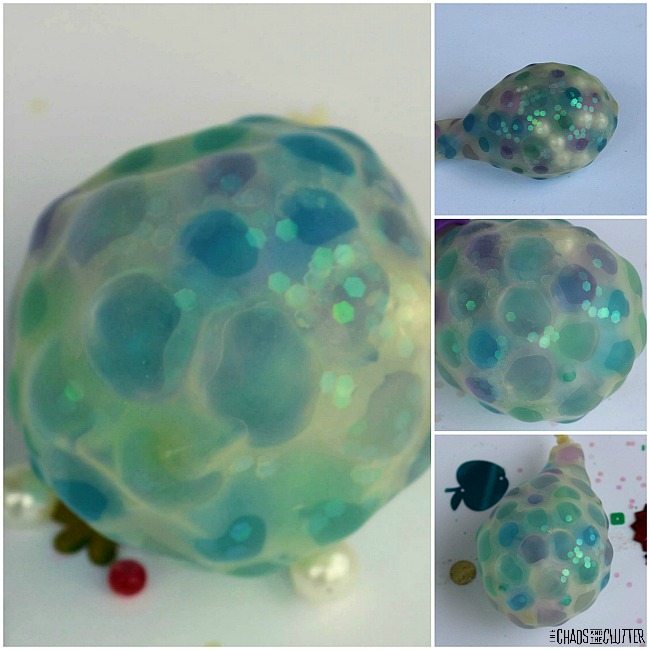
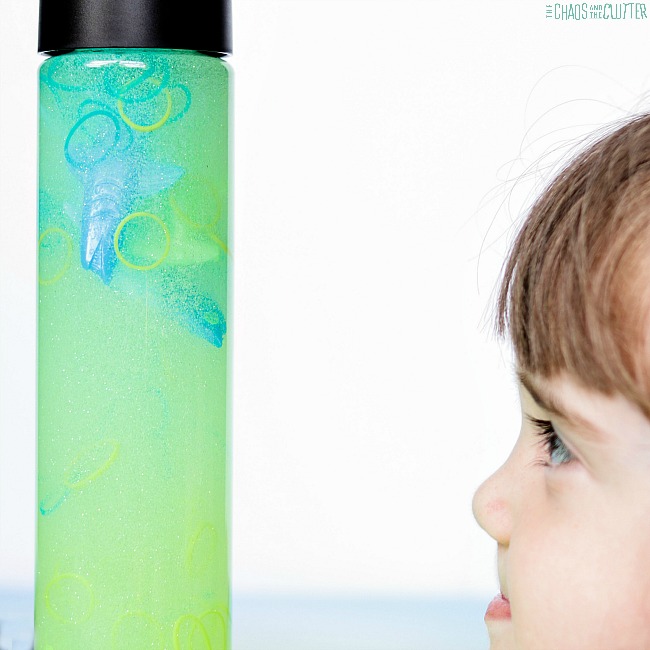
They are a nice change up for kids to use instead of a stress ball as they have a similar effect. These are also a great fidget toy to have in the classroom as they don’t make any noise.

Join me for a free 5 part email series, Little Hearts, Big Worries offering resources and hope for parents.

You will also love:

DIY Mermaid Stress Balls

Shark Week Sensory Bottle

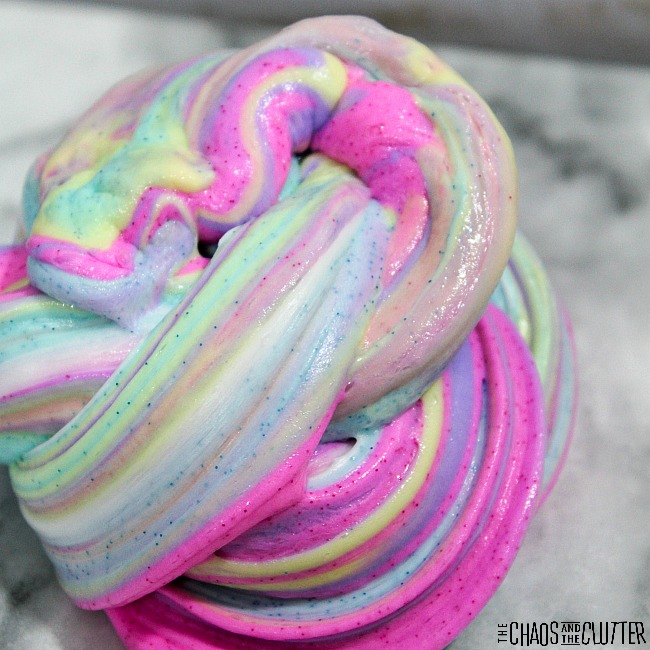
Unicorn Fluffy Slime

Filed Under: Crafts and Activities, Sensory Tagged With: sensory play

Transition Strategies for Kids

By Sharla Kostelyk

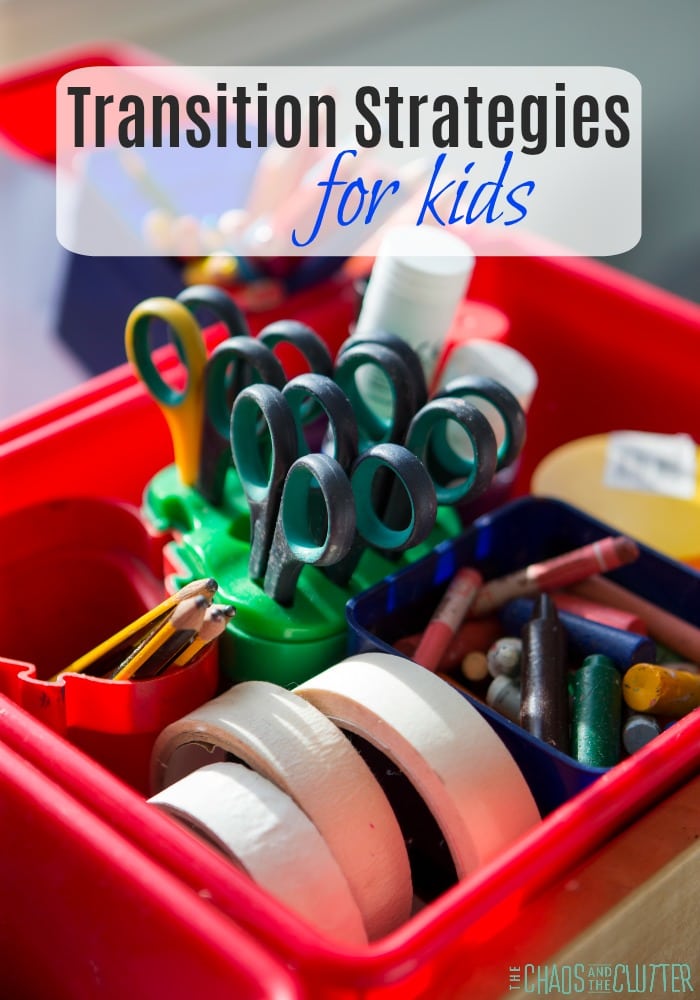
Change is hard for kids. Whether it’s big changes like moving to another town or small ones like moving from one activity to the next, transitions are hard. Transition strategies can help prevent meltdowns and lower anxiety in children. Transition Strategies for Kids #specialneedsparenting #parentingtips #transitionsFor some kids, such as children with autism, ADHD, Sensory Processing Disorder, PTSD, or other special needs, transitions are even more difficult. This can lead to challenging behaviours.
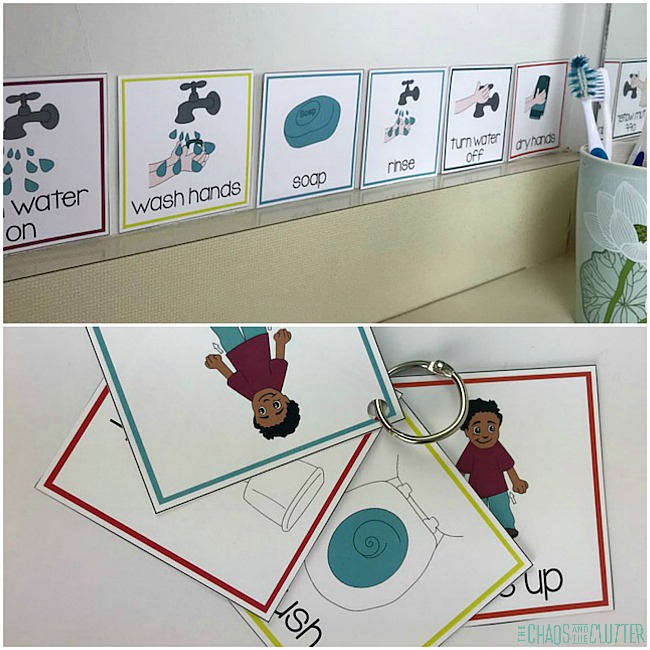
All children, and particularly those with special needs need a sense of predictability. Being prepared with transition strategies is key. These may take place before, during, or after the transition.

Transition Strategies for Kids:

  1. Prepare them. Give kids advance warning for how long an activity will last. Help them know what to expect in a day.
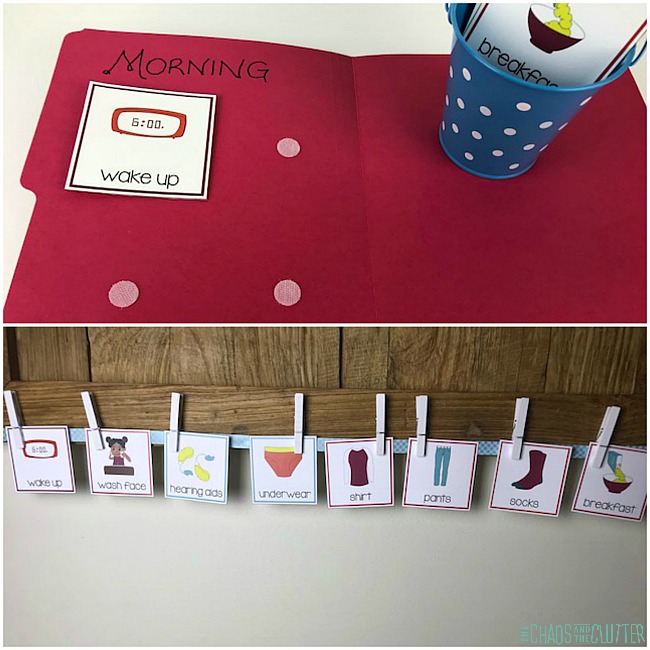
  2. Use a visual schedule. This makes it clear what a child can expect and what is coming up next. It can be helpful to put the activities that are most challenging for the child closer to the beginning of the day when they are less tired.
  3. Use a visual timer or a visual countdown system.
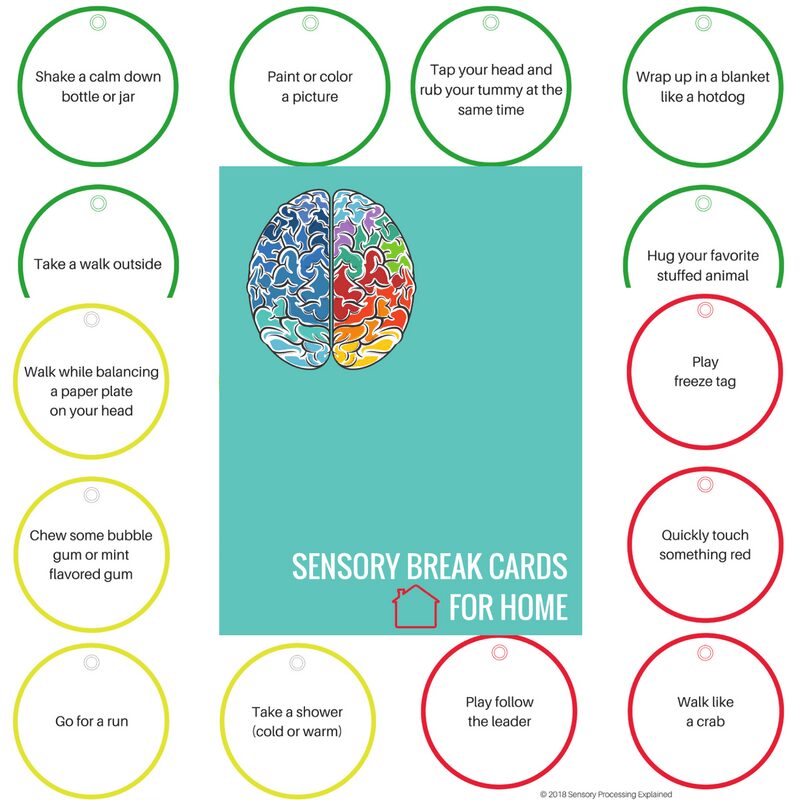
  4. Offer sensory breaks. Sensory activities make great transition bridges. Check out these sensory break cards for home or these sensory break cards for the classroom.
  5. Use a transition object. For some children, having their special blanket, doll, or stuffed animal with them can smooth transitions. This is especially true in the case of a child transitioning from one location to another such as from home to school or from home to preschool. Bringing a small photo album or laminated picture of mom or dad can also be helpful.
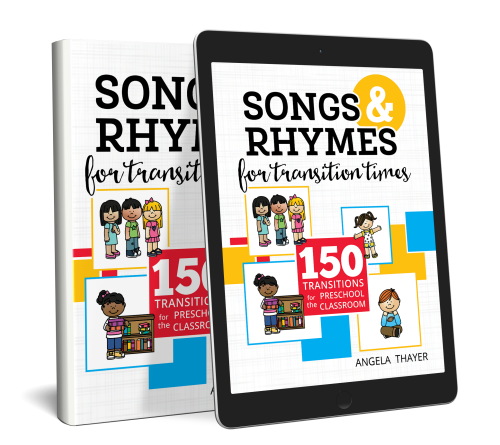
  6. Teach transition songs. Transition songs are a great way to help kids move from one activity to the next. Kids love music. These songs are light hearted. They help kids pay attention. They help them mentally prepare for the next activity or time of the day. You can make up your own to the tune of any familiar tune or you can find transition songs here.
  7. Choose transition activities. These would be things that could be done in between two other things such as skipping over to the car or counting to ten before moving on to the next thing.
  8. Allow for extra time. If you’re rushing, your child will pick up on your energy and become even more agitated. By not leaving things until the last minute, you will give your child extra time to adjust. You will also be calmer, which will help them stay calm.
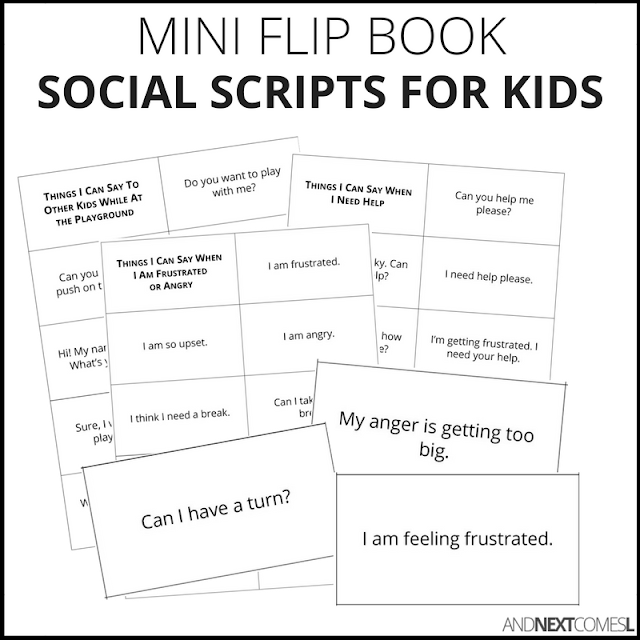
  9. Use social stories. For children who have a particularly hard time with transitions, preparing them with relevant social stories ahead of time can be beneficial.
  10. Maintain consistency. As much as possible, try to stick with the schedule and routines that you have laid out.


Printable Visual SchedulePrintable Visual ScheduleBuy NowTransition Songs and RhymesTransition Songs and RhymesBuy NowSocial Scripts for KidsSocial Scripts for KidsBuy Now

Why transitions are challenging for kids:

You know that moment when you know that it’s time to leave the playground but it’s gotten crowded since you arrived and you dread the scene that you know is going to unfold as soon as you tell your child it’s time to leave? We’ve all been there.

When your child is engrossed in an activity that they are enjoying, it’s hard for them to get their brain to switch tracks.

Even as an adult, it’s sometimes hard to want to leave something that we are enjoying to move on to something we perceive as less enjoyable.

Kids have less control of their lives. They don’t make the timetable or choose where they are going or what they are doing (most of the time). This makes it more frustrating for them to have to quit something they are enjoying.

Transitions and special needs:

Children with autism and kids with ADHD tend to hyperfocus on what they are interested in or what they are doing. Disruptions are unwelcome and can result in a meltdown. Attention shifts require flexible thinking and this is challenging for most kids who have autism.

Kids who have autism also have trouble with nonverbal cues, so they may not pick up on things that other children in the classroom do to prepare them for transitions. That’s why it’s especially important that things are spelled out clearly for them and that they get visual cues as well as verbal ones.

Children with sensory needs can also struggle with transitions more than other kids. This is due to their bodies needing to adapt to new sensory stimuli with each new location or activity.

As an example, in a classroom setting when a child is engrossed in a math activity, sitting at a desk and the time comes to put that away and eat lunch.

Where they were likely not getting enough sensory stimuli at their desk, moving to a cafeteria or into the busy hallway to retrieve their lunch may offer too much stimuli with the increased noise, physical activity, and taste sensations. Going to such extremes rapidly is difficult and can lead to meltdowns.

Transitioning from home to school and back home:

One of the most difficult transition of the day for kids can be the one from home to school/preschool or the one from school back home. If this is a particularly challenging issue for your child, it’s best to work together with the teachers to come up with a game plan.

A transition object can be useful. This is usually something familiar from home that brings the child comfort.

Have something the child does every day right before leaving the classroom. This should be simple and easy to maintain such as placing their notebook on the teacher’s desk or placing an X on their student planner.

Although you want the teacher to be aware of this routine, you don’t want to involve them in it. If for example the child’s post-school ritual was to high-five the teacher every day, imagine the meltdown the child could have if the teacher were absent one day.

Coming back home after school is particularly difficult for many children. The reintegration into the house after holding in their emotions all day and being in a very different environment can cause big meltdowns.

We have discovered an After School Meltdown Strategy that actually works. It has made the after school transition much smoother in our home. Other parents have also found it works for their child.

Remember that communication between you and your child as well as between you and the school are critical in helping your child make these changeovers as seamless as possible.

Resources for assisting kids in transitions:

The After School Meltdown Strategy that really works 

Printable Visual Schedule for Kids with Special Needs

Sensory Break Cards 

Filed Under: Sensory, Special Needs Parenting

  • « Go to Previous Page
  • Page 1
  • Interim pages omitted …
  • Page 22
  • Page 23
  • Page 24
  • Page 25
  • Page 26
  • Interim pages omitted …
  • Page 50
  • Go to Next Page »

Primary Sidebar

Categories

We are a participant in the Amazon Services LLC Associates Program, an affiliate advertising program designed to provide a means for us to earn fees by linking to Amazon.com and affiliated sites.

Copyright © 2026 • The Chaos and the Clutter • Site Design by Jeni @ The Blog Maven

Return to top of page

Copyright © 2026 · Chaos and the Clutter 2.0 on Genesis Framework · WordPress · Log in