Growing up, one of my neighbours had the Playdoh Barber Shop, you know the one where you could make their hair grow by pushing play dough in and then cut it with really dull plastic scissors! We played it almost every time I was over. I also had a friend from school who had the Playdoh McDonald’s set and I had fun playing it when I went over to her house. My parents didn’t have extra money for things like play sets, but my aunt used to make us play dough that was perfect in its consistency and I had just as much fun playing with a rolling pin and cookie cutters with homemade play dough as I did with their fancy play sets!
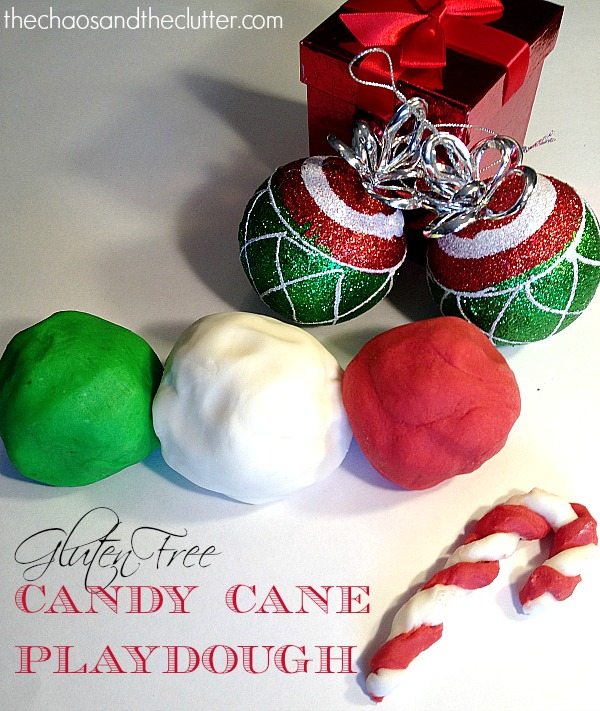
My aunt’s play dough recipe has been my go-to for making play dough for my kids. I’ve altered the basic recipe to create a few of our own favourites such as our calming lavender playdough and our delicious smelling chocolate playdough.
Usually for the holidays, I make the kids gingerbread playdough but I thought I would change things up this year and attempt to make gluten free playdough, something I’ve never tried. We have a lot of different gluten free flours because Einstein is on a gluten free diet so I reasoned that I could adapt my aunt’s recipe and make some scented candy cane dough.
Gluten Free Candy Cane Playdough Recipe:
1 cup rice flour
1 cup cornstarch
1/2 cup salt
3 Tbsp. cream of tartar
1 Tbsp. vegetable oil
1 tsp. or more peppermint extract or 10 drops of peppermint essential oil
1 cup boiling water
food colouring or food paste
optional: glitter
Mix the dry ingredients in a pot and stir in the oil, peppermint extract, water. Note: If you are only making one colour, you can add your food colouring to this step but if making multiple colours, knead the colour in at the end.
Cook over medium heat, stirring constantly, being sure to scrape the sides and the bottom. Cook until the dough forms a ball. Remove from heat. Place it on a piece of wax paper. Knead. If you are adding glitter, this would be the time. Let cool. Store in an airtight container or in a resealable bag.
Working with the gluten free dough was quite different than regular dough. I made one attempt at a non-cook version and ended up having to repeatedly heat it up in the microwave so went back to the stovetop method. The rice flour doesn’t bind the same way regular flour does so if you find it is too sticky, try adding more cornstarch.
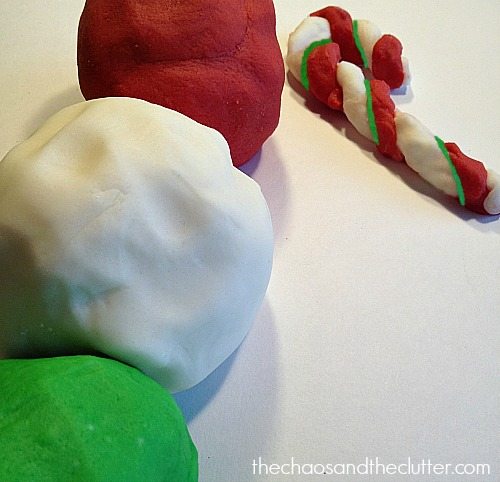 I only made one recipe and split it into three sections. I left one white, made one red and the other green. Between the colours and the peppermint scent, this dough is perfect for shaping into candy canes, candy sticks and holiday wreaths.
Looking for other playdough recipes and ideas? You may be interested in following my Playing with Playdough board on Pinterest.
Follow Sharla Kostelyk’s board Playing with Playdough on Pinterest.
 Image Copyright:
 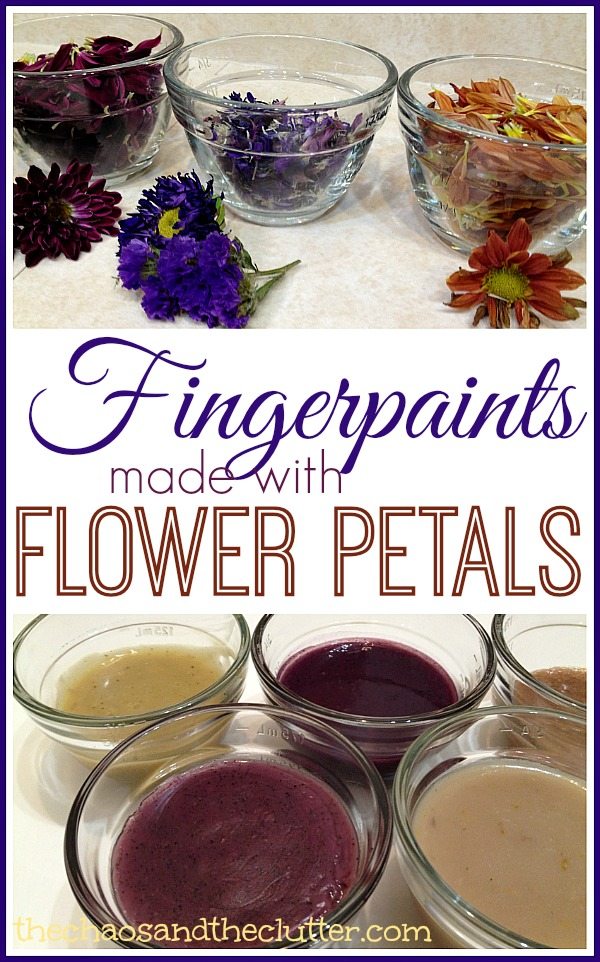 My neighbour had given me a beautiful fall bouquet of flowers and after a week or so, it had begun to look a bit on the sad side. The flowers were drooping and had started to wither but there were such gorgeous colours in the bouquet that it really seemed a shame to throw it away.
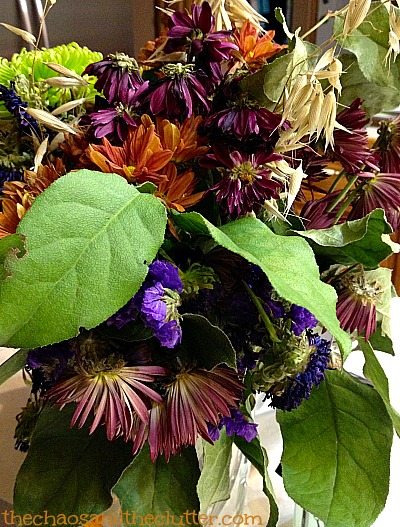 I was trying to think of a way to use the flowers and decided to make them into a hands-on history lesson to demonstrate to the kids how clothing and linens used to be dyed using flowers and other items found in nature.
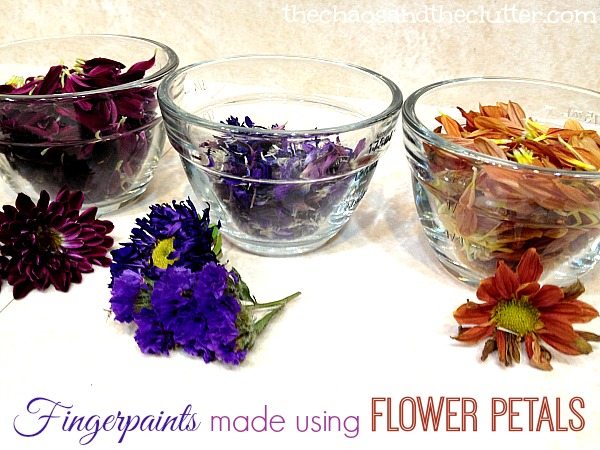 We added water and the petals to a pot and brought the mixture to a boil. Once it was at a rolling boil, we turned it down to simmer and let it simmer for half an hour. We stirred it from time to time and also used a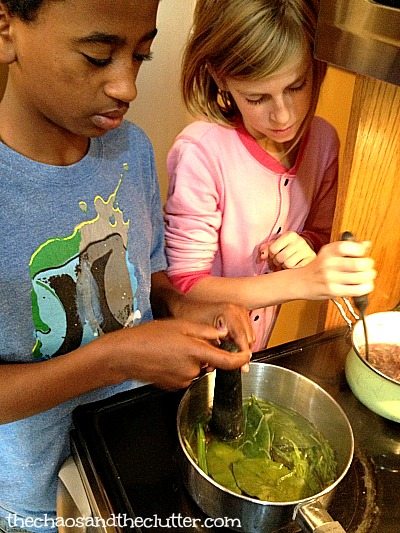
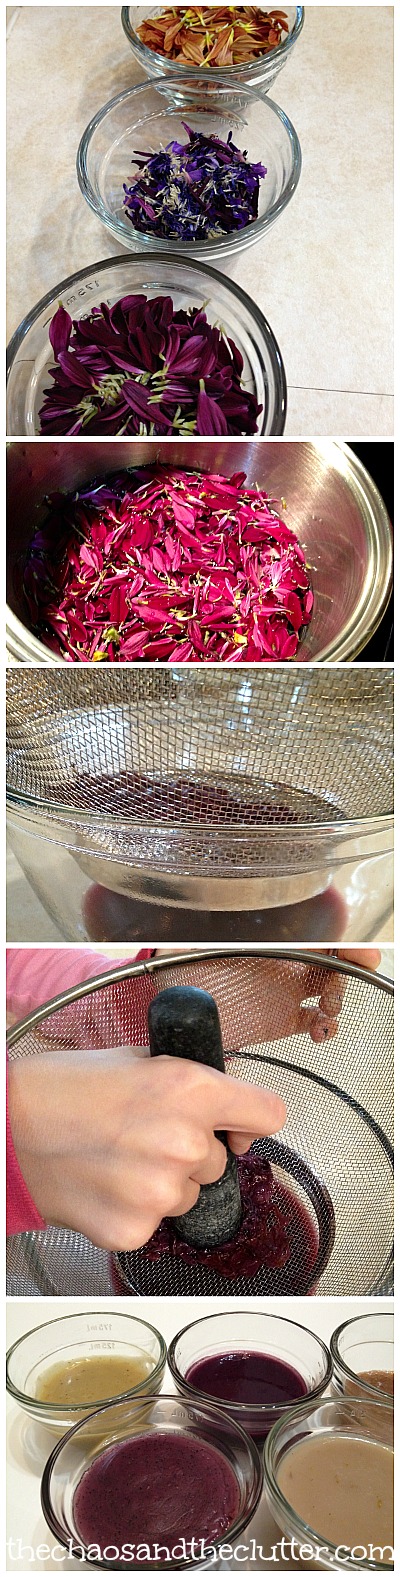 The paints had different smells depending on the type of flowers used. The colours did not turn out the way we expected them to. The purple petals created an unattractive greenish-brown colour. The red flowers created a burgundy-purplish colour. The leaves and stems made a yellowish colour. The orange petals created a light brown.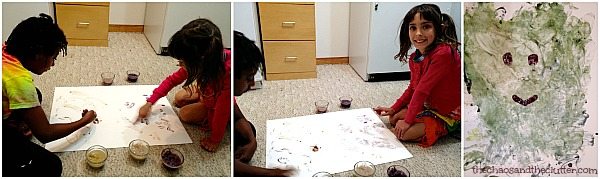
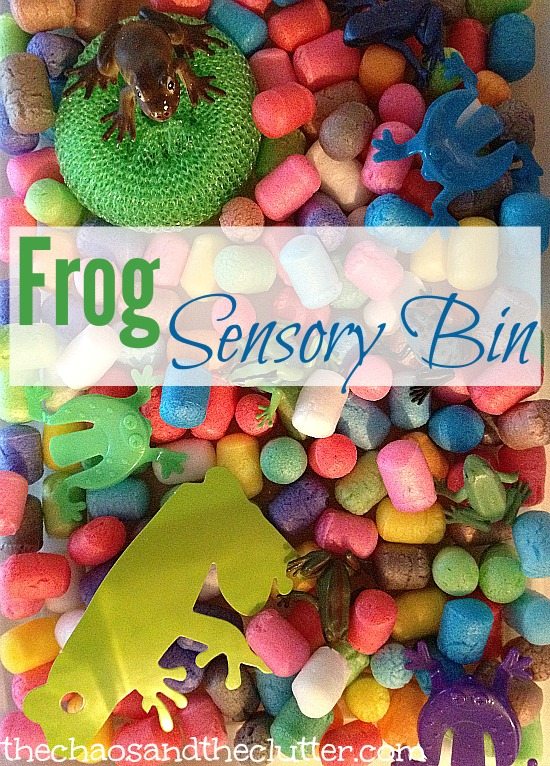 This actually was one of the bins that we put together at
 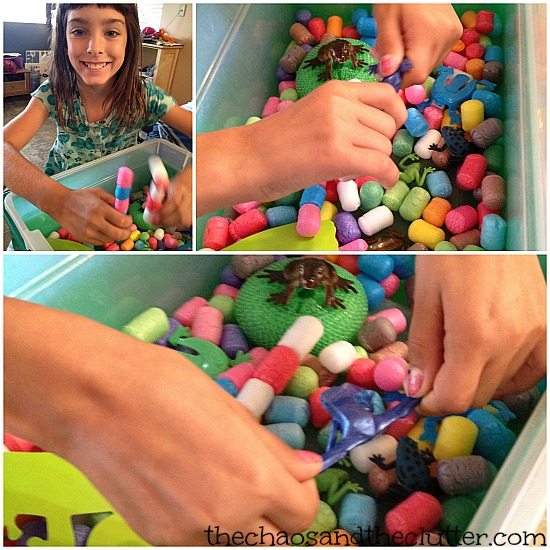 My plan for the kids to use the play puffs for a craft project after I retired this sensory bin didn’t pan out the way I’d planned it. As soon as the kids discovered the ability to stick the play puffs together, they added that as part of their sensory bin play. It made this a popular activity!
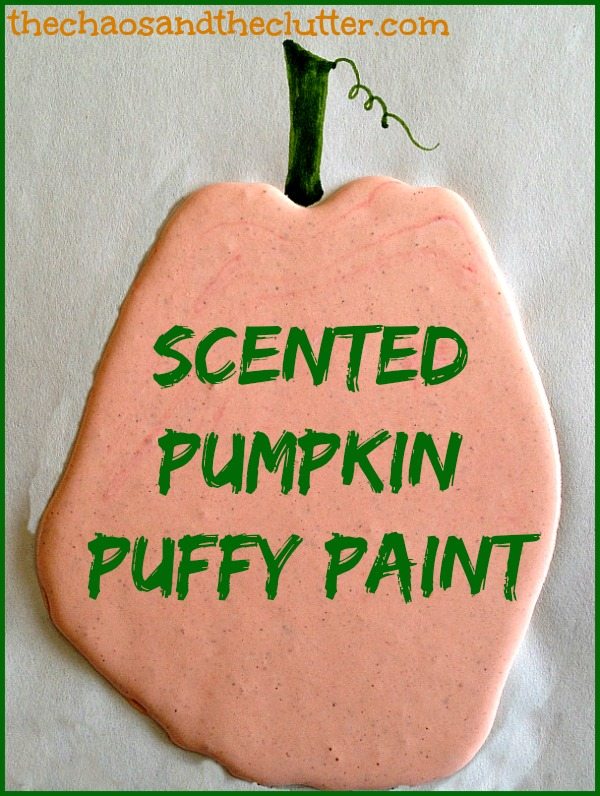
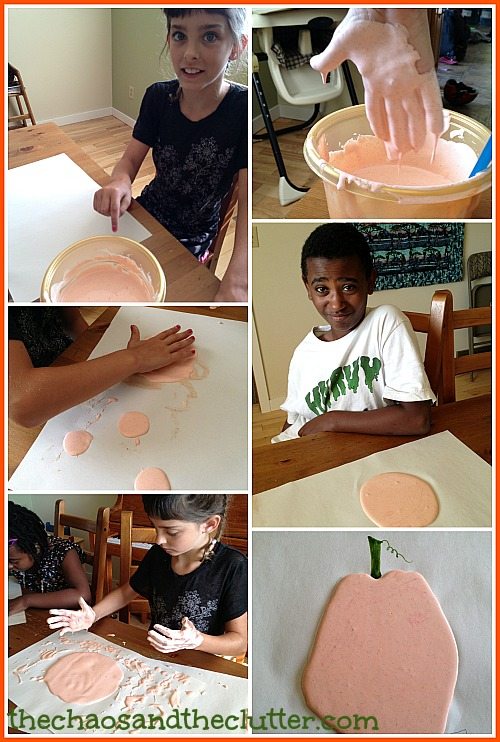
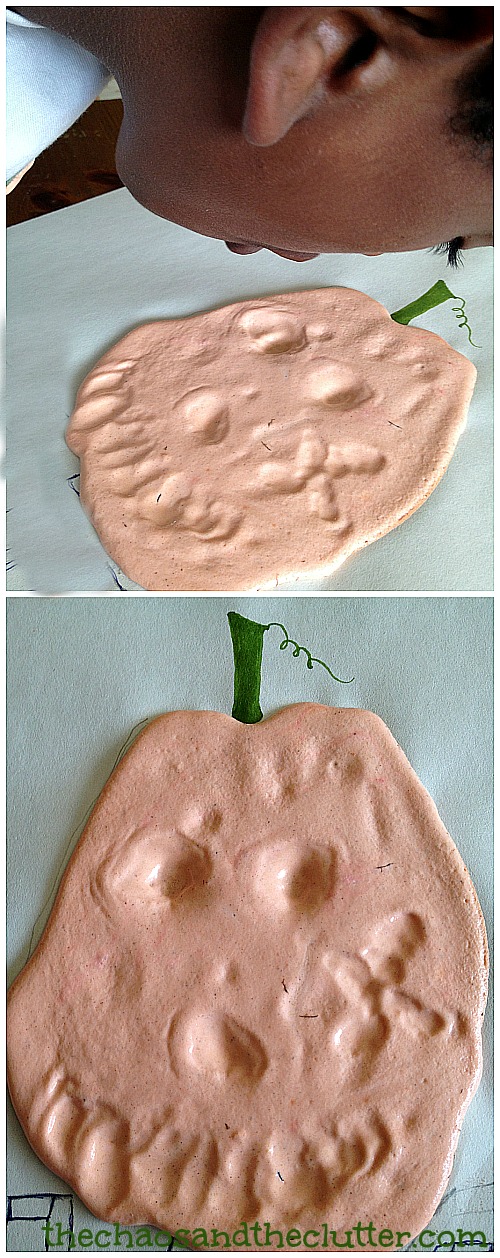 It worked really well and the pumpkin’s face stayed that way once the paint had completely dried. Snuggle Puppy told me that he added little flecks of eraser to make the face look scarier…that boy has a way of making me laugh!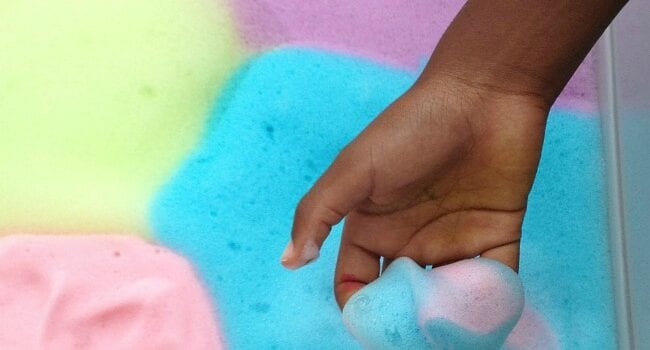
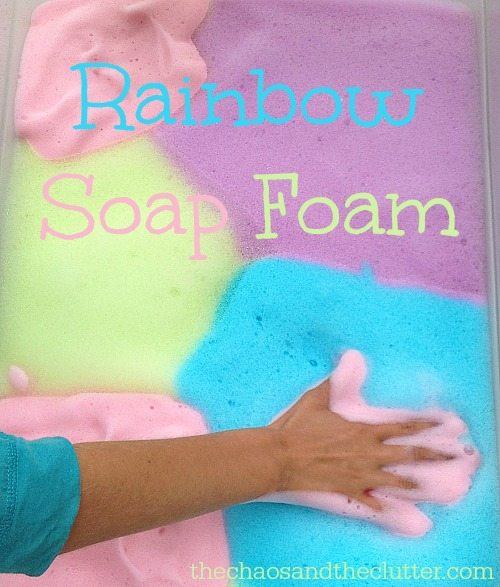 Rainbow Soap Foam Recipe: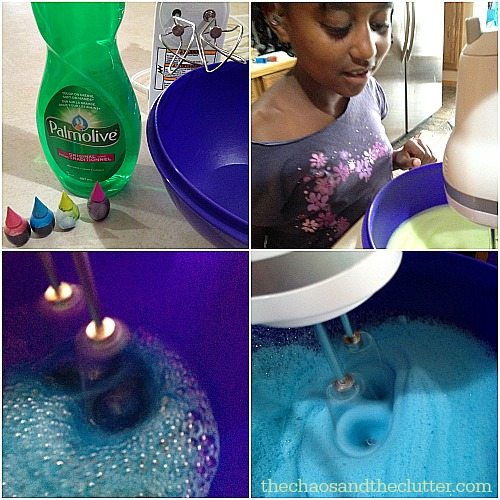
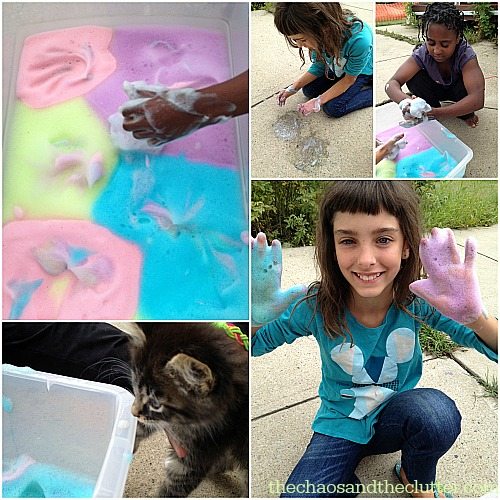 My girls really enjoyed the textures of the soap foam and seeing the different colours they could create by mixing.