• Skip to primary navigation
  • Skip to main content
  • Skip to primary sidebar
  • Home
  • About
  • Contact
  • Privacy + Terms
  • Affiliates

The Chaos and the Clutter

  • Facebook
  • Twitter
  • Pinterest
  • Google Plus
  • RSS
  • Email
  • School at Home
  • Sensory
    • Sensory Processing Disorder
    • Awesome Sensory Play Activities
      • Sensory Bins
      • Sensory Bottles
      • Sensory Bags
  • Family Games
    • Minute to Win It Games
  • Special Needs Parenting
    • Childhood Anxiety
    • Reactive Attachment Disorder
    • Sensory Processing Disorder
  • Store
  • Course Login

Sensory

St. Patrick’s Day Fluffy Slime

By Sharla Kostelyk

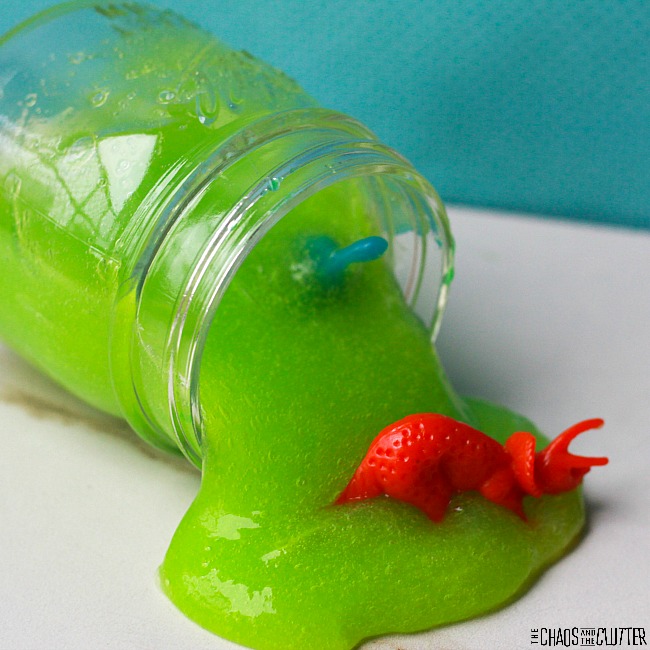
Fluffy slime has such a great texture and stretch. Bring sensory play to your home or classroom in March with this green St. Patrick’s Day fluffy slime.
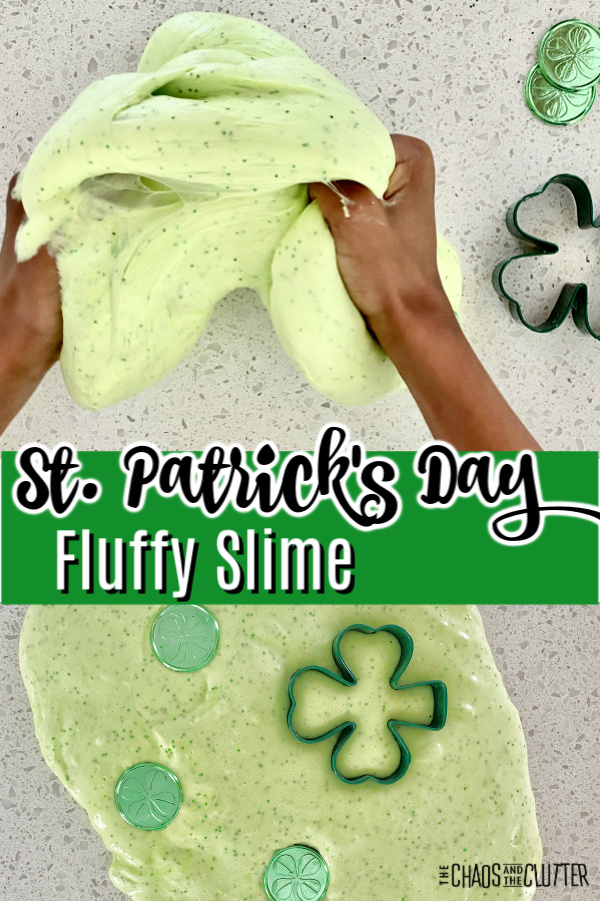
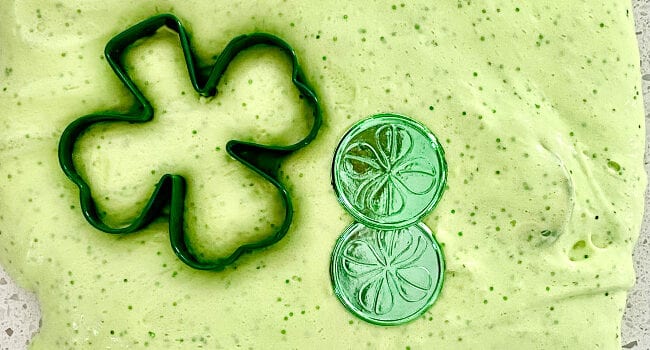
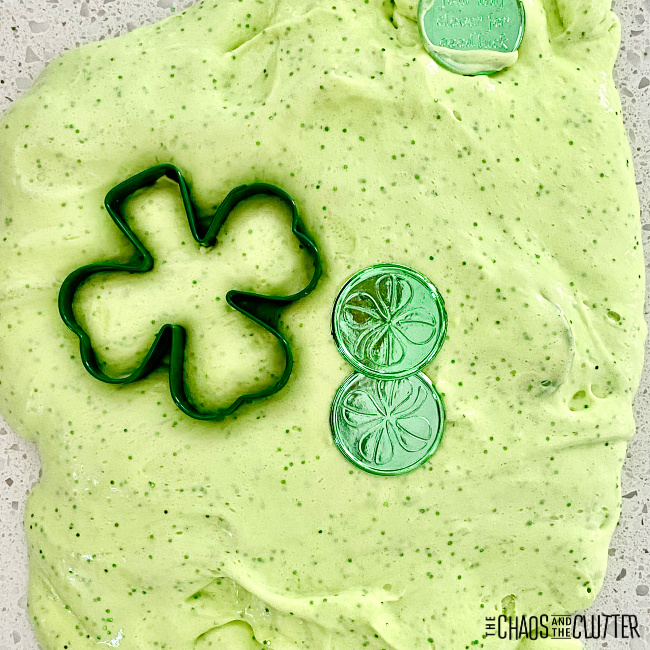
child's hands stretching green goo. Text reads "St. Patrick's Day Fluffy Slime"You can set out a Shamrock cookie cutter and some extra Shamrock play coins to expand the opportunities for kids to explore through play. Check out the video below to see the fluffy slime play in action.

St. Patrick’s Day Fluffy Slime Recipe:

Ingredients:

  • 2/3 cup of Elmer’s white School Glue
  • 1/2 teaspoon baking soda
  • 1/4 cup water
  • 2 1/2 cups shaving cream
  • 1 1/2 Tbsp. contact lens solution
  • green glitter
  • green food paste
  • green or gold St. Patrick’s Day plastic Shamrock coins (I found mine at the Dollar Store)
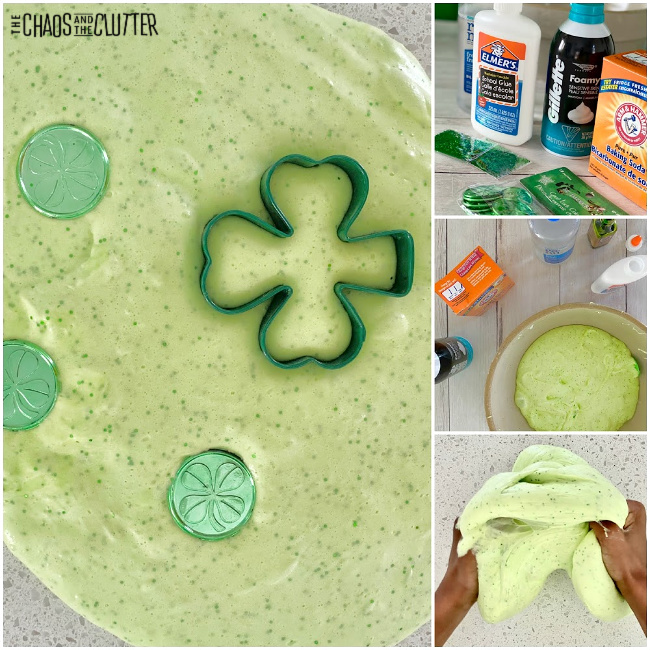
Directions:
  1. Add glue to a bowl.
  2. Mix in water and baking soda.
  3. Add shaving cream and mix.
  4. Stir in food colour.
  5. Slowly add contact solution. Mix.
  6. Add the glitter.
  7. Knead.
  8. If it’s still too sticky, add a drop more of contact solution and knead some more.
  9. Drop in a few shamrock play coins and fold them in.

Fluffy Slime Troubleshooting Tips:

You’ll need to use contact solution as the activator to create the right texture for your slime. Otherwise, the glue and shaving cream will just be a big blob of goo.

If your slime isn’t fluffy enough, try to fold in some extra shaving cream.

If the slime isn’t stretchy after a few days of playing with it, you can add a bit of hot tap water or a small amount of lotion to it.

Or if the slime is too sticky, add a drop or two more contact solution or a small bit of baby oil and knead.

These troubleshooting tips should help you to get the right consistency with your slime.Looking for more easy sensory play recipes to inspire creativity? Join us for a five day email series on Sensory Activities and Solutions and get a free sample of our Sensory Play Recipes eBook.
Here are some other St. Patrick’s Day activity ideas:

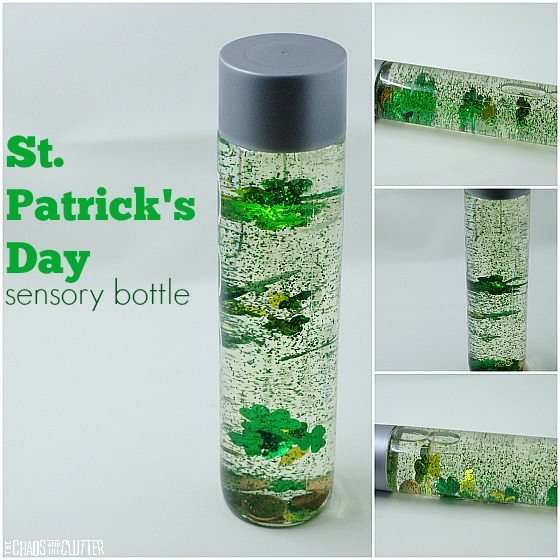
St. Patrick’s Day Sensory Bottle
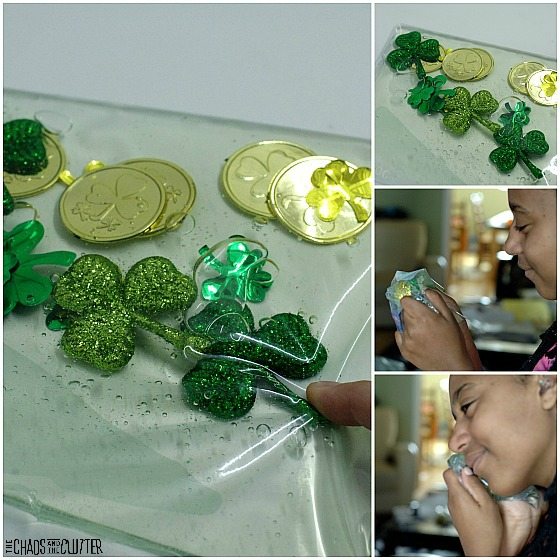
Easy St. Patrick’s Day Sensory Bag

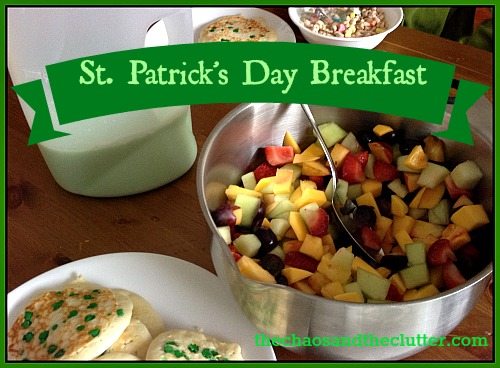
St. Patrick’s Day Fun Breakfast

Filed Under: Sensory Tagged With: sensory play, slime

Zoo Mini Sensory Bottle

By Sharla Kostelyk

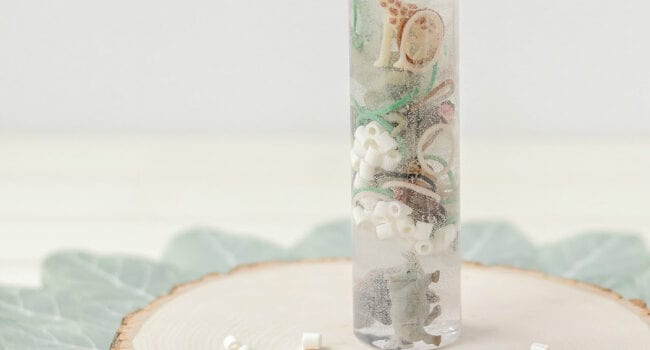
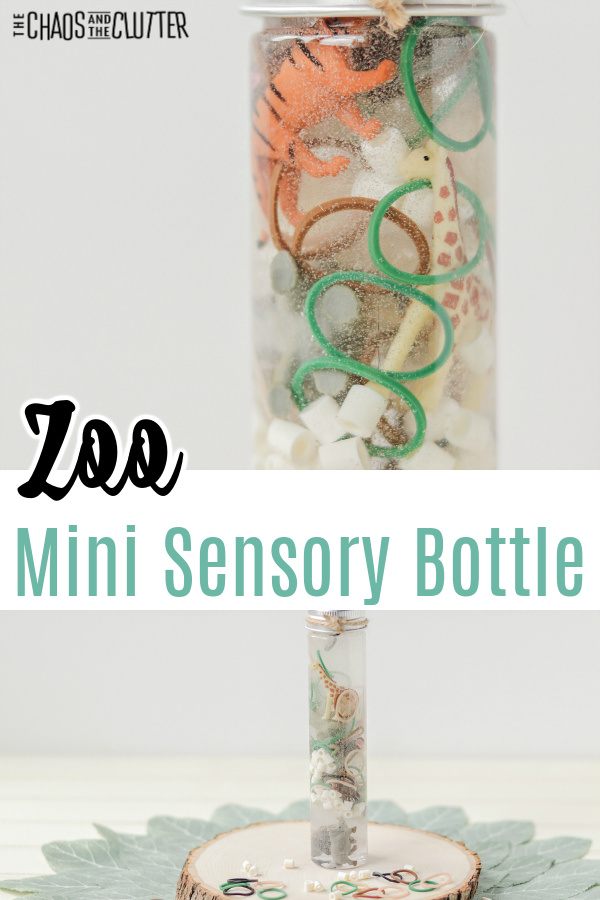
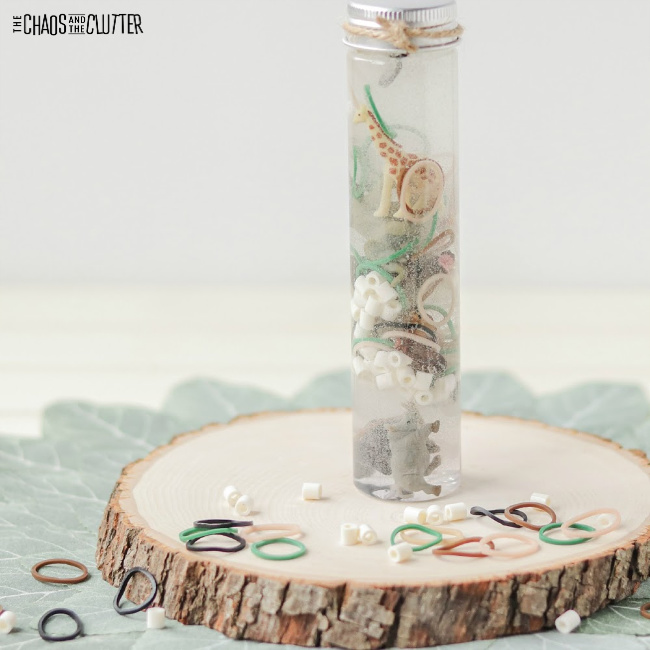
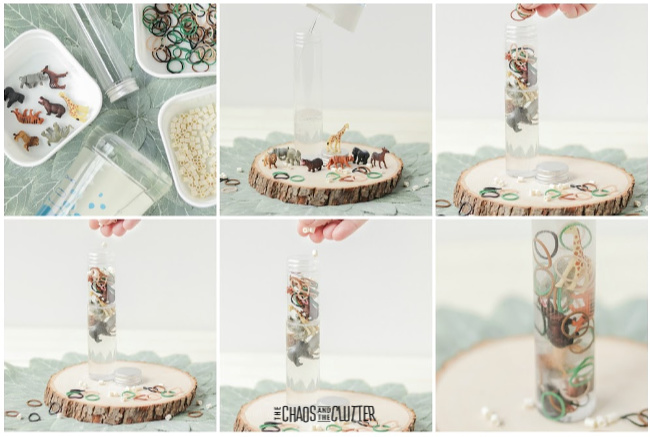
Recently, we discovered a new way to bring excitement to our sensory bottles by making mini ones in little play test tubes. This Zoo Mini Sensory Bottle is so cute.

small bottle with animals and text that reads "Zoo Mini Sensory Bottle"

Zoo Mini Sensory Bottle:

Supplies needed:

  • mini bottle (we used plastic test tube treat containers like these)
  • clear dish soap
  • mini zoo animals
  • tiny white beads
  • brown, black, and green mini elastics (like the Rainbow Loom kind)
  • optional: hot glue

Directions:

  1. Pour clear dish soap into a mini bottle until it’s about half full.
  2. Drop in the tiny animals.
  3. Add in sequins and glitter.
  4. If there’s any room left in the bottle, fill the the top with water.
  5. Replace the lid. If using with small children, you can secure the lid with hot glue.

With any other sensory play activity including this one, adult supervision is recommended. Even with the lid glued in place, it can be opened by determined kids or when the glue gets old. The bottle contains small parts that could be a choking hazard for kids.
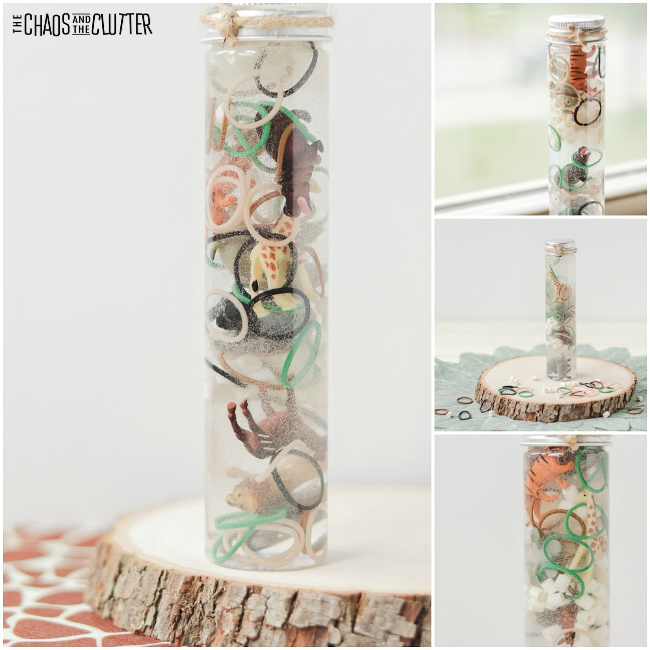
This mini sensory bottle allows kids to bring it with them anywhere. It can be tucked into the seatback pocket of the vehicle, put in your child’s backpack, kept on their bedside table, or included in their calm down kit.

This adorable mini calm down bottle engages both the visual and tactile sensory systems. Because the glitter and sequins stay suspended in the dish soap and fall slowly as it is turned, it also produces a calming effect. Kids can watch the items fall slowly as they work on regulating their breathing.
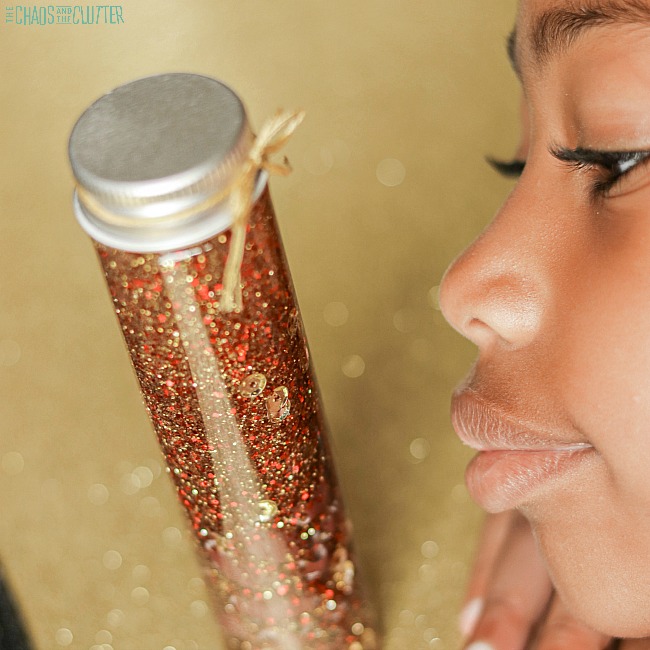
If you’re looking for other sensory play ideas, join us for a five day email series on Sensory Activities and Solutions. You’ll also get a free sample of our Sensory Play Recipes eBook.

Check out our other mini sensory bottles for kids:

Football Mini Sensory Bottle

Baseball Mini Sensory Bottle

Filed Under: Sensory Tagged With: sensory bottles, sensory play

Transportation Alphabet Playdough Mats

By Sharla Kostelyk

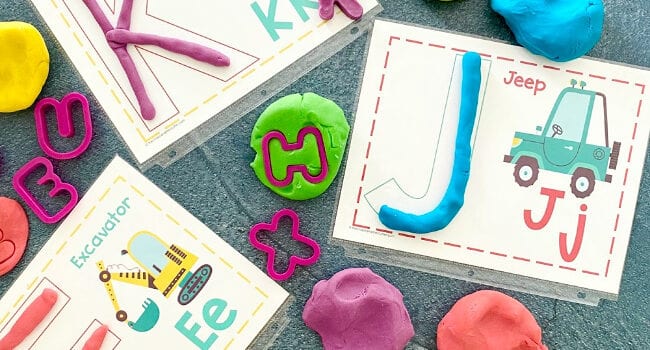
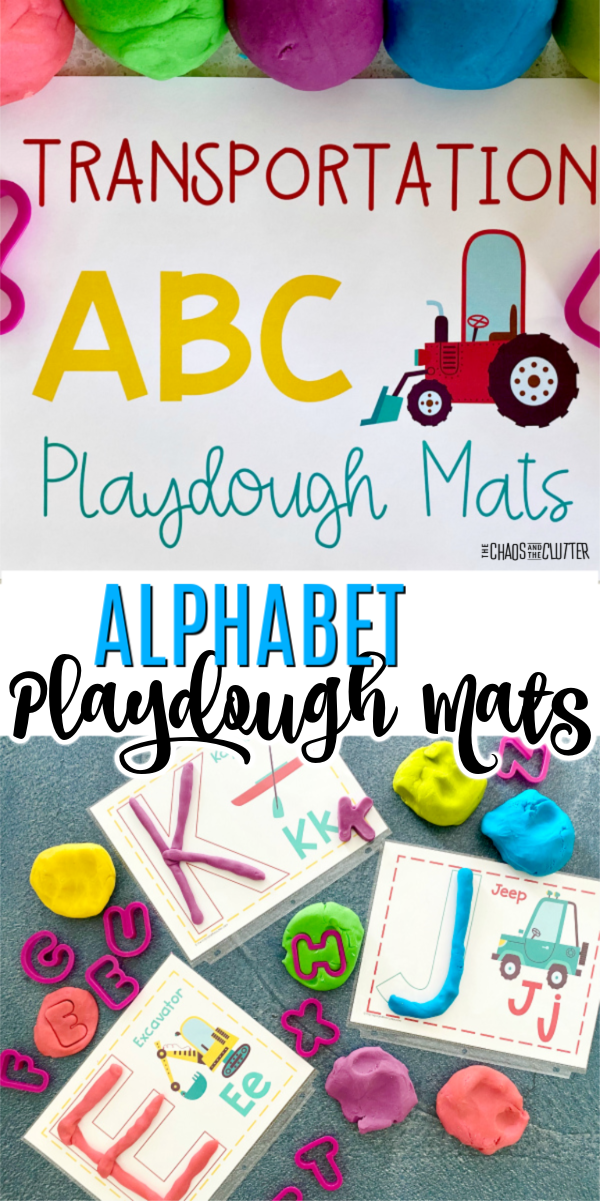
Alphabet playdough mats are a wonderful teaching tool to use with children. Whether you are using them with toddlers or preschoolers to introduce letters or with students in kindergarten or early elementary to help reinforce the letters and their sound, learning through play is the most effective way.

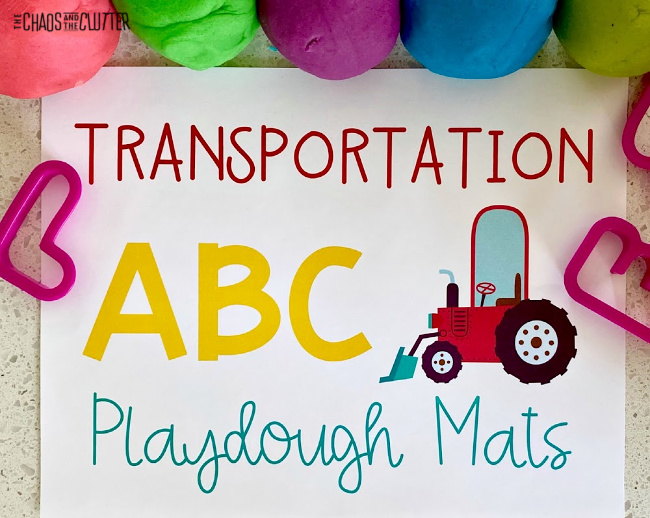
balls of different colours of playdough sitting on a paper that says "Transportation Alphabet Playdough Mats" with a picture of a red tractorWhen we first brought home two of our kids from Ethiopia, not only were they trying to learn a new language, they were trying to learn a new alphabet. I tried all of the usual methods to no avail. My kids weren’t making any progress.
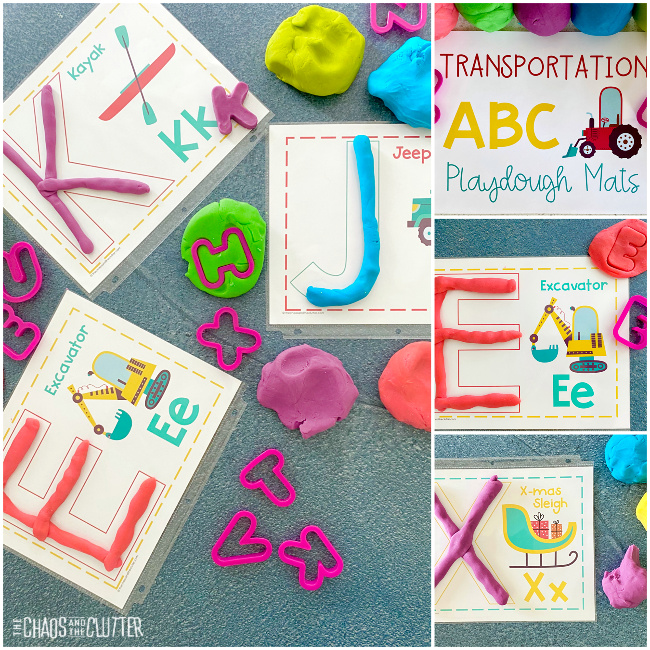
It was then that I decided to try a more sensory rich approach. A big part of that was using playdough mats. We also used salt trays and sensory bins. That made all the difference!

When using playdough mats, kids can shape the dough into the desired letter which provides a sensory experience and reinforces what they are learning. In addition, they are receiving visual cues. They can also use their finger to trace the letter or can draw the shape with a dry erase marker.

How to use alphabet playdough mats:

  1. Print off the Transportation Alphabet Playdough Mats.
  2. Laminate the pages or place them into a plastic sheet protector.
  3. Have the child trace the letter with their finger as they say the name of the letter.
  4. Set out some playdough. You can find our favourite homemade playdough recipe here.
  5. They can then shape the playdough to form each letter of the alphabet and place it on the corresponding playdough mat.
  6. Have the child say the name of the transportation example that begins with that letter so that they can practise the sound each letter makes.

Ways to expand on this activity:

  • Use dry erase markers to trace inside the letter or colour the letter in.
  • Name words that start with that letter.
  • Set out cookie cutters in the shape of the letters. The child can then use that to press into the dough and reinforce learning of each letter.
  • Put out alphabet stamps which can be used to stamp impressions into the playdough.
  • Use slime instead of playdough to shape the letters.
  • Fill the letters with stickers.
  • Use bingo dabbers.
  • Make a collage of things that start with each letter and glue them on the plastic sleeve around the letter.

The benefits of using these playdough mats printable worksheets:

  • reinforcing the ABCs.
  • practise fine motor skills.
  • get visual, tactile, and proprioceptive sensory input (olfactory too if you use scented playdough!).

Get your free printable alphabet playdough mats by entering your email address below. You’ll also be signed up to receive our email series Sensory Activities and Solutions.
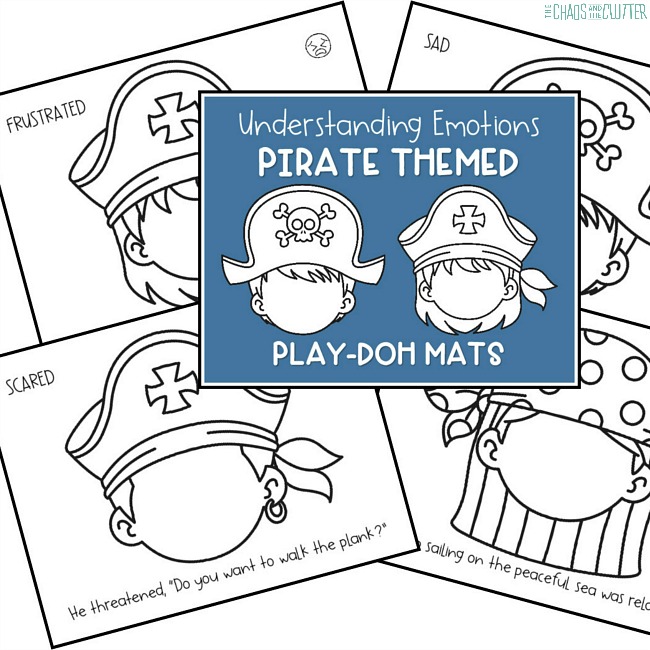
Check out some of our other free playdough mats for kids:

Pirate Emotions Playdough Mats

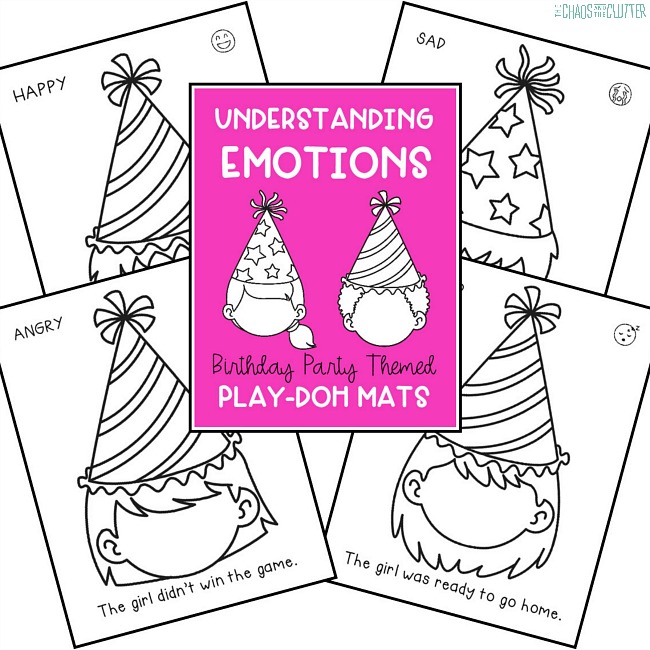
Birthday Party Emotions Playdough Mats

Filed Under: Crafts and Activities, Homeschooling, Printables, Sensory Tagged With: playdough stations, sensory play

Unicorns and Fairies Sensory Bottle

By Sharla Kostelyk

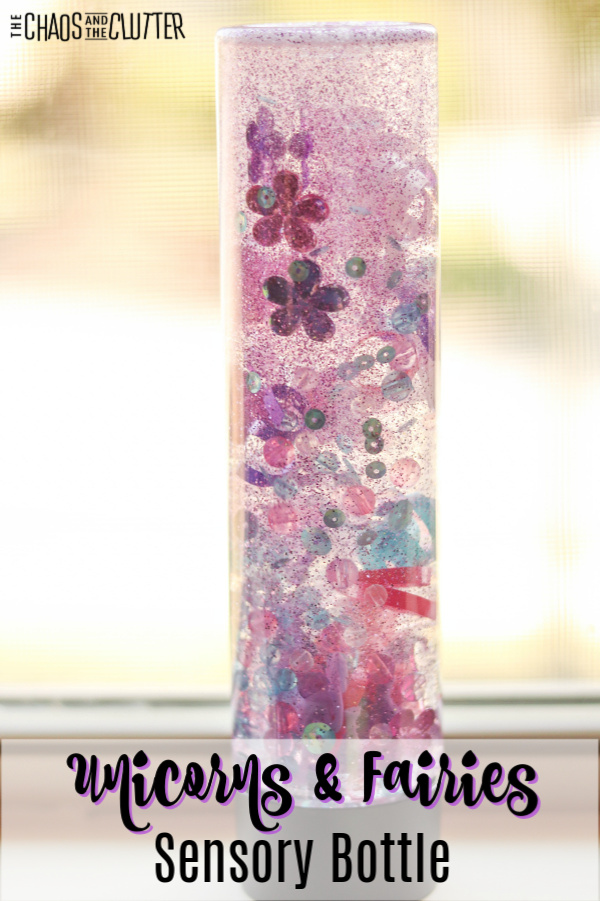
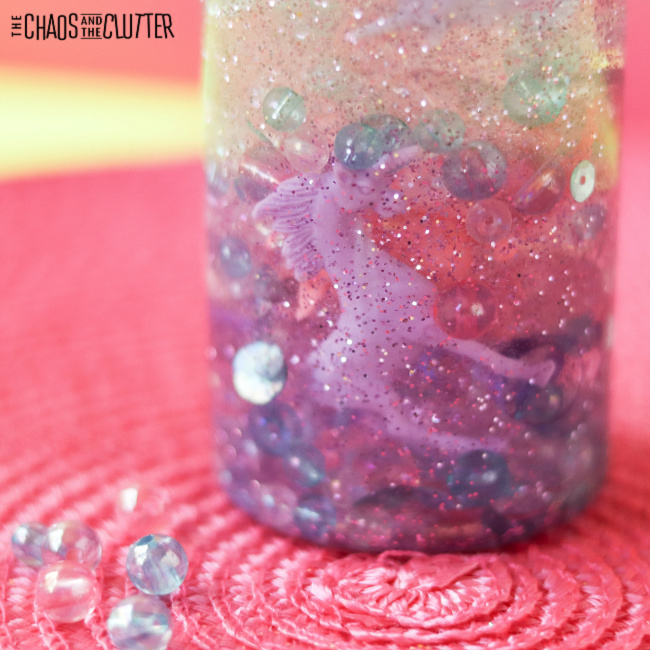
Girls (and some boys!) are going to go crazy over this Unicorns and Fairies Sensory Bottle. It’s so pretty that it could even be used as a bedroom or playroom decoration when they are finished playing with it. bottle filled with flowers and glitter and pink liquid against a sunny window with text that reads "Unicorns and Fairies Sensory Bottle"

Unicorns and Fairies Sensory Bottle:

Supplies needed:

  • empty water bottle (I prefer the look of Voss bottles or craft store sensory bottles)
  • clear dish soap (Dawn or LemiShine are good because they are thicker)
  • small unicorn and fairy figurines (you can often find these in the party favour section of the Dollar Store or Target)
  • purple glitter
  • pink, purple, teal, and white pony beads
  • small flower gems
  • short ribbon curls in pink, purple, teal, and white
  • optional: Superglue to seal

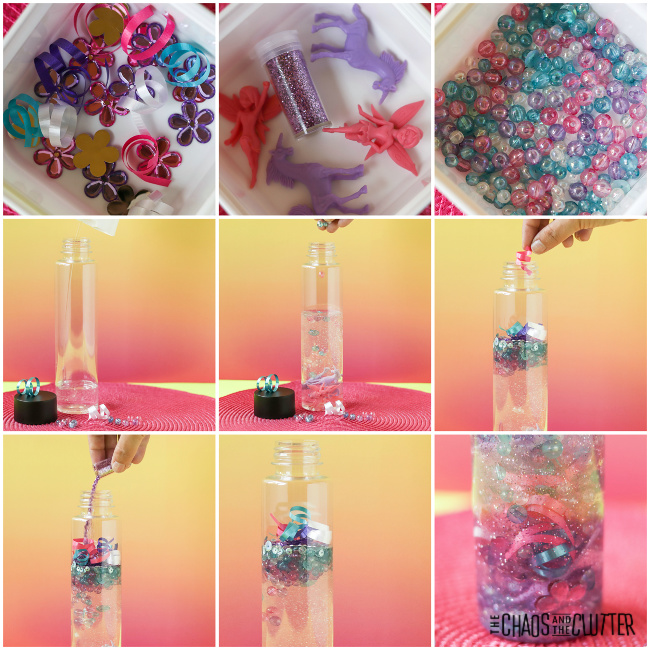
Directions:

  1. Cut short lengths of ribbon. Use scissors to curl them.
  2. Pour clear dish soap into the container until it’s 2/3 full.
  3. Add the glitter, unicorn and fairy toys, beads, ribbon curls, and flowers.
  4. Fill any remaining space with water.
  5. Replace the lid. If you’re going to be using with younger kids, then I recommend that you super glue the lid in place and allow the glue to dry before giving it to your child to play with.

As with all sensory activities for kids, adult supervision is recommended at all times. Even if you’ve Superglued the lid in place, it can still come off and the bottle contains small parts which are choking hazards.
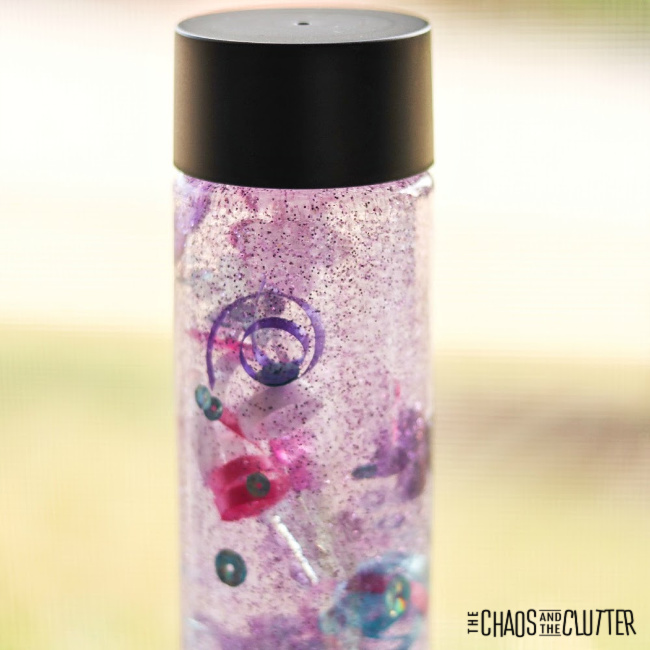
Sensory and Learning Opportunities:

This Unicorns and Fairies Sensory Bottle allows children to engage their visual, tactile, and proprioceptive sensory systems.

Kids can practise counting as their count the unicorns and fairies. They can get it some colour and counting learning as they count how many pink flowers there are or how many purple ribbons.

Are you looking for more easy sensory play recipes? Join us for a five day email series on Sensory Activities and Solutions and get a free sample of our Sensory Play Recipes eBook.
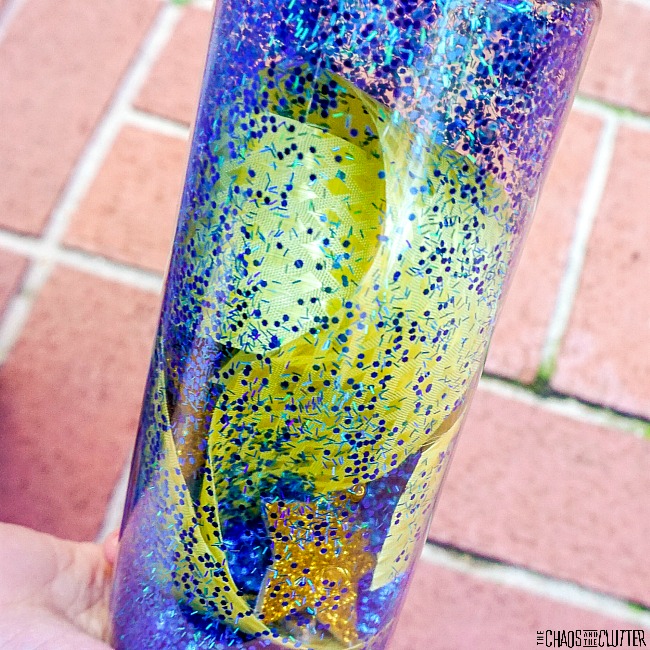
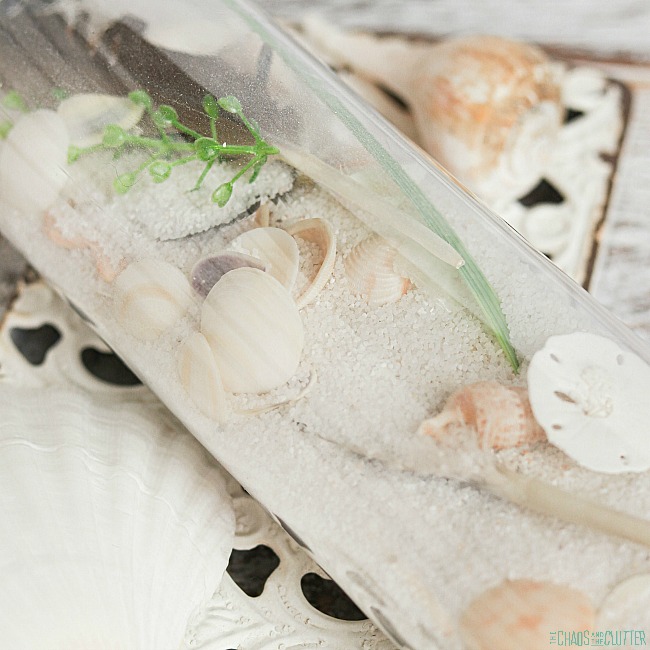
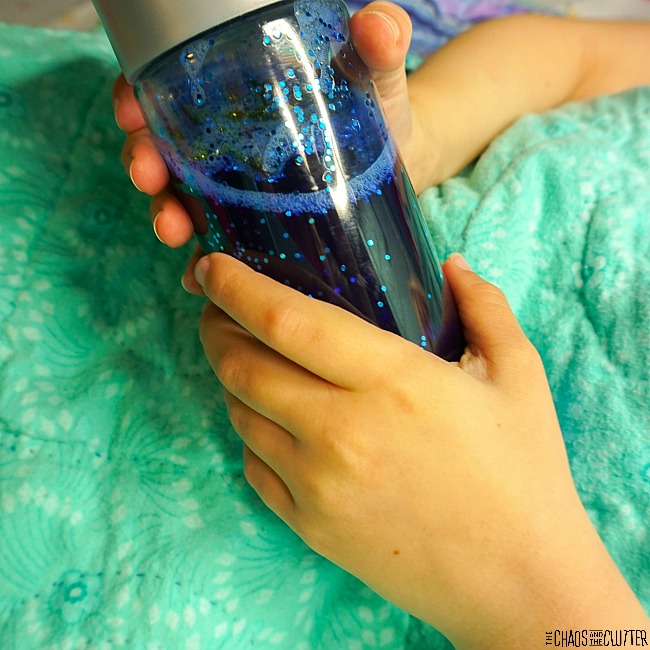
Discover some of our other creative sensory bottles:

Van Gogh Inspired Starry Night Sensory Bottle

At the Beach Natural Sensory Bottle

Bedtime Calming Sensory Bottlea child's hands hold a blue calm down bottle. The child's hands are all that is visible as the child is snuggled underneath a green blanket.

Filed Under: Sensory Tagged With: sensory bottles, sensory play

Dinosaur Sensory Bottle

By Sharla Kostelyk

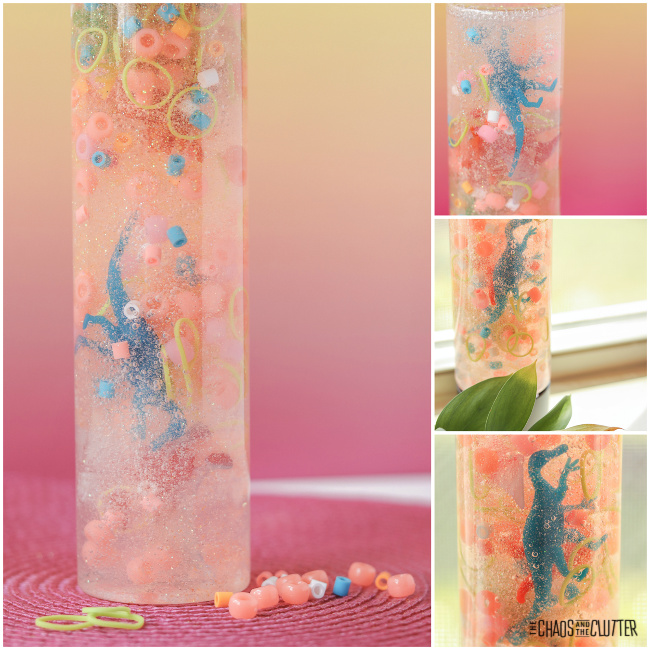
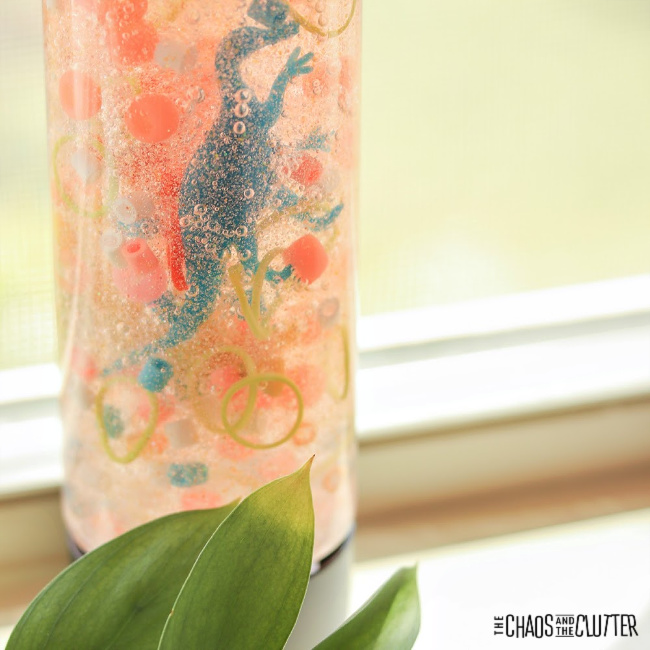
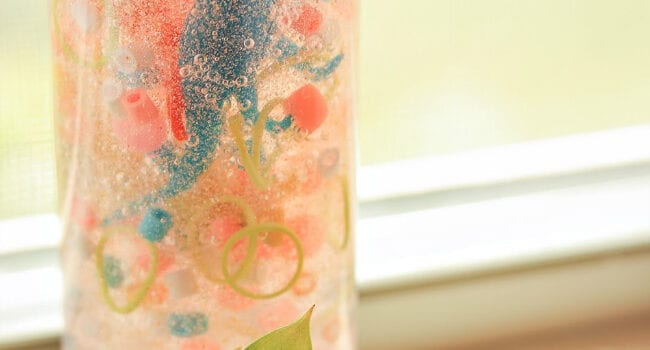
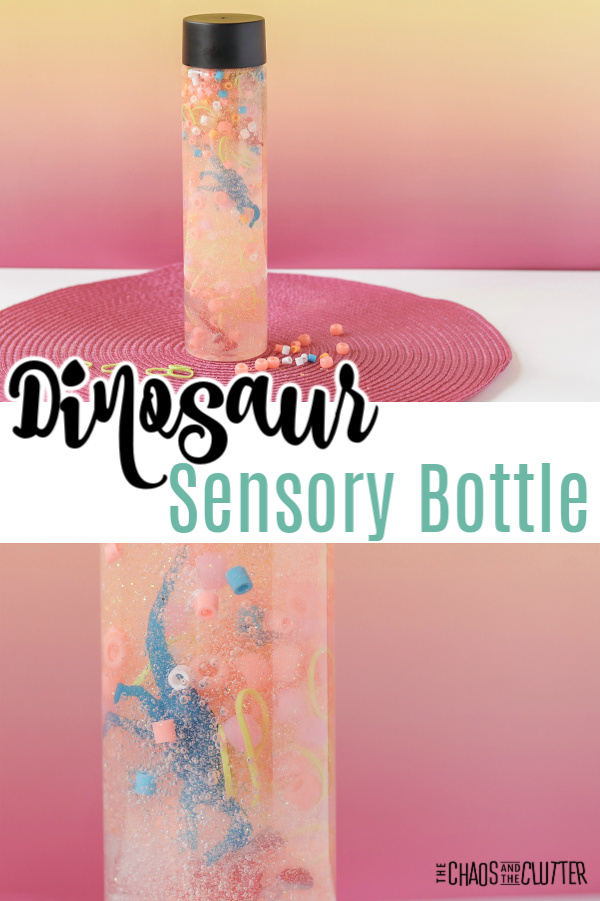
I love this Dinosaur Sensory Bottle. I know it’s a gender stereotype to say that pink is for girls, but the reality is that it still is generally thought to be more of a feminine colour. So what I love about this is that it takes what is typically thought to be a boy interest (dinosaurs) and pairs it with colours typically associated with girls.

What is created is a sensory experience perfect for boys and girls. liquid filled bottle on a round pink mat with text that reads "Dinosaur Sensory Bottle"

Dinosaur Sensory Bottle:

Supplies needed:

  • empty water bottle (I prefer the look of Voss bottles or craft store sensory bottles)
  • clear dish soap (Dawn or LemiShine are good because they are thicker)
  • brightly coloured dinosaur figurines
  • orange and gold glitter
  • orange, white, blue, and peach pony beads and smaller beads
  • green mini rubber bands (like the Rainbow Loom elastics you probably have laying around the house!)
  • optional: Superglue or hot glue to seal the bottle cap

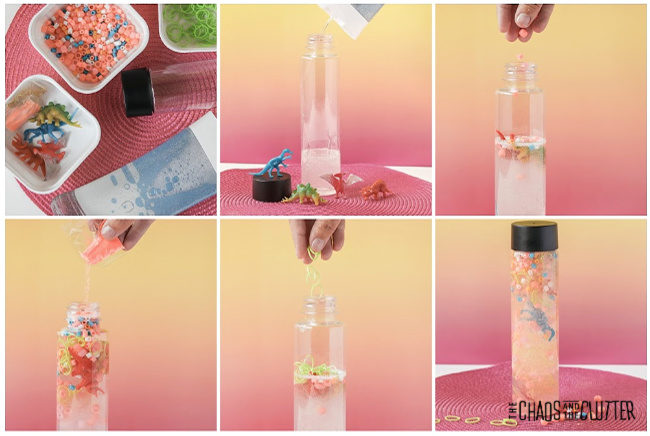
Directions:

  1. Pour enough clear dish soap into the bottle to make it 2/3 full.
  2. Add the glitter, mini rubber bands, dinosaur toys, and coloured beads.
  3. Fill the rest of the container with water.
  4. Put the lid back on. If you’re going to be using this sensory bottle with young children, then I suggest that you superglue the lid in place or use hot glue to secure. Be sure to let the glue dry before giving it to your child to play with.

Adult supervision should be used at all times when kids are playing with this activity. Even if you glue the lid in place, it can come off especially over time. The bottle contains small parts which are choking hazards.

Sensory and Learning Opportunities:

The visual, tactile, and proprioceptive sensory systems and engaged when using the dinosaur sensory bottle.

This sensory bottle can be used for a dinosaur unit study at home or in the classroom. Here are some other suggestions for interactive sensory learning about dinosaurs:

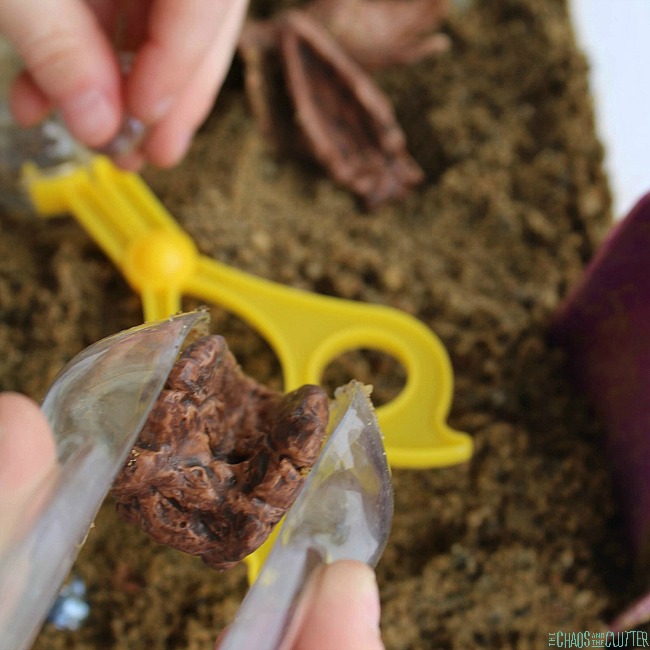
Dinosaur Fossils in Playdough

Dinosaur Sensory Bin

Dinosaur Slime

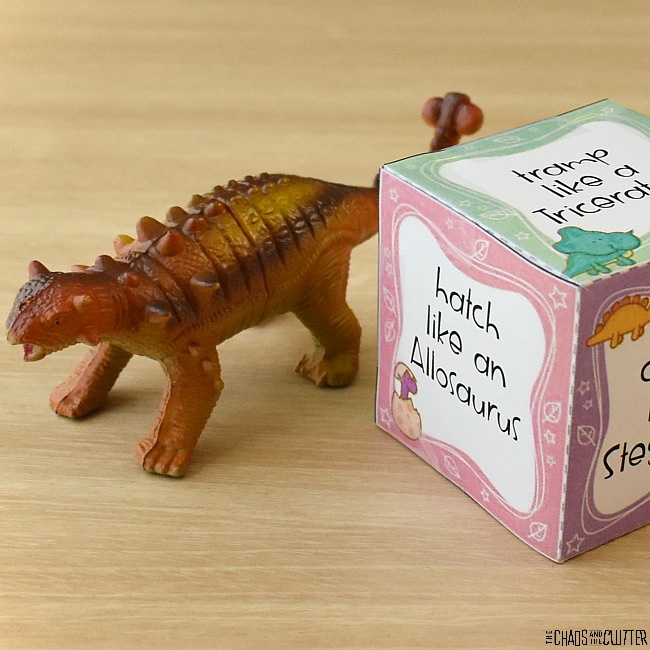
Gross Motor Dinosaur Action Cube

Are you wanting more easy sensory play ideas? Join us for a five day email series on Sensory Activities and Solutions and get a free sample of our Sensory Play Recipes eBook.
Filed Under: Sensory Tagged With: sensory bottles, sensory play

Valentine’s Day Playdough Station

By Sharla Kostelyk

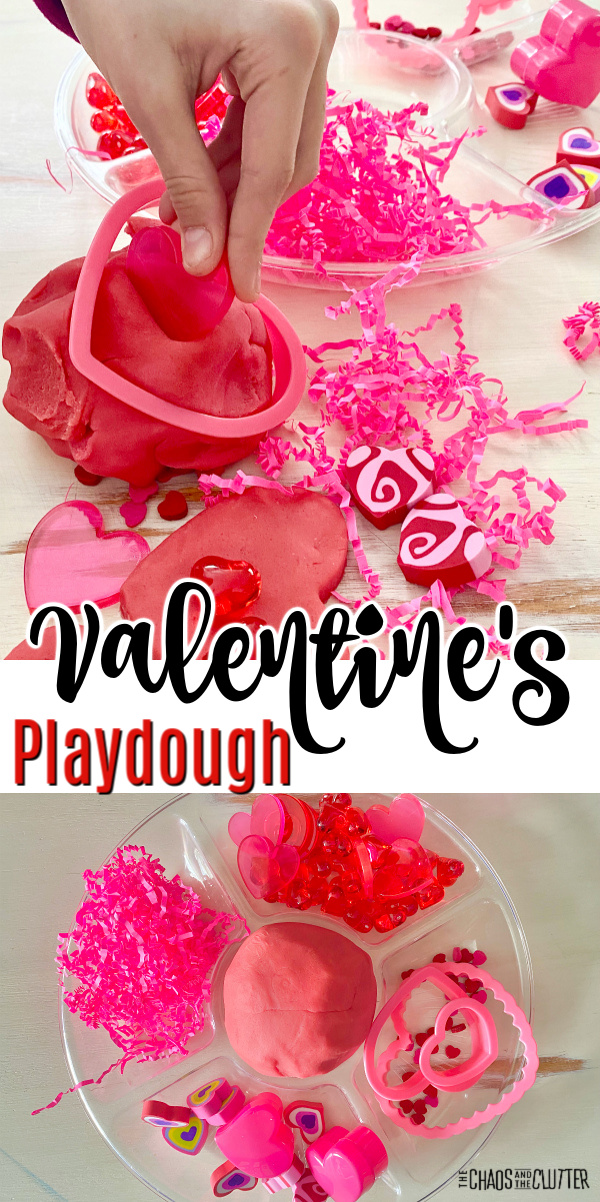
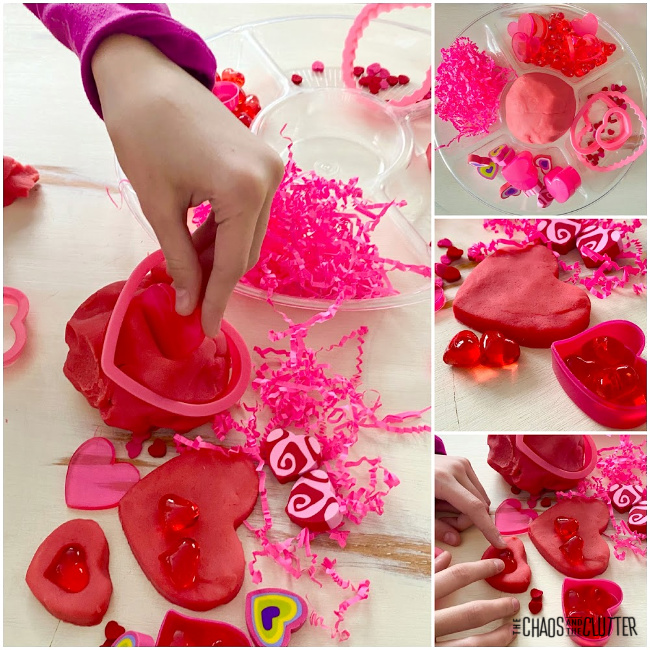
Create a sensory station at home or in your classroom with this open-ended Valentine’s Day playdough invitation to create. Kids are free to explore and use their imaginations as they engage their senses.

hand presses heart cookie cutter in red playdough. Text reads "Valentine's Playdough"

One year to celebrate Valentine’s Day, we made Chocolate and Strawberry Playdough for the kids to create with, but this year, we stuck to something a bit more basic.

Valentine’s Day Playdough Recipe:

Supplies:

  • 1 cup flour
  • 1/2 cup salt
  • 2 Tbsp. cream of tartar
  • 1 Tbsp. oil
  • pink food gel
  • 1 cup water (boiling if making with KitchenAid)
  • red glitter
  • optional: a few drops of essential oil in rose or lavender*

*a note about choosing scents: Some scents are calming while others are alerting. If you want this activity to be a calming one, be sure to choose a calming scent as opposed to choosing a more alerting scent if you are wanting to create an activity that helps keeps kids focused.

KitchenAid Directions:

  1. Put the dry ingredients in a KitchenAid mixer.
  2. Add the oil and colour and begin mixing with the flat beater.
  3. As it is mixing on the lowest setting, pour in the boiling water.
  4. Add in the red glitter. If you want to scent the playdough, add a few drops of essential oils. Mix until the playdough texture you want is achieved.
  5. Store in an airtight container or resealable bag when not being played with.

Stovetop Directions:

  1. Mix the dry ingredients together in a pot and stir in the oil, water and the food colouring.
  2. Cook over medium heat, stirring constantly, being sure to scrape the sides and bottom of the pot.
  3. Cook until the dough forms a ball. Remove from heat.
  4. Place it on a piece of wax paper. Knead. Add glitter in at this point and if you want, a few drops of essential oils for scent.
  5. Allow to cool. Store in an airtight container or in a resealable bag.

Valentine’s Playdough Sensory Station:

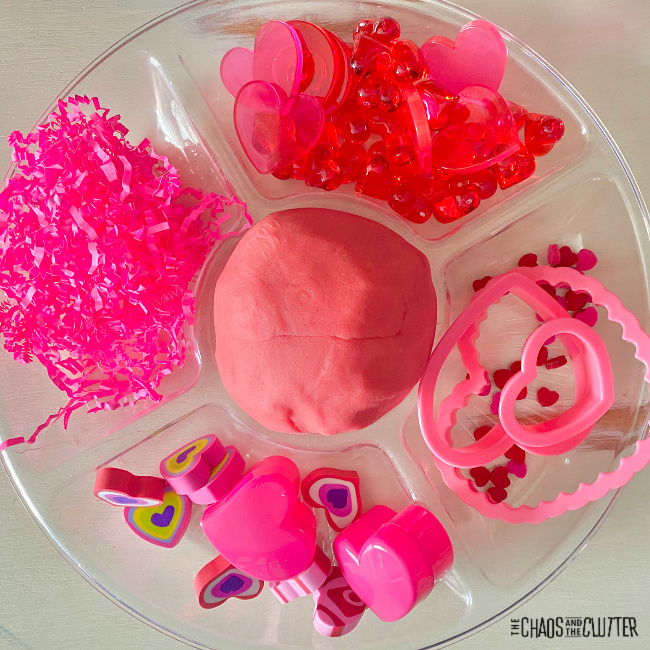
Supplies:

  • tray with separated compartments
  • playdough (recipe above)
  • plastic hearts of various sizes
  • pink Easter grass
  • heart confetti
  • heart shaped erasers
  • cookie cutters in various sized hearts
  • small plastic heart containers

I found most of my supplies at the Dollar Store.

Directions:

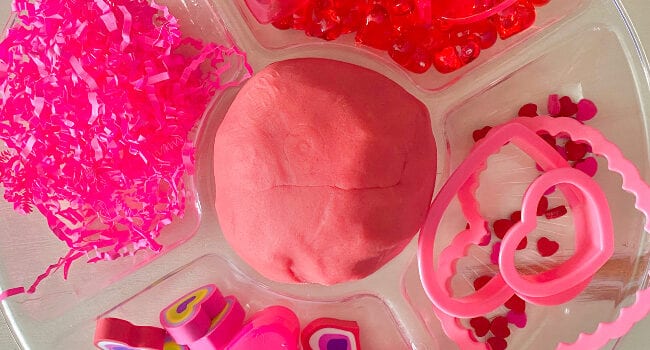
  1. Set the playdough in the center of the tray.
  2. Place the other items in the compartments all around it.
  3. Invite your child to use their imagination to explore and play.

When kids interact with this playdough station, they engage their visual, tactile, and proprioceptive sensory systems as they push, knead, gather, roll, squish, and pull. If you use essential oils in the recipe, then their olfactory (smell) system is also involved.

Are you looking for other easy sensory play recipes? Join us for a free five day email series on Sensory Activities and Solutions and get a sample of our Sensory Play Recipes eBook.
You may want to see some of our most popular playdough recipes:

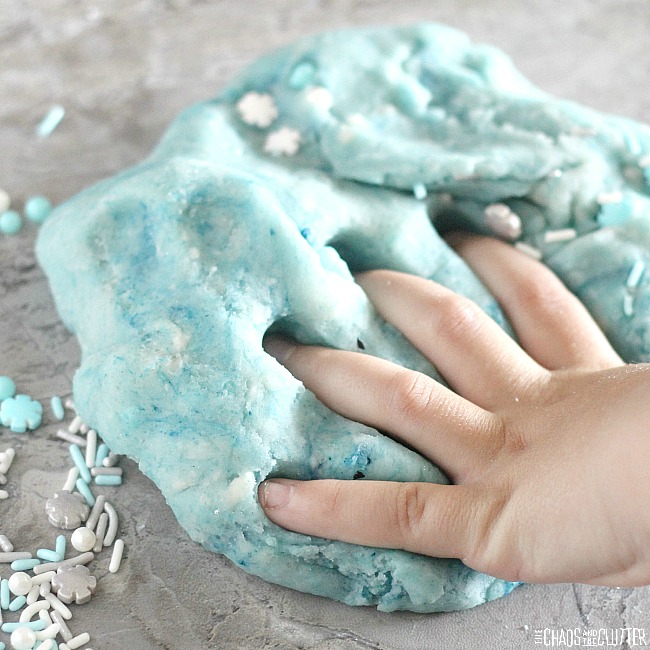
Frozen Inspired Microwave Elsa Playdough

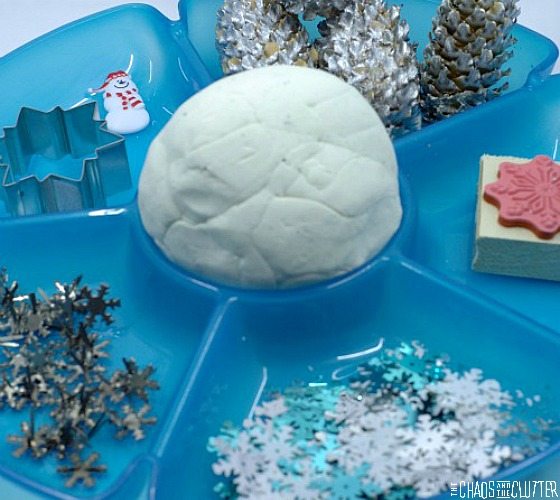
White Snow PlaydoughSnow Playdough and invitation to play

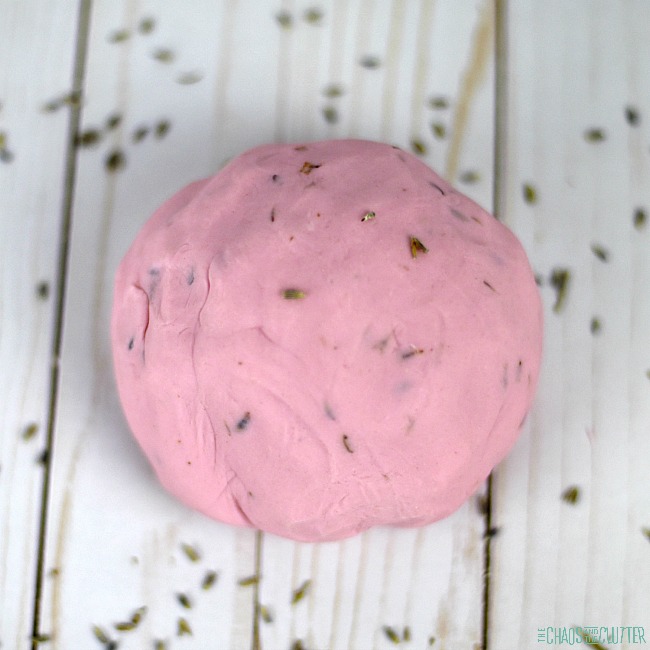
Calming Lavender Scented Playdough

Filed Under: Sensory Tagged With: playdough stations, sensory play

  • « Go to Previous Page
  • Page 1
  • Interim pages omitted …
  • Page 5
  • Page 6
  • Page 7
  • Page 8
  • Page 9
  • Interim pages omitted …
  • Page 50
  • Go to Next Page »

Primary Sidebar

Categories

We are a participant in the Amazon Services LLC Associates Program, an affiliate advertising program designed to provide a means for us to earn fees by linking to Amazon.com and affiliated sites.

Copyright © 2026 • The Chaos and the Clutter • Site Design by Jeni @ The Blog Maven

Return to top of page

Copyright © 2026 · Chaos and the Clutter 2.0 on Genesis Framework · WordPress · Log in