• Skip to primary navigation
  • Skip to main content
  • Skip to primary sidebar
  • Home
  • About
  • Contact
  • Privacy + Terms
  • Affiliates

The Chaos and the Clutter

  • Facebook
  • Twitter
  • Pinterest
  • Google Plus
  • RSS
  • Email
  • School at Home
  • Sensory
    • Sensory Processing Disorder
    • Awesome Sensory Play Activities
      • Sensory Bins
      • Sensory Bottles
      • Sensory Bags
  • Family Games
    • Minute to Win It Games
  • Special Needs Parenting
    • Childhood Anxiety
    • Reactive Attachment Disorder
    • Sensory Processing Disorder
  • Store
  • Course Login

Sensory

Valentine’s Day Fluffy Slime

By Sharla Kostelyk

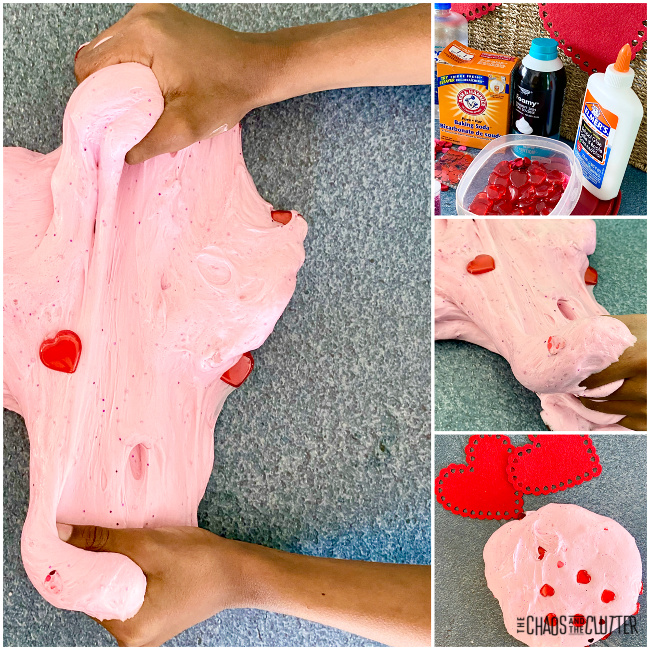
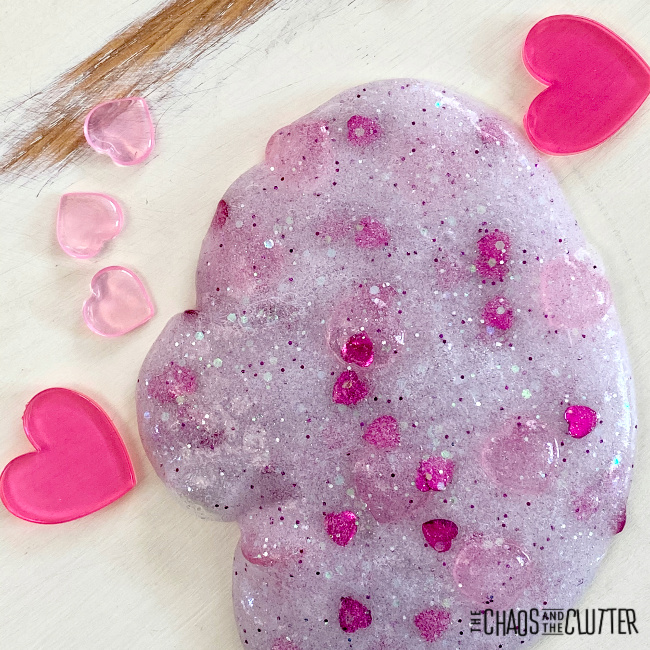
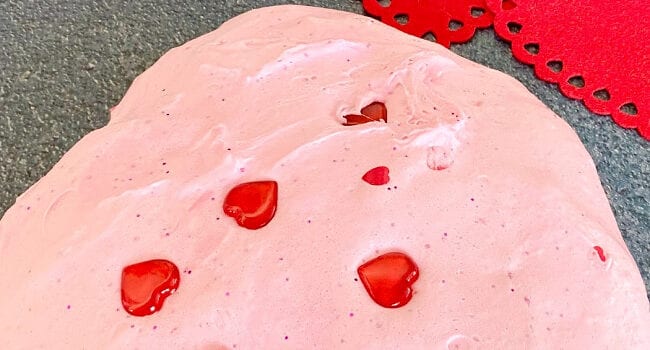
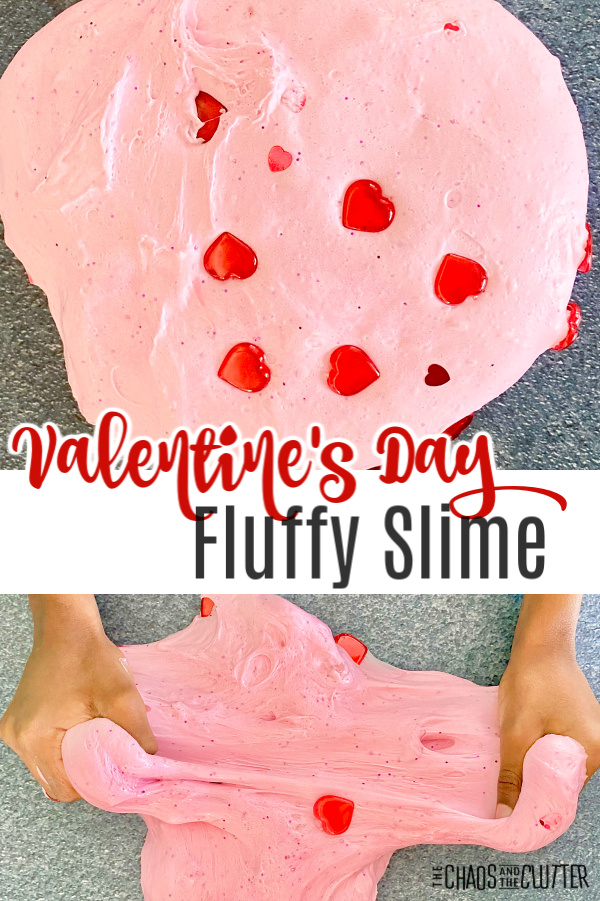
If you’re looking for an easy sensory play activity for February, you’re in luck. This Valentine’s Day Fluffy Slime recipe is simple to make and provides hours of fun. puffy pink slime with red hearts. Text reads "Valentine's Day Fluffy Slime"
What is fluffy slime?

I seem to go in phases when it comes to slime. I’m currently in a bit of a fluffy slime craze. Fluffy slime is just basically regular slime with shaving cream added. I like the texture and the stretch of it. If you like your slime fluffier, you can simply add more shaving cream.

Valentine’s Day Fluffy Slime:

Ingredients:

  • 2/3 cup of Elmer’s white School Glue
  • 1/2 teaspoon baking soda
  • 1/4 cup water
  • 2 1/2 cups shaving cream
  • 1 1/2 Tbsp. contact lens solution
  • pink glitter
  • pink food paste
  • tiny red heart confetti
  • red plastic hearts
Directions:
  1. Add glue to a bowl.
  2. Mix in water and baking soda.
  3. Add shaving cream and mix.
  4. Stir in food colour.
  5. Slowly add contact solution. Mix.
  6. Knead.
  7. If it’s still too sticky, add a drop more of contact solution and knead some more.

Fluffy Slime Troubleshooting Tips:

You’ll need to use contact solution as the activator to create your slime. Otherwise, the glue and shaving cream will just be a blob of goo.

If your slime isn’t fluffy enough, fold in some additional shaving cream. When the slime isn’t stretchy after a few days of play, you can add a bit of hot tap water or a small amount of lotion.

If the slime is too sticky, add a drop or two more contact solution or a small bit of baby oil and knead.

Looking for more easy sensory play recipes to inspire creativity? Join us for a five day email series on Sensory Activities and Solutions and get a free sample of our Sensory Play Recipes eBook.

You might also be interested in these other Valentine’s activities:

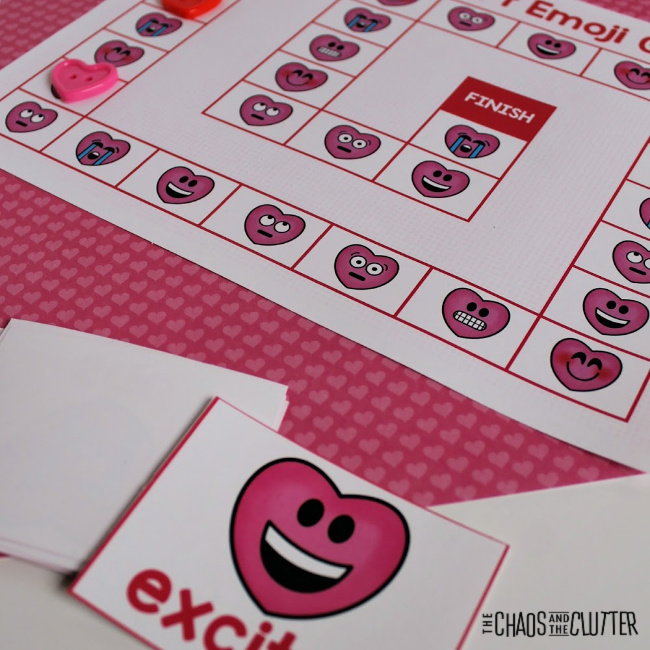
Valentine’s Emotion Game for Kids
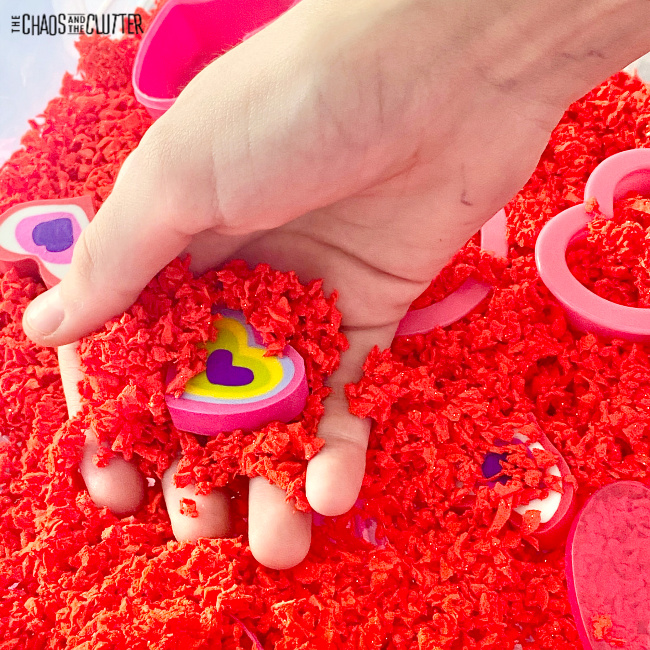
Valentine’s Pluffle Sensory Bin

Valentine’s Day Sensory Bottle

Filed Under: Sensory Tagged With: sensory play, slime

Valentine’s Day Slime

By Sharla Kostelyk

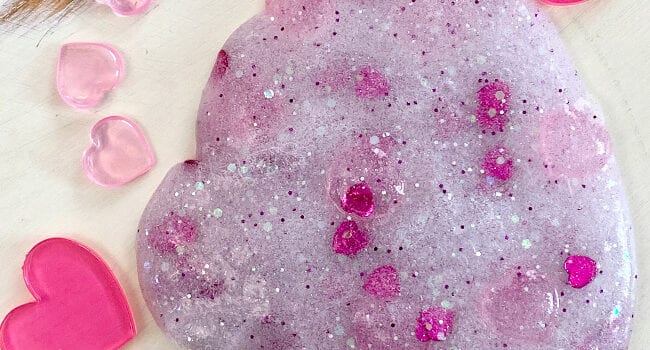
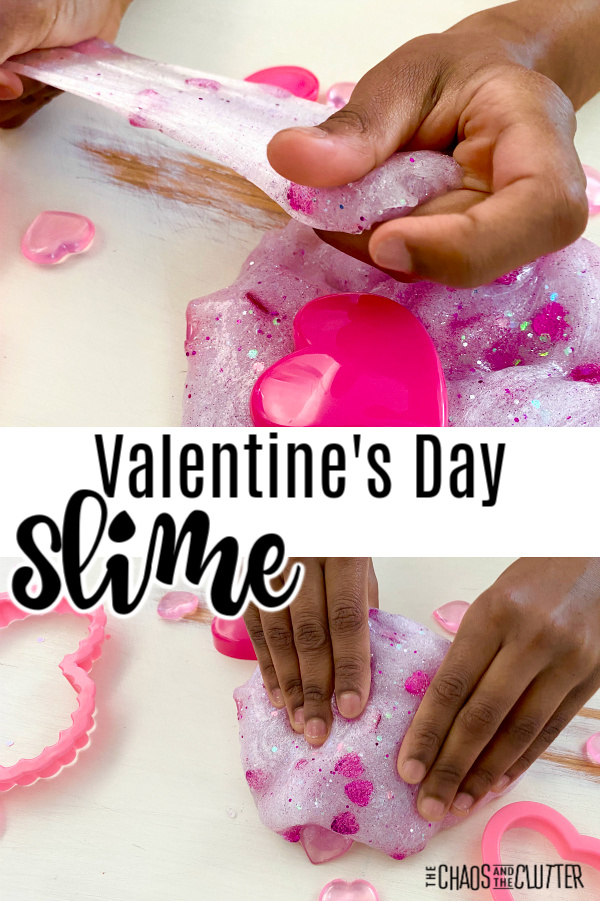
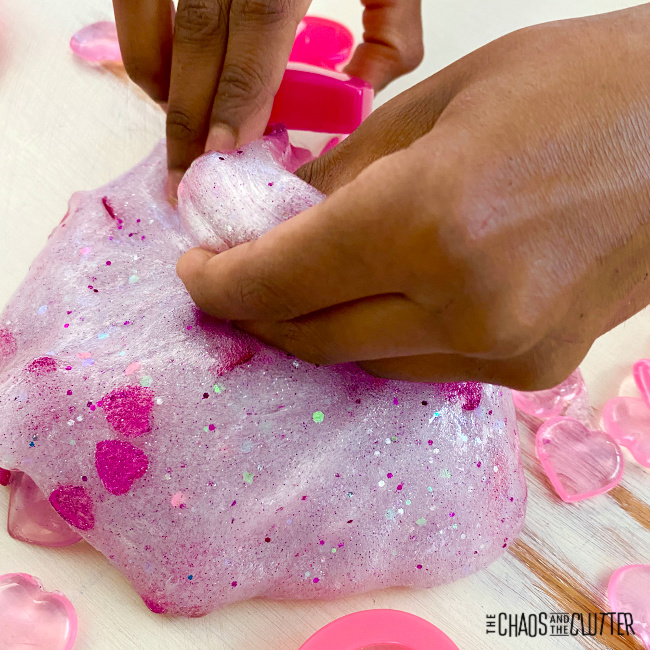
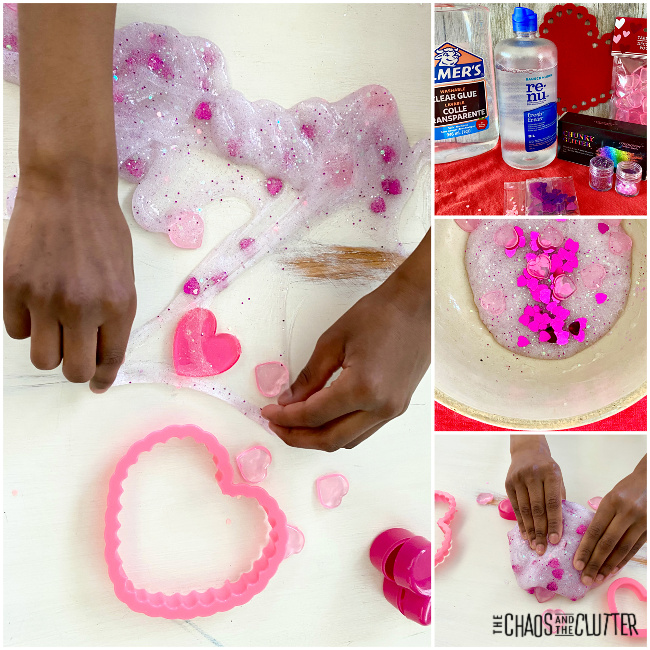
Create this Valentine’s Day Slime for your friends, child, or classroom. It’s super stretchy. This contact solution recipe is an easy one to master. little hands stretch out slime with hearts. Text reads "Valentine's Day Slime"If you’re looking for a homemade Valentine’s gift, this slime recipe and/or our Valentine’s Fluffy Slime recipe can be put in a small container or resealable bag.
Valentine’s Day Slime:

Supplies needed:

  • 1 cup Elmer’s Clear School glue
  • 2-3 Tbsp. contact lens saline solution
  • 1/2 tsp. baking soda
  • unicorn glitter
  • heart confetti
  • small plastic hearts
  • optional: heart shaped cookie cutters and plastic heart containers for extended play

Directions:

  1. Pour the glue into a large mixing bowl and stir the baking soda into it.
  2. Begin to add the contact lens solution a few drops at a time as you stir.
  3. When you find that the mixture begins to pull away from the bowl, it’s time to begin kneading.
  4. Add the glitter, hearts, and confetti. Continue kneading.
  5. If the slime is still too sticky to play with, add one or two more drops of contact solution and knead.

Sensory and Learning Opportunities:

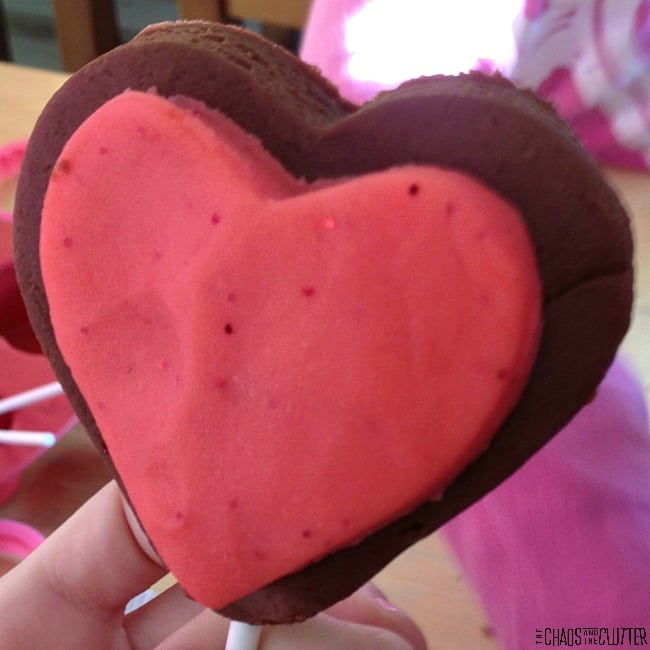
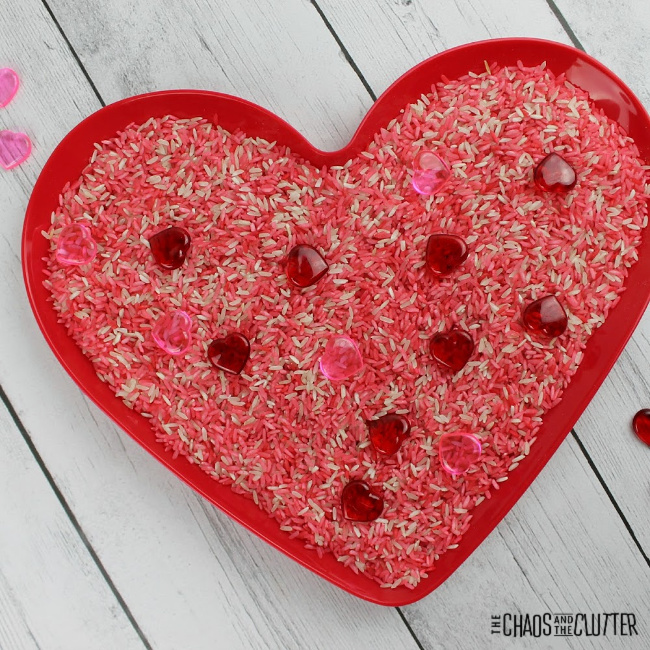
Set out heart shaped cookies cutters, additional plastic hearts, and plastic heart containers to allow your child the chance to engage in imaginative sensory play. You can also set up a sensory station in your classroom with this as one of the activities.

The visual, tactile, and proprioceptive sensory systems are involved during slime play.
Looking for more great sensory play recipes to inspire imagination? Join us for a five day email series on Sensory Activities and Solutions and get a free sample of our Sensory Play Recipes eBook.

Find other sensory play opportunities for February:

Valentine’s Day Fluffy Slime

Chocolate and Strawberry Playdough Station

Scented Valentine’s Sensory Bin

Filed Under: Sensory Tagged With: sensory play, slime

Astronaut Sensory Bottle

By Sharla Kostelyk

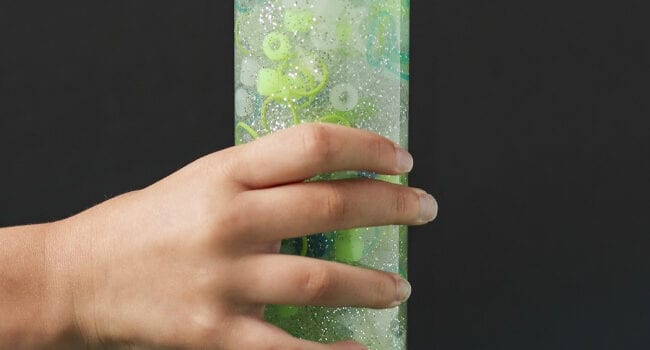
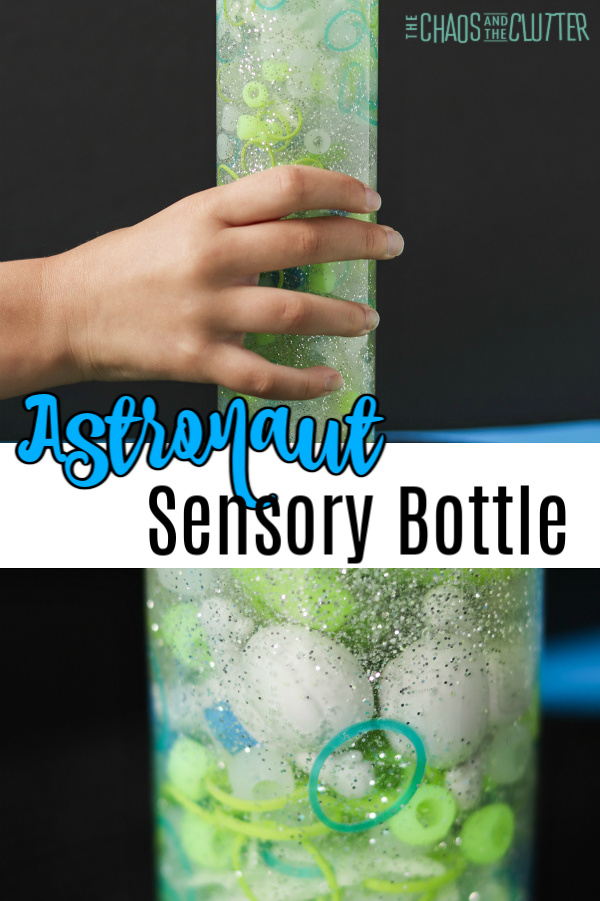
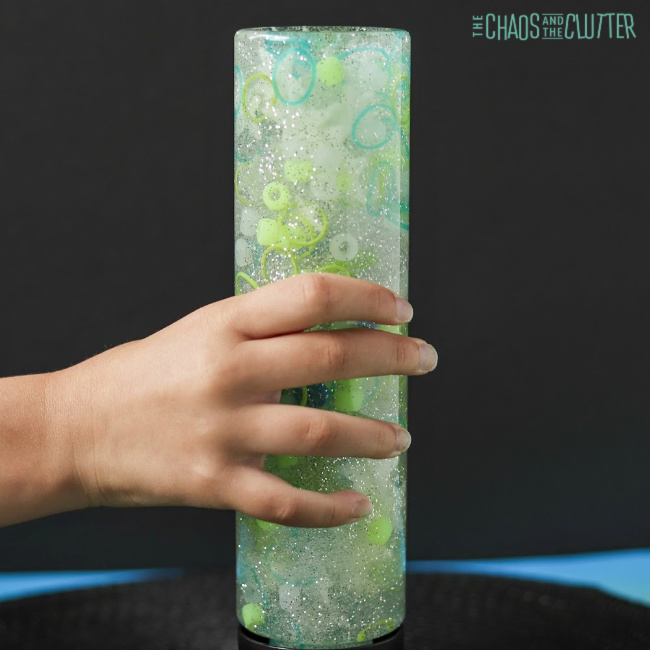
Awww, this activity is so fun and so cute! Kids can explore their interest in outer space with this Astronaut Sensory Bottle. It engages the senses and the mind.

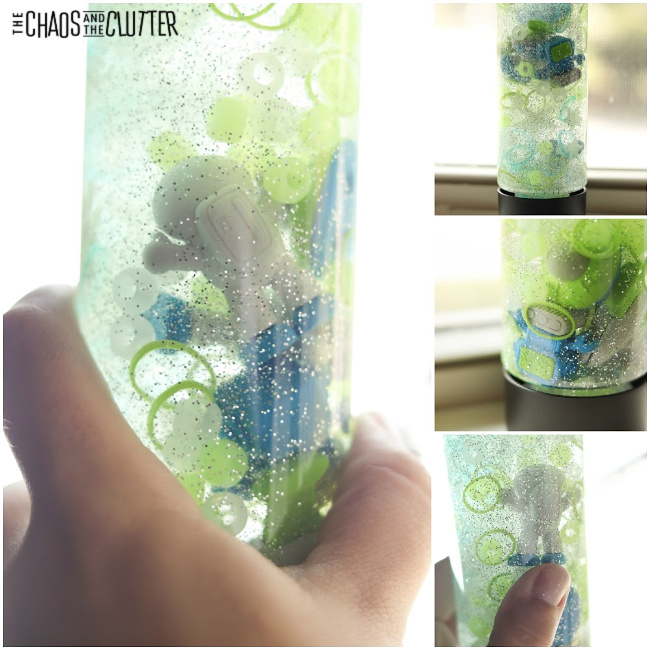
hand holds a bottle filled with liquid, glitter, and beads with text that reads "Astronaut Sensory Bottle"

Astronaut Sensory Bottle:

Supplies needed:

  • empty water bottle (I prefer the look of Voss bottles or craft store sensory bottles)
  • clear dish soap (Dawn or LemiShine are a good thickness for this)
  • astronaut and rocket erasers
  • glow in the dark mini ceiling stars
  • small teal and green rubber bands (like the Rainbow Loom ones)
  • silver glitter
  • optional: Superglue or hot glue to seal the top of the bottle

Directions:

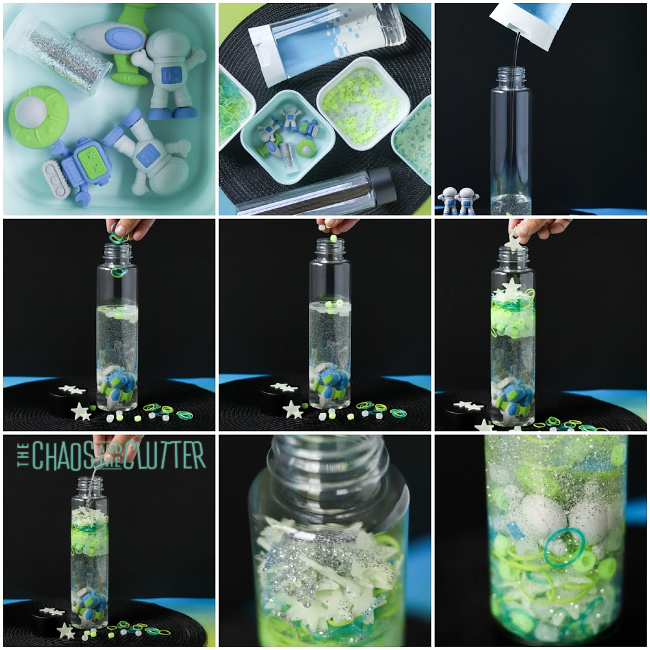
  1. Pour clear dish soap into the bottle to 2/3 of the way full.
  2. Add the glitter, mini rubber bands, space erasers, and ceiling stars.
  3. Fill up to the top with water.
  4. Put the lid back on. If you’re going to use with younger kids, then it’s best to superglue the lid in place or secure with hot glue. Be sure to allow the glue time to dry before giving it to a child to play with.

As with all of our sensory activities, adult supervision should be used. Even if you have glued the lid in place, it can still come off. The bottle contains small parts which are choking hazards so always use caution.
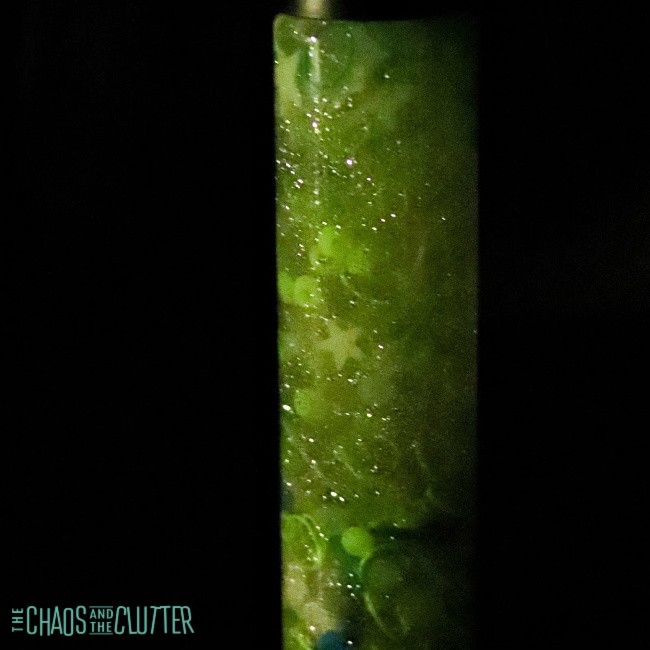
This activity has an added bonus. Because of the ceiling stars, it is glow-in-the-dark. Just be sure to leave it in the light long enough to charge and then the sensory bottle will glow. Some kids may be comforted by bringing their glowing bottle into their room with them at night.

Sensory and Learning Opportunities:

This Astronaut Sensory Bottle engages the visual, tactile, and the proprioceptive sensory systems.

If you’re doing a unit study on the Solar System, you can set out this Astronaut Sensory Bottle as a hands-on addition to your studies. When kids incorporate their senses into their learning, they show better retention. You can set up an entire Space Sensory Station at home or in your classroom to encourage learning.
Here are some other activities that would work well at your Space Sensory Station:

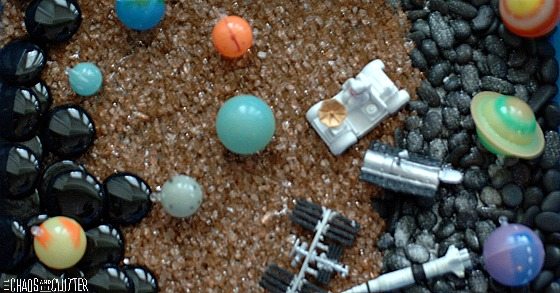
Glow in the Dark Solar System Sensory BinSolar System sensory bin glows in the dark

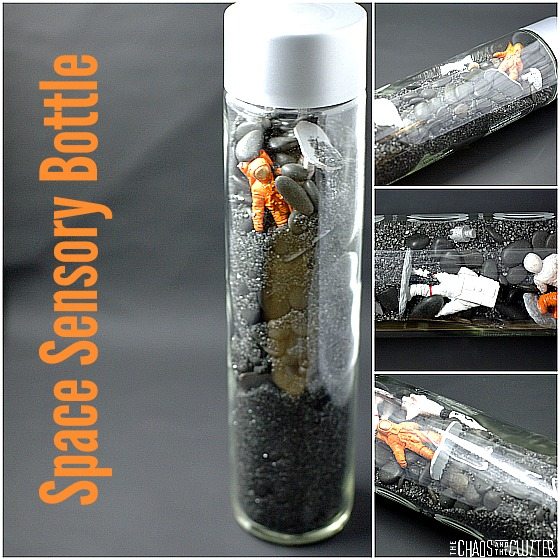
Space Sensory BottleThis Space sensory bottle is naturally weighted. Kids can also use it as an I-Spy activity.

Are you looking for more simple sensory play recipes? Join us for a five day email series on Sensory Activities and Solutions and get yourself a free sample of our Sensory Play Recipes eBook.

Filed Under: Sensory Tagged With: sensory bottles, sensory play

Mermaid Calm Down Bottle

By Sharla Kostelyk

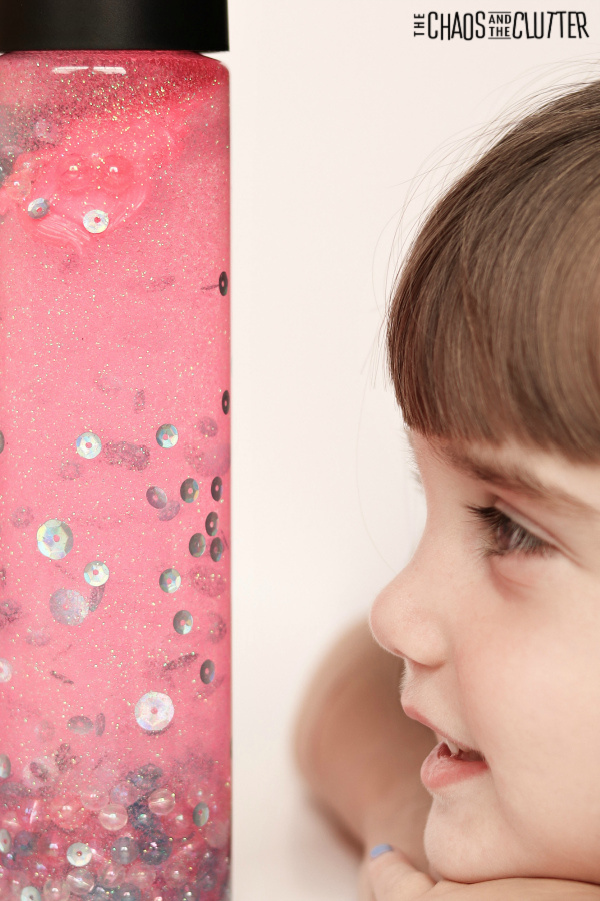
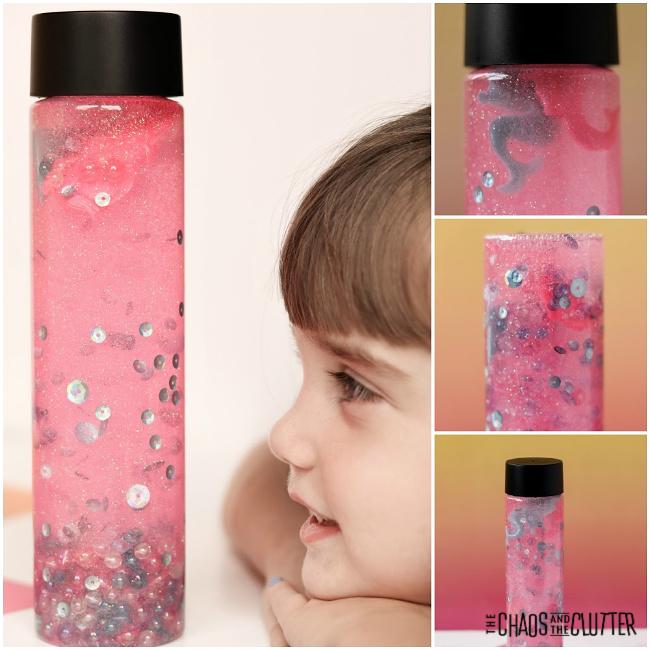
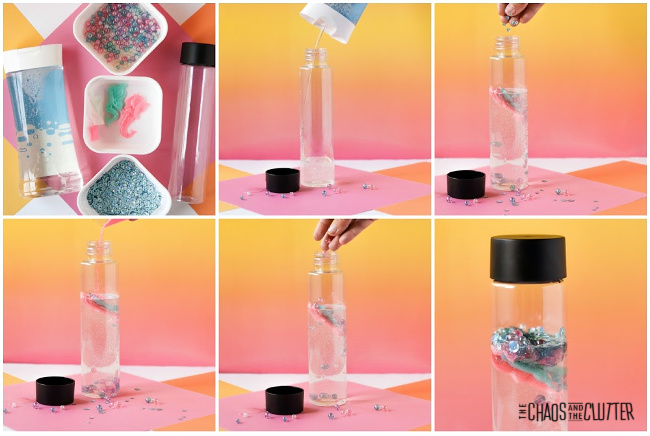
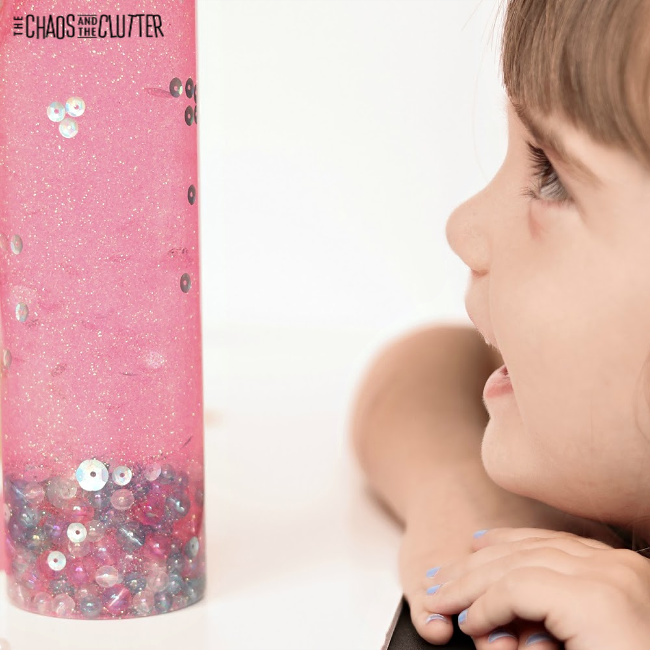
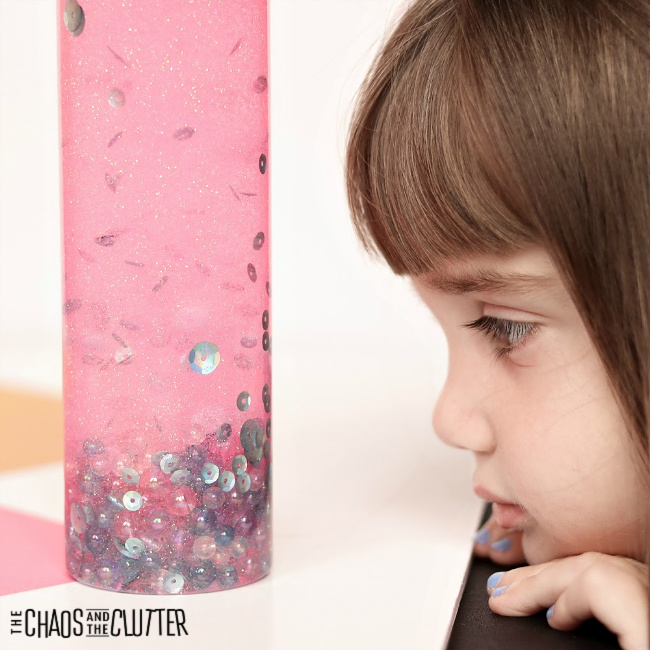
This Mermaid Calm Down Bottle is so pretty. Children are mesmerized as they watch items slowly drift down towards the bottom which helps them to regulate their breathing and regain focus when upset.

little brown haired girl looking at a bottle filled with pink liquid with sequins and glitter.

Mermaid Calm Down Bottle:

Supplies needed:

  • empty water bottle (I prefer the look of Voss bottles or sensory bottles from the craft store)
  • clear dish soap (Dawn or LemiShine are good because they are thicker)
  • small mermaid figures (I used stretchy ones from the Dollar Store)
  • white and pink glitter
  • teal sequins
  • pink, purple, teal, and white pony beads
  • optional: Superglue to seal the bottle top

Directions:

  1. Pour clear dish soap into the container until it’s 2/3 full.
  2. Add the glitter, beads, sequins, and mermaid toys.
  3. Fill the leftover space with water.
  4. Replace the lid. If younger kids will be playing with the bottle, then I recommend that you use Superglue or hot glue to secure the lid in place.  Allow the glue to dry before giving it to your child to play with.

As with all sensory activities for kids, adult supervision is required at all times. Even if you have glued the lid in place, it can come off and the bottle contains small parts which are choking hazards.
Sensory and Learning Opportunities:

This Mermaid Calm Down Bottle allows children to explore through the visual, tactile, and proprioceptive sensory systems.

While this bottle can be used as a tool for improving communication and discussing colours, it’s main purpose is to serve as sensory input and as a calming tool. The thick dish soap allows the glitter, sequins, beads, and mermaid toys to fall more slowly through the bottle than they would in water. It really is quite calming to watch  (even for adults!).

As your child watches the items travel through the bottle, encourage them to slow down their breathing. This often happens naturally. Give them simple verbal reminders such as “in through your nose, out through your mouth” or sit nearby and slow down your own breathing to model it for them.

I use this tool when I see one of my kids struggling to regulate their emotions or behaviour. I will often just wordlessly shake up the bottle and set it in front of my child. They begin watching it automatically and I can see their breathing begin to slow almost immediately. It’s a bit like magic actually!Looking for more sensory play ideas? Join us for a five day email series on Sensory Activities and Solutions and get a free sample of our Sensory Play Recipes eBook.
Find ideas for other calm down bottles:

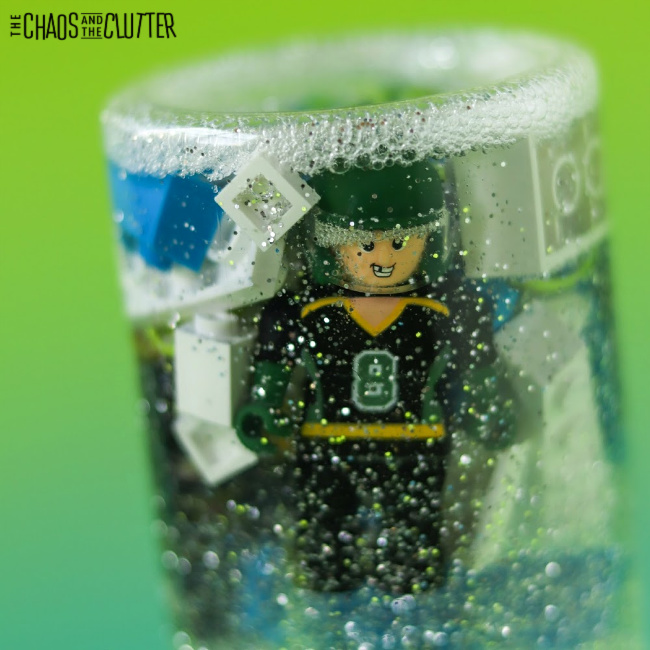
Lego Sensory Bottle

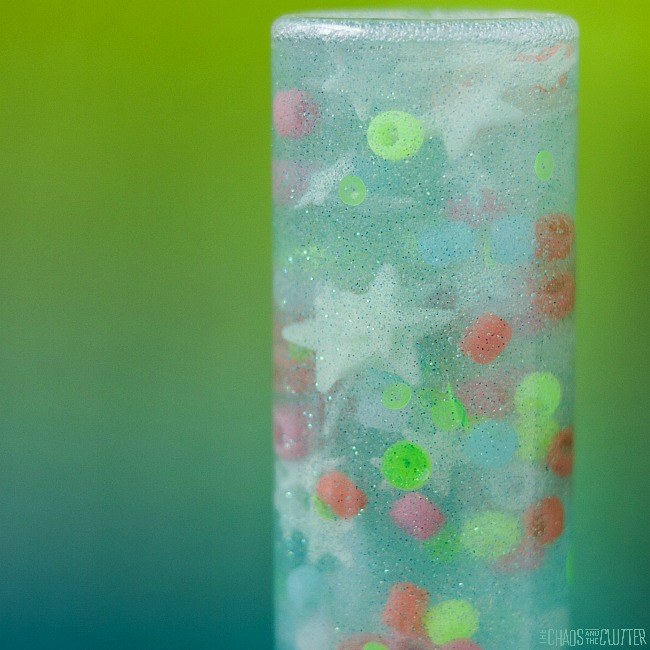
Glow in the Dark Sensory Bottle

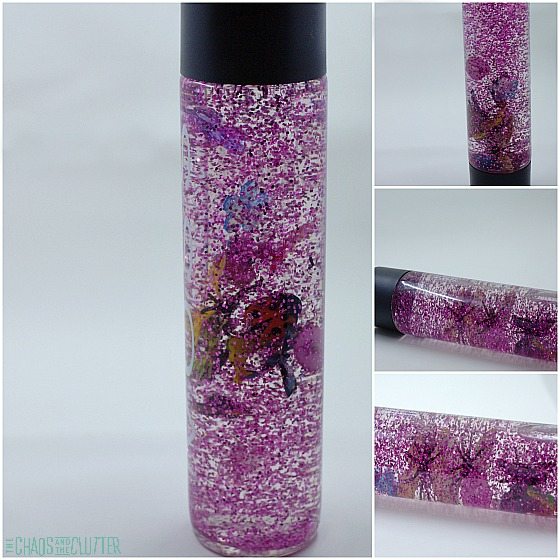
Spring Sensory Bottle

Filed Under: Sensory Tagged With: sensory bottles, sensory play

Valentine’s Calm Down Bottle

By Sharla Kostelyk

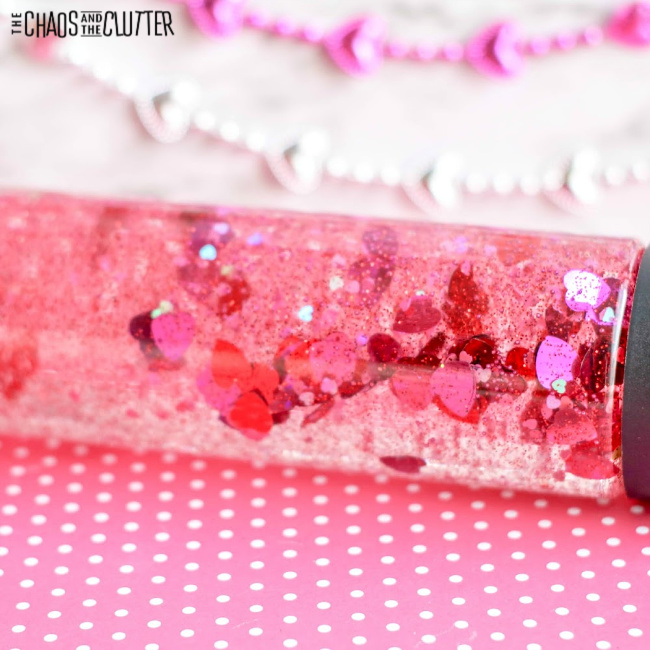
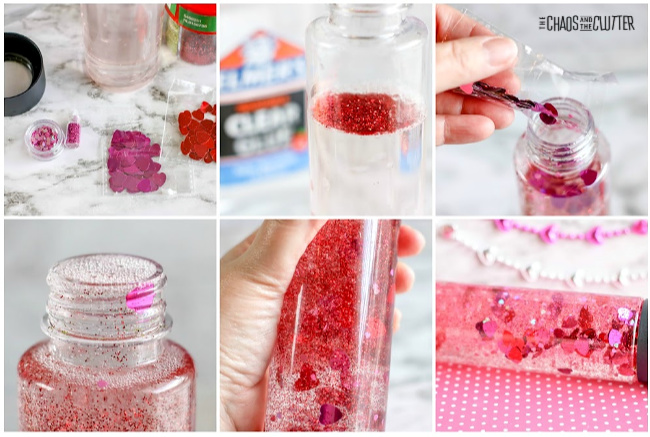
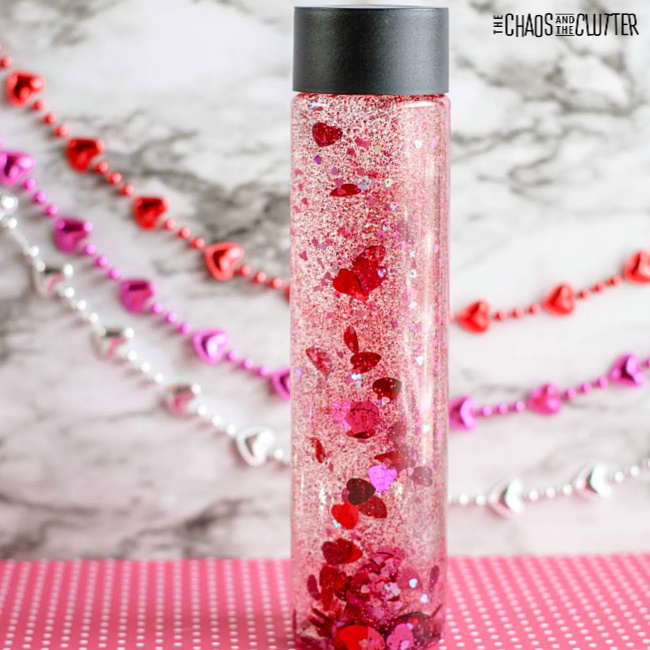
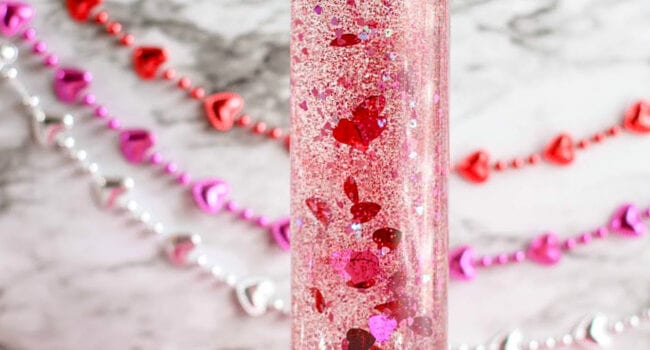
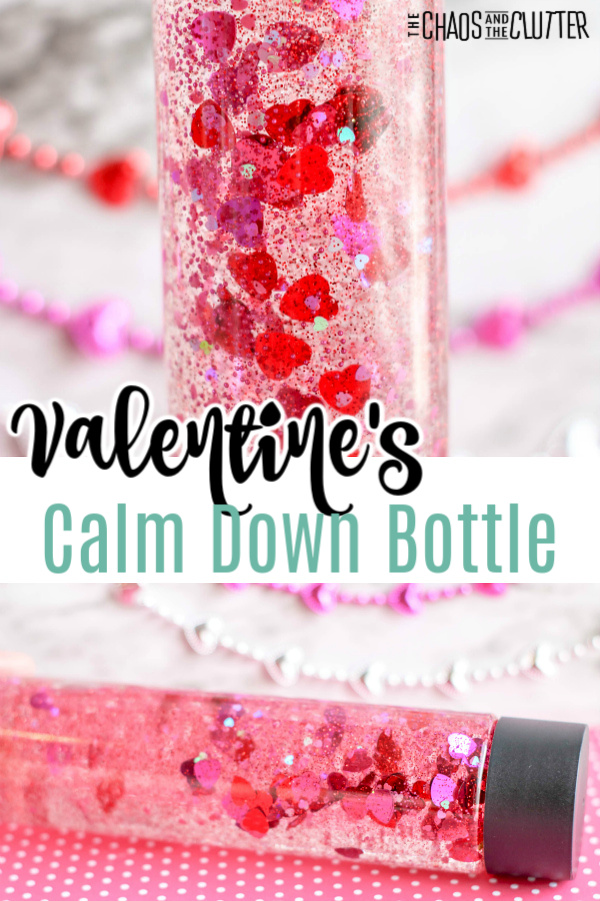
It’s amazing how simple it is to make a Valentine’s Calm Down Bottle. Using common items, you can create a Valentine themed sensory bottle that provides calming feedback.

strings of red and pink beads in back with a clear plastic bottle with heart confetti and pink glitter with text that reads "Valentine's Calm Down Bottle"

Valentine’s Calm Down Bottle:

Supplies needed:

  • empty plastic water bottle (I prefer the look of either the craft store sensory bottles or the Voss water bottles)
  • Elmer’s Clear School Glue
  • warm water
  • heart confetti
  • mini heart pink glitter
  • red glitter
  • optional: hot glue or Superglue

Directions:

  1. Fill the water bottle about half full with glue.
  2. Add warm water until the bottle is more than three quarters full and seal with the lid. Shake well to combine the glue with the water.
  3. Add the glitter and confetti to the bottle.
  4. Seal the jar again and shake well. If the confetti and glitter don’t move as easily as you want them to, you can add more warm water. If the glitter or confetti move too quickly, then add additional glue. When the contents of the sensory bottle move the way you want them to, seal the bottle.
  5. If you’re going to be handing the bottle to young children, you’ll want to use hot glue or Superglue to secure the lid. Allow the glue to fully dry before they begin play.

Even if you have secured the lid with glue, adult supervision should be used with this or any other sensory activities.

As the glitter and heart confetti move slowly through the liquid, it can be quite mesmerizing to watch. Kids (or adults) who watch the falling colour usually experience a slowing of their heart rate and the effect of helping regulate their emotions.

Combine that with the sensory benefits of tactile, visual, and proprioceptive input and this really does become a calm down bottle.

Are you looking for more easy sensory play ideas? Join me for a five day email series on Sensory Activities and Solutions and get a free sample of our Sensory Play Recipes eBook.
Check out some of our other Valentines sensory activities:

Heart Shaped Valentine’s Sensory Bin

Valentine’s Sensory BottleValentines Sensory Bottle whose contents can be turned into a Valentines sensory bin.

Filed Under: Sensory Tagged With: sensory bottles, sensory play

Lego Sensory Bottle

By Sharla Kostelyk

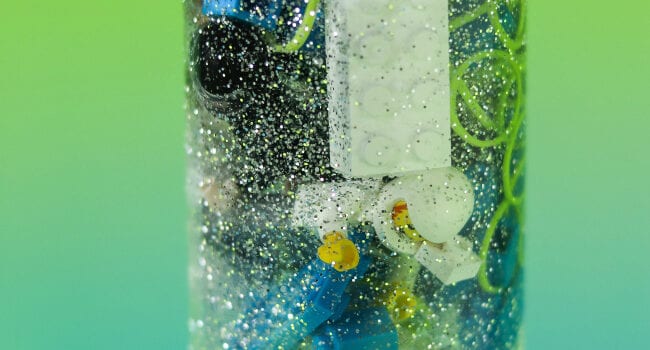
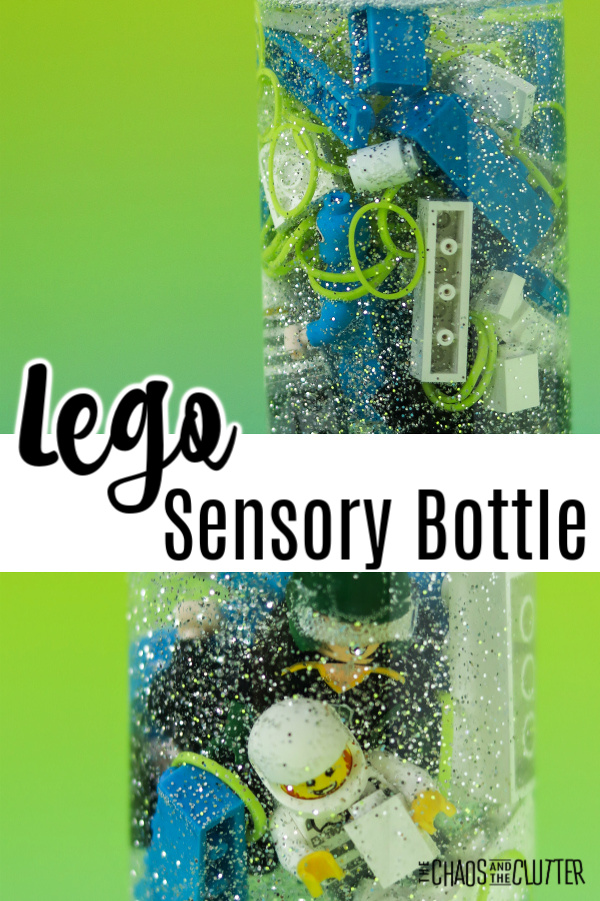
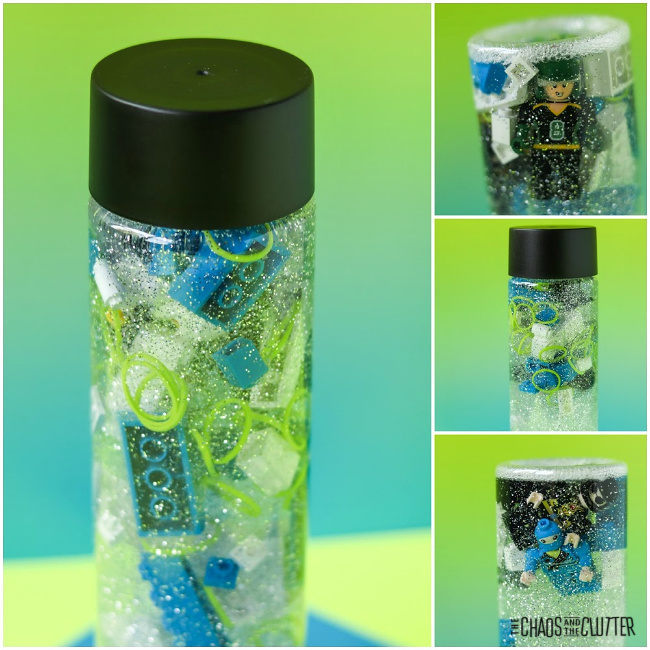
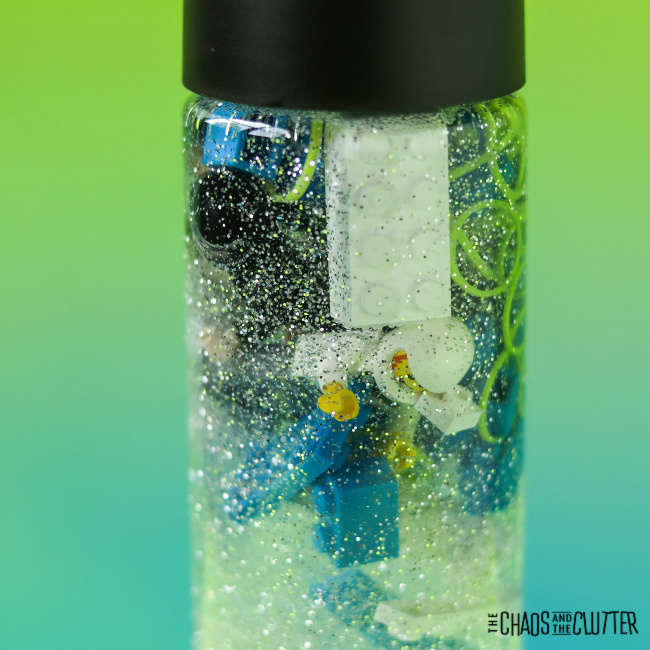
If you’re a parent, chances are, you’ve got access to Lego. Maybe you’ve even experienced the universal pain of stepping on a piece! If you’ve already got the supplies, this Lego Sensory Bottle is easy and inexpensive to make.

blue, green, and white building bricks in liquid in a bottle with text that reads "Lego Sensory Bottle"It can be a great calm down tool for kids as they sit and watch, mesmerized by the movement of the slow falling glitter, green bits, and Lego.

This sensory bottle also makes a cute decoration for a playroom or bedroom. And if you’re hosting a Lego themed birthday party, making these as a group is a fun activity. You can then allow guests to take their creations home as a party favour.

Lego Sensory Bottle:

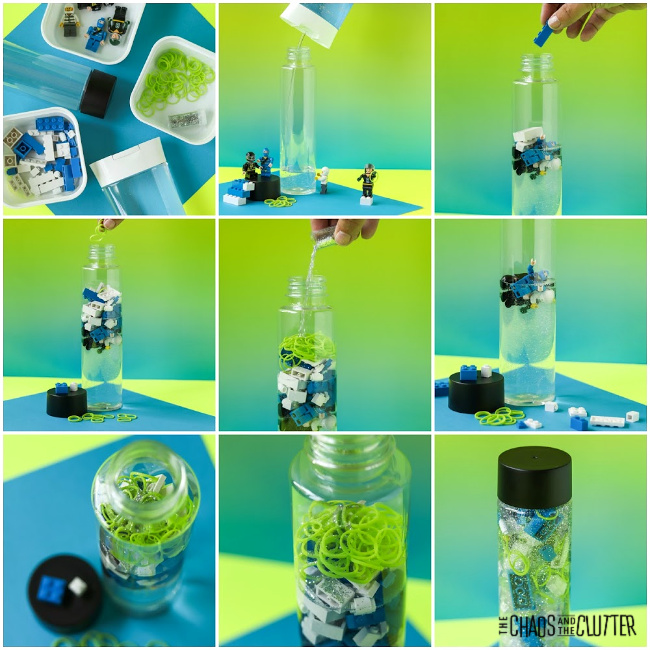
Supplies needed:

  • empty water bottle (I prefer the look of Voss bottles or craft store sensory bottles)
  • clear dish soap (Dawn or LemiShine are good because they are thicker)
  • Lego figurines (also called mini figs)
  • white and blue Lego blocks
  • small green rubber bands (like the kind you may have leftover from the Rainbow Loom craze!)
  • silver glitter
  • optional: Super glue to seal the bottle cap

Directions:

  1. Pour clear dish soap into the container until it’s 2/3 full.
  2. Add the glitter, mini rubber bands, figurines, and Lego pieces.
  3. Fill the remaining space with water.
  4. Replace the lid. If you’re going to be using with younger kids, then I recommend that you super glue the lid in place and allow the glue to dry before giving it to your child to play with.

As with all sensory activities, adult supervision should be used at all times. Even if you have glued the lid in place, it can come off and the bottle contains small parts which are choking hazards.

Sensory and Learning Opportunities:

This Lego Sensory Bottle incorporates the visual, tactile, and proprioceptive sensory systems.

Using this visual, kids can work on concepts like colours and counting. They can also work on the math concept of guestimating by guessing how many small elastics there may be in the whole bottle by counting the amount in one section and multiplying that by the number of sections of that size that there are.

As the liquid allows items to move through more slowly than they would through water, kids can focus on the slow falling items to help them regulate their breathing. It creates a calming experience.Are you looking for other easy sensory play ideas? Join us for a five day email series on Sensory Activities and Solutions and get a free sample of our Sensory Play Recipes eBook.
Check out some of our other fun sensory bottles for kids:

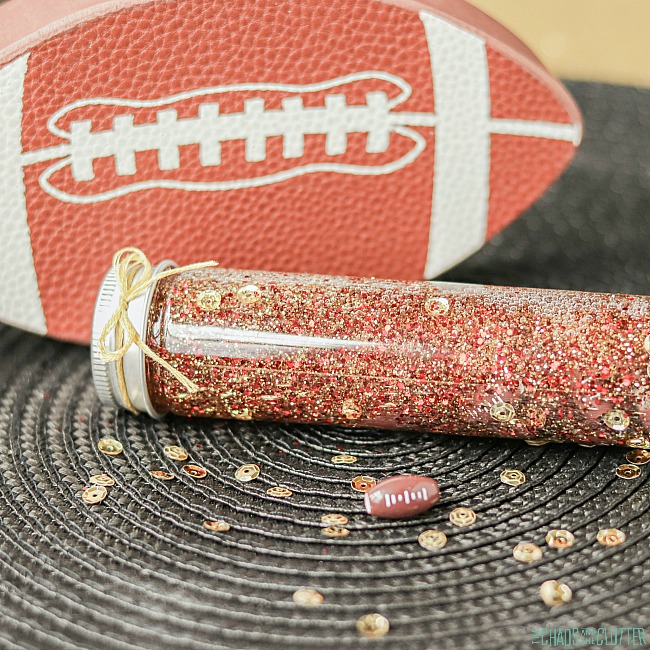
Football Mini Sensory Bottle

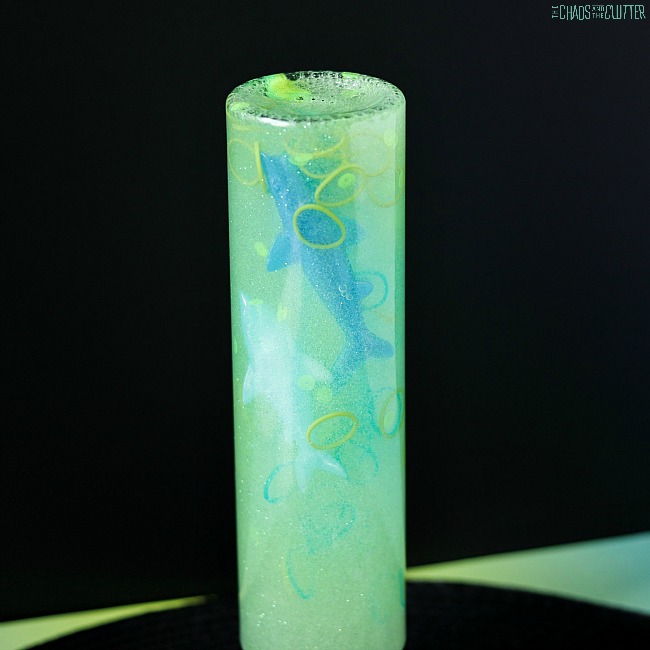
Shark Sensory Bottle

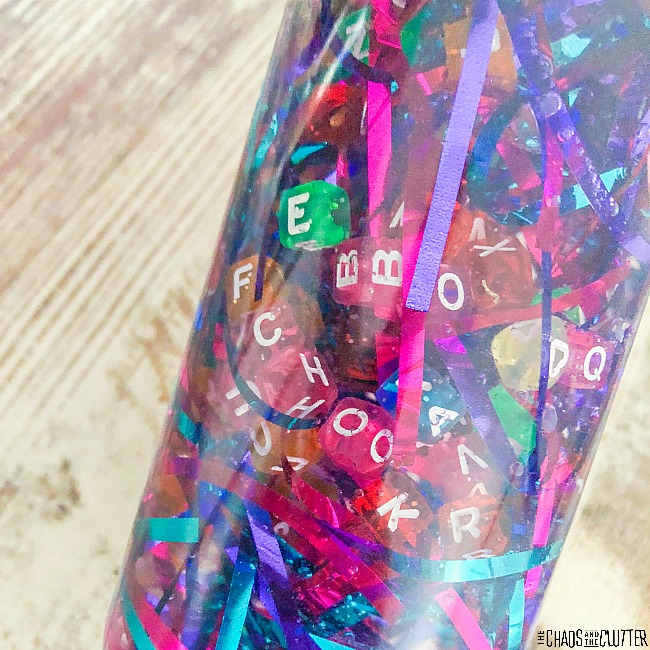
ABC I-Spy Sensory BottleA closeup picture of a sensory bottle filled with bright colours of alphabet beads and bright coloured tinsel.

Filed Under: Sensory Tagged With: sensory bottles, sensory play

  • « Go to Previous Page
  • Page 1
  • Interim pages omitted …
  • Page 6
  • Page 7
  • Page 8
  • Page 9
  • Page 10
  • Interim pages omitted …
  • Page 50
  • Go to Next Page »

Primary Sidebar

Categories

We are a participant in the Amazon Services LLC Associates Program, an affiliate advertising program designed to provide a means for us to earn fees by linking to Amazon.com and affiliated sites.

Copyright © 2026 • The Chaos and the Clutter • Site Design by Jeni @ The Blog Maven

Return to top of page

Copyright © 2026 · Chaos and the Clutter 2.0 on Genesis Framework · WordPress · Log in