• Skip to primary navigation
  • Skip to main content
  • Skip to primary sidebar
  • Home
  • About
  • Contact
  • Privacy + Terms
  • Affiliates

The Chaos and the Clutter

  • Facebook
  • Twitter
  • Pinterest
  • Google Plus
  • RSS
  • Email
  • School at Home
  • Sensory
    • Sensory Processing Disorder
    • Awesome Sensory Play Activities
      • Sensory Bins
      • Sensory Bottles
      • Sensory Bags
  • Family Games
    • Minute to Win It Games
  • Special Needs Parenting
    • Childhood Anxiety
    • Reactive Attachment Disorder
    • Sensory Processing Disorder
  • Store
  • Course Login

Sensory

Stretchy Butterfly Slime

By Sharla Kostelyk

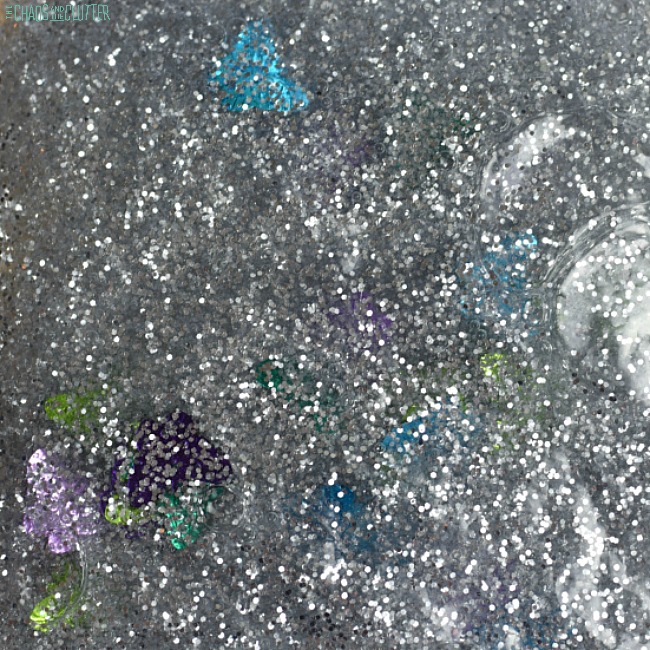
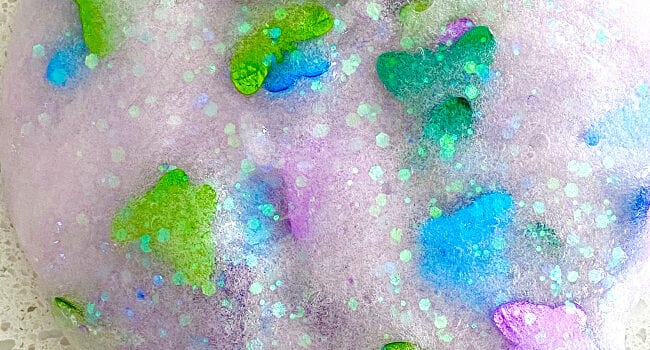
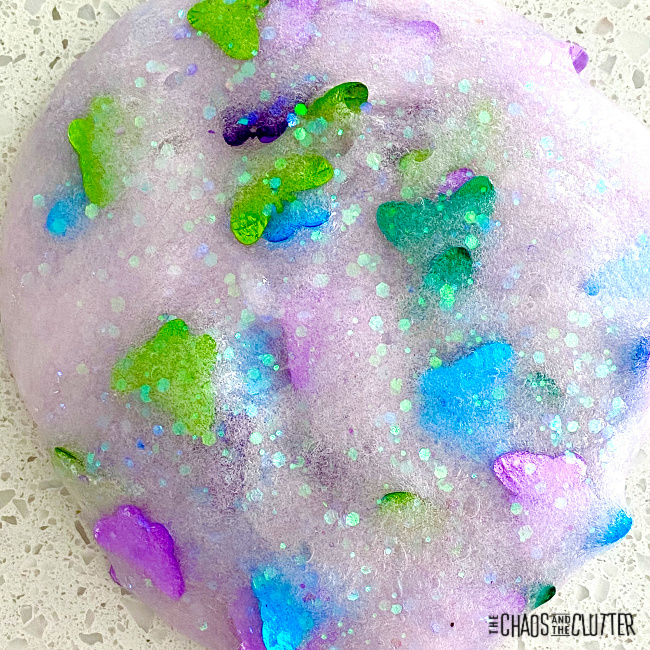
This easy butterfly slime is just a clear slime recipe using contact lens solution as the base with some added pizzazz. It is a nice sensory play recipe for Spring or for when you wish Spring would come soon. stretched out clear slime with specks and multicoloured butterflies with text that reads "Glittery Butterfly Slime"As I type this, it is -40° outside when I live up in Canada. Yes, that’s -40° in both Fahrenheit and Celsius! Now this temperature is cold even for us seasoned Canadians so this is exactly the kind of day that has me dreaming of Spring. I’ve been thinking about flowers and butterflies and green grass as I stay bundled inside and look out at the snow.
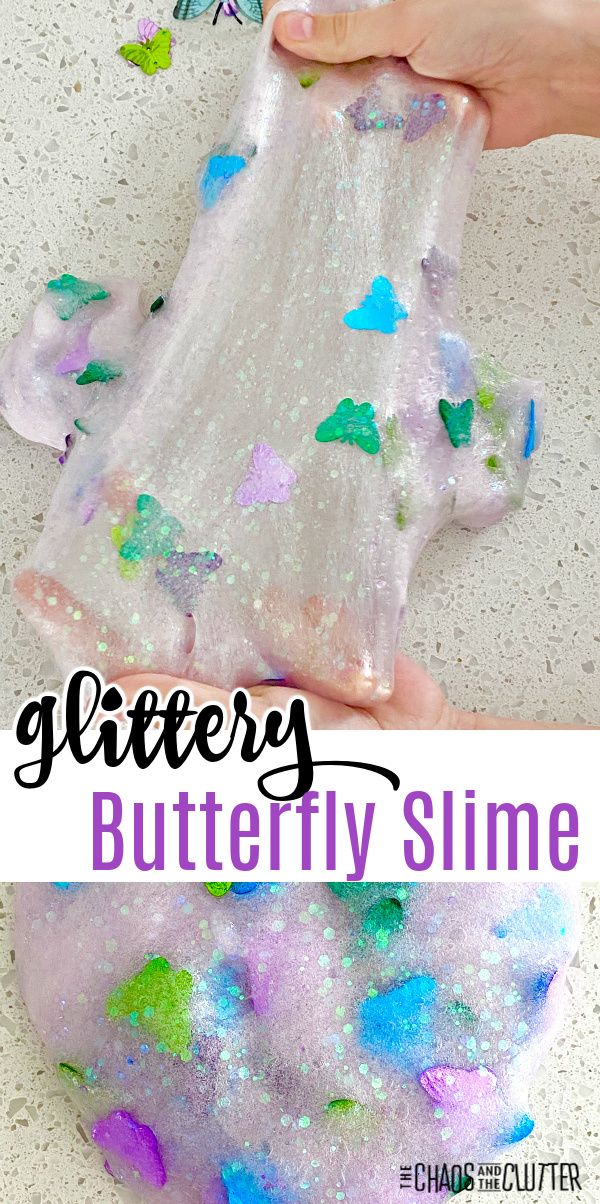
You can use this slime just for play or in a unit on Spring or butterflies. If using it as part of a unit, you can also create a Butterfly Sensory Bin and Butterfly Sensory Bag.

Butterfly Slime Recipe:

Supplies needed:

  • 1 cup Elmer’s Clear School glue
  • 2-3 Tbsp. contact lens saline solution
  • 1/2 tsp. baking soda
  • unicorn glitter
  • butterfly confetti
  • optional: butterfly toys for extended play
Directions:

  1. Pour the glue into a large mixing bowl and stir the baking soda into it.
  2. Begin to add the contact lens solution a few drops at a time as you stir.
  3. When you find that the mixture begins to pull away from the bowl, it’s time to begin kneading.
  4. Add the glitter and confetti. Continue kneading.
  5. If the slime is still too sticky to play with, add one or two more drops of contact solution and knead.
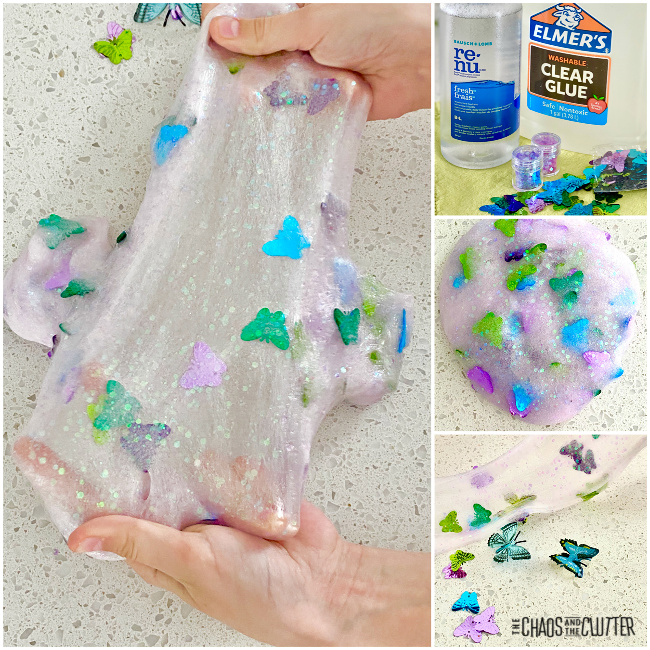
You can set out some butterfly toys and silk flowers alongside the slime to encourage imaginative play.

This slime provides visual, tactile, and proprioceptive sensory feedback. Kids who help with the kneading when making the recipe will get more proprioceptive input.

Looking for more easy sensory play recipes to inspire creativity? Join us for a free five day email series on Sensory Activities and Solutions and get a free of our Sensory Play Recipes eBook.

Check out these other Spring sensory activities for kids:
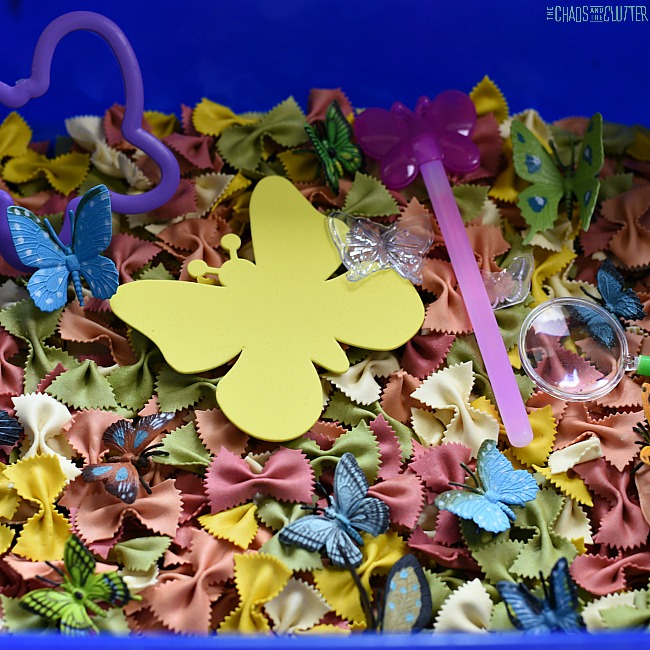
Butterfly Sensory BinButterfly Sensory Bag

Spring Sensory Bottle

Filed Under: Sensory Tagged With: sensory play, slime

Sensory Beds for Kids

By Sharla Kostelyk

It is common for children who have sensory issues to have trouble with sleep. For some, it’s trouble falling asleep (this is more common) while for others, it’s trouble staying asleep. Making changes in your child’s bedroom can make a big change. Sometimes, they may need a special sensory bed to help them sleep.

As a mom of kids with sensory challenges myself, I can tell you that improving their sleep has made a HUGE difference. Healthy sleep patterns lead to improved concentration and cognition, better moods, reduced stress, and better overall mental and physical health. Over the years, we’ve discovered some sleep solutions for sensory needs that truly work.

boy holding a white teddy bear with text that reads "Sensory Beds for Kids"There are changes that can be made to bedtime routine, the sensory environment, and diet that positively impact a child’s ability to sleep even with sensory issues. You can read those suggestions here. If you have made those changes to your child’s room and nighttime routine and are still not seeing improvements, it may be time to resort to more drastic measures such as changing your child’s bed.
Begin by taking a look at their room and seeing if there are simpler changes you can make. Declutter, minimize visual and auditory distractions, and ensure that there isn’t anything bothering them in their room from a sensory standpoint.

Look for things such as:

  • shadows or lights
  • areas of clutter
  • unusual textures
  • smells
  • sounds
  • cold drafts or heat coming up through a vent

I like the suggestion here of playing a version of I-Spy with your child in their room so that you can better understand what they see and what may be affecting their ability to sleep.

When it comes to bedding, avoid busy patterns, rough or scratchy fabric, or tags.

Some children are very sensitive to any light whereas others need some light. There are some soothing night light options or you can string coloured LED lights along their ceiling (two of our kids have opted for this option and LOVE it). For kids who usually prefer the dark but are sometimes afraid, use glow sticks. They are inexpensive and give off a soft light.

Sensory Beds:

Once you’ve made the room as conducive as you can to sleep, if your child is still struggling at night, consider if making a change to their bed may be helpful. Start with the minimum which is the sheets and blankets before switching out the actual bed.

Bed Sheets:

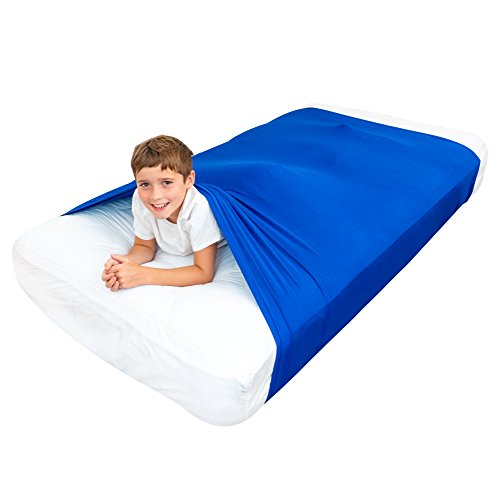
Many kids respond well to the feeling of pressure (proprioception) that a Lycra sheet provides. You can purchase one or make your own. These stretchy sensory sheets help kids feel more secure and enable them to get their proprioceptive needs met. For many kids, this means a better night sleep.

Blankets:

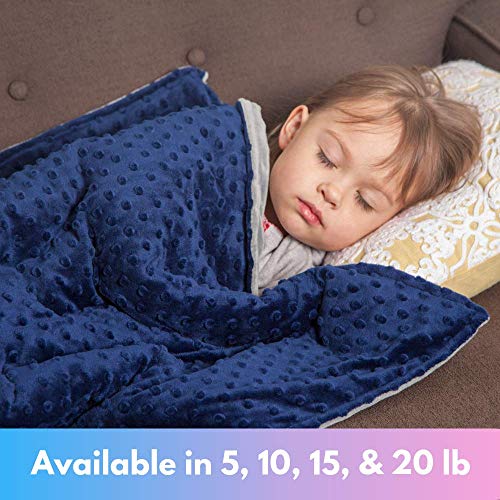
In much the same way as the Lycra sheet provides proprioceptive feedback, weighted blankets can help children (and adults for that matter!) to get a better night’s sleep. I suggest trying the sheet first as weighted blankets can be expensive and are not recommended for use with very young children.

Before investing in an “official” weighted blanket, you may want to have your child try sleeping under heavier blankets that you have or borrow from friends.

My aunt made my boys thick quilts out of old jeans with another fabric on the back. Between the denim, quilting batting, and the other thick fabric, they are very heavy blankets. These worked well for us to test out which kids would benefit from having a weighted blanket.

Generally, experts recommend that a weighted blanket be 10 percent of a child’s body weight plus one pound. Always consult with your child’s doctor before using a weighted blanket. They should NEVER be used with babies or toddlers under the age of 2.

Privacy Tents:

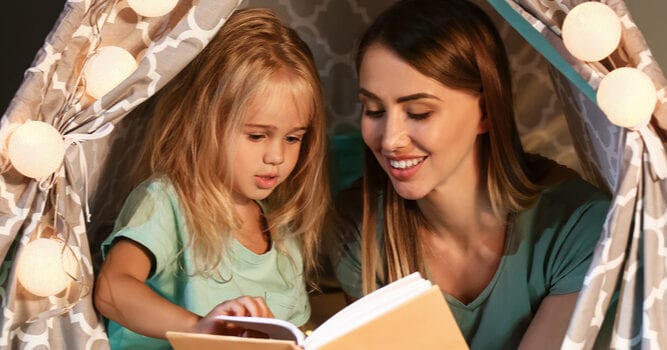
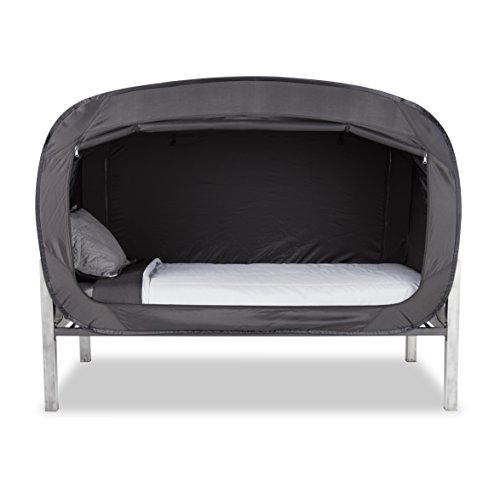
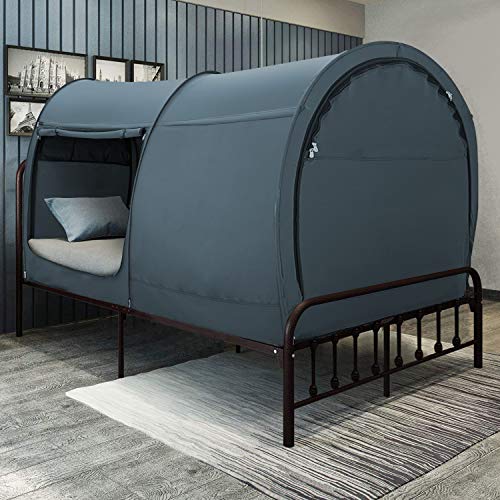
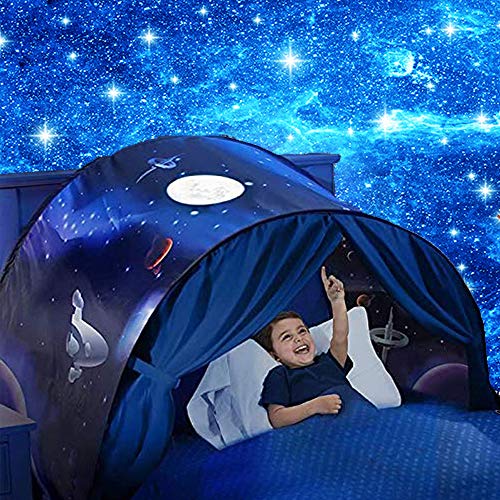
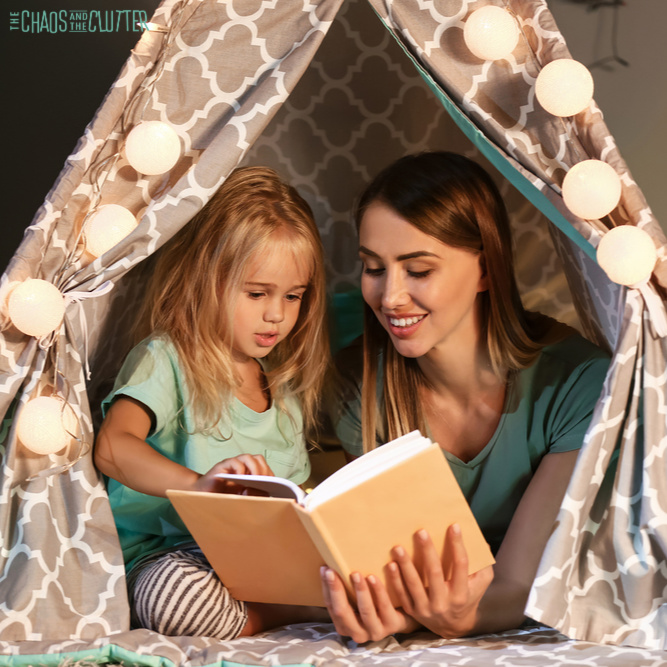
There are many types of privacy bed tents. Some are designed for fun or play, but many are designed with sensory struggles in mind. When a child is inside a bed tent, they are able to shut out other distractions. It provides a feeling of security as well as eliminating a lot of the extraneous sensory input in the room.

If presented as a fun “campout at home” option, kids are usually excited to give the bed tent a try. Even for those who don’t like confined spaces they can work as there are some types that offer the option of keeping one side open.

Hammock or Swing:

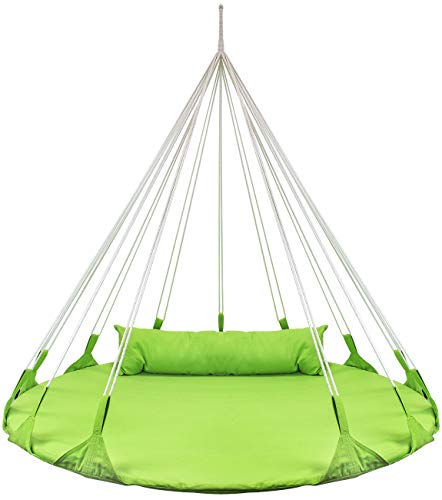
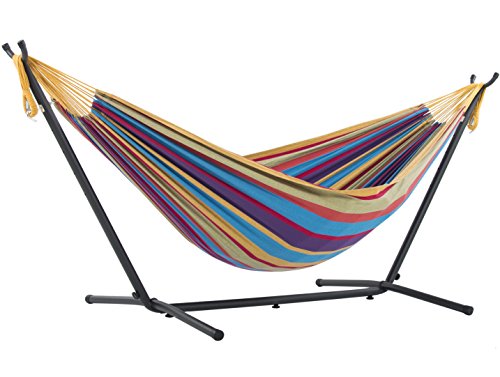
While the thought of swinging or swaying while I sleep makes me feel nauseous, for sensory seekers, it can be just what is needed. Be sure to consult your child paediatrician before allowing your child to sleep in a swing nest or hammock.

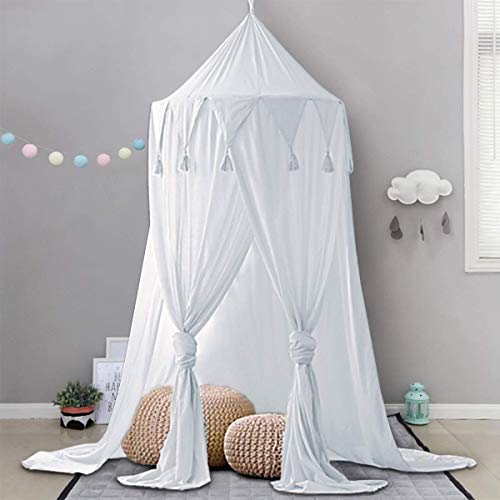
Privacy Pop Bed Tent (Twin)Privacy Pop Bed Tent (Twin)Privacy Pop Bed Tent (Twin)Privacy Pop Up Warm Breathable PitchBlackPrivacy Pop Up Warm Breathable PitchBlackPrivacy Pop Up Warm Breathable PitchBlackKids Dream Bed Tent Space AdventureKids Dream Bed Tent Space AdventureKids Dream Bed Tent Space AdventureBed CanopyBed CanopyBed CanopyHanging Swing Nest with PillowHanging Swing Nest with PillowHanging Swing Nest with PillowCotton HammockCotton HammockCotton HammockSensory Bed Sheet for KidsSensory Bed Sheet for KidsSensory Bed Sheet for KidsWeighted BlanketWeighted BlanketWeighted Blanket

If you’re looking for more practical strategies that work for your child’s everyday sensory needs for things like picky eating, clothing issues, difficulty regulating emotions, meltdowns, and challenging behaviours, you’ll want to read Sensory Processing Explained. 
Join me for a free 5 part email series Sensory Solutions and Activities (just pop your email into the box below) and get a printable list of 175 Great Sensory Ideas.

You may also be interested in reading:

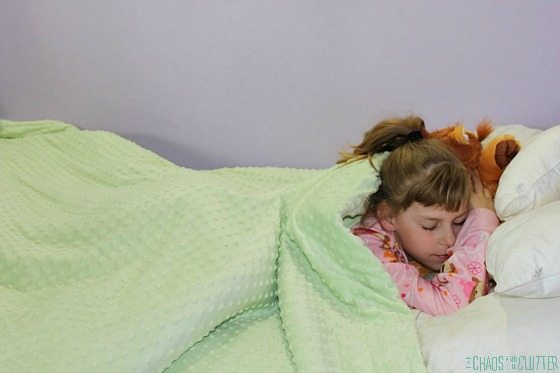
Sleep Solutions for Kids with Sensory Needsweighted blanket for sleep

Does my Child have Sensory Processing Disorder?

Hair Care: Tips for Kids with Sensory Struggles

Filed Under: Sensory, Special Needs Parenting

Snowflake Sensory Bag

By Sharla Kostelyk

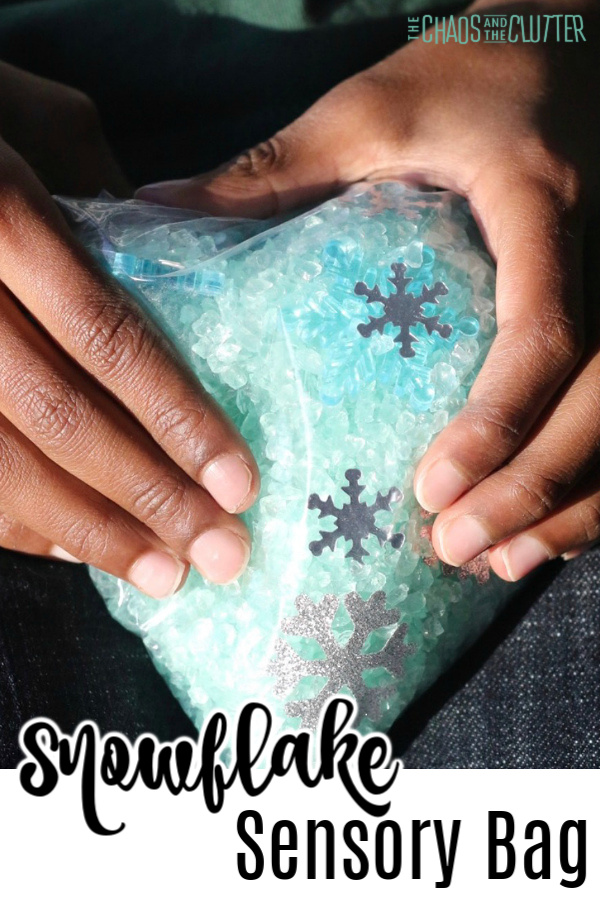
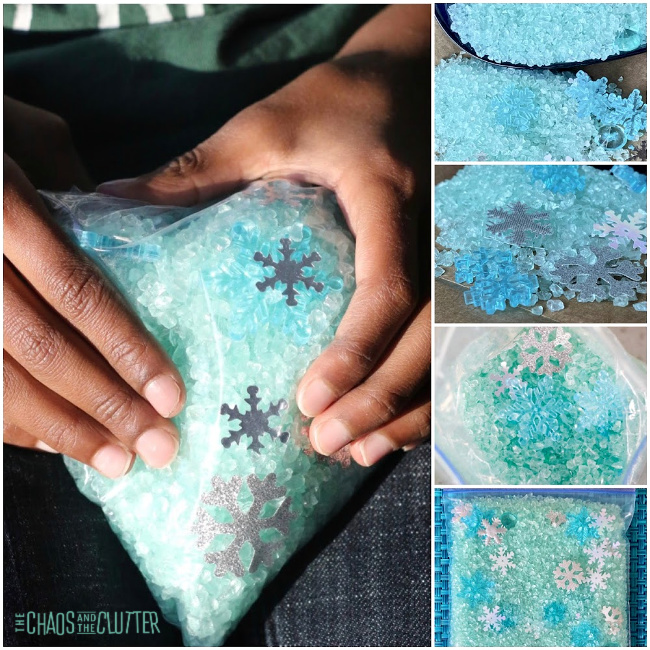
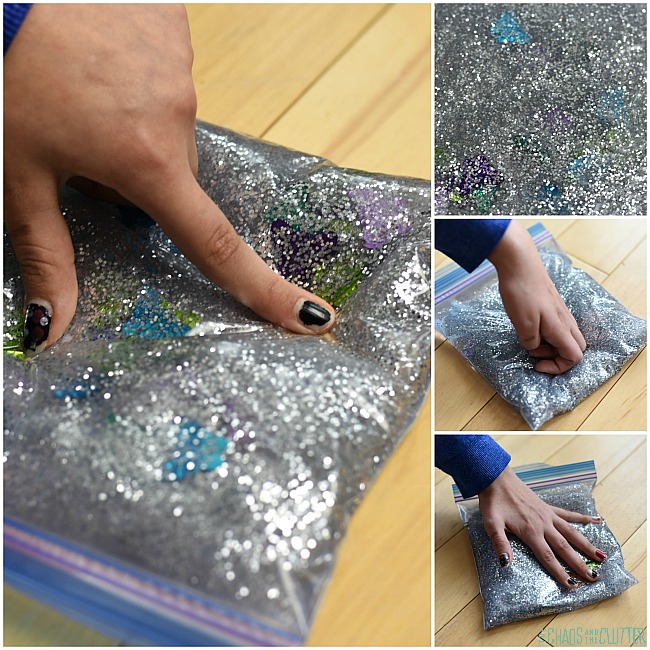
I used some of the leftover materials from our Snowflake Sensory Bin to create this bag. It’s easy to create this simple snowflake sensory bag for kids to play with or as part of a winter theme in the classroom.

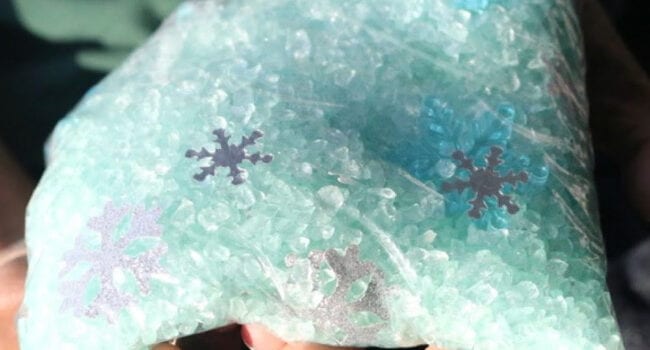
a child's hands holding a bag with blue glitter rocks and silver snowflakes. Text reads "Snowflake Sensory Bag"

Snowflake Sensory Bag:

Supplies needed:

  • resealable plastic bag
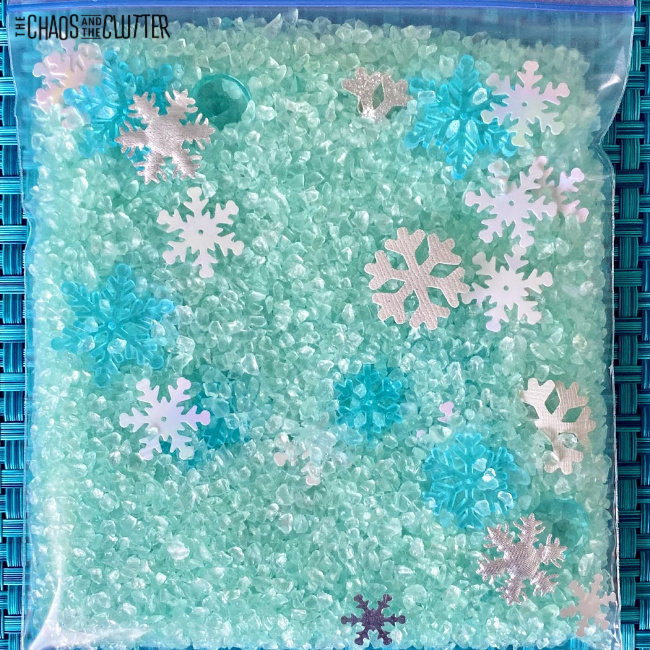
  • light blue or light green glitter gravel*
  • snowflake confetti
  • plastic snowflakes
  • silver fabric snowflakes
  • blue gems
  • optional: duct tape for sealing (blue or snowflake pattern)

*I always buy my glitter gravel at the Dollar Store. I like using it as a sensory play material. It provides a different texture and you can purchase it in a variety of colours. And it’s super inexpensive!

Directions:

  1. Mix together all the supplies in a bowl. You can skip this step if an adult is making the bag themselves. If making it with kids, I like to mix things together in a bowl first because it allows the child more opportunity for sensory exploration as they mix with their hands or a spoon. Alternately, you can use the same items to first create a snowflake sensory bin and then transfer some of them into a bag or several bags to expand upon the play possibilities.
  2. Pour everything into the bag. Seal the bag.
  3. If there will be young children using the bag, you can fold duct tape over all the edges to seal more completely.

Sensory Opportunities:

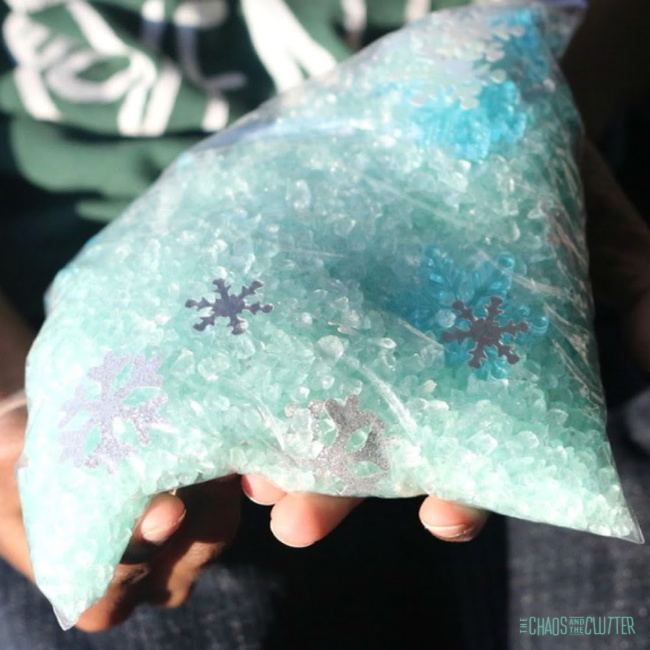
The snowflake sensory bag offers an opportunity for kids to engage their visual and tactile sensory systems. There are many different textures that can be felt through the bag because of the sharp, hard glitter gravel, the edges and shape of the plastic snowflakes, and the soft squish of the fabric snowflakes.

Please note: Even if you seal the bag with tape, there are sharp edges inside that can cause holes in the bag and for items to fall out. Since there are small parts, this could become a choking hazard so adult supervision is required during play.Are you looking for more easy sensory play ideas like this one? Join us for a five day email series on Sensory Activities and Solutions and get a free sample of our Sensory Play Recipes eBook.
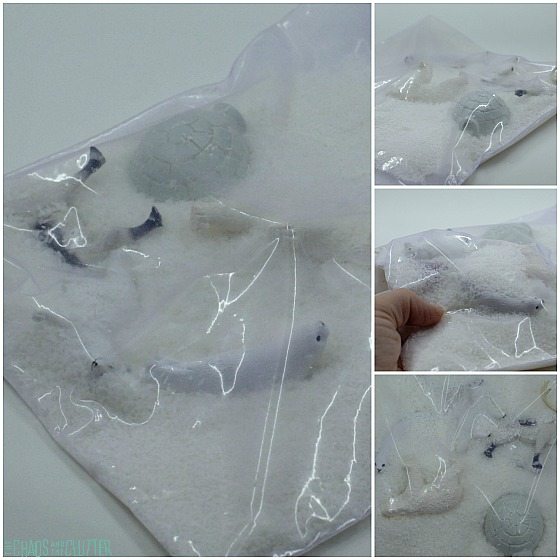
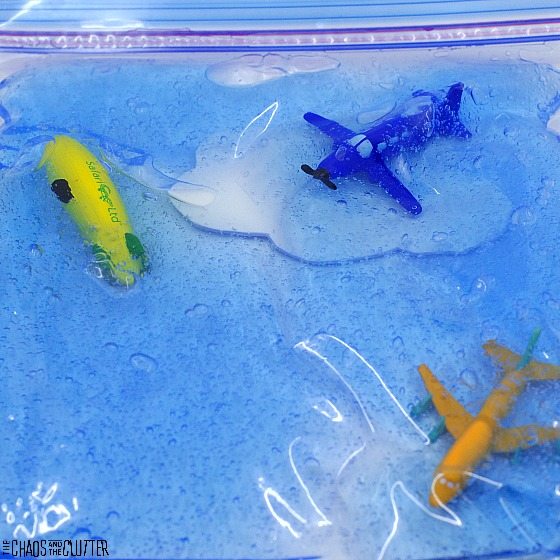
You can also check out some of our other sensory bags:

Arctic Sensory Bag

Squishy Sky Sensory Bag

Butterfly Sensory Bag

Filed Under: Sensory Tagged With: sensory bags, sensory play

New Year’s Eve Noisemakers

By Sharla Kostelyk

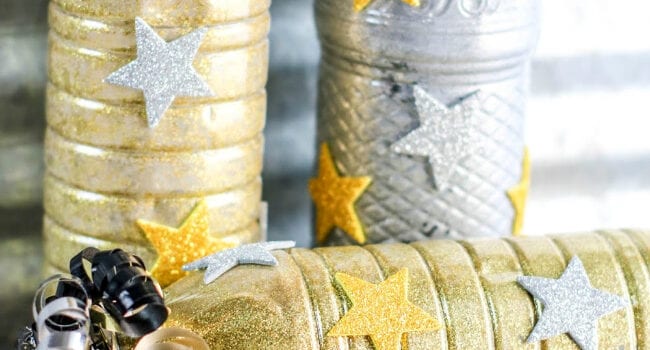
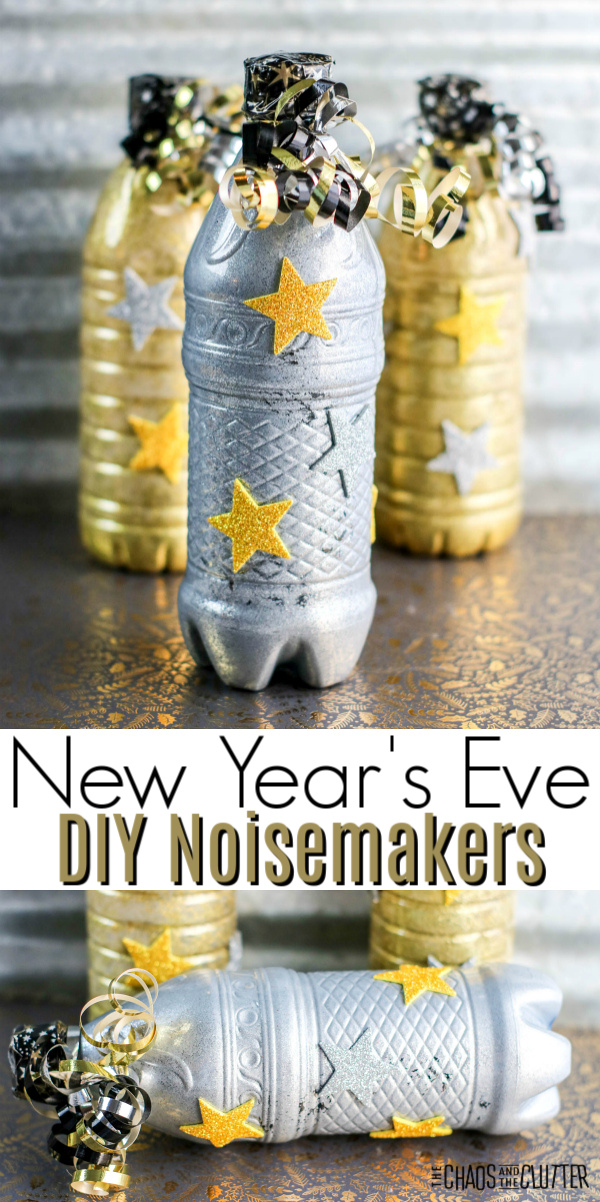
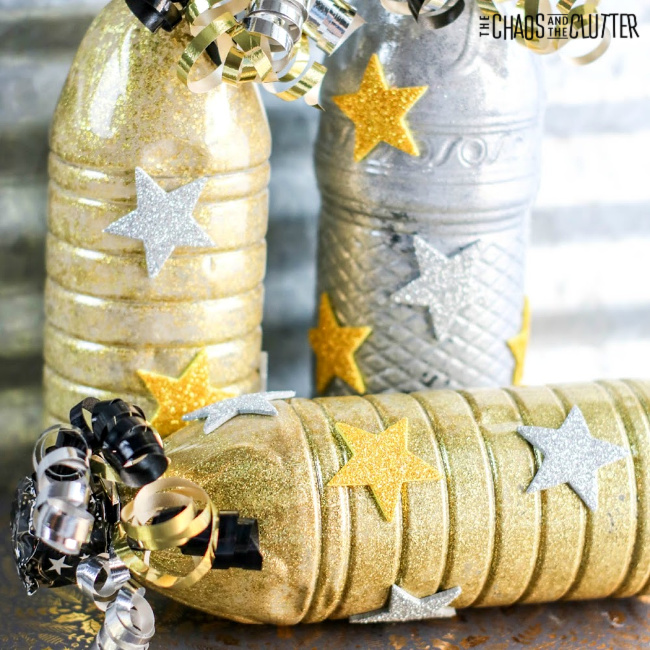
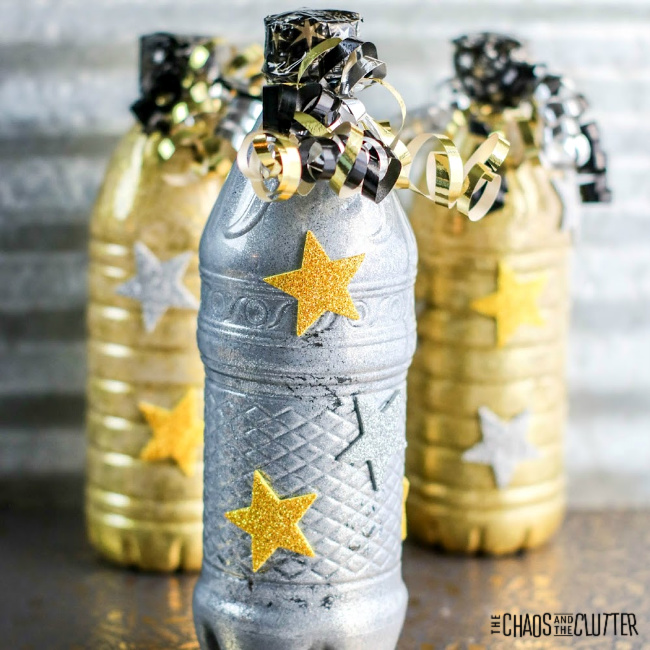
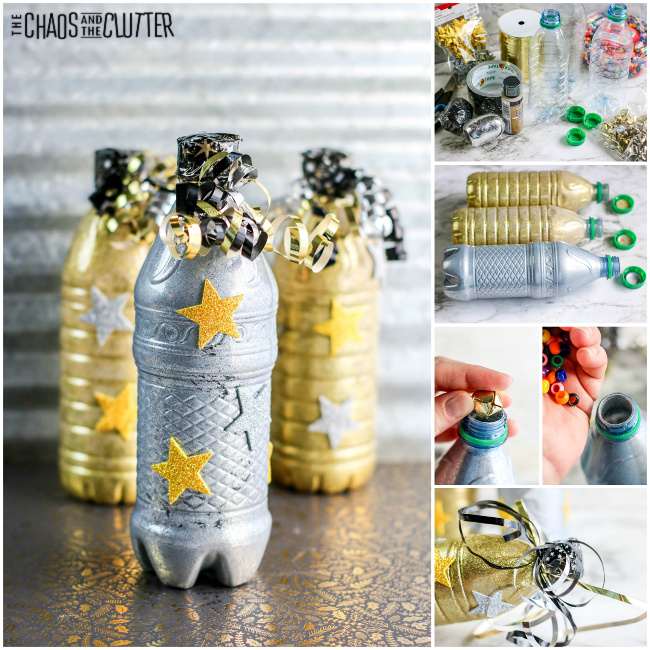
These New Year’s Eve Noisemakers are great for involving kids in the New Year’s celebration. They also provide sensory input and are a good way to use empty water bottles. gold and silver bottles with stars and curly streamers and text reading "New Year's Eve DIY Noisemakers"This New Year’s Eve, let the whole family get in on the festivities with activities such as this easy to make New Year’s Eve Sensory Bottle and these fun Minute to Win It games for all ages.
New Year’s Eve Noisemakers:

Supplies needed:

  • water bottles, empty and dry
  • glitter paint in gold and silver
  • gold and silver glitter
  • festive duct tape or washi tape
  • jingle bells (about 2 for each noisemaker)
  • pony beads (for additional noise if desired)
  • foam star stickers
  • curling ribbon (we used black, silver, and gold)
  • scissors

Directions:

  1. Take the lids off from the water bottles and make sure bottles are completely dry on the inside.
  2. Squirt about 2 Tablespoons of paint into each bottle (the exact amount depends on the size of the bottle) and replace the lid. Shake the bottle while turning to coat the inside of the bottle with paint.
  3. Remove the lids and liberally pour glitter into the bottles. Seal tightly and shake the bottles until all of the glitter has stuck to the paint.
  4. Take the lids off again and place the bottles on their side until completely dry inside.
  5. Once the paint is dry, add a few bells bells and some beads to each bottle to make as much noise as desired.
  6. Close each bottle.
  7. To avoid having the lid removed and the excess glitter, beads, and bells being poured out, use decorative tape to cover the lid completely.
  8. Decorate the bottle with foam star stickers.
  9. Cut curling ribbon so that it’s about 8 inches long. Tie the curling ribbon around the neck of the bottle, making a knot to keep it attached. Use scissors to curl the ends of the ribbon.

Sensory Opportunities:

Essentially, these are just fancy sensory sound bottles. Homemade New Year’s Eve Noisemakers engage the visual, auditory, tactile, and proprioceptive sensory systems.

Meeting your child’s sensory needs can help them better regulate their emotions and behaviour. And as a parent or educator, I’m sure you know that sometimes that comes in extra handy around the holidays!

Check out these other New Year’s activities for kids:

New Year’s Eve Sensory Bottle

Minute to Win It Games

Filed Under: Sensory Tagged With: sensory bottles, sensory play

New Year’s Eve Sensory Bottle

By Sharla Kostelyk

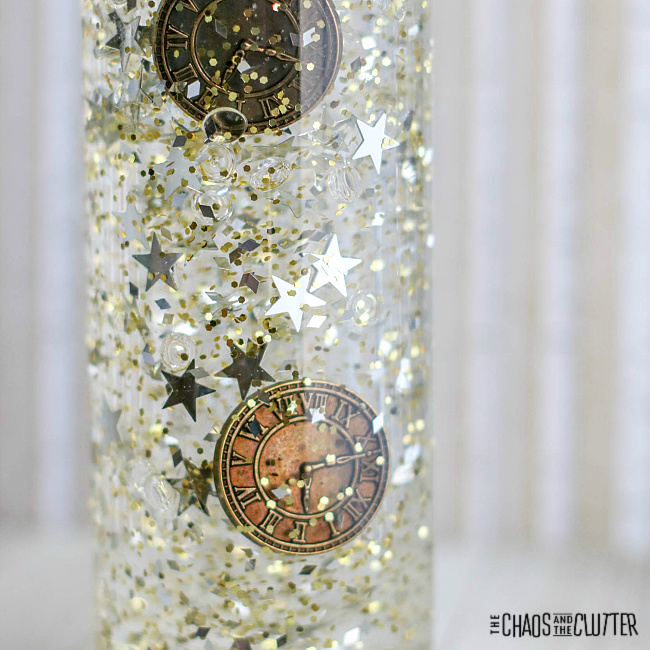
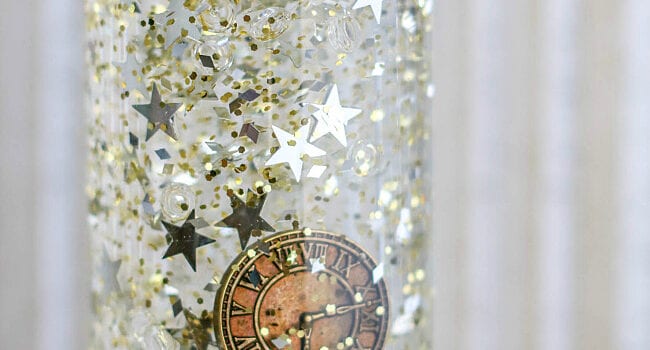
Help kids ring in the New Year with an easy to make sensory activity. Since that evening tends to hold a lot of excitement, this New Year’s Eve Sensory Bottle can also double as a calm down bottle. This can potentially come in very handy for both parents and child!clear bottle with liquid, glitter, confetti, and mini clocks with text that reads "New Year's Eve Sensory Bottle"

A few years ago, we made a New Year’s Sensory Bottle, but I decided that it may be time for a bit of an update, so I created this New Year’s Eve Sensory Bottle with more of a countdown theme. If you’re looking for another great kids’ sensory activity for this night, check out our New Year’s Eve Noisemakers.

New Year’s Eve Sensory Bottle:

Supplies needed:

  • 1 plastic sensory bottle or empty water bottle (I use either a sensory bottle from Michael’s or a Voss water bottle)
  • 6 oz. bottle Elmer’s Clear School Glue
  • warm water
  • silver glitter
  • gold glitter
  • silver star confetti
  • clock buttons (I love the antique look of these ones)
  • optional: hot glue and glue gun

Directions:

  1. Empty one bottle of glue into bottle.
  2. Fill the empty glue bottle about half full with warm water and seal with the lid. Shake well to combine the rest of the glue with the water. Pour into the jar with the glue, replace that lid, and shake to combine.
  3. Add the glitter, star confetti and clock buttons.
  4. Seal the jar and shake well.
  5. When the contents of the bottle move like you want them to, seal the bottle.
  6. If using with younger kids, hot glue the lid in place.*

*As with all sensory activities, adult supervision is advised at all times.

Troubleshooting tips:

If the glitter or confetti does not move as easily as you would like, add more warm water. If the glitter or confetti moves too quickly, add additional glue.

Due to the clock buttons being metal and coming in contact with the liquid, you’ll only want to play with this sensory bottle for a few weeks because the clock buttons will rust.

Fun idea:

If you’re planning a New Year’s party, you can even set some of these bottles out on the tables as decoration. You’ll notice that even the adults will be mesmerized by the slowly falling glitter (the calm down effect). You can even sprinkle the leftover star confetti on the tables as additional decor.

Check out these other sensory bottles for kids:

New Year’s Eve DIY Noisemakers

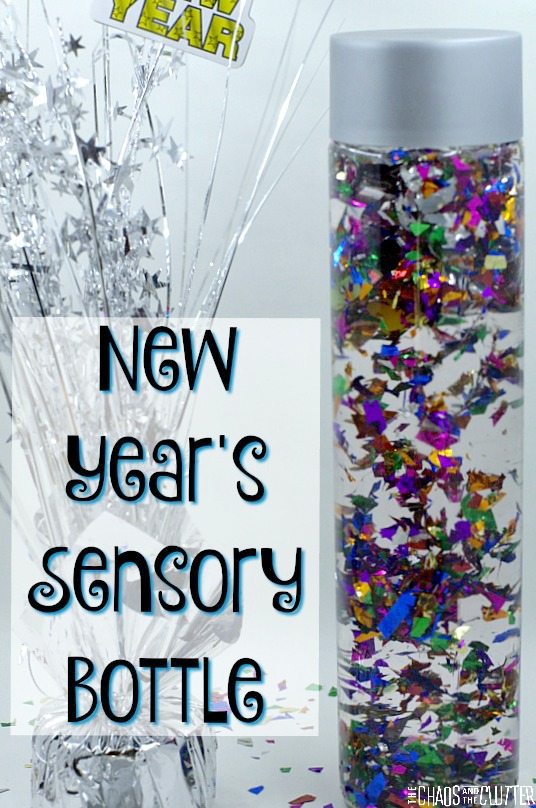
New Year’s Sensory BottleThis New Year's sensory bottle is especially for the kids but can also add to the decor of any New Year's celebrations.

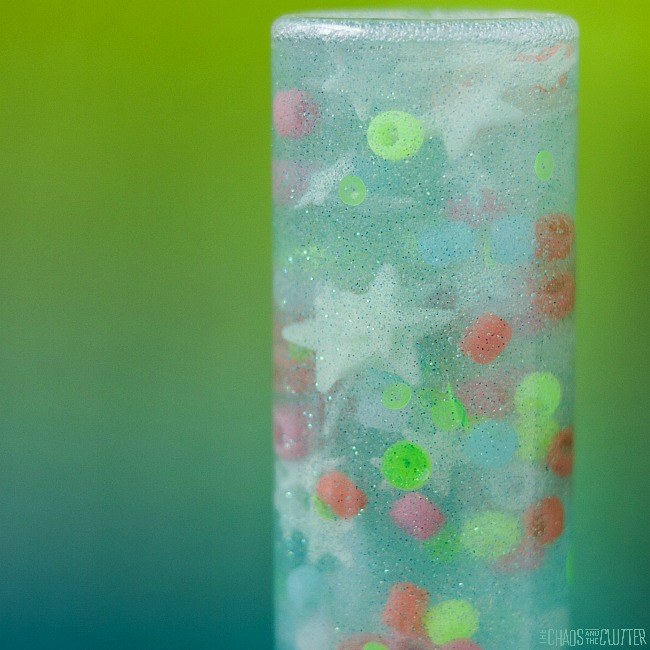
Glow in the Dark Sensory Bottle

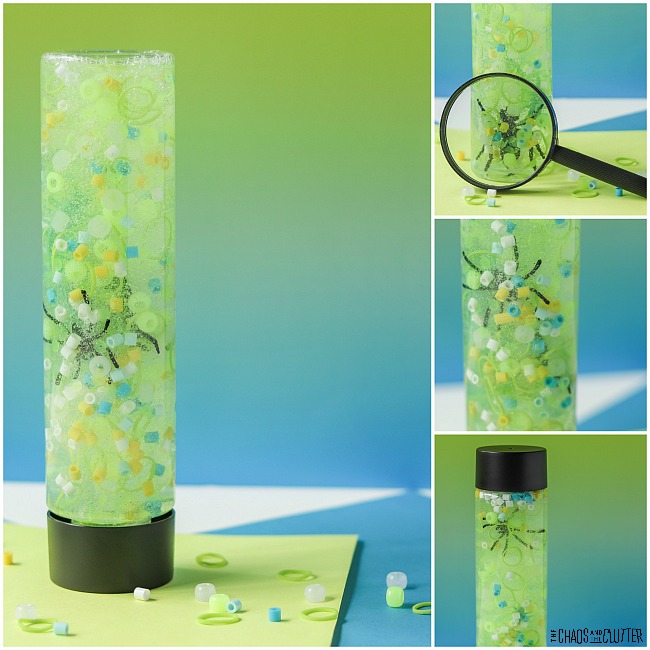
Bug Sensory Bottle

Filed Under: Sensory Tagged With: sensory bottles, sensory play

Nativity Playdough Invitation to Play

By Sharla Kostelyk

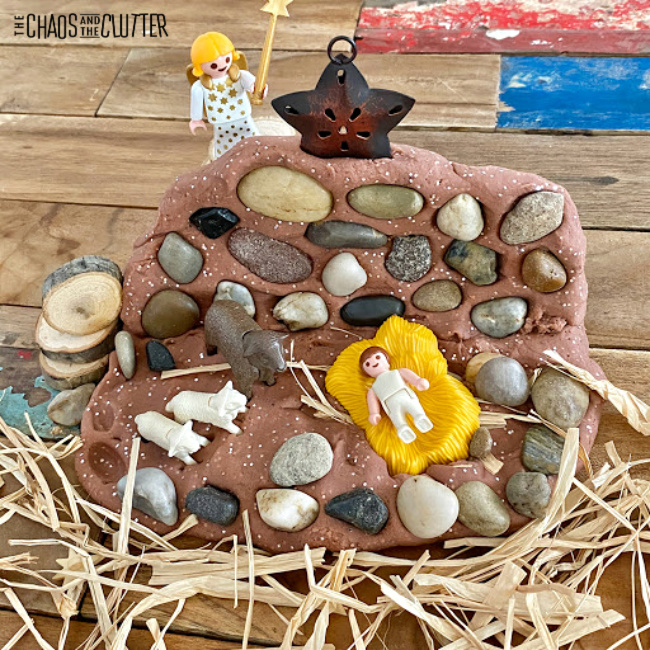
I love open ended activities that allow kids to explore and use their imaginations. This Nativity Playdough Invitation to Play does just that. It engages not only their senses but also their creativity.

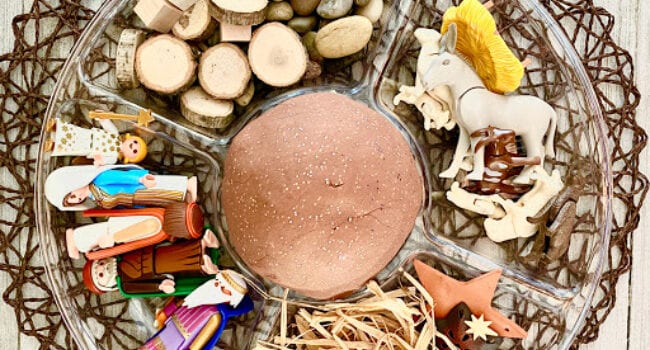
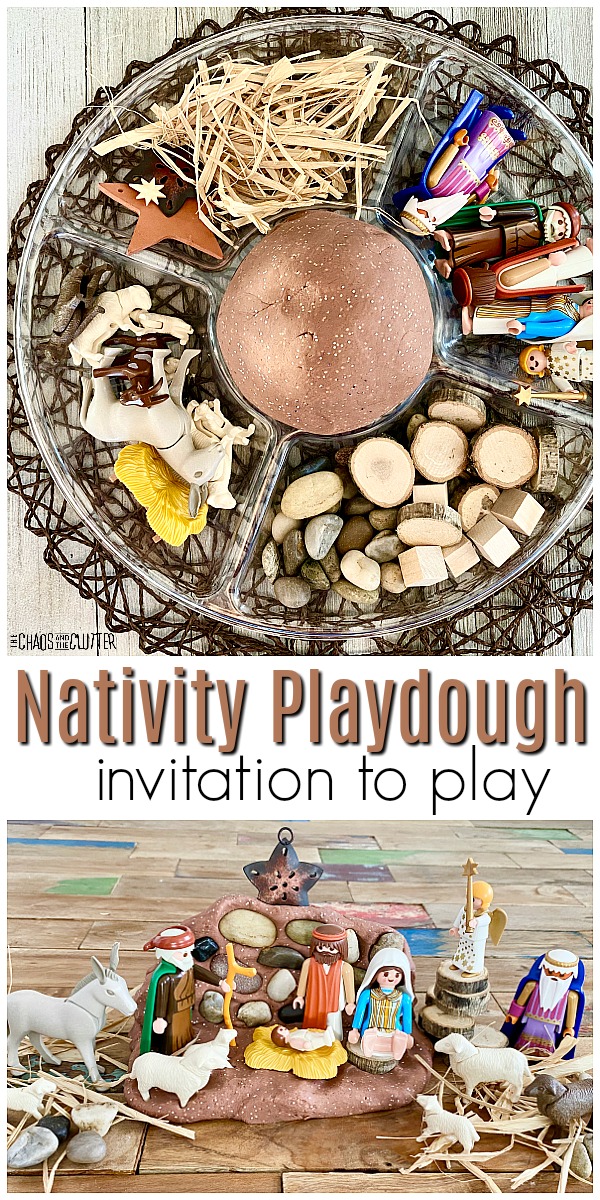
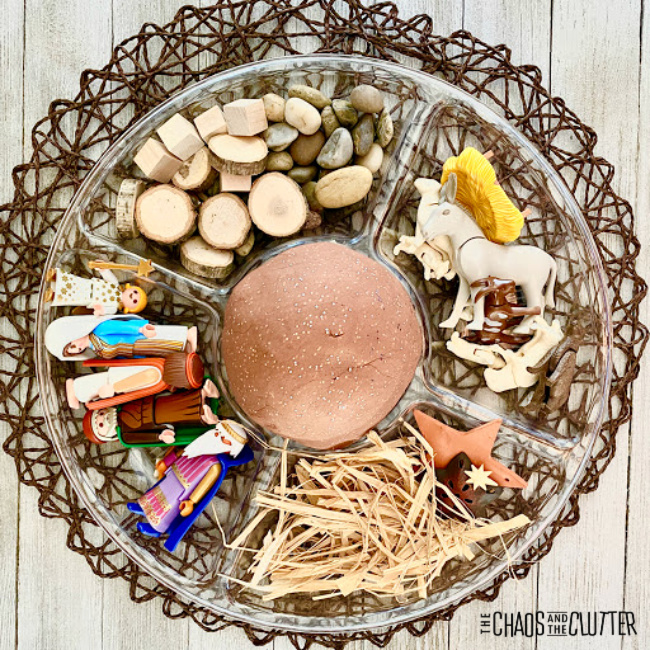
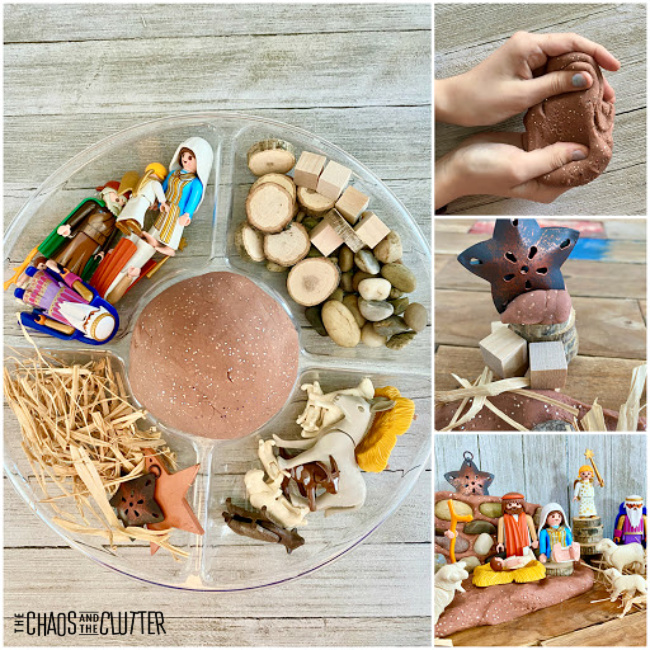
While we have made several Christmas playdough invitations to play in past years such as the Peppermint Christmas Tree Playdough or Scented Gingerbread Playdough Station, this year, I wanted to focus more on the reason for the season even in our sensory play.divided tray with playdough and nativity figures and natural pieces with text that reads "Nativity Playdough invitation to play"

With this in mind, our holiday sensory play this season has focused around the nativity with Nativity Slime, a Nativity Sensory Bottle, simple Nativity Sensory Bag, and O Holy Night Sensory Bin. I wanted to share them to show that there are many possibilities to include the story of Jesus’ birth even in sensory play.

These play opportunities create the chance for kids to engage with more than one sense while reenforcing the true meaning of Christmas.

Nativity Playdough Recipe:

Supplies:

  • 1 cup flour
  • 1/2 cup salt
  • 2 Tbsp. cream of tartar
  • 1 Tbsp. oil
  • brown food gel to make a light brown colour
  • 1 cup water (boiling if making with KitchenAid)
  • gold glitter
  • optional: a few drops of essential oil in pine, orange, clove, or Frankincense*

*a note about scents: Certain scents are calming while others are alerting. If you intended this activity to be a calming one, be sure to choose a calming scent while if you are wanting to create an activity that keeps kids focused, use a more alerting scent.

Directions if you have a KitchenAid:

  1. Put dry ingredients in KitchenAid mixer.
  2. Add oil and the colour and begin mixing with the flat beater.
  3. As it is mixing on the lowest setting, add the boiling water.
  4. Add in the gold glitter. If you want to scent the playdough, add a few drops of essential oils. Mix until the playdough texture you want is achieved.
  5. Store in an airtight container or resealable bag when not in use.

Directions if you don’t have a Kitchenaid:

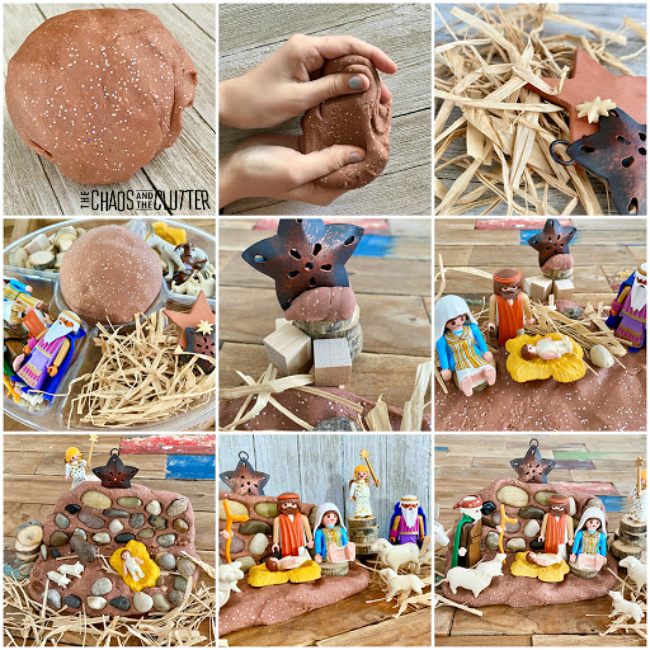
  1. Mix the dry ingredients together in a pot and stir in the oil, water and food colouring.
  2. Cook over medium heat, stirring constantly, being sure to scrape the sides and bottom.
  3. Cook until dough forms a ball. Remove from heat.
  4. Place it on a piece of wax paper. Knead. Add glitter in at this point and if desired, drops of essential oils for scent.
  5. Let cool. Store in an airtight container or in a resealable bag.

Nativity Playdough Invitation to Play:

Supplies:

  • tray with separated compartments
  • playdough (recipe above)
  • Playmobil nativity set (or other children’s nativity set)
  • rocks
  • small wooden blocks
  • raffia
  • natural wood slices
  • stars
  • plastic animals

Directions:

  1. Set the playdough in the center of the tray.
  2. Place the other items in the compartments around it.
  3. Invite your child to explore and play.

Sensory and Learning Opportunities:

Stretching, pulling, pressing, kneading, and pushing the playdough engages the proprioceptive sensory system.

Creating the scenes uses the tactile and visual sensory systems. If the playdough is scented, then the olfactory (smell) sensory system is also being used.

This Nativity Playdough pairs well with the Christmas story at home or in a Sunday School class. Students can listen to the story or read it themselves and then create their own manger scenes. Playing with playdough also lays foundation for concepts of engineering by allowing children to build and design something that solves a problem. In this case, the problem is how to create a manger scene or tell a story using the materials in front of them.
Set up a nativity learning center in your home, preschool, school, or Sunday school classroom. Include things such as:

  • children’s nativity set
  • crayons or markers and nativity colouring pages
  • Nativity Slime
  • Nativity Sensory Bag
  • Nativity Sensory Bottle
  • O Holy Night Sensory Bin
  • costumes for kids to act out the Christmas story
  • Christmas story books
  • supplies to create Nativity Chalk Silhouettes

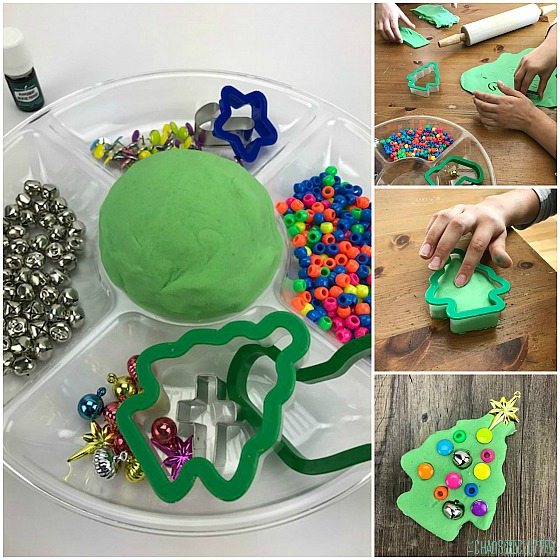
You’ll love these other holiday playdough ideas:

Peppermint Christmas Tree Playdough

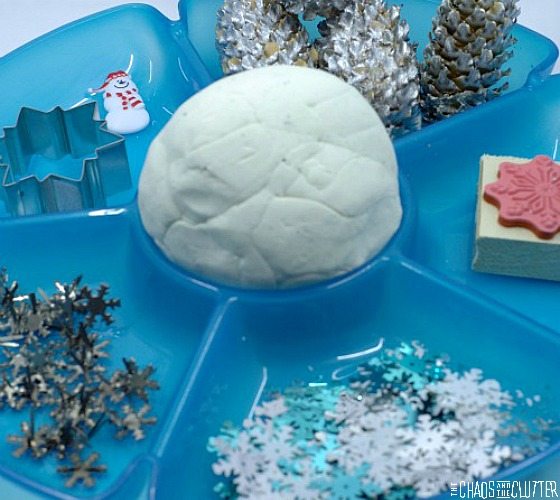
Snow PlaydoughSnow Playdough and invitation to play

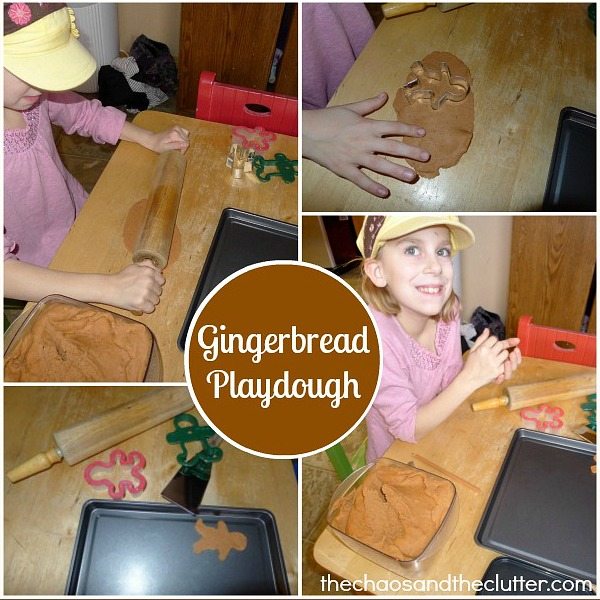
Gingerbread Playdough

Filed Under: Christmas, Crafts and Activities, Sensory Tagged With: playdough stations, sensory play

  • « Go to Previous Page
  • Page 1
  • Interim pages omitted …
  • Page 7
  • Page 8
  • Page 9
  • Page 10
  • Page 11
  • Interim pages omitted …
  • Page 50
  • Go to Next Page »

Primary Sidebar

Categories

We are a participant in the Amazon Services LLC Associates Program, an affiliate advertising program designed to provide a means for us to earn fees by linking to Amazon.com and affiliated sites.

Copyright © 2026 • The Chaos and the Clutter • Site Design by Jeni @ The Blog Maven

Return to top of page

Copyright © 2026 · Chaos and the Clutter 2.0 on Genesis Framework · WordPress · Log in