Folded mountains are the most common type of mountain, representing the world’s largest mountain ranges. Some of the more famous ranges include the Rockies, Andes, Himalayas, and the Alps. This simple science experiment helps demonstrate how they are formed.
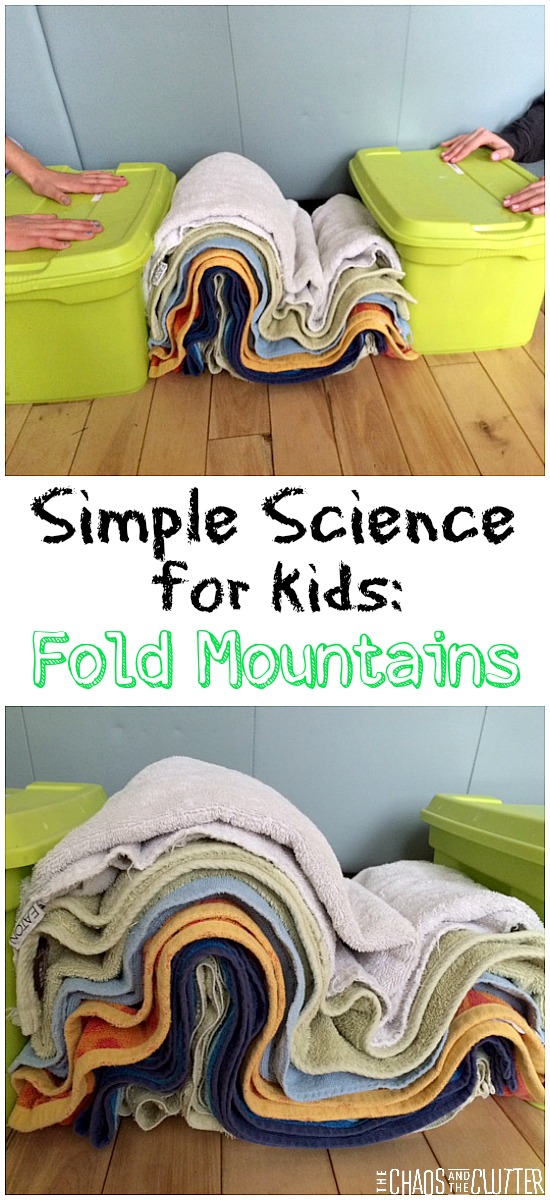 Fold mountains occur near convergent or compressional plate boundaries. Plate movement creates fold mountains as the plates move towards each other. This movement causes layers of sedimentary rock on the ocean floor to become wrinkled and folded. These mountains are found between two continental plates.
I love that this science experiment didn’t cost any money and was a great visual for explaining how fold mountains are formed.
Materials needed:
towels
two boxes
- Lay down a stack of towels, each one folded in half. The folds will be more obvious if you use towels of various colours, but monochromatic will work if that’s all that you have.
- Put a box on either side of the towels.
- The boxes represent the continental plates while the towels represent the buildup of sediment on the sea bottom.
- Push the boxes (continental plates) towards each other and observe the “mountains” being formed.
- Ask your kids to make observations about the folds and the shape.
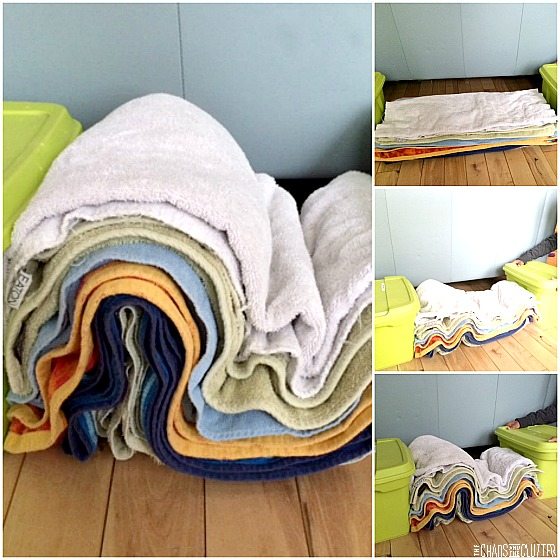 When we did this science experiment, I told the kids that the boxes represented the continental plates and that the towels represented the sedimentary rock layers, but I didn’t tell them what the outcome of the experiment would be. As the towels began to rise and take shape, I asked them what they thought was happening. Most of them were able to guess that it was becoming a mountain.
They took turn moving the boxes towards each other and saw that the outcome was always the same, though sometimes a slightly different shape was formed.
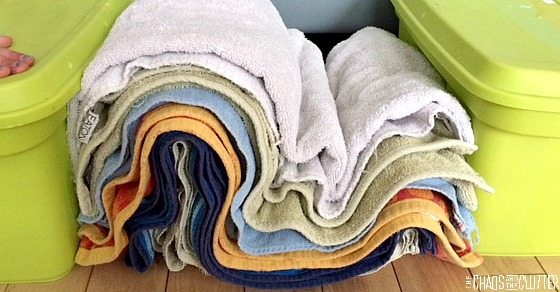 Our kids have seen the Rockies as we drive through them nearly every year, so they were able to easily picture what those mountains look like. If your children (or students) are not as familiar with fold mountains, I would suggest showing them some images of what fold mountains look like.
Vocabulary words that may be helpful for this lesson:
sedimentary, plates, continent
If you are looking for other ways to make science come alive for kids, you will want to check out our Simple Science board on Pinterest or check out some of our other science experiments.
Follow Sharla Kostelyk’s board Simple Science on Pinterest.
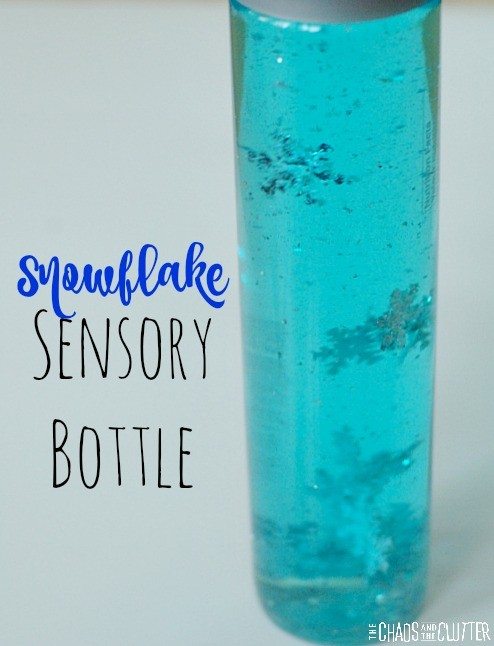
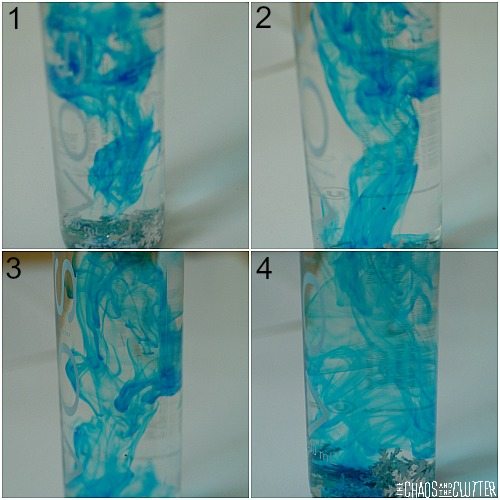 The kids will observe that the food colouring does dissolve in the water which means that it is also a polar liquid.
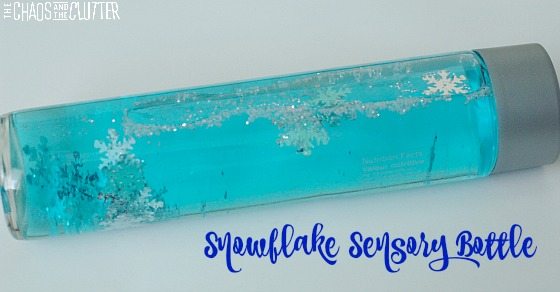 Put the lid on the bottle. If you are going to be using this snowflake sensory bottle with younger kids, you may want to secure the lid in place using a hot glue gun.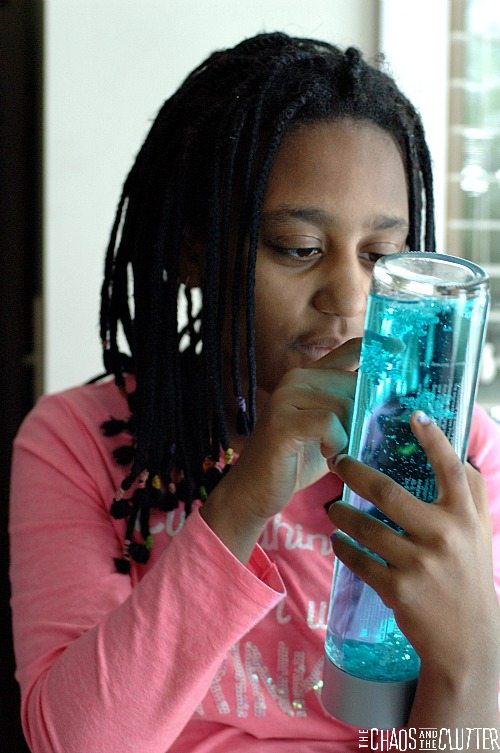
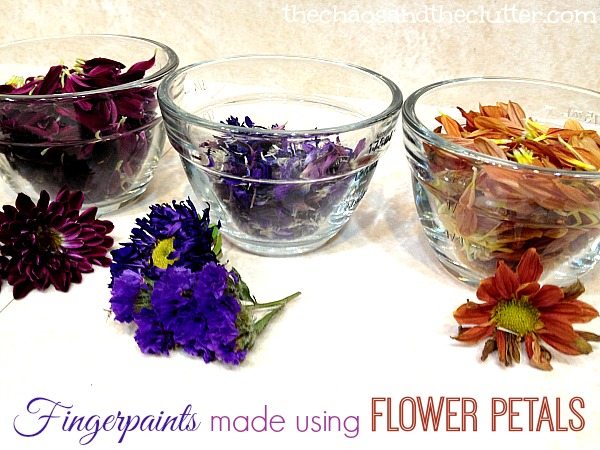
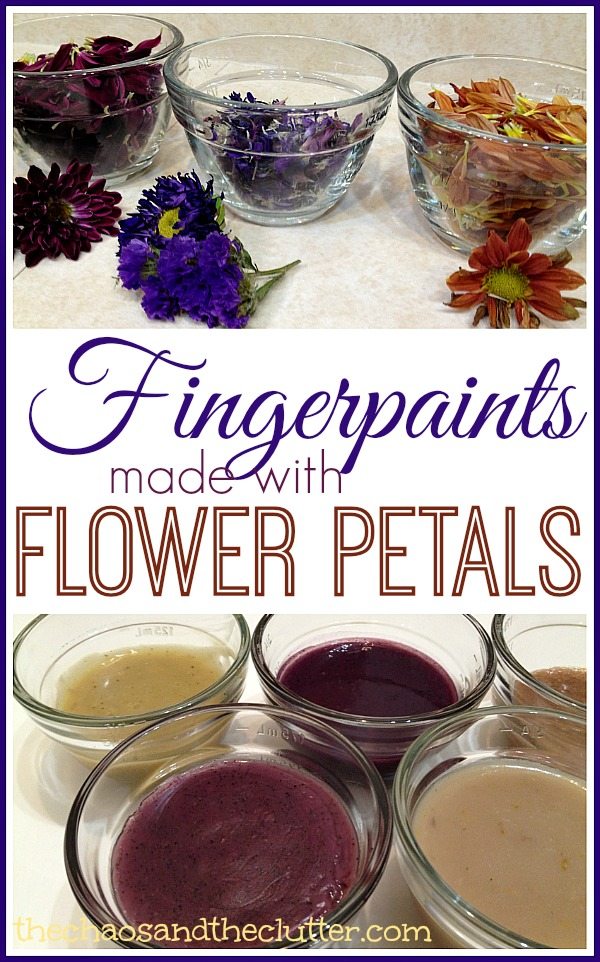 My neighbour had given me a beautiful fall bouquet of flowers and after a week or so, it had begun to look a bit on the sad side. The flowers were drooping and had started to wither but there were such gorgeous colours in the bouquet that it really seemed a shame to throw it away.
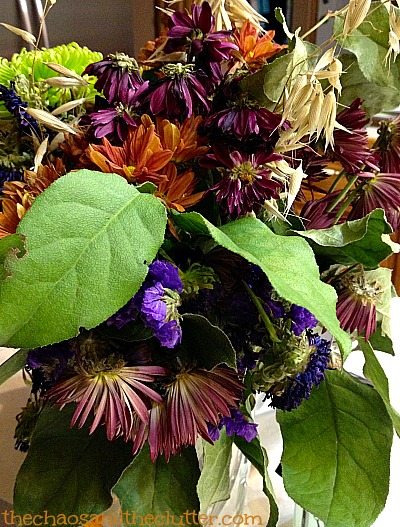 I was trying to think of a way to use the flowers and decided to make them into a hands-on history lesson to demonstrate to the kids how clothing and linens used to be dyed using flowers and other items found in nature.
 We added water and the petals to a pot and brought the mixture to a boil. Once it was at a rolling boil, we turned it down to simmer and let it simmer for half an hour. We stirred it from time to time and also used a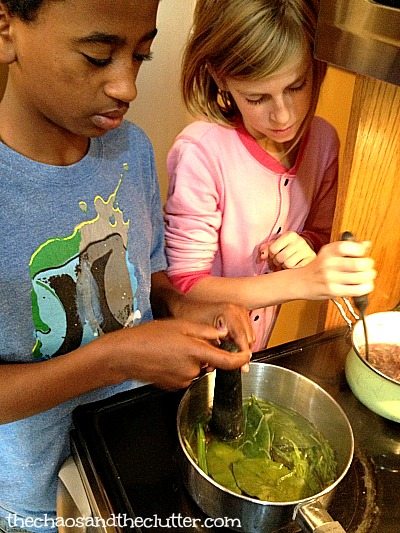
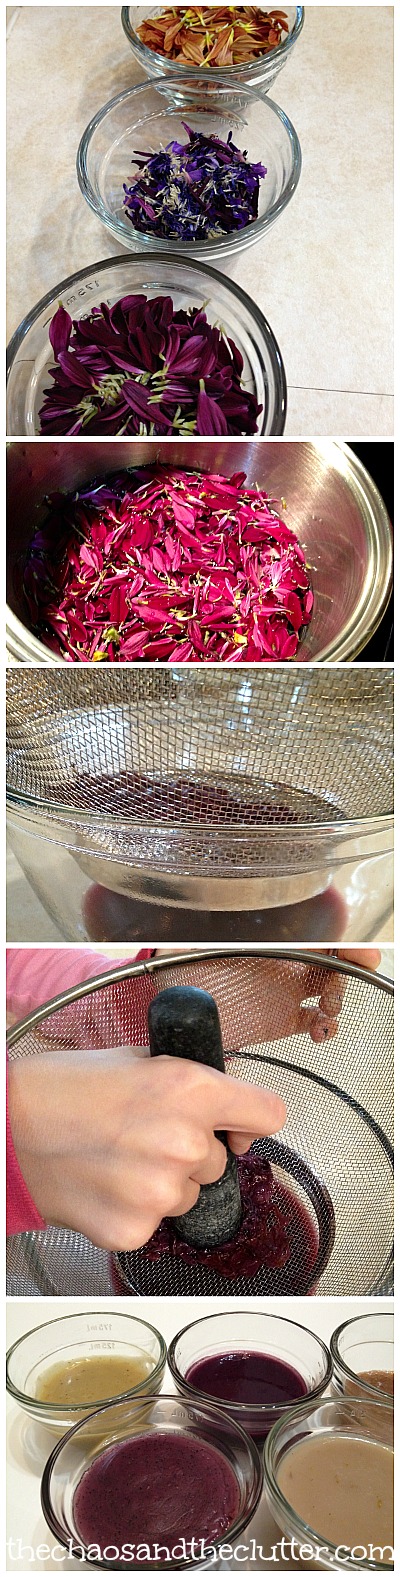 The paints had different smells depending on the type of flowers used. The colours did not turn out the way we expected them to. The purple petals created an unattractive greenish-brown colour. The red flowers created a burgundy-purplish colour. The leaves and stems made a yellowish colour. The orange petals created a light brown.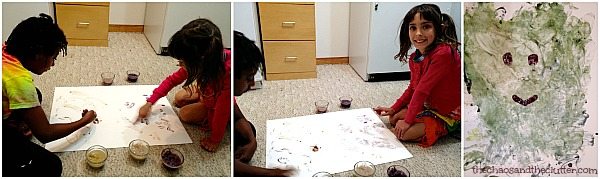

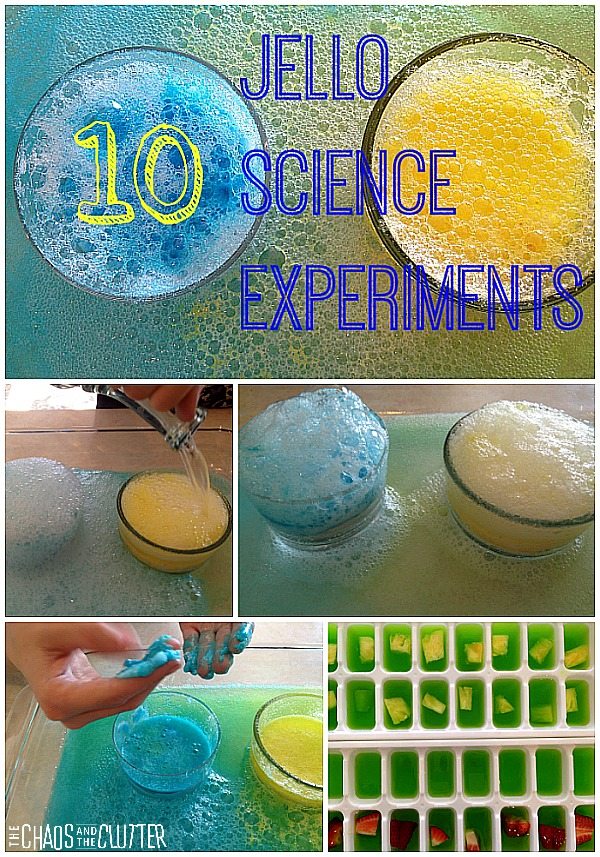
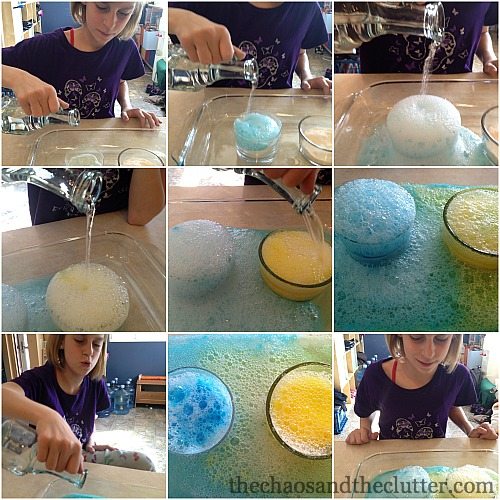
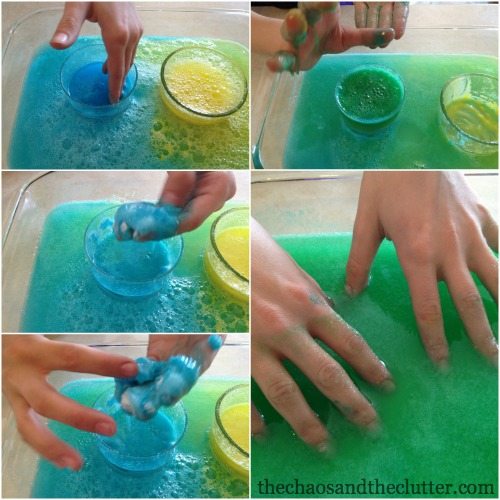
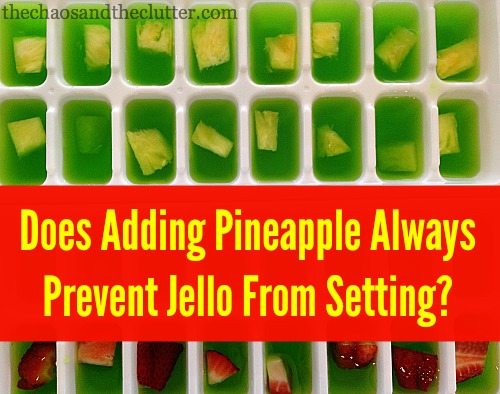 We began by adding pieces of fresh pineapple to one row in an ice cube tray. I then roasted pineapple and we added a row of cooked pineapple to the tray. We did this to see if cooking the pineapple would make a difference as opposed to using the fresh fruit. We mixed up jello according to the package directions and poured it in the tray.
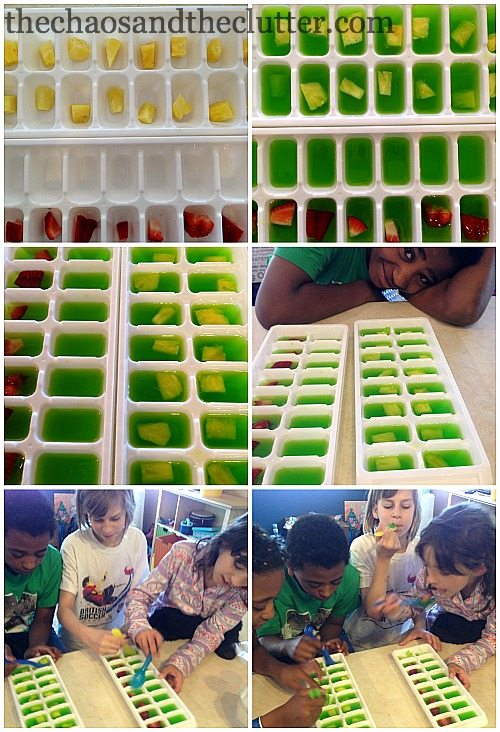 In the morning, we found that all the rows had set except the row with the fresh pineapple which was still green liquid. This activity was kitchen science at its best. The kids ate the results just to be sure they were accurate!