• Skip to primary navigation
  • Skip to main content
  • Skip to primary sidebar
  • Home
  • About
  • Contact
  • Privacy + Terms
  • Affiliates

The Chaos and the Clutter

  • Facebook
  • Twitter
  • Pinterest
  • Google Plus
  • RSS
  • Email
  • School at Home
  • Sensory
    • Sensory Processing Disorder
    • Awesome Sensory Play Activities
      • Sensory Bins
      • Sensory Bottles
      • Sensory Bags
  • Family Games
    • Minute to Win It Games
  • Special Needs Parenting
    • Childhood Anxiety
    • Reactive Attachment Disorder
    • Sensory Processing Disorder
  • Store
  • Course Login

Simple Science

Easy Science for Kids – Chromatography

By Sharla Kostelyk

Science is not my favourite subject to teach. To be honest, it’s hard to even wrap my brain around some of the more advanced concepts so other than nature studies and Science Fair projects, we do very little science in our homeschooling. Last weekend, our girls were invited to a birthday party with a science theme. The birthday girl’s dad is a friend of mine who is a high school Physics teacher and he is PASSIONATE about SCIENCE! I stayed and watched and I have to admit that his enthusiasm was infectious and by the end of the party, I began to believe that maybe science could be fun and that maybe I could be capable of teaching it.
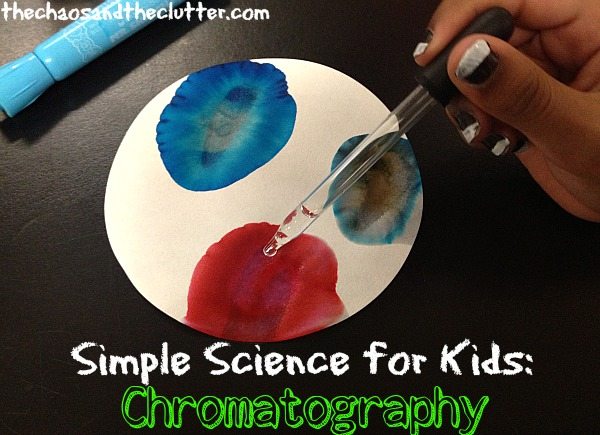
Simple Science for Kids: Chromatography

One of the hands-on activities he had the kids do was a lesson in chromatography and it was one that I later repeated with all my kids at home. This easy science demonstration can be done with materials you likely have in your home already.

All that you need for this experiment is filter paper, markers, droppers, and water. It does works best on filter paper but you can also use coffee filters or paper towels. We tried with each of these and they all work well enough to demonstrate the principle, although filter paper did give the most clear results. For the water, we used droppers, a spray bottle and a paintbrush and all of them worked equally well for distribution of water.

Have the kids colour an area on the filter paper and then add a few drops of water to that area. Have them observe what happens to the colour. They will be able to see that not only does the colour spread, it separates into the colours that make up that particular colour. Be sure to have them try using a black marker as it separates into several colours.
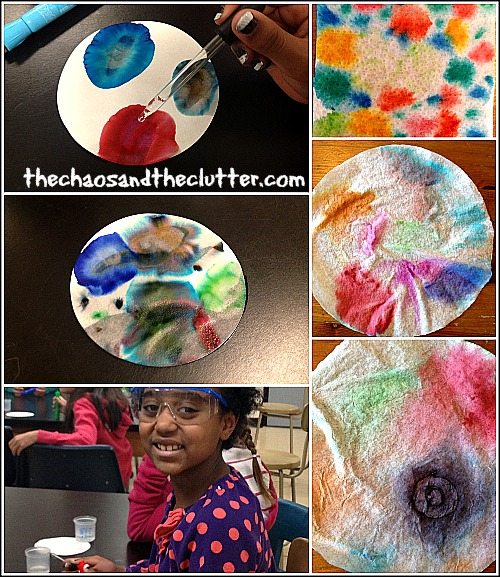
easy science for kidsChromatography is the separation of mixtures so this simple experiment is an easy introduction for kids to that concept and also gives further study into colours and shades.

If you are looking for more easy science ideas, you may want to follow my Simple Science board on Pinterest.

Filed Under: Homeschooling, Simple Science

Plants Science Fair Project

By Sharla Kostelyk

Plants Science Fair ProjectSnuggle Puppy wanted to learn more about plants. He also wanted to try an experiment to see if singing to seeds would make them grow faster. He assumed that since singing would emit carbon dioxide, the plant would grow faster.

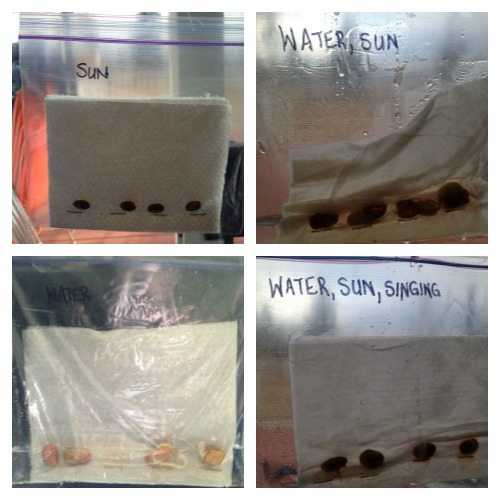
For Snuggle Puppy’s experiment, we set it up using the basic bean plant experiment method set out on How to Homeschool my Child (full instructions can be found there). For our purposes, we taped one bag on the inside of a dark cupboard (so that we could record the results of one set of seeds not getting any sun) and taped the other bags onto our patio windows. These three were divided so that one bag received no water, another received water and sunlight and the third received water, sunlight and Snuggle Puppy’s singing once a day.

We took pictures of each bag of seeds every day and recorded the results. These pictures are from the second day:

bean seeds day 2For his Science Fair project, Snuggle Puppy also wrote out his hypothesis, observations and conclusions. He created a simple diagram with the parts of a plant using a muffin tin liner, paper and pumpkin seeds.IMG_1281He also used the Plants and Trees Notebooking Pages to write out some of what he was learning. He included a plant that we had been growing from a seed to his demonstration.

Some of our other Science Fair ideas:

Melting Ice Experiment

Balloon Rocket Boat

Filed Under: Homeschooling, Simple Science

How Notebooking Pages Work for Us

By Sharla Kostelyk

Perhaps you’ve heard of notebooking or maybe this term is new to you. I thought I would share how we use notebooking in our homeschooling to give you a better sense of what it’s like and whether or not it may be a good fit for you.

Notebooking for us:

With so many kids, many different learning styles and some special needs thrown into the mix, it’s hard to find a homeschool curriculum or tool that works for everyone. It makes my life so much easier when I do! Notebooking is one of the few things that I’ve found that I can use with all of the kids at the same time.

Writing comes quite naturally for some of my kids, but one in particular struggles with all types of writing. One of our sons who has Aspergers and dysgraphia finds any type of writing akin to torture. For him, notebooking is good writing practise without being too much pressure. It’s actually the only form of writing we can get him to complete without tears.

Our oldest daughter on the other hand is always asking me if I can print her out more notebooking pages to work on! She can’t seem to get enough of writing.

How We Use Notebooking Pages

I find that notebooking is much different than busywork or workbooks. Notebooking encourages reading, exploring, and pursuing areas of interest. My kids care about the finished products and are proud of them. They show them off to their dad or grandparents and they want to keep them.

Students are engaged while they are learning. Therefore, they are able to better retain the information.

Using Notebooking Pages:

There are so many ways to use Notebooking in your homeschooling. The possibilities really are endless. Any subject, any age, any ability level can fit with this type of learning. We have used it with Bible, Science, History, Nature Study, Countries, Holidays, Biographies, and more.

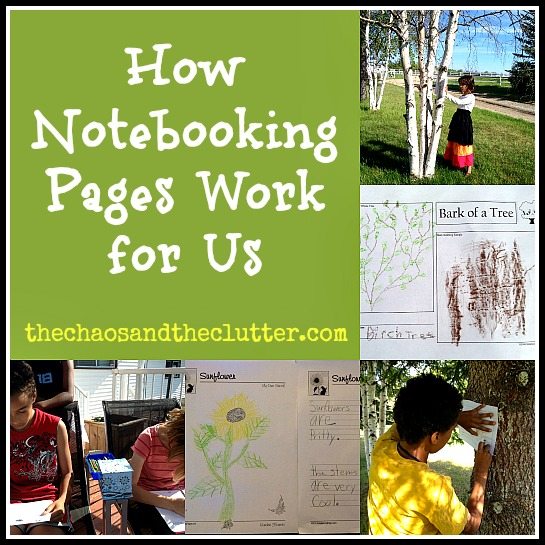
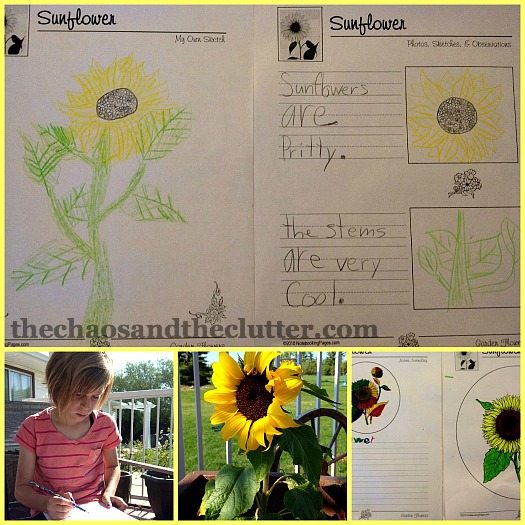
sunflower notebookingRecently, we began growing sunflowers on our deck. Naturally, the kids wanted to study them and learn more about them. Because of my membership with Notebooking Pages, I was able to quickly print off some pages for them specific to sunflowers from the Wildflowers, Weeds and Garden Flowers Nature Study and they sat outside to learn and record their discoveries on paper.

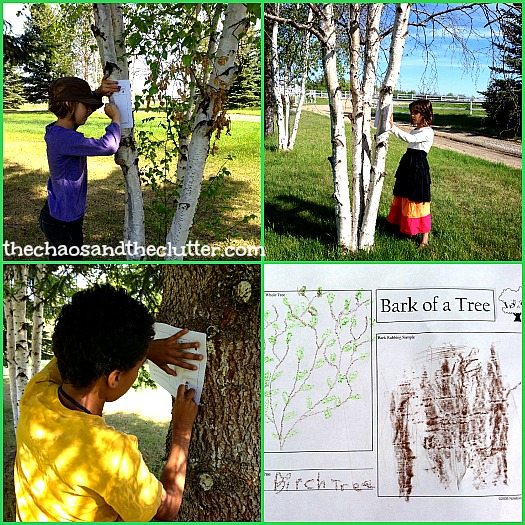
Tree NotebookingThe kids all really enjoyed the tree notebooking pages, especially these ones where they were able to do a rubbing of the bark of the tree. This pack also included pages where they did rubbings of the leaves of the tree as well. It is a perfect pack for Spring or Fall.

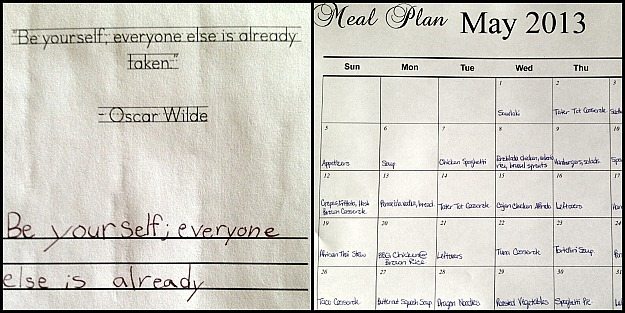
One of the unique aspects of Notebooking Pages is their Publisher Web App which allows you to create your own notebooking or copywork pages. If your child were interested in studying something that they did not have pages for, you could simply create your own using graphics they supply or upload your own graphics.

I have used this app to create simple meal planning menus for myself and to create copywork for the kids for quotes or poems that they are working on memorizing.

create your own pages

Notebooking Pages at Productive Homeschooling:

While I have piece mealed things together here and there from different sources, my favourite is Productive Homeschooling. There are so many products to choose from! If you’re not sure if your kids would enjoy Notebooking, try the Free Homeschool Resource Hub. There are many Free notebooking pages available to try. That will give you a better idea if this method would work well for your child.

Join the LIFETIME Notebooking Pages Treasury Memberships and get access to thousands of notebooking pages . . . all of their products and all new updates indefinitely!

It is also possible to purchase individual packs to correspond to an area of interest or current study.

And of course by using the Web App, you are also able to customize both notebooking and copywork pages. The only limit to what can be created is your imagination!

Filed Under: Homeschooling, Simple Science

Balloon Rocket Boat

By Sharla Kostelyk

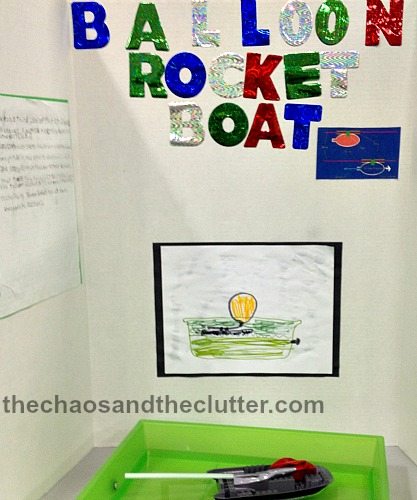
For his Science Fair project, Einstein decided to make a Balloon Rocket Car. We are a last-minute family typically and this year’s science fair was no exception. So it may or may not have been the morning of the event that we finally had all the supplies and were ready to assemble his project! That may explain why the Balloon Rocket Car project became a Balloon Rocket Boat project!

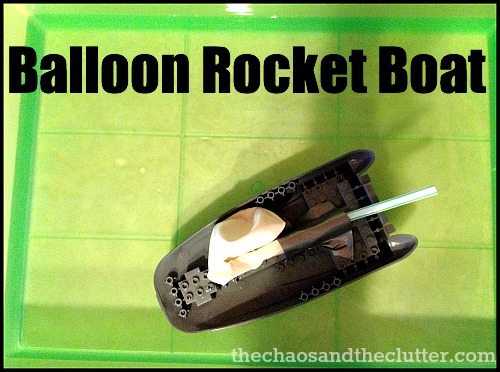
Balloon Rocket Boat

Unfortunately, we couldn’t get the wheels on the car round enough to get it to move well. Had we left ourselves more time, I would have had time to go back to the deli at the grocery store and ask for another foam tray to cut more wheels out of and I would have had time to dig through boxes in our storage room to find my circle cutter with my scrapbook things to cut perfect circles. But… this is real life and it’s our life and as usual, we left things to the last minute!

This was the Balloon Rocket Car…

IMG_1262Necessity is the mother of all invention so The Husband came up with the idea to instead have him make a Balloon Rocket Boat! Einstein took a Lego boat and duct taped a straw down the center of it and secured a balloon onto the end of the straw. We put some water in one of our workbox bins, set the boat on top, and it worked!

By inflating the balloon through the straw, the boat propelled itself through the water! Einstein then wrote out Newton’s third law and how it applied to this experiment and drew a picture for his display board.

balloon rocket boat project

Filed Under: Homeschooling, Simple Science

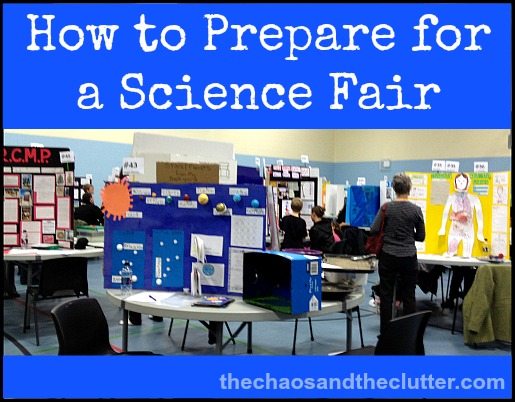
How to Prepare for a Science Fair

By Sharla Kostelyk

Last night, we participated in our first ever Science Fair. It was a chance for the kids to practise their communication skills in explaining their projects to the judges and visitors and a great push for all of us to inject more science into our learning these past few weeks. As this was the first time we have ever participated in a science fair, there is a lot that I learned to be able to take forward into future events.

How to Prepare for a Science Fair

1. Allow the child to choose their topic.

Children are self-motivated when it comes to things that they are interested in and excited about. If you don’t want to be the one to be assembling the project the night before or nagging constantly to get them to work on it, allowing them to choose their subject will also allow them to take ownership of the project. If it’s a project they are enthusiastic about and interested in, they will likely be the ones asking you if they can work on it than the other way around.

2. Take pictures of the project at home.

I thought that I would be taking so many pictures at the Science Fair but only was able to take a handful between there being so many people often crowded around the tables and so many distractions. Prior to risking a mishap in getting everything to the event, take pictures of everything at home in good lighting. This way, any pictures you are able to take at the event will be a bonus but it will not be something causing you additional stress.

3. Bring extra materials.

Remember the Girl Guide motto, “be prepared”. There are bound to be things that get forgotten or broken. Take extra parts with you. Also be sure to bring tape, scissors, pens, and paper. Triple check before you leave home that you have everything needed for the project and that you have the display board. We even brought a pitcher with water as one of our son’s projects needed water. We knew there would be water at the hall, but also knew there may be a long line of others needing it as well.

4. Bring reference books.

Bringing the reference books along allows your child the chance to be able to access additional information if needed for the judges. In our case, we had not completed Bibliographies to accompany our projects (see tip #5!) so reference books could have served as a replacement for that also.

5. Read the Science Fair requirements ahead of time.

I missed this step. I was e-mailed the judging sheets which included the types of things that were going to be looked at but I didn’t actually open the documents. This was a bit of a big oops! Had I opened the document, I would have read that for this particular Science Fair, there was to be a reference to God or a scripture verse included with the project and that there was to be a Bibliography and a log book. That would all have been very good information to know ahead of time! Learn from my mistake and read all relevant material pertaining to the event.

6. Discuss event etiquette prior.

As my kids are homeschooled and this was our first ever Science Fair, there were things that we needed to discuss at home. We talked about things such as not running in the hall, not touching other children’s experiments and projects no matter how tempting they looked, using good manners, and how to respond to possible scenarios that might arise. If there will be prizes given, discuss how they can respond appropriately if they receive a prize and how they can respond appropriately if they don’t.

7. Practise positive comments.

Whenever many children are gathered where they are all displaying the fruits of their hard work, the chance for comparison, jealousy, pride, and other negatives exist. I talked to my kids ahead of time about things such as everyone having different talents and interests. We practised things they could say that would be honest and positive about the work of the other kids. As I knew that there were going to be comment sheets at each station, we also practised writing a few words that would be appropriate for them to add to the comment sheets of others.

8. Role play the judging.

The part of this experience that my kids were the most nervous about was presenting to the judges. At home, we role played this and I asked them some of the potential questions they may encounter. We also stressed the importance of manners as the judges would be adults and should be treated with respect. They were to offer the judge a seat, give eye contact, use words such as “please” and “thank you”, and thank the judge and shake their hand when finished.

9. Have the child do the work.

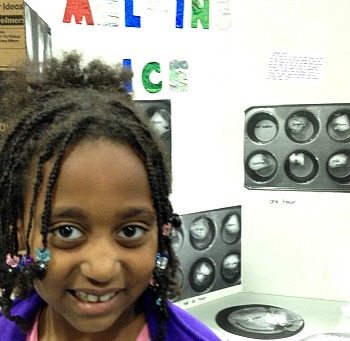
I have to be honest and admit that it was difficult for me at times to step back and allow my kids to do their projects themselves. They used too much glue, didn’t always have things on straight, didn’t space things perfectly, had spelling errors here and there… I had to take some deep breaths and be sure that my perfectionist tendencies didn’t ruin their experience. For my youngest kids, I helped to glue things onto their display boards, but I tried to back off as much as I could and really let it be their project. They were so proud of themselves and really got to shine because I got out of the way!

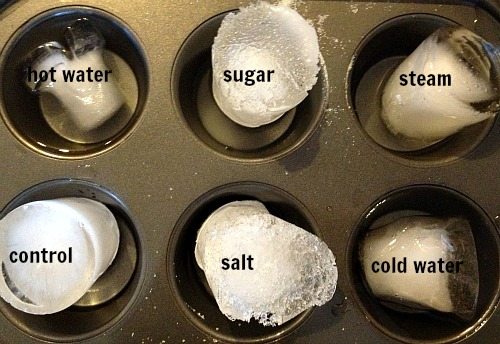
melting ice

10. Celebrate!

Invite others such as grandparents and friends. Your kids will be feeling proud of themselves and you showing pride in them by attending and even inviting others will only add to their feelings of accomplishment. Afterwards, celebrate a job well done by giving praise and encouragement. Enjoy the night together!

This year’s Science Fair projects:

  • Colourful Celery
  • Melting Ice
  • Balloon Rocket Boat

Filed Under: Homeschooling, Simple Science

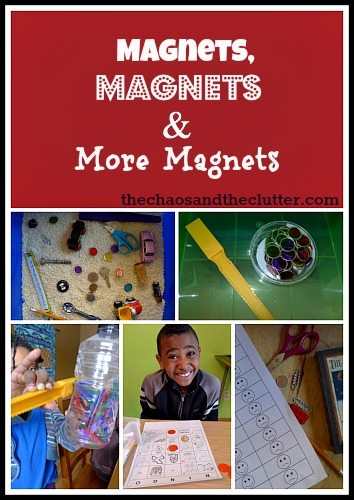
Magnets, Magnets, and More Magnets

By Sharla Kostelyk

For the past few weeks, we have been doing a study of magnets. It’s been interesting as well as fun.

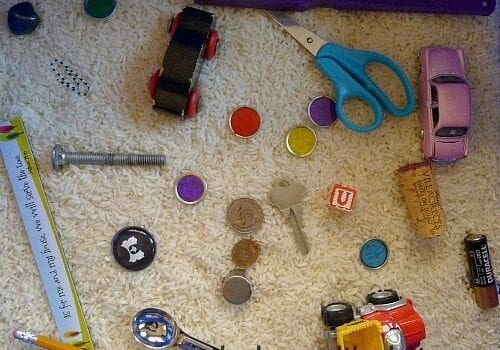
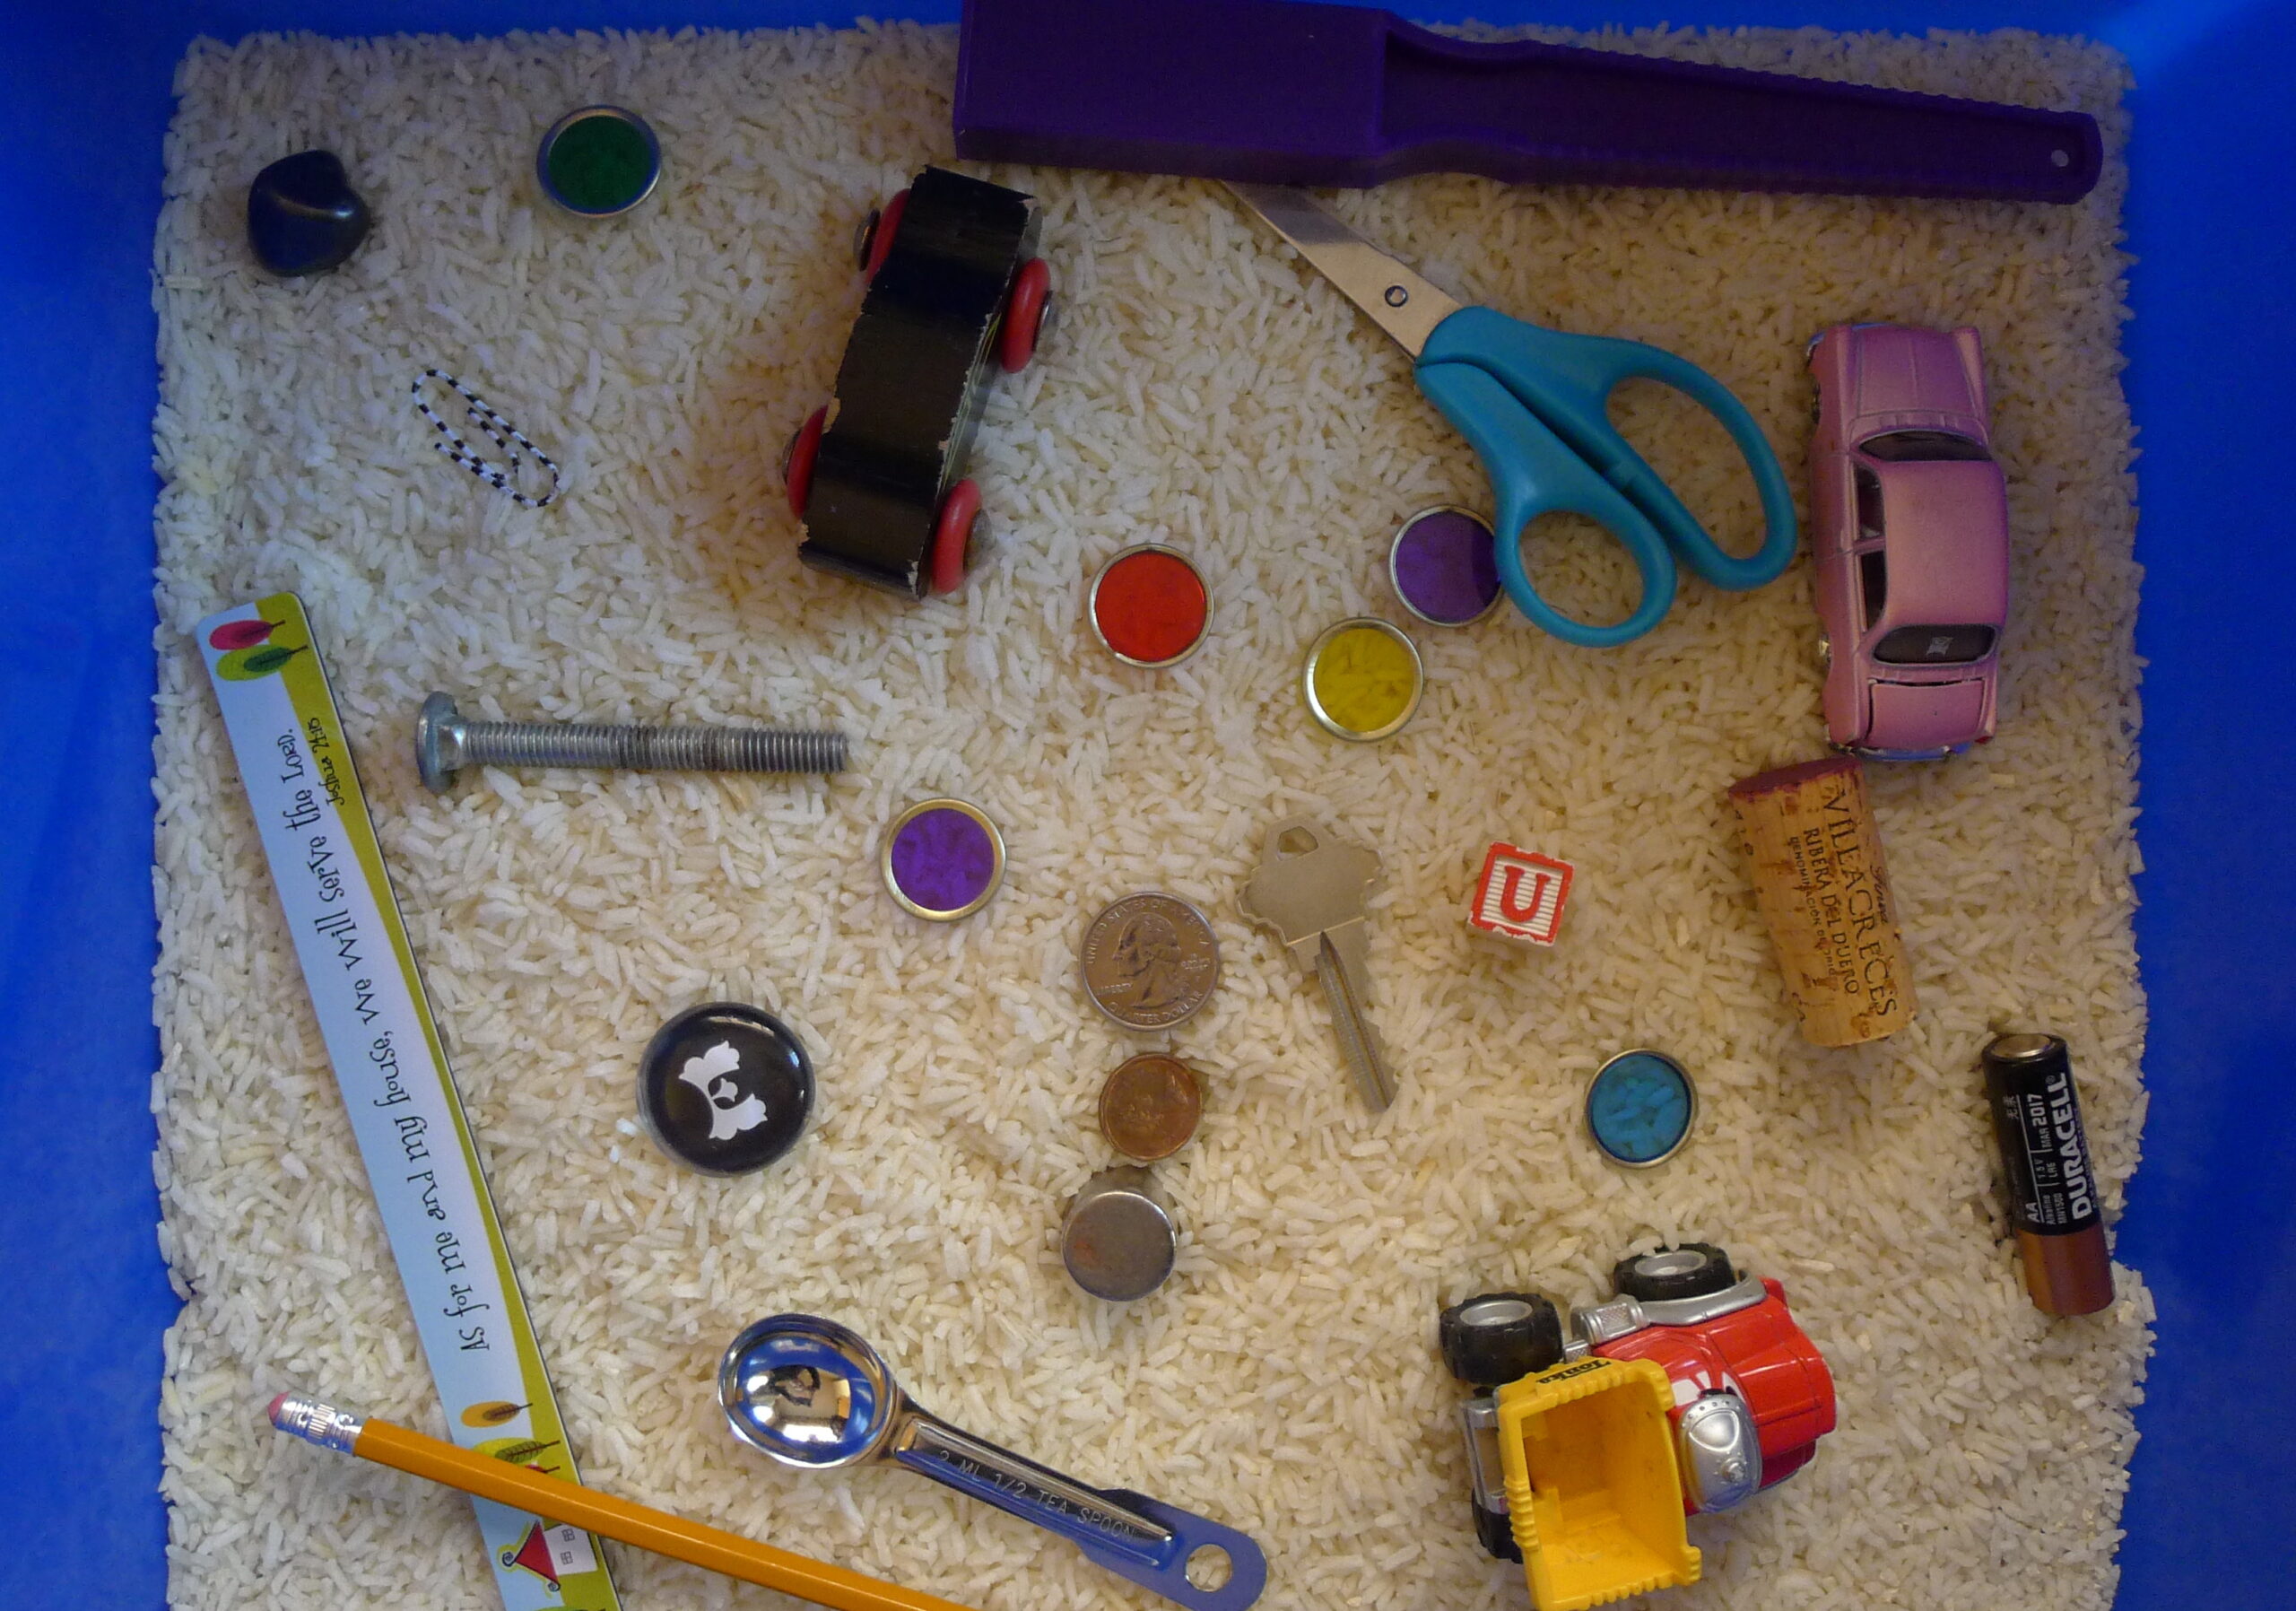
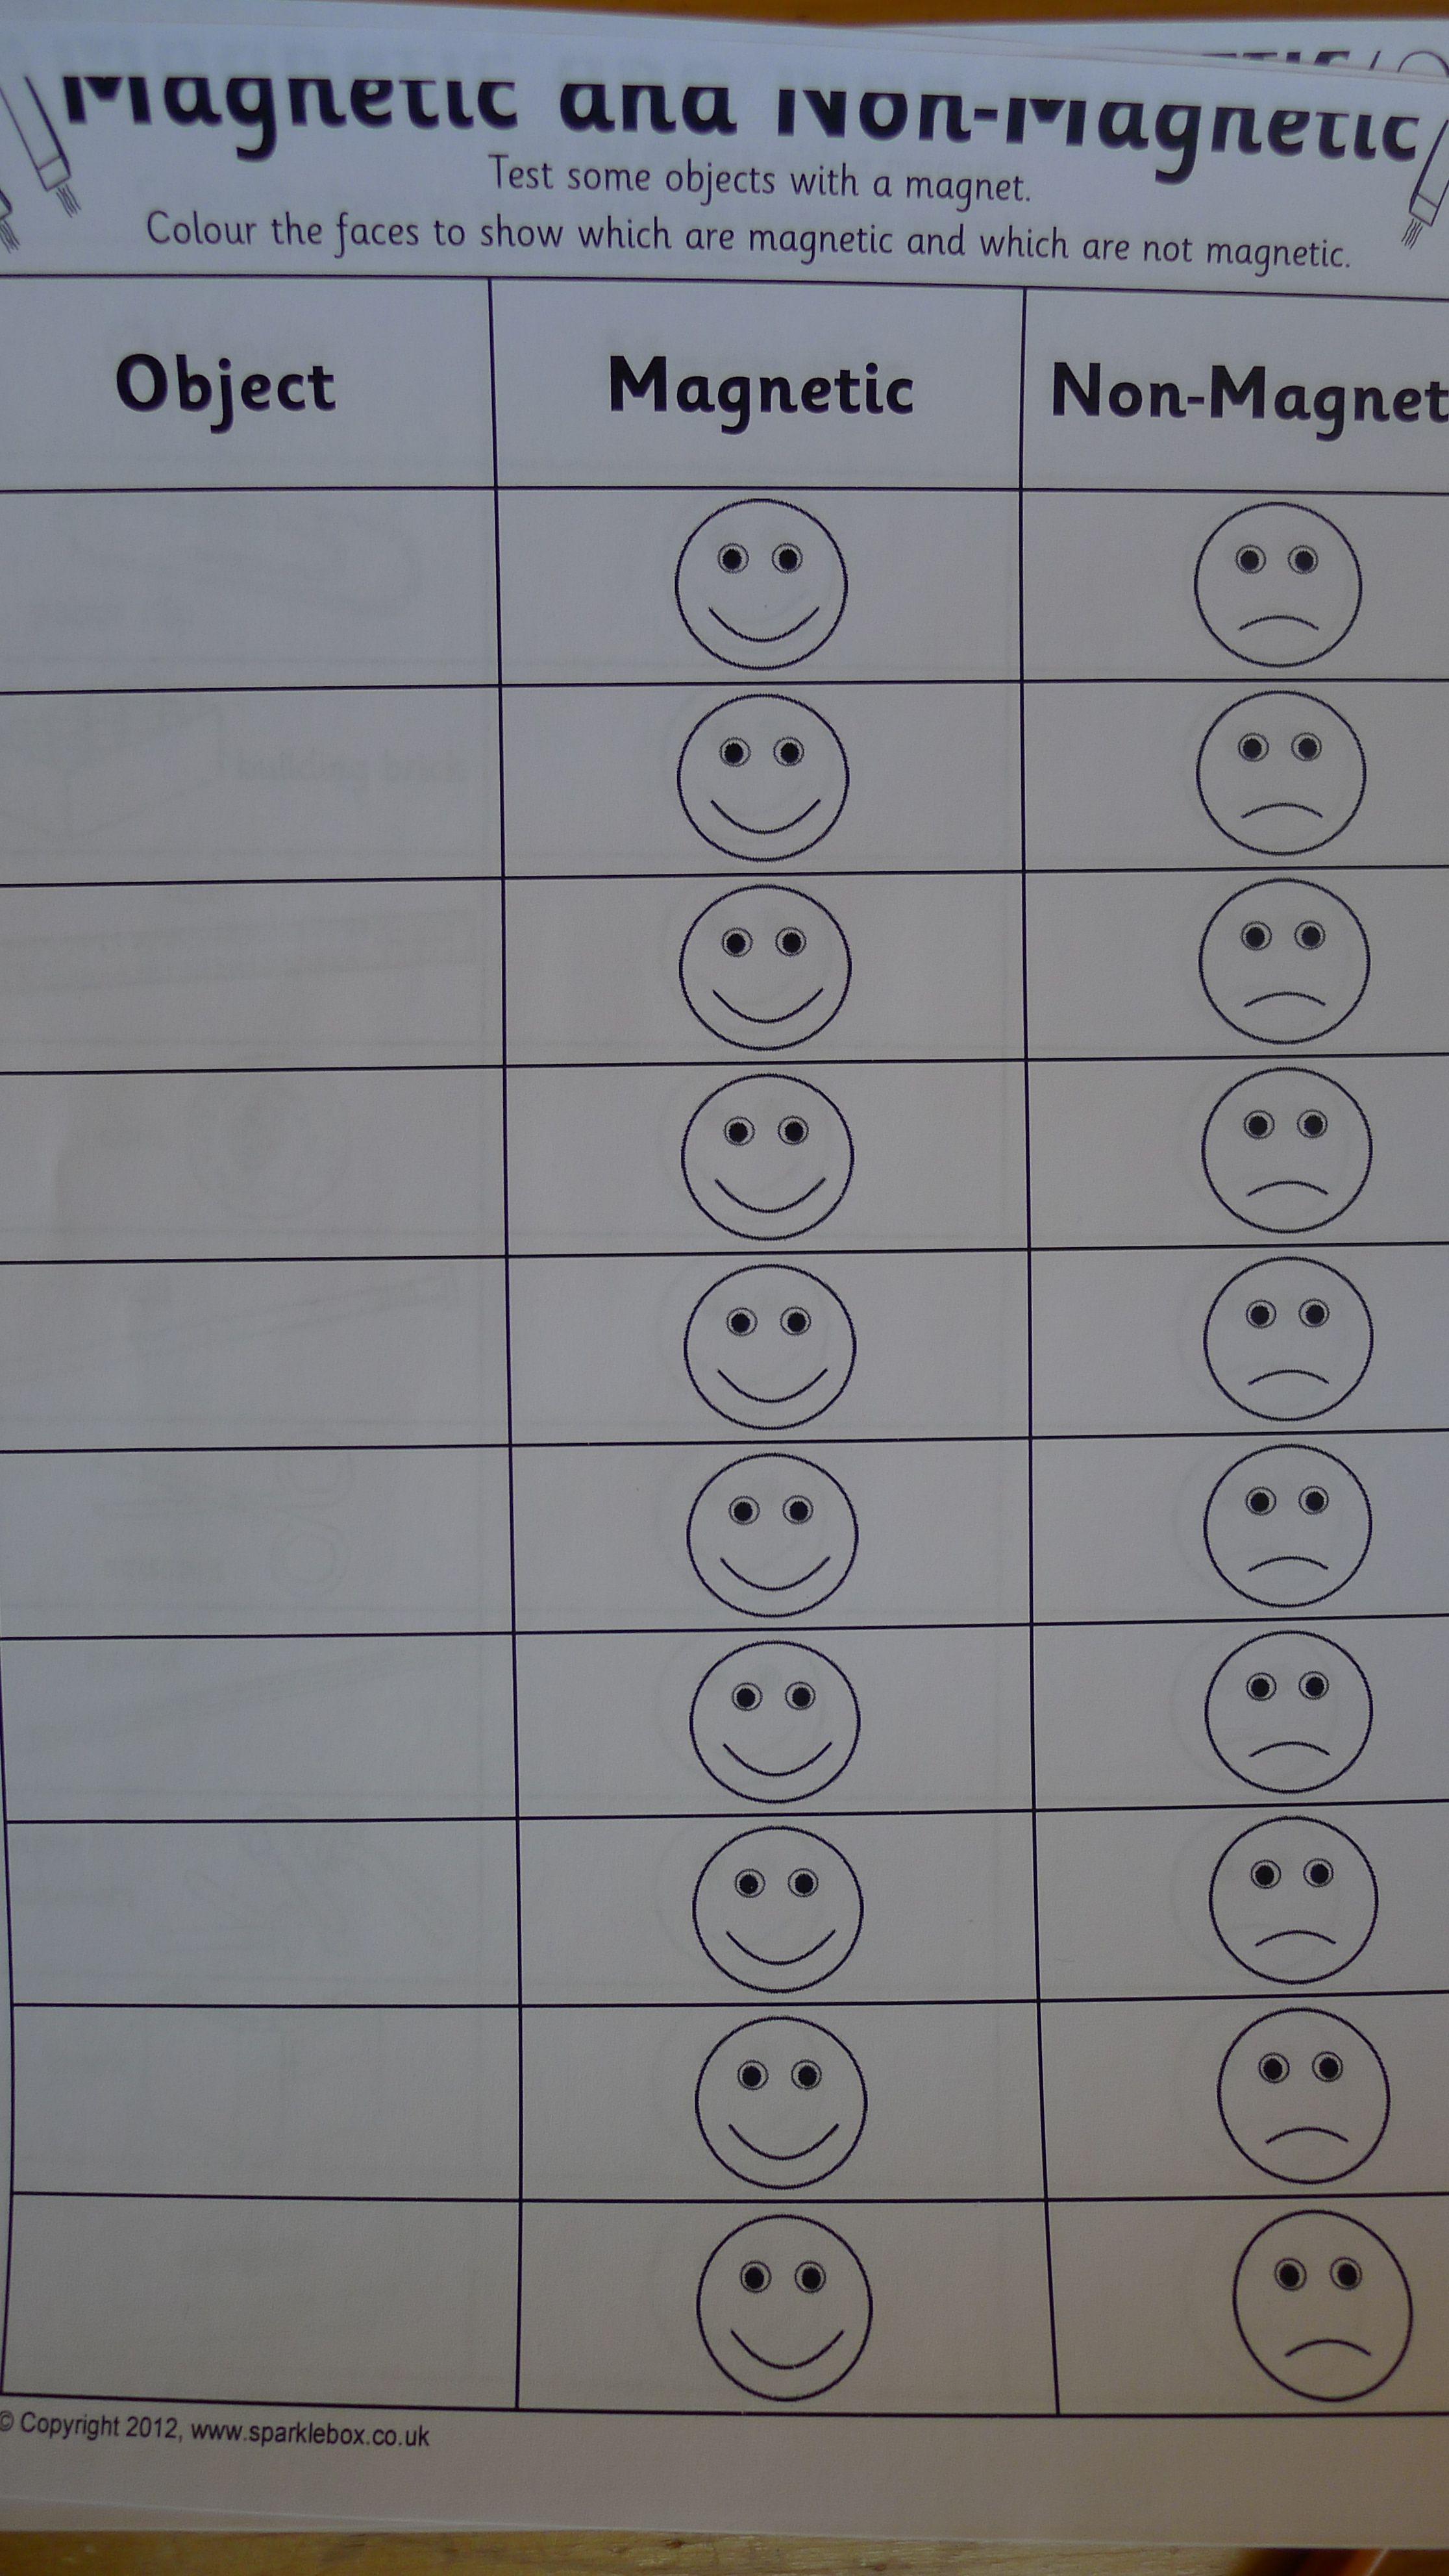
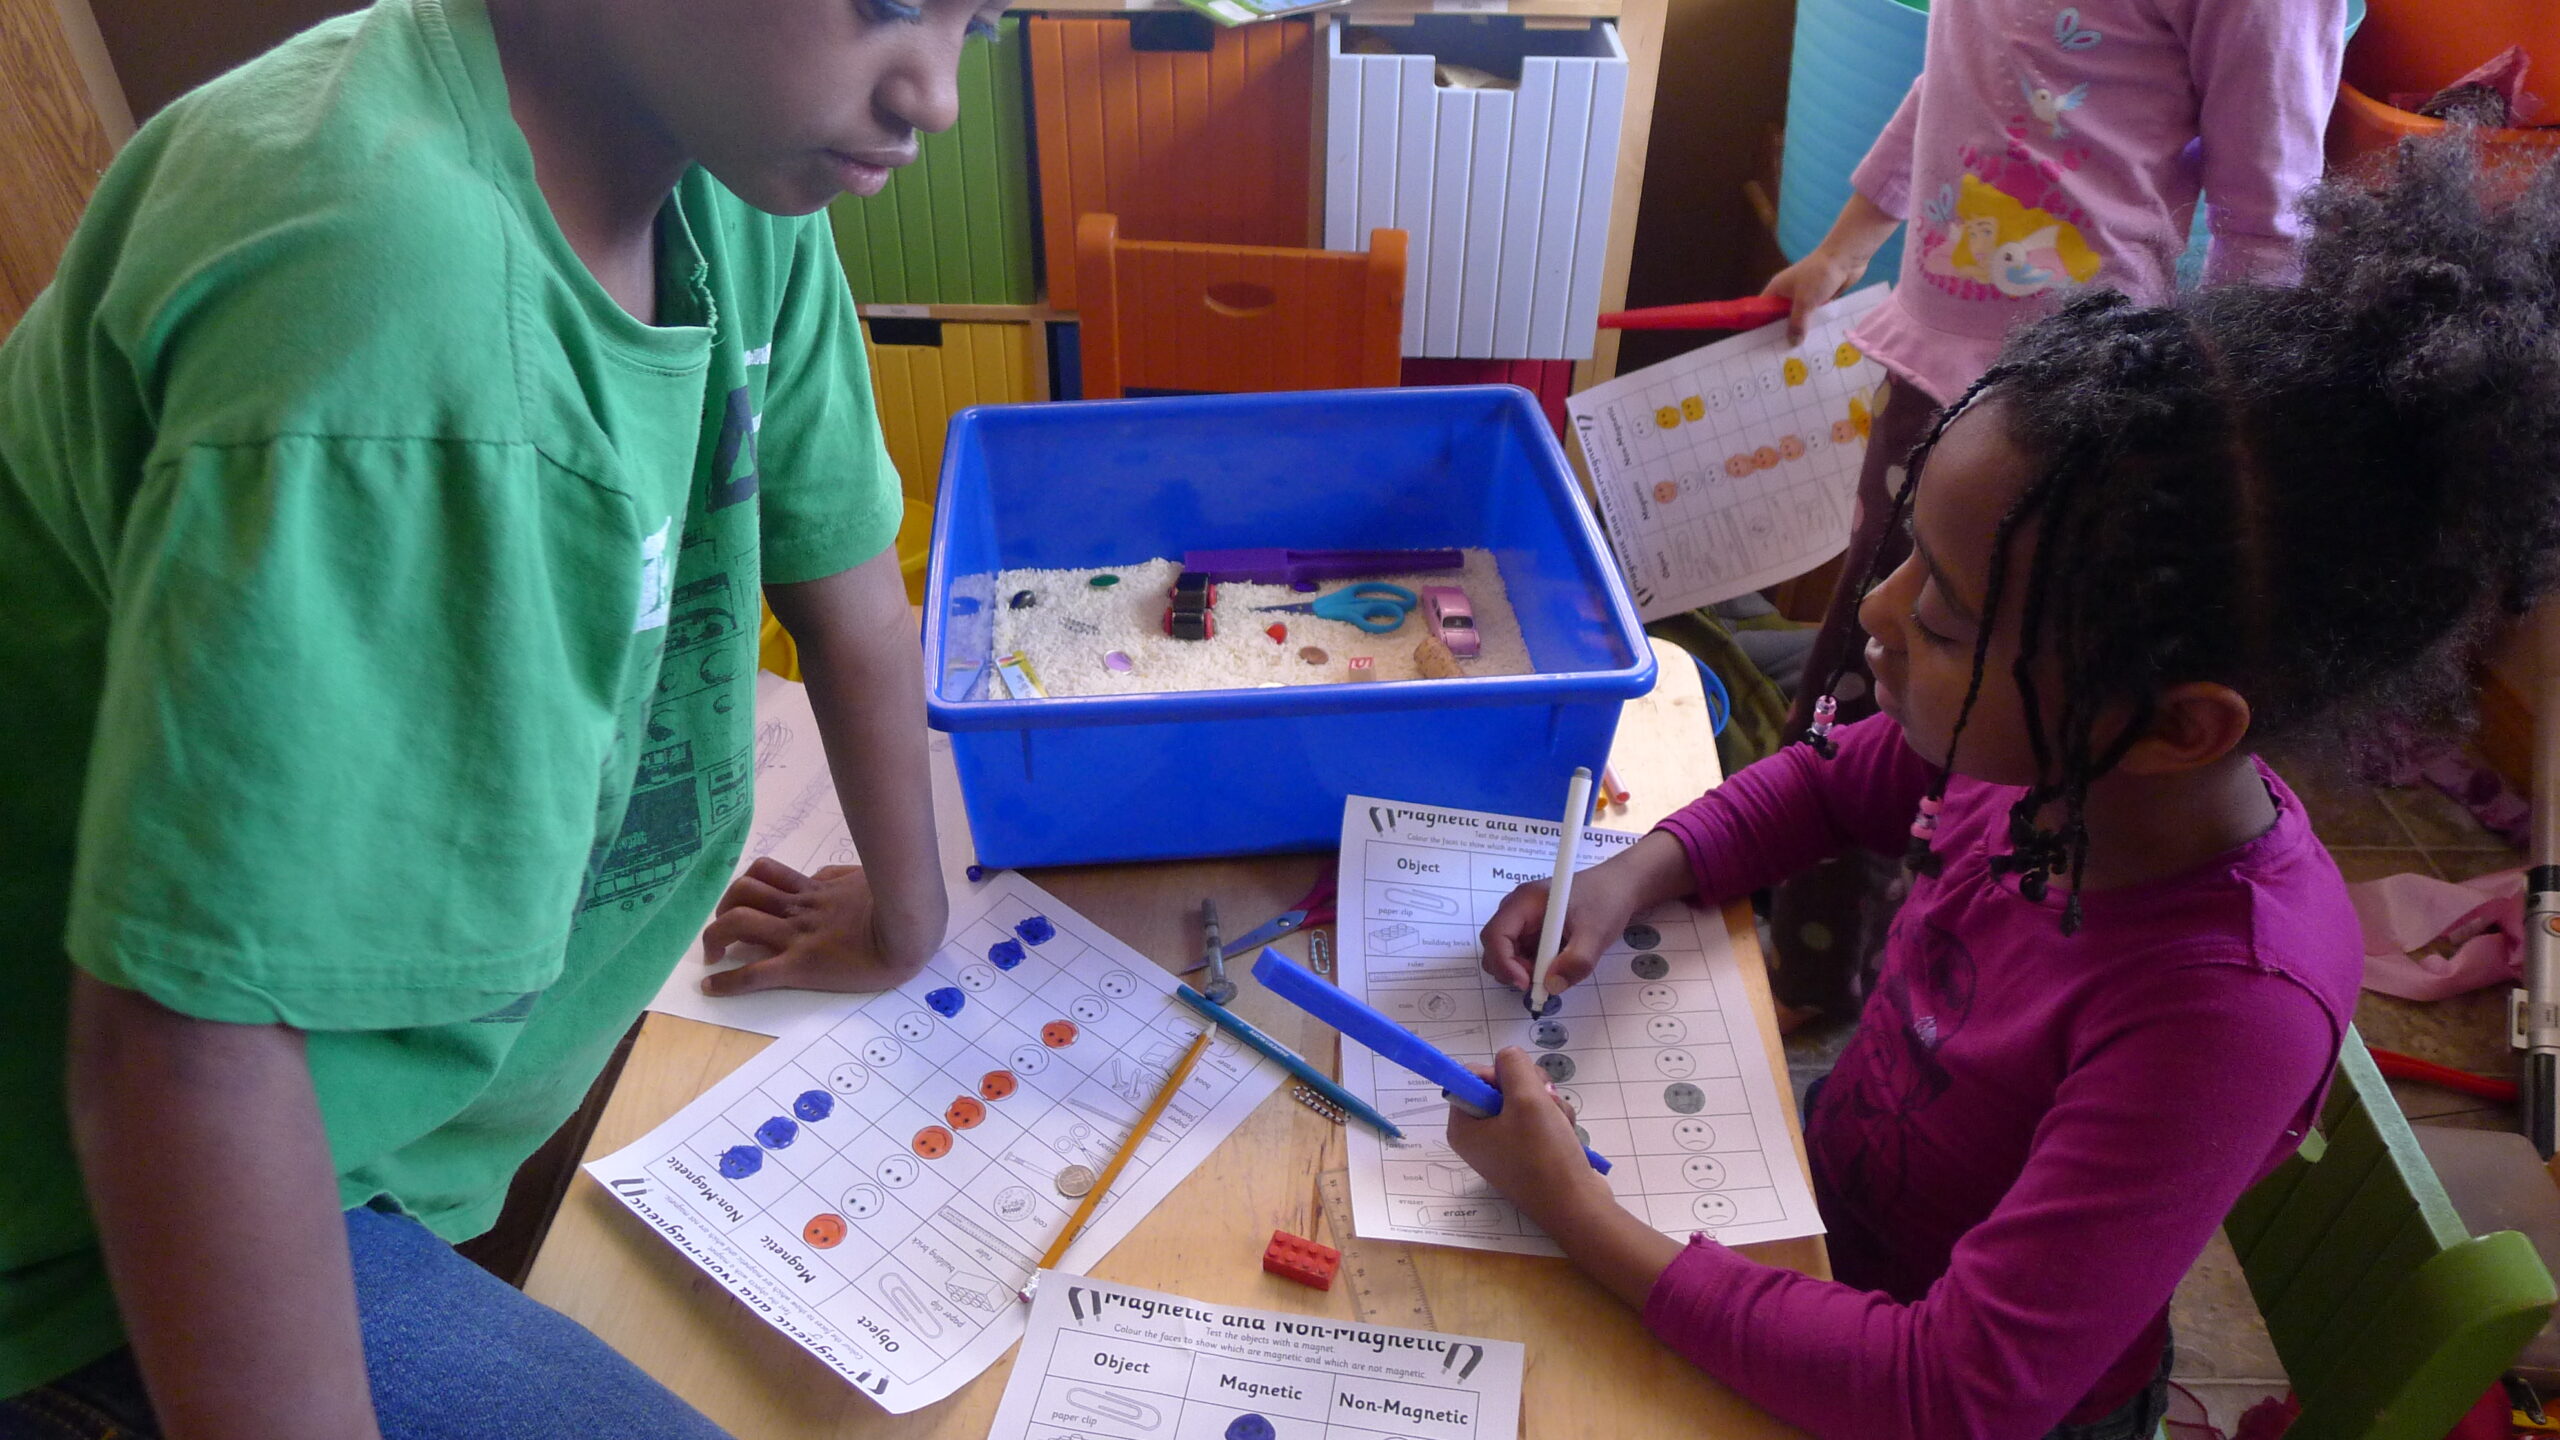
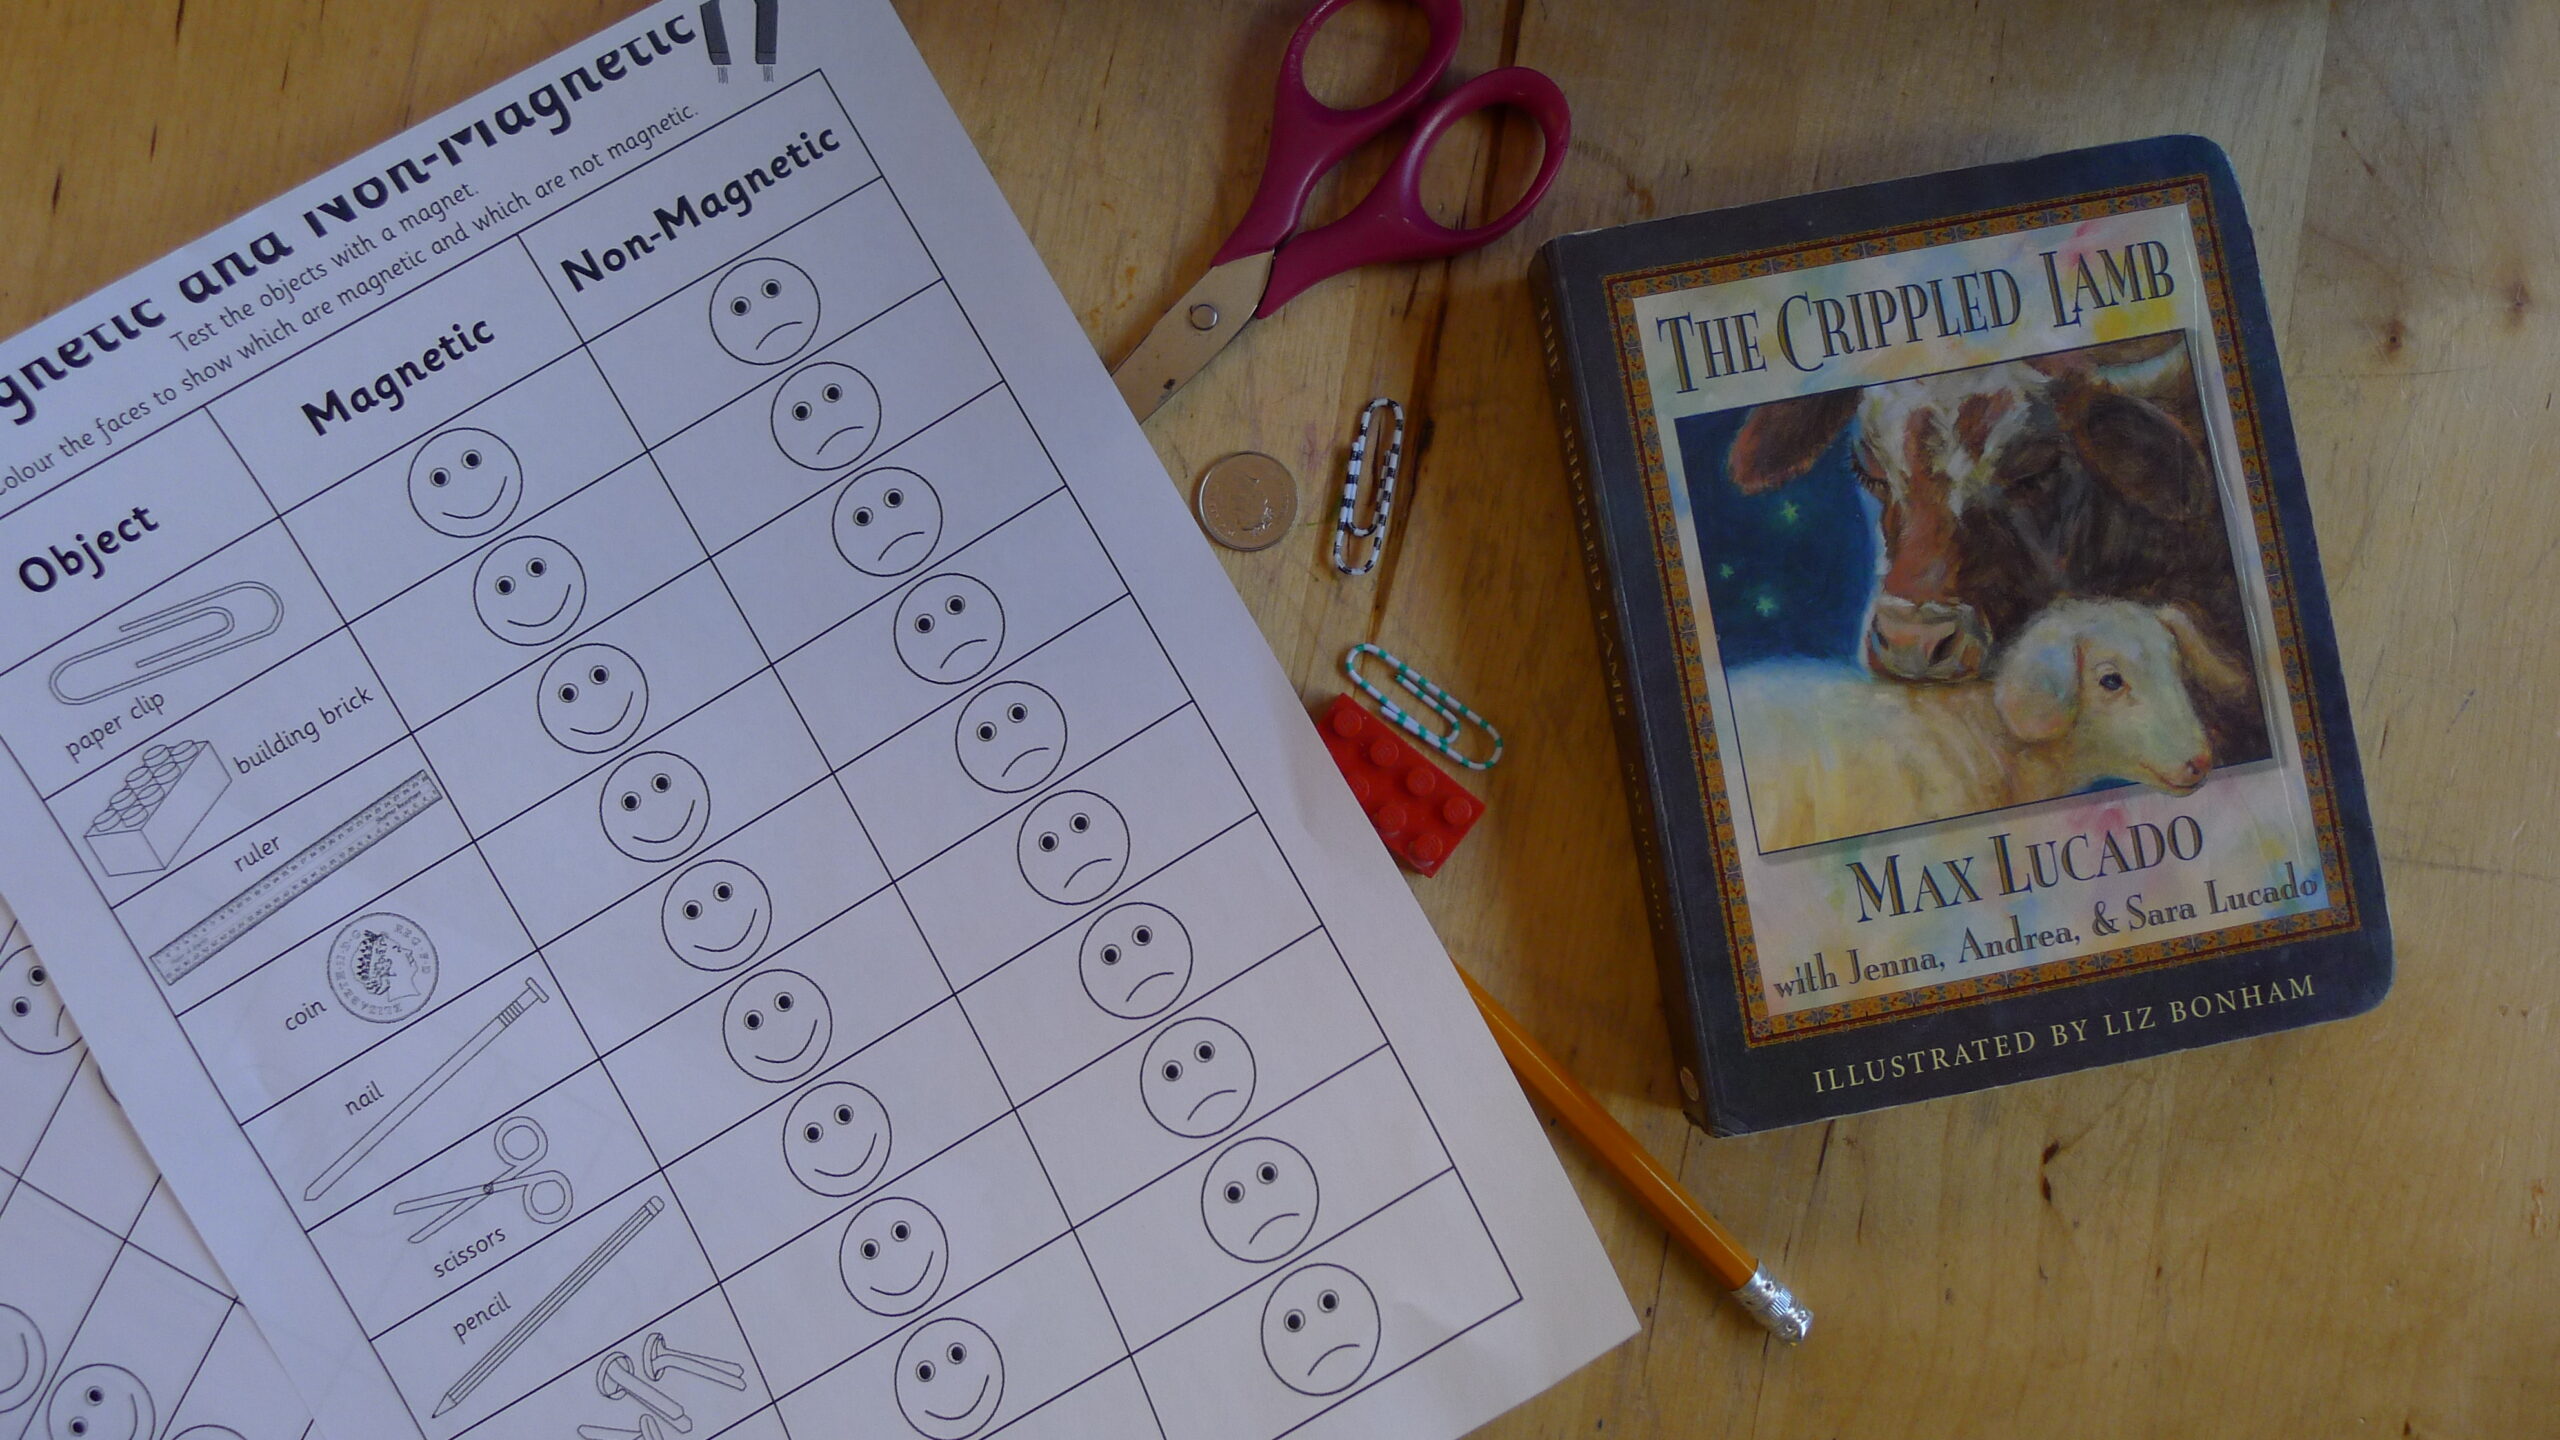
For our magnet sensory bin, I paired it with worksheets for the kids to fill out with a spot for them to either write the name of the item or draw a picture of it (for my pre-readers) and then fill in whether it was magnetic or not.

The sensory bin is a very simple one of white rice and various household objects, not all of which are magnetic.  I also included a strong magnet and a magnet wand.

I included magnet activities in the workbox rotation.  These included:

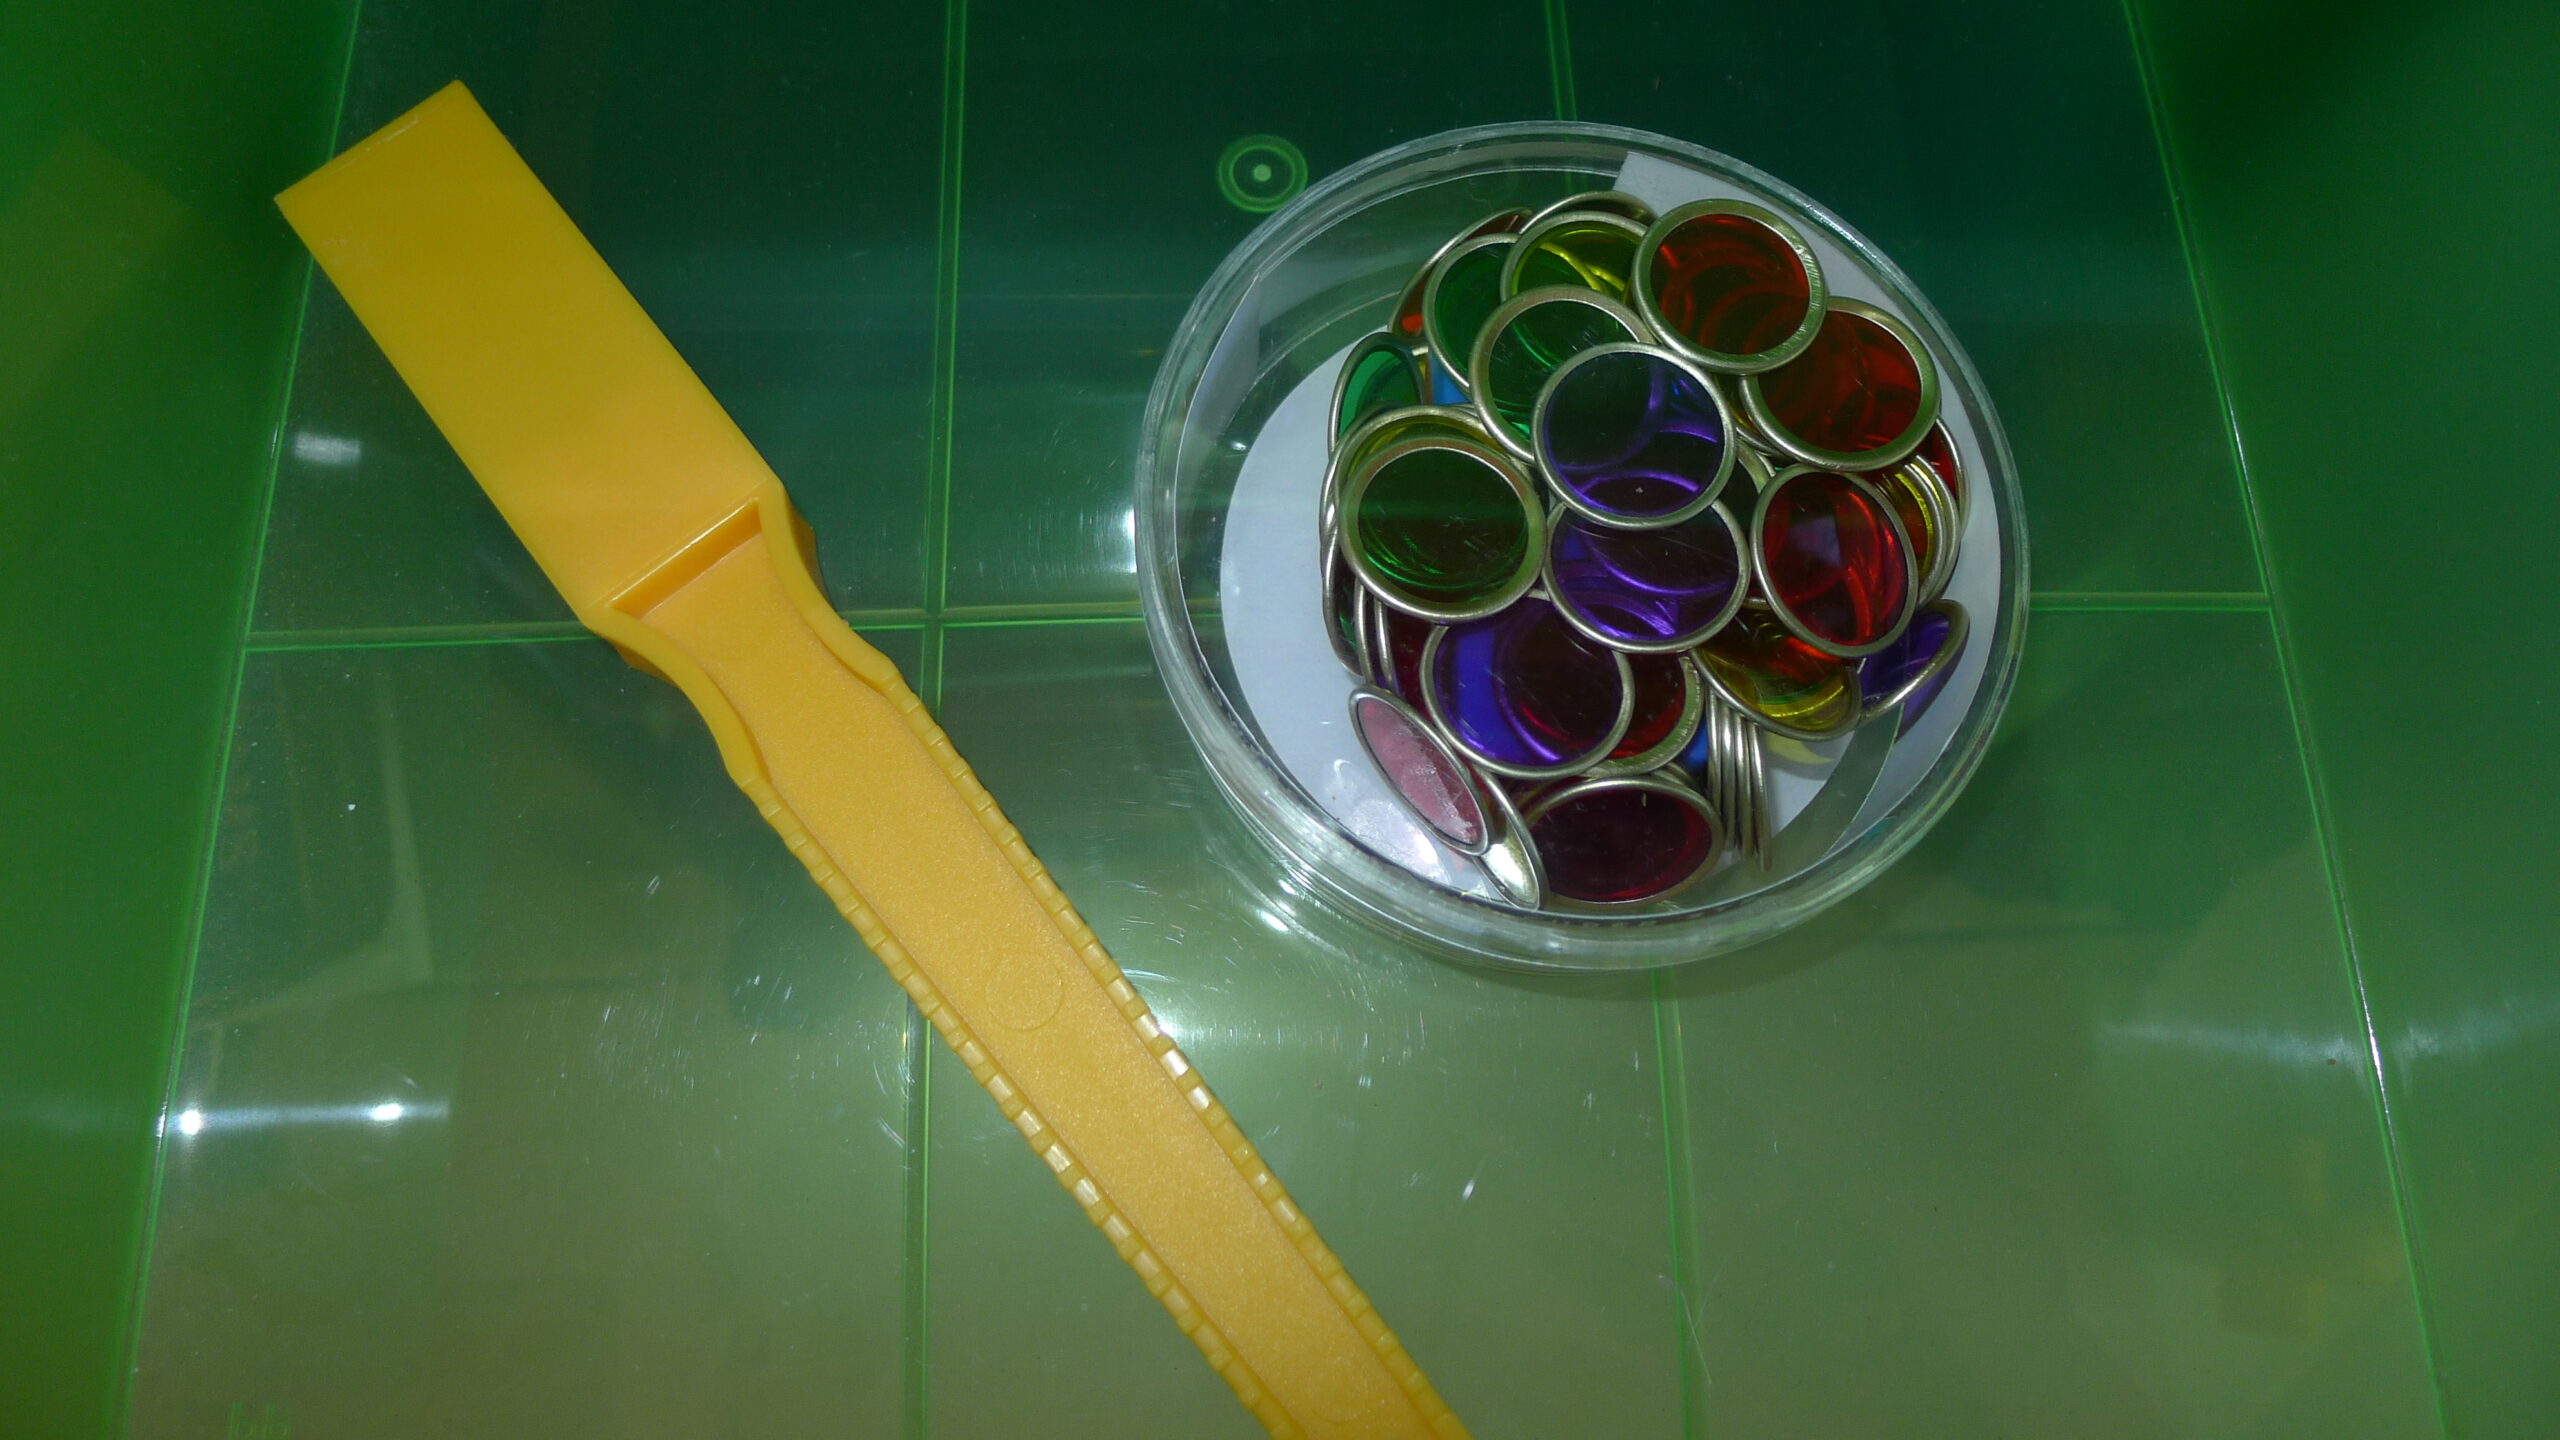
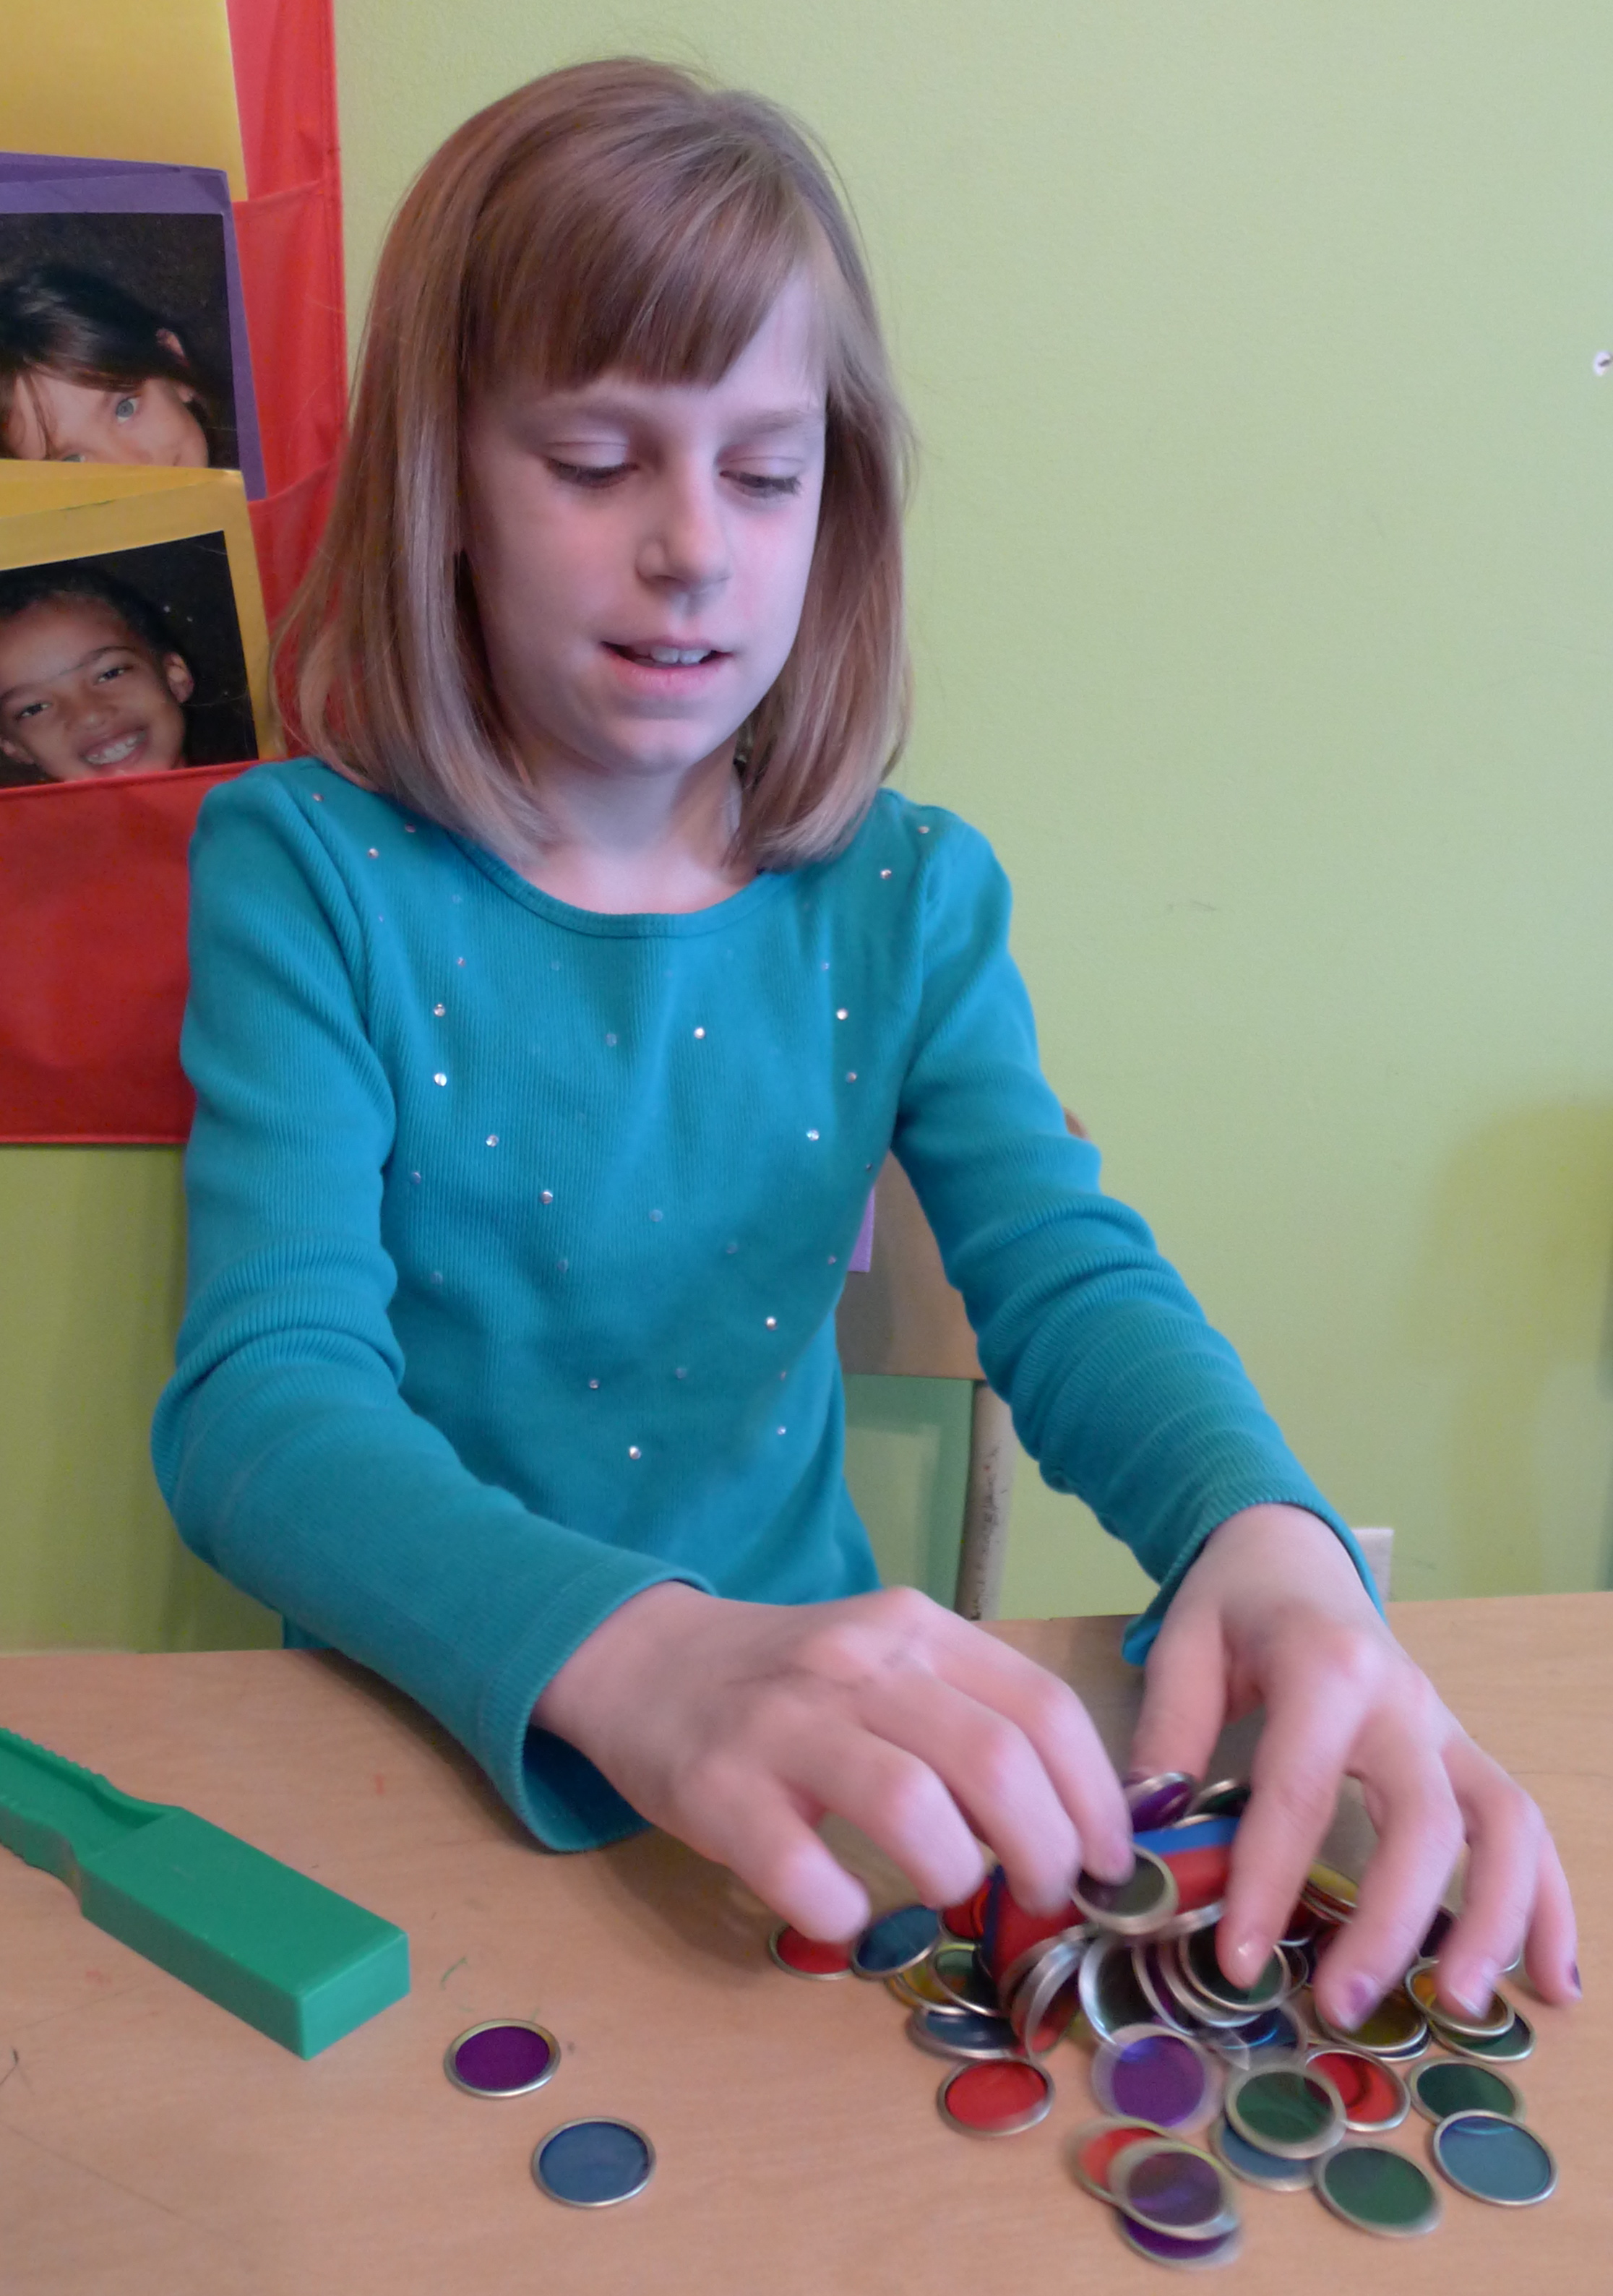
magnetic wand and chips


cut up pipe cleaners in a plastic bottle that can be moved around using a magnet or magnetic wand on the outside was a very popular activity


file folder game of sorting objects into magnetic and non-magnetic categories


I gave the kids worksheets (you can get them here) with a pile of objects to kick start our magnet unit:

This was a fun activity and easy for all the kids to understand.


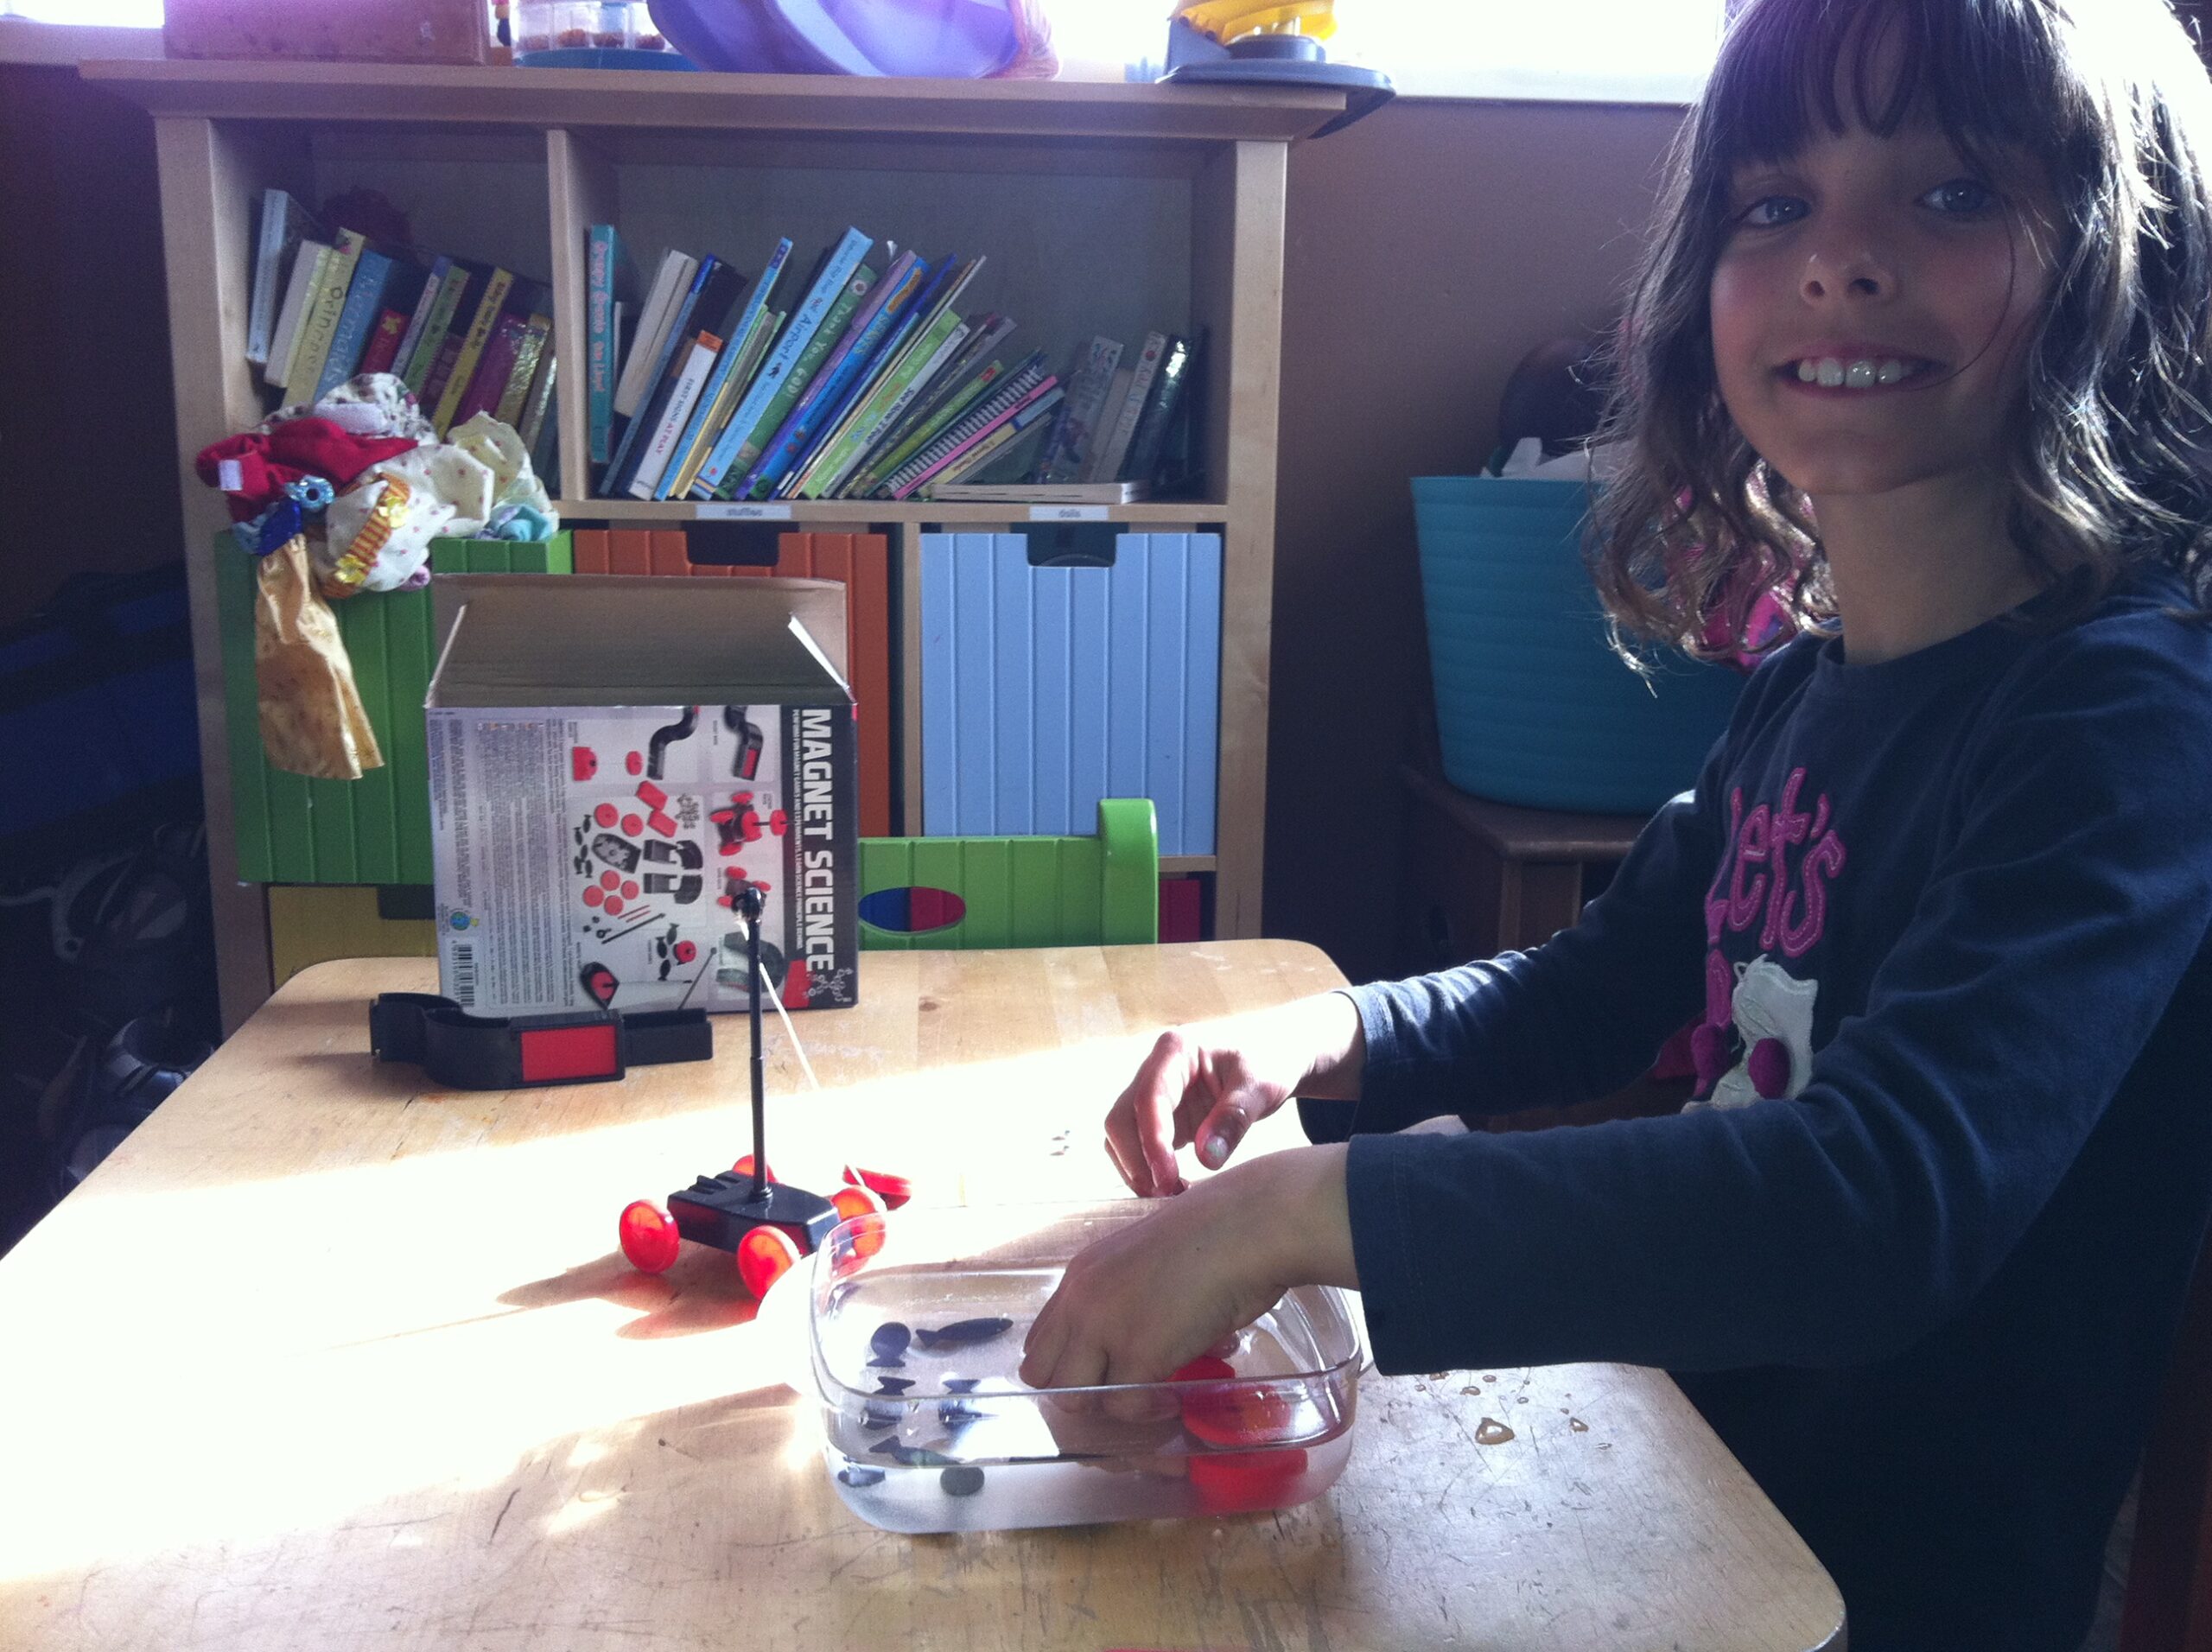
The kids did all kinds of activities and experiments using this Magnet Science kit.  The one that the kids liked the best was when they could make it look like the little car was going on its own by moving a magnet under the table!


We also used Magnetic Marvels, a really neat kit that included lots of magnet tricks, which the boys loved and activities like extracting the iron from our cereal.

I also had plans to build a compass with the kids but the weather hasn’t been cooperating for that one, so we may pick that up when it gets nicer out.  I think the neatest part about our magnet study was how easy it was to adapt to the different ages and ability levels of the kids.  They made some great observations on their own and had a lot of fun with all of it!

If you are looking for information on making sensory bins, you may be interested in my book. The Ultimate Guide to Sensory Bins

Filed Under: Homeschooling, Sensory Bins, Simple Science

  • « Go to Previous Page
  • Page 1
  • Interim pages omitted …
  • Page 3
  • Page 4
  • Page 5

Primary Sidebar

Categories

We are a participant in the Amazon Services LLC Associates Program, an affiliate advertising program designed to provide a means for us to earn fees by linking to Amazon.com and affiliated sites.

Copyright © 2026 • The Chaos and the Clutter • Site Design by Jeni @ The Blog Maven

Return to top of page

Copyright © 2026 · Chaos and the Clutter 2.0 on Genesis Framework · WordPress · Log in