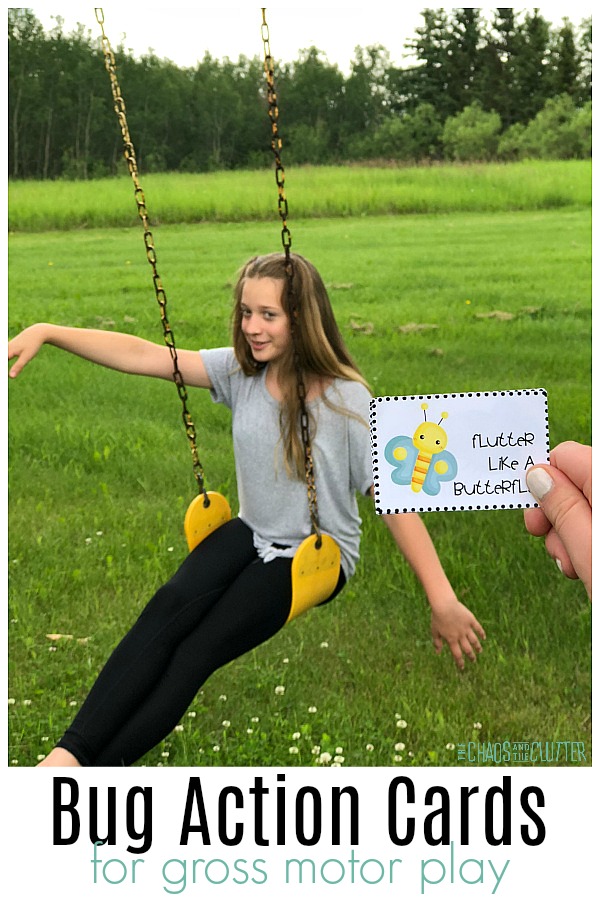
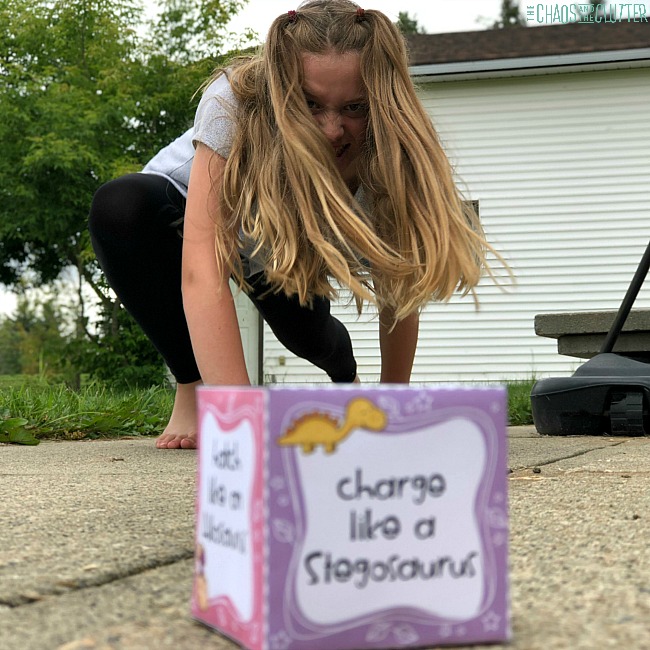
Help kids get their wiggles out using these bug action cards with prompts for fun gross motor play. Kids can use these inside or outside. This is such an easy activity for parents to set up. You can easily add some exercise into your child’s day in a fun way.
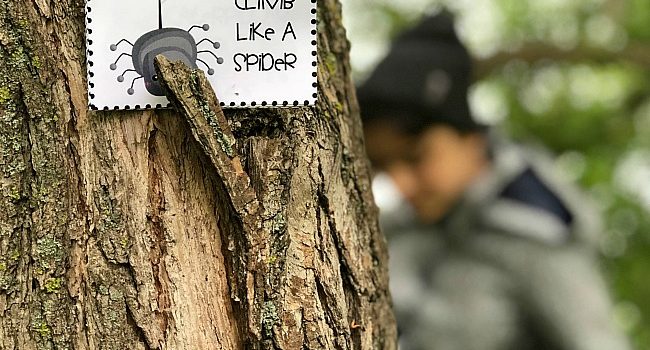
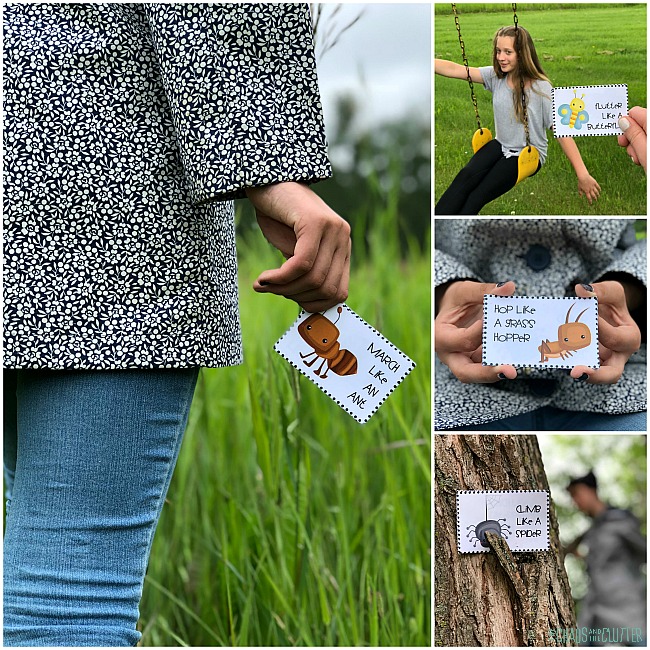
 With prompts for climbing, marching, hopping, and more, kids can get some all important sensory input. These actions engage the visual, auditory, tactile, vestibular, and proprioceptive sensory systems.
Bug Action Cards:
Supplies needed:
- printer
- paper
- Bug Action Cards (you can download those here)
- scissors
Directions:
- Download the action cards.
- Print them.
- Cut them apart.
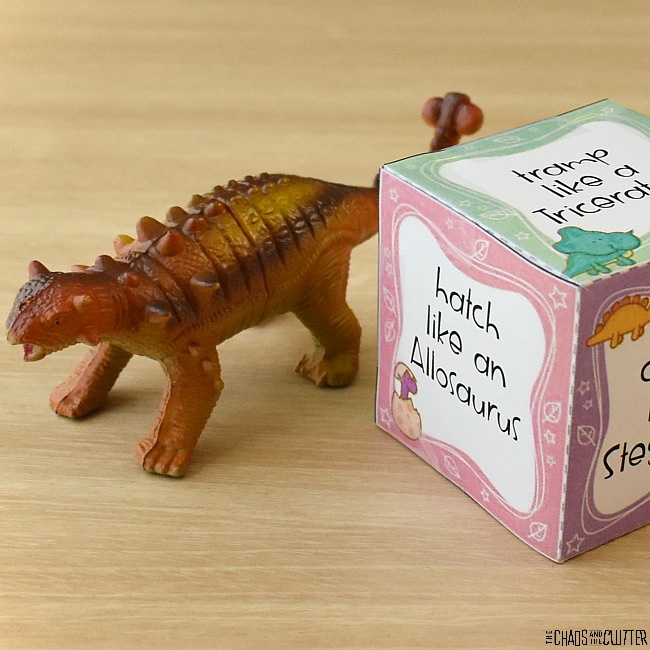
- Create a small stack with them. Each child can pull one from the pile and act out the instructions on the card.
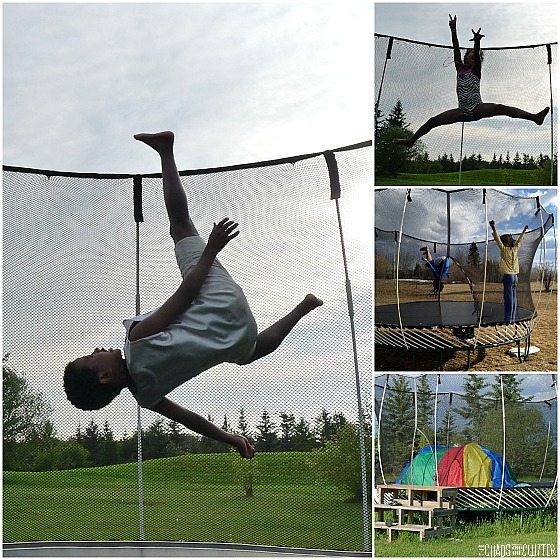
These action cards make a fantastic brain break. You can use them right in the middle of schoolwork to have a five minute break before they get back to their task. This will help them refocus and have better concentration.
Get the whole body moving in a fun way. Help kids burn off some of that extra energy they have from being stuck inside or from sitting for too long. 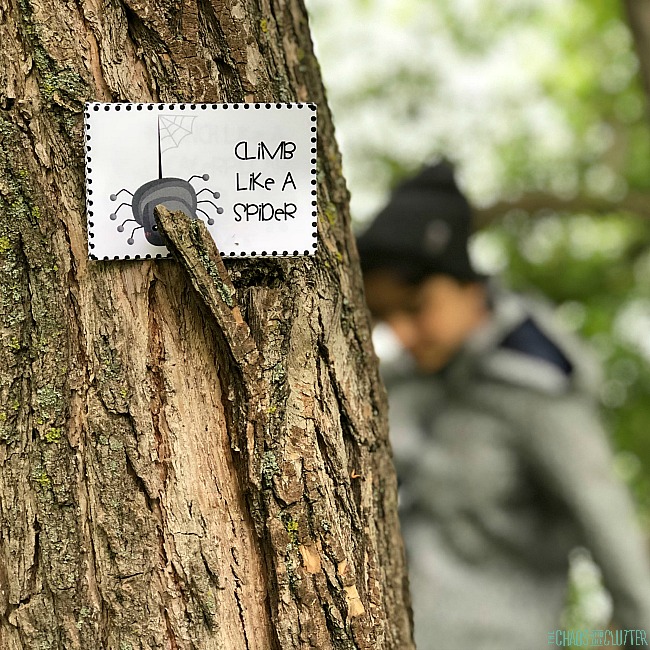 These action cards are also a cute activity to add in to a unit on insects. Kids can take the learning a step further by reading up on each of the bugs on the cards.
Another great way to expand on this activity is to have kids create their own cards with ideas they come up with. You can have them stick with the bug theme or choose something else.
Type your email in the box below to get your bug action cards so that the learning and fun can begin!
Check out these other gross motor activities for kids:
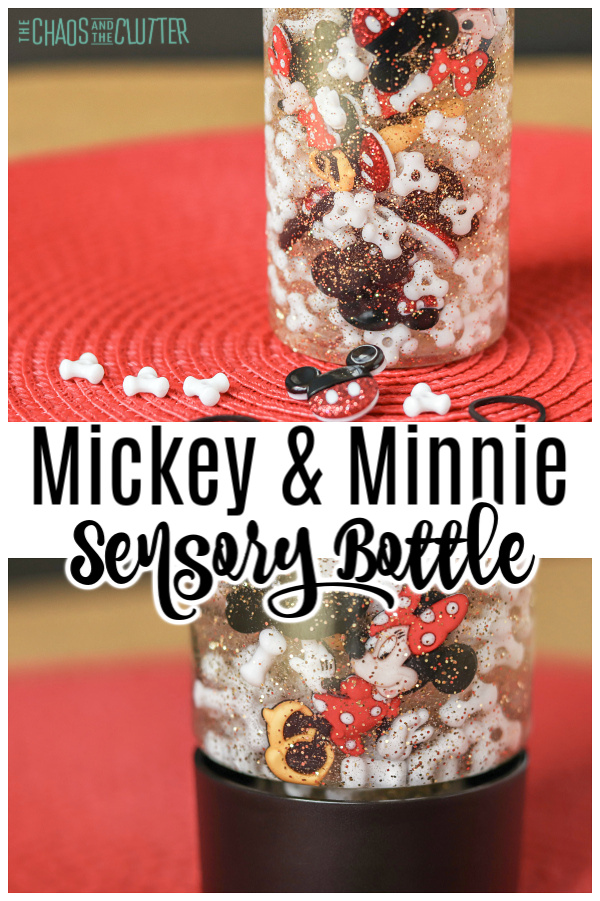 If you’re also a Disney fan, you’re going to love this adorable sensory tool. It’s easy to make yourself. In the same spirit as our
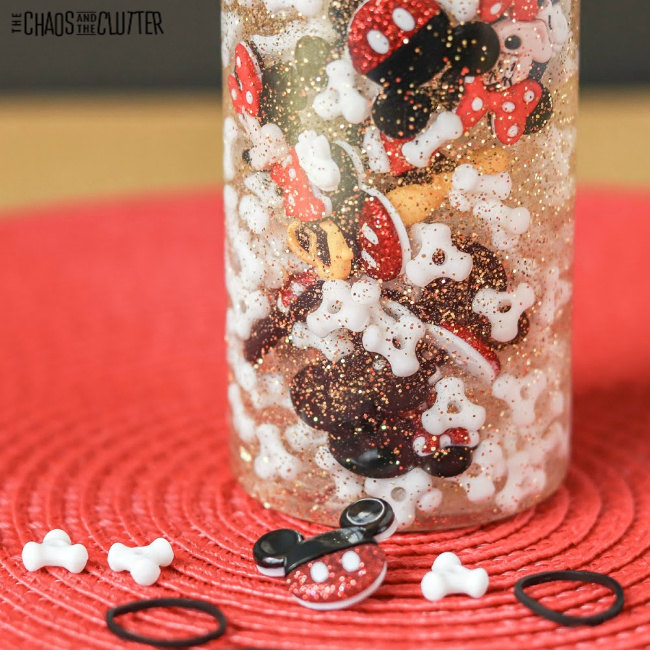
 Directions:
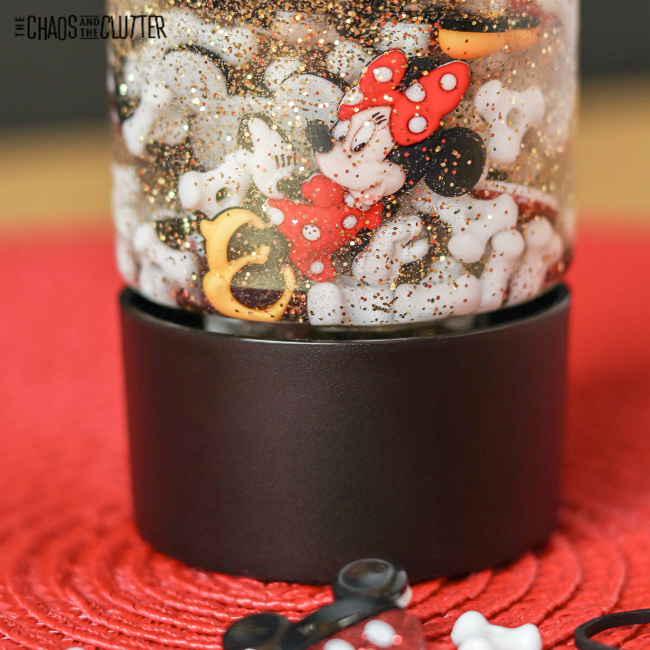
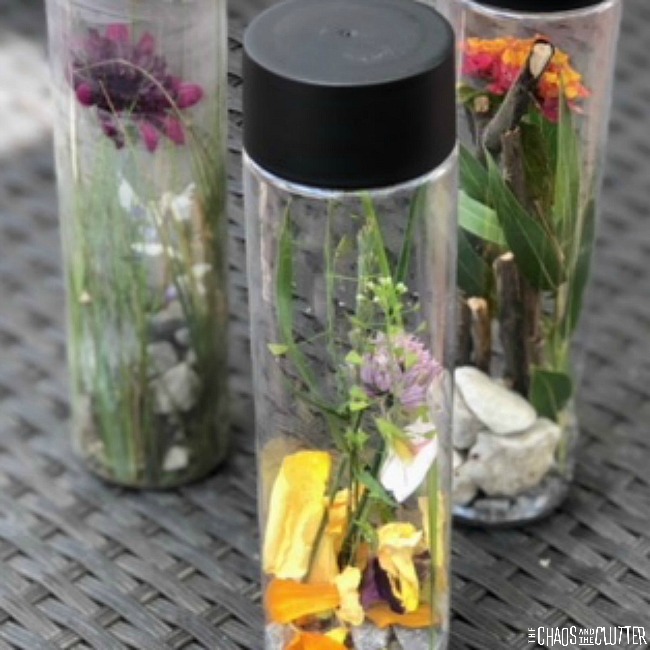
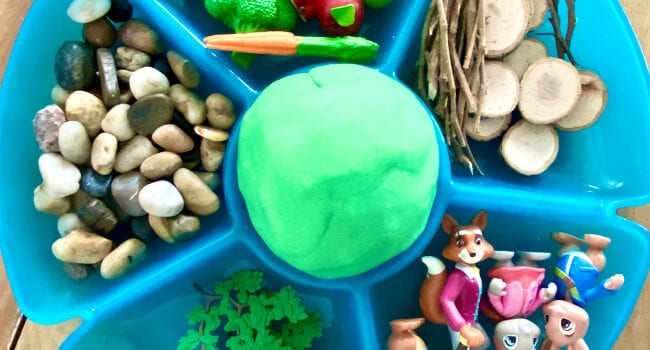
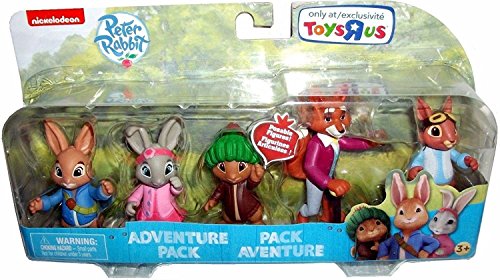
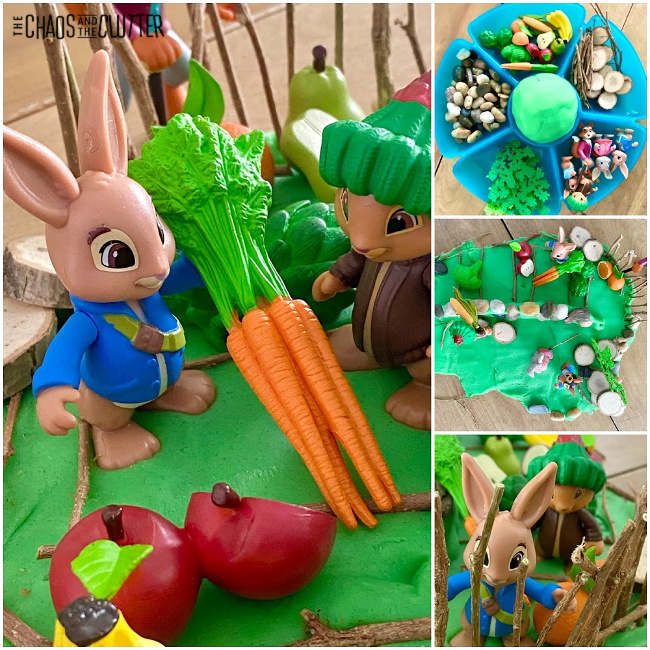
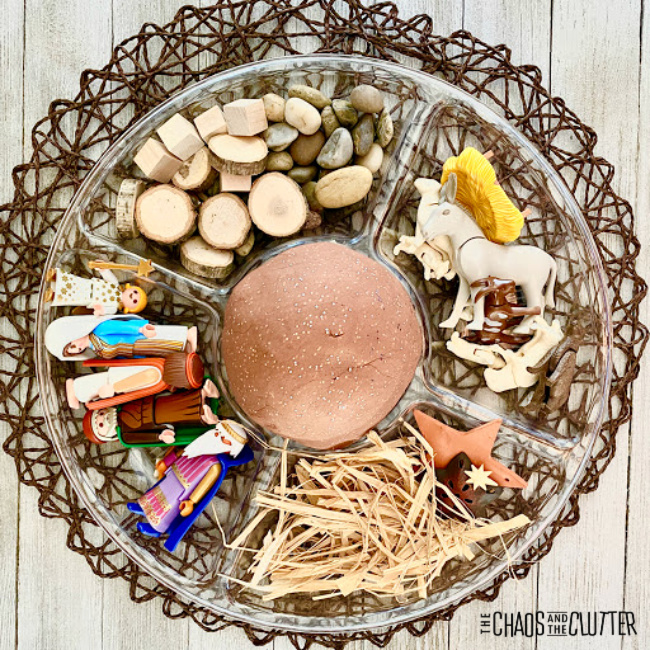
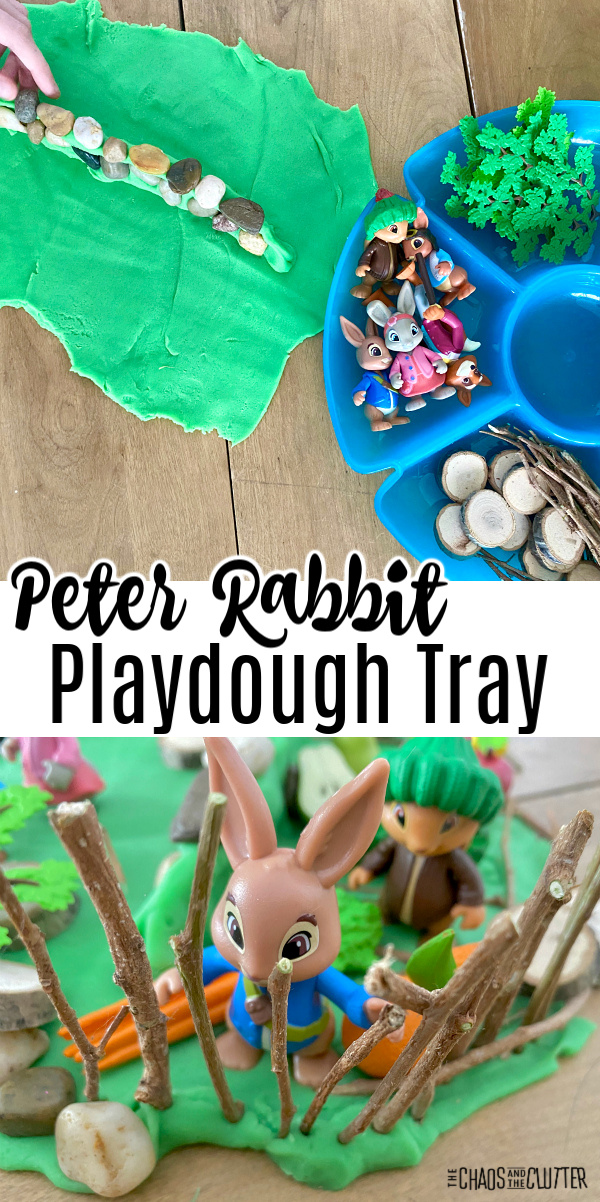 This sensory play activity is engaging and a wonderful learning opportunity. If your child has seen the movies or read the books, they can recreate scenes or they can just use their imaginations to build their own Peter Rabbit world. They can then act out scenarios with the characters.
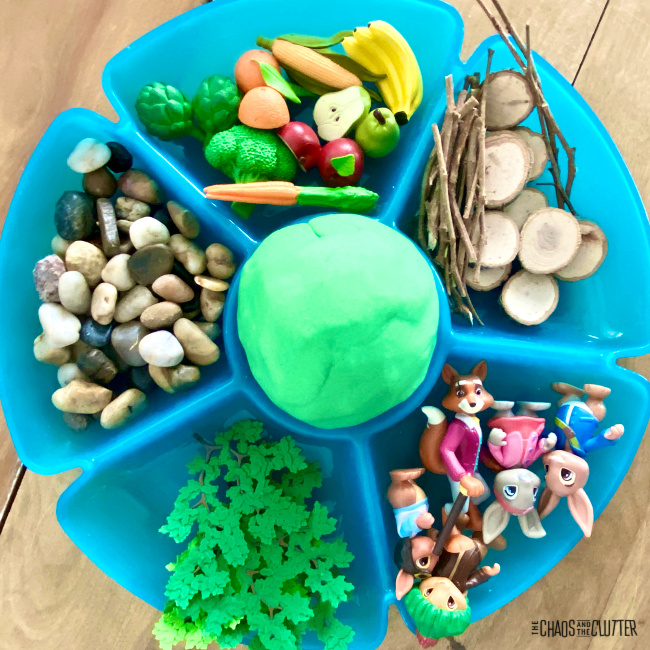 KitchenAid Directions:
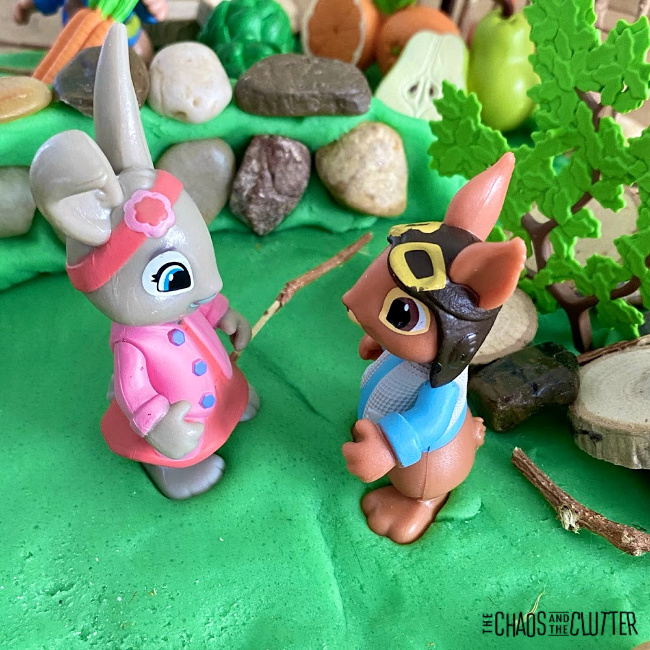

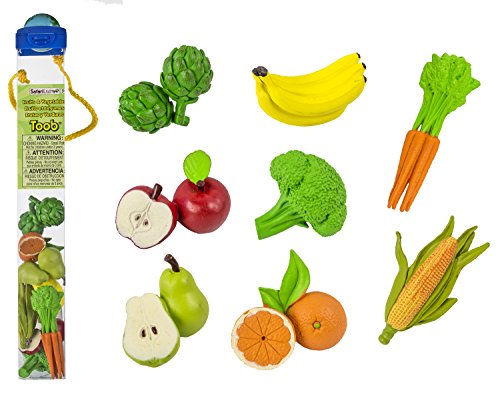
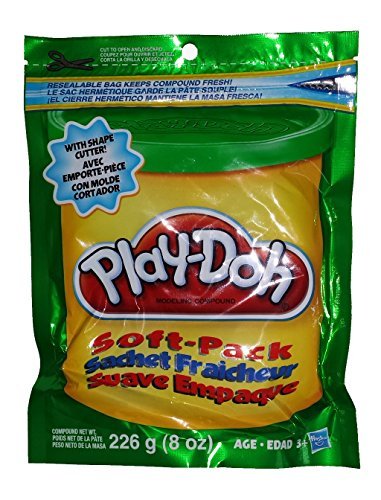
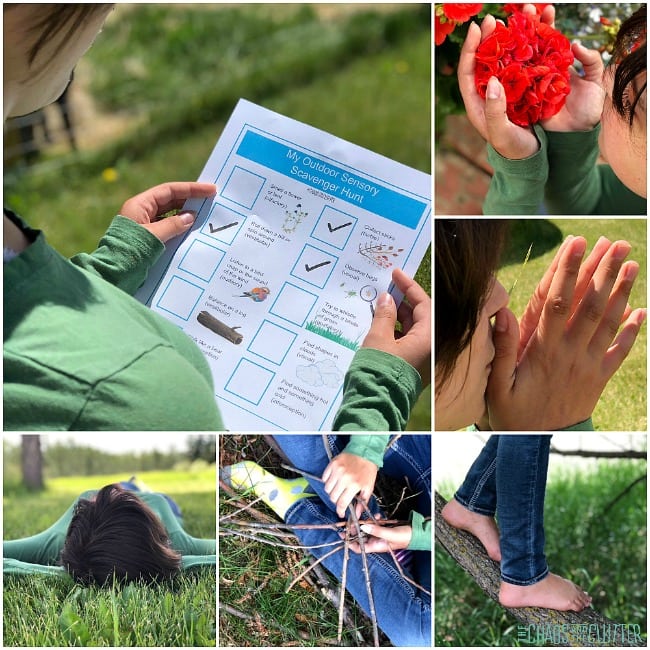
 This activity is so sensory rich. Kids engage their visual, tactile, and proprioceptive sensory systems when they are squishing, moulding, sculpting, shaping, rolling, and pressing the dough and the other items in the invitation to play. If scented playdough is used, then they are also engaging their olfactory sensory system.
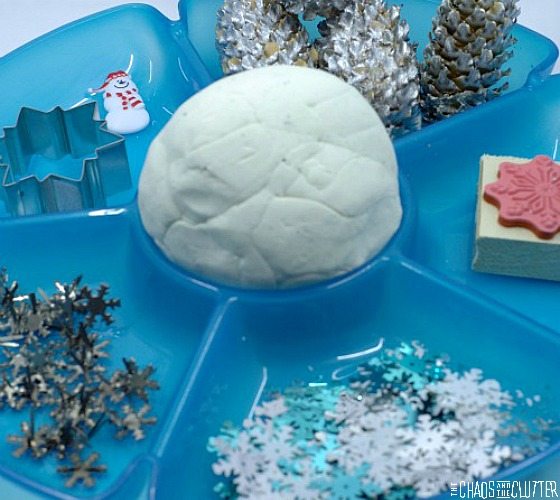
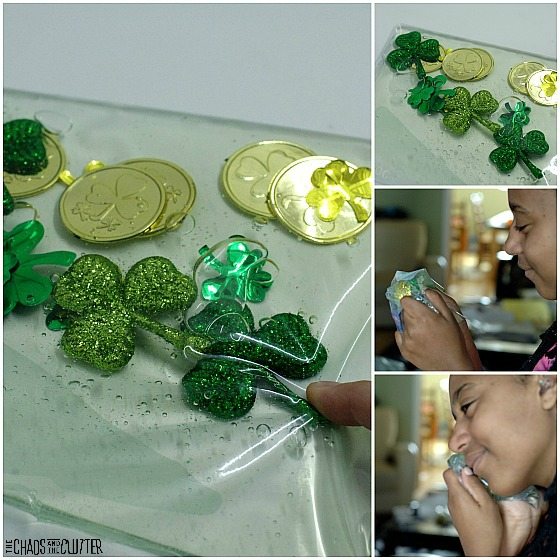
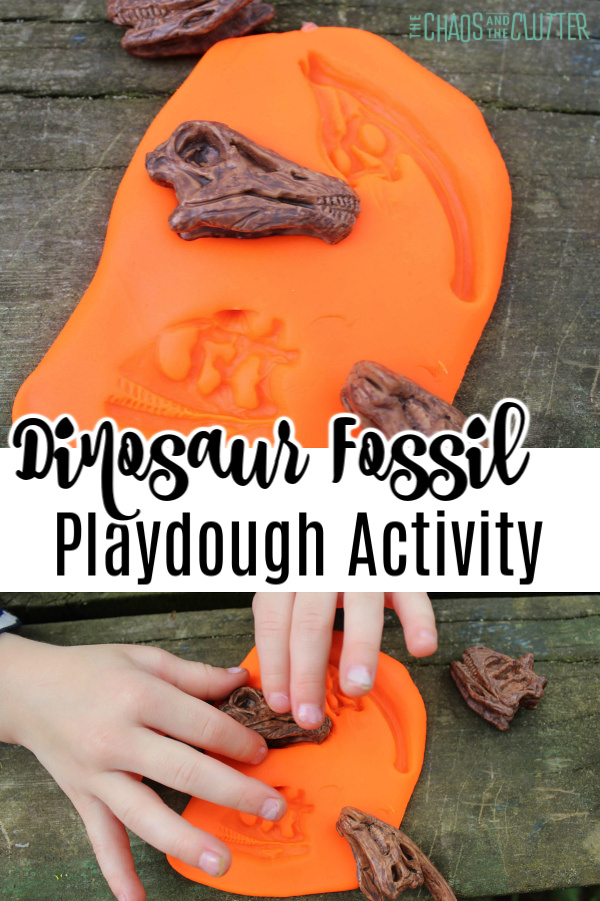 This simple activity which also gives fine motor skill practise is great for preschools or home. For older kids, it can be a good way to involve sensory into a unit study.
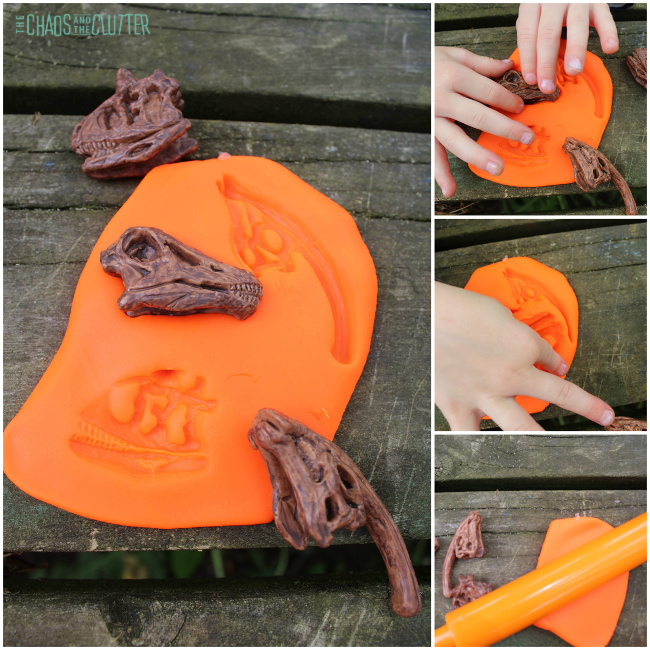 Directions:
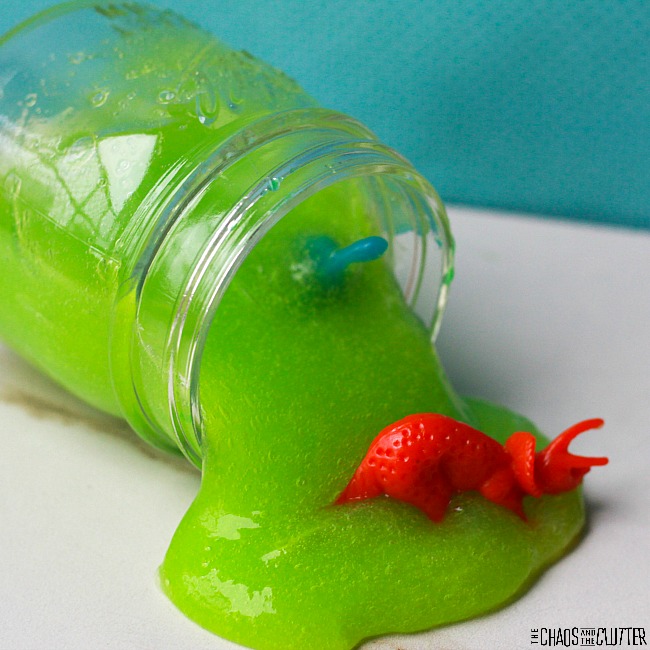
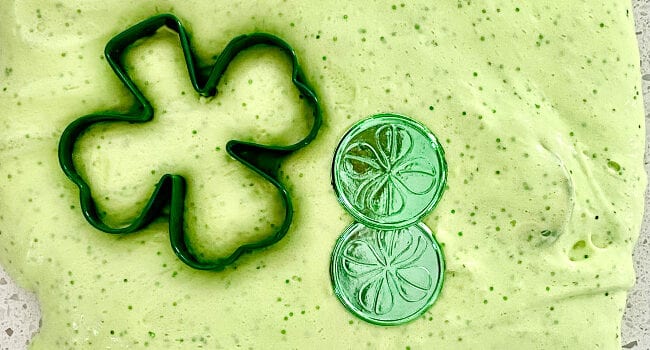
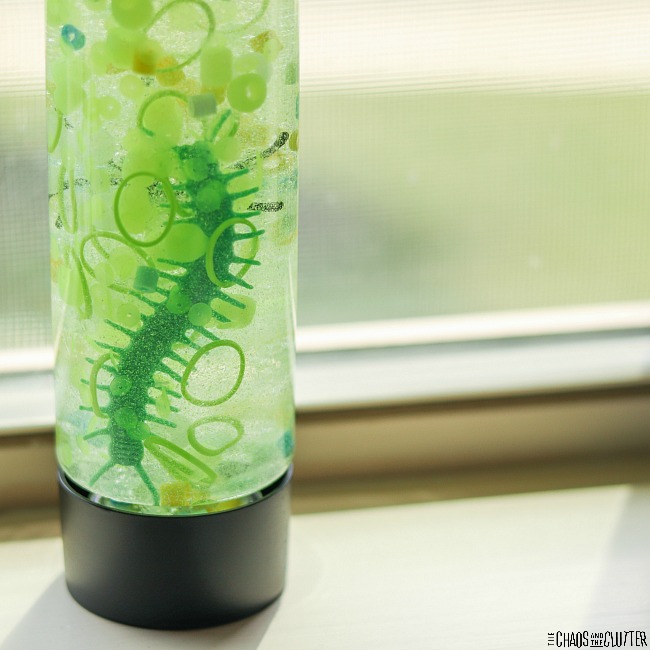
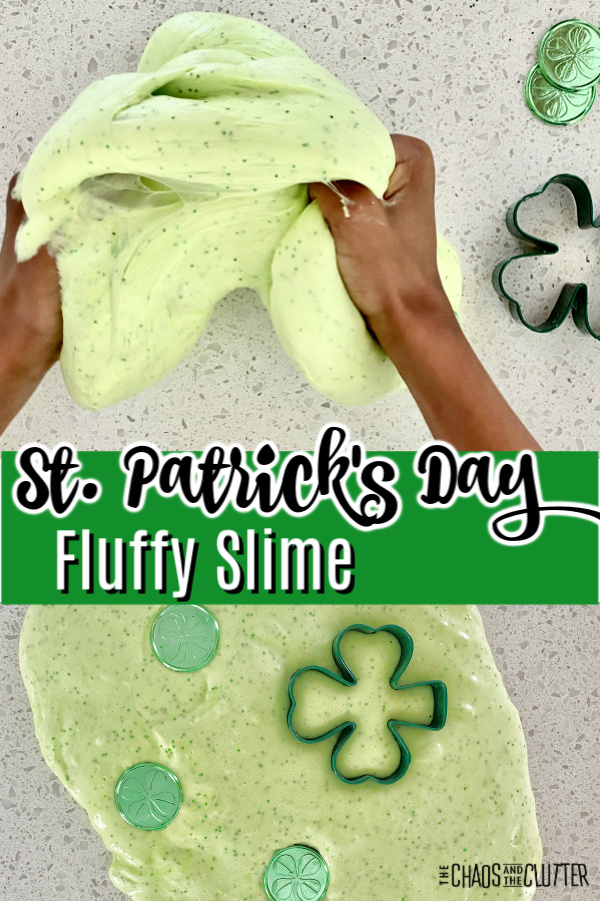 You can set out a Shamrock cookie cutter and some extra Shamrock play coins to expand the opportunities for kids to explore through play. Check out the video below to see the fluffy slime play in action.
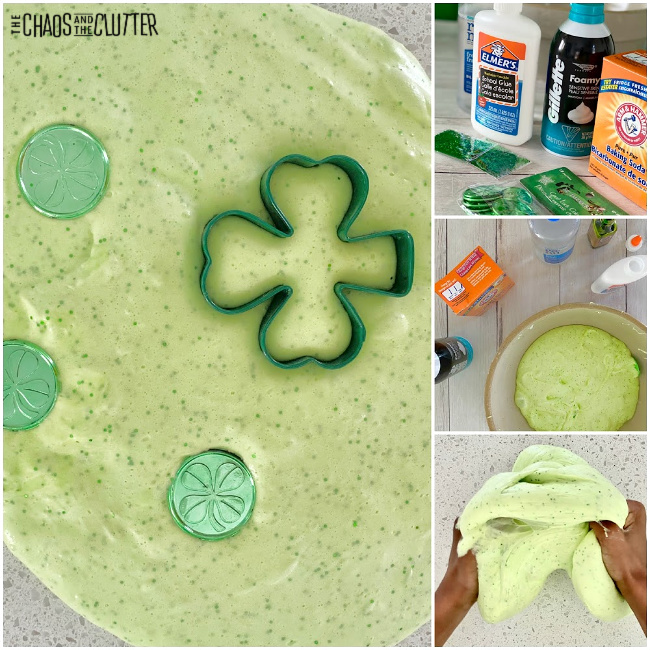 Directions:
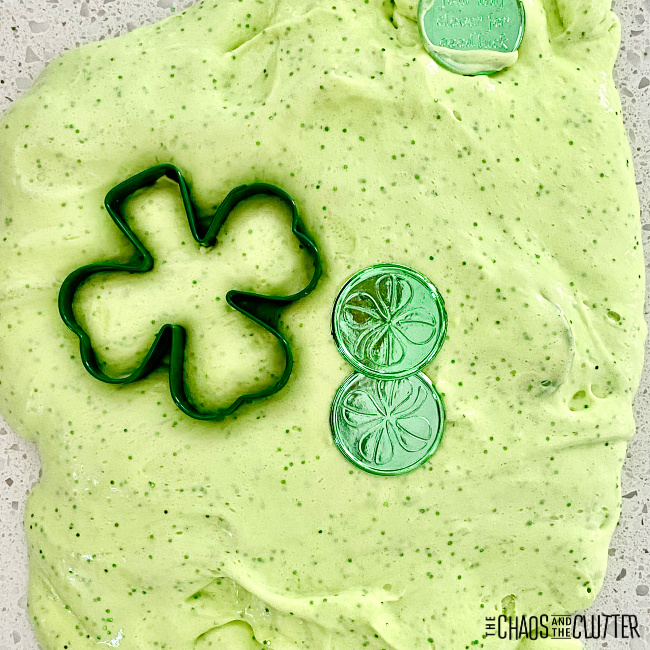 Looking for more easy sensory play recipes to inspire creativity? Join us for a five day email series on Sensory Activities and Solutions and get a free sample of our Sensory Play Recipes eBook.
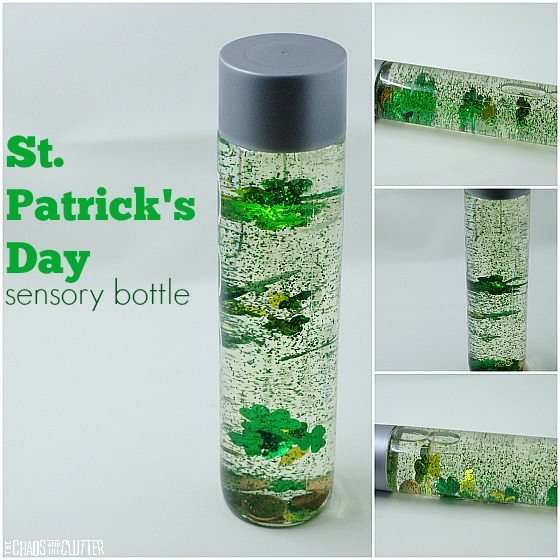

 Directions:
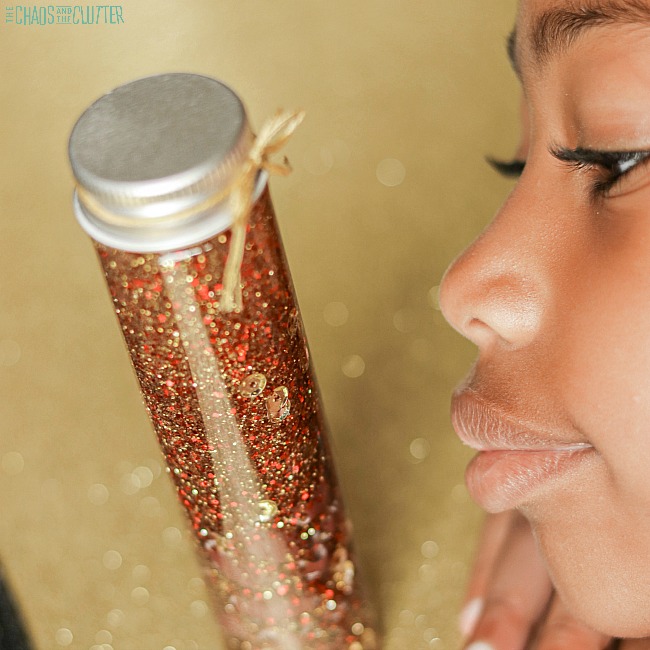
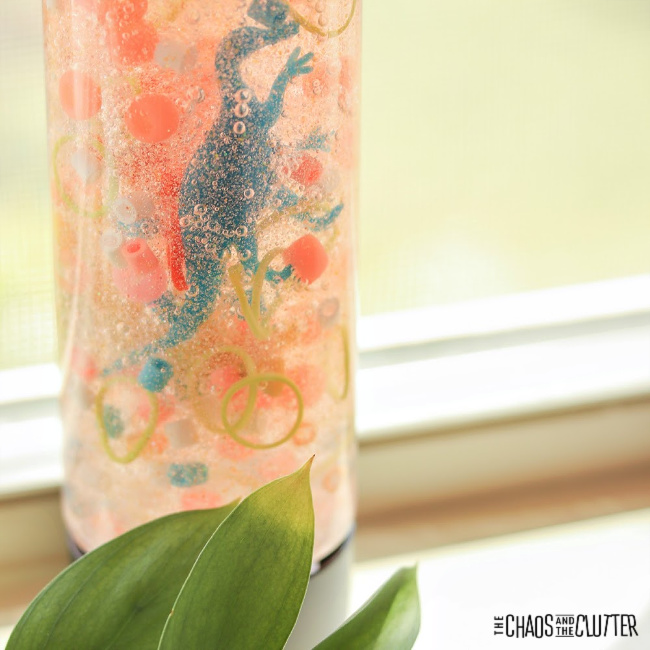
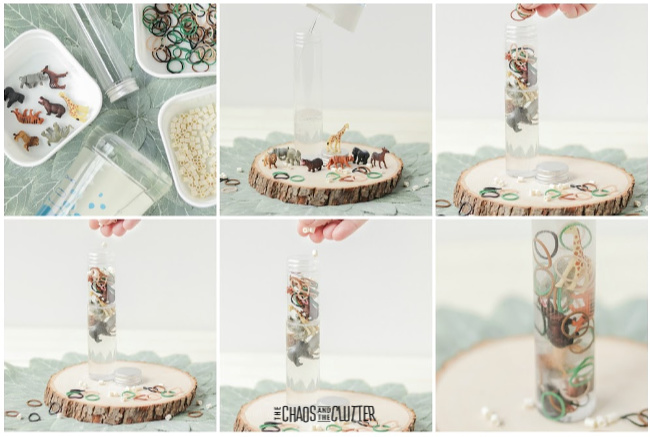 With any other sensory play activity including this one, adult supervision is recommended. Even with the lid glued in place, it can be opened by determined kids or when the glue gets old. The bottle contains small parts that could be a choking hazard for kids.
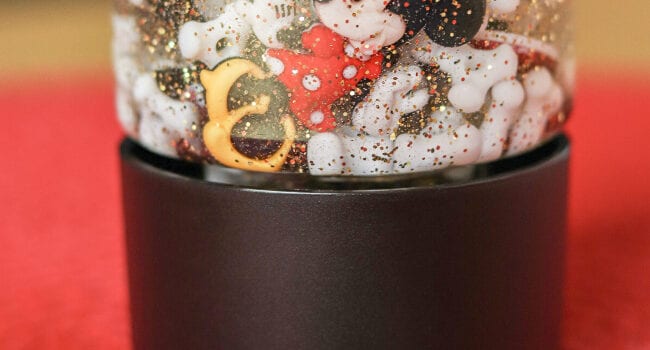
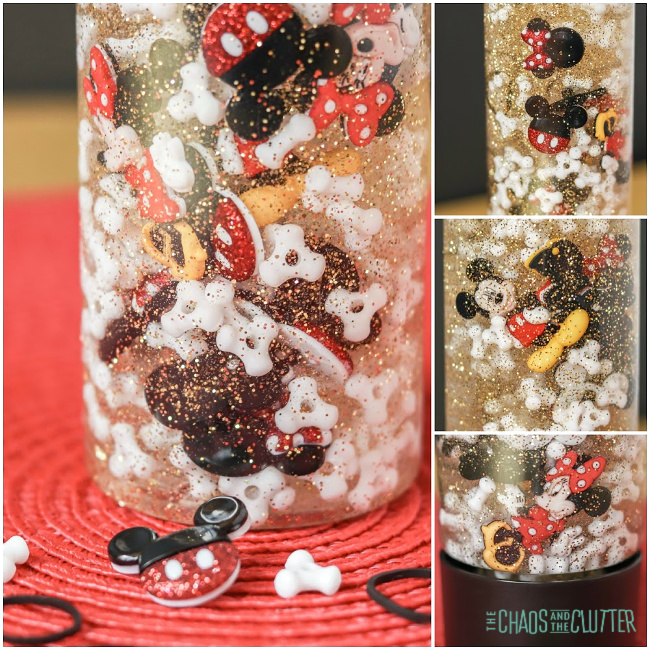
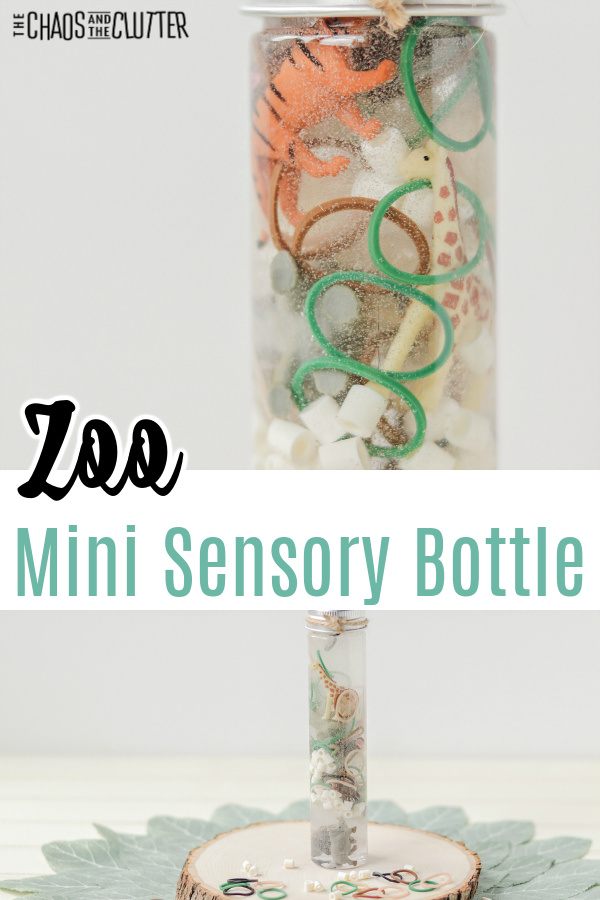
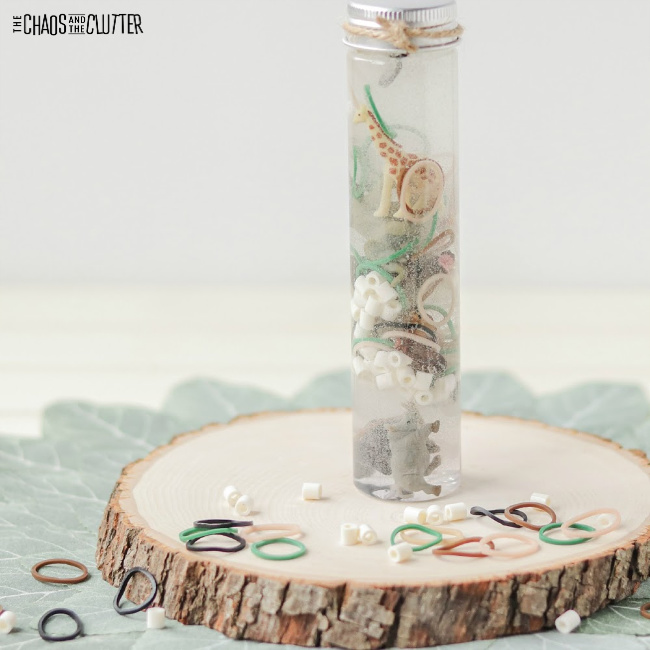
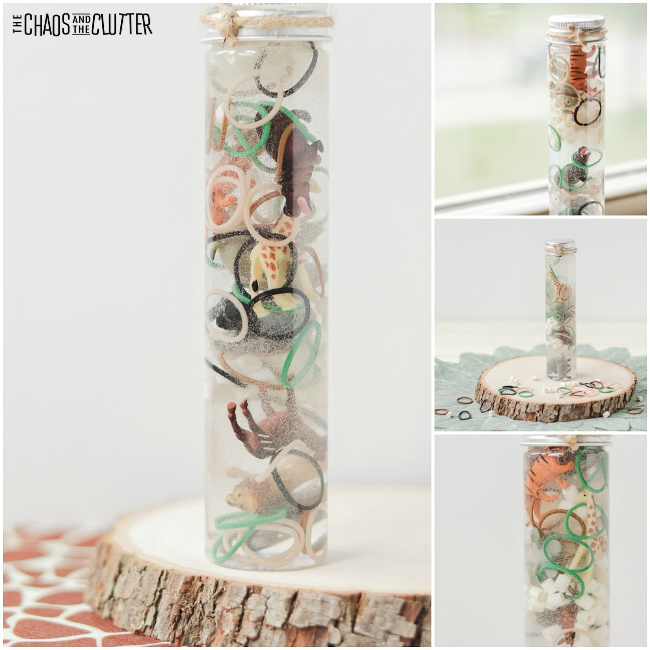 This adorable mini calm down bottle engages both the visual and tactile sensory systems. Because the glitter and sequins stay suspended in the dish soap and fall slowly as it is turned, it also produces a calming effect. Kids can watch the items fall slowly as they work on regulating their breathing.