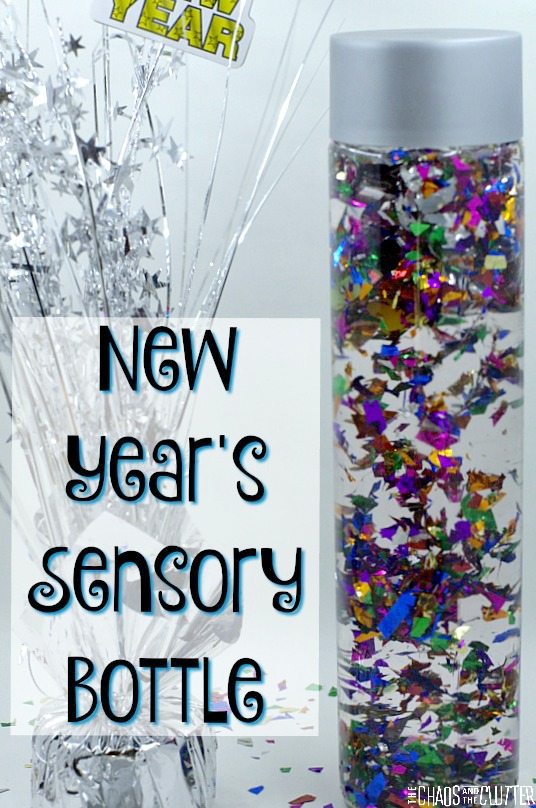
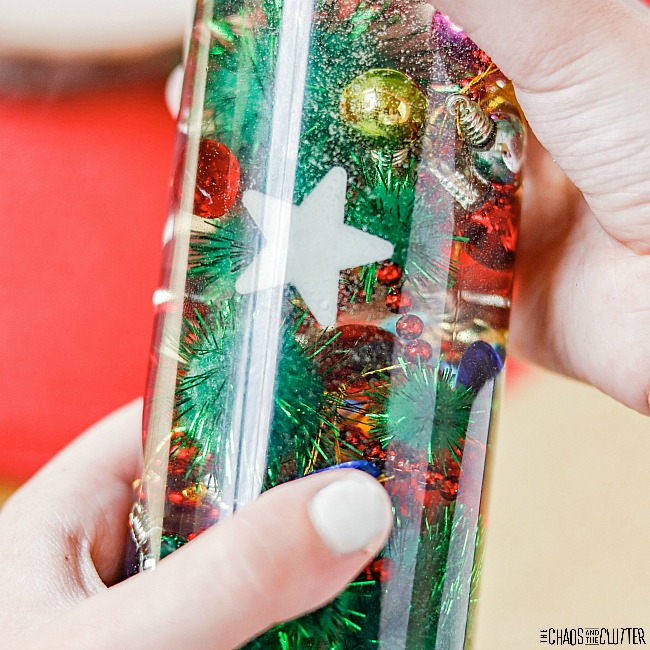
Help kids ring in the New Year with an easy to make sensory activity. Since that evening tends to hold a lot of excitement, this New Year’s Eve Sensory Bottle can also double as a calm down bottle. This can potentially come in very handy for both parents and child!
A few years ago, we made a New Year’s Sensory Bottle, but I decided that it may be time for a bit of an update, so I created this New Year’s Eve Sensory Bottle with more of a countdown theme. If you’re looking for another great kids’ sensory activity for this night, check out our New Year’s Eve Noisemakers.
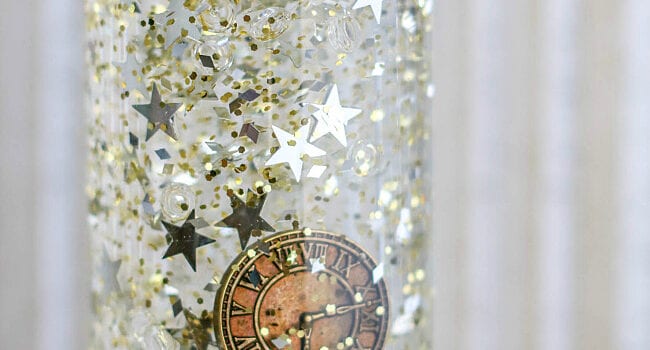
New Year’s Eve Sensory Bottle:
Supplies needed:
- 1 plastic sensory bottle or empty water bottle (I use either a sensory bottle from Michael’s or a Voss water bottle)
- 6 oz. bottle Elmer’s Clear School Glue
- warm water
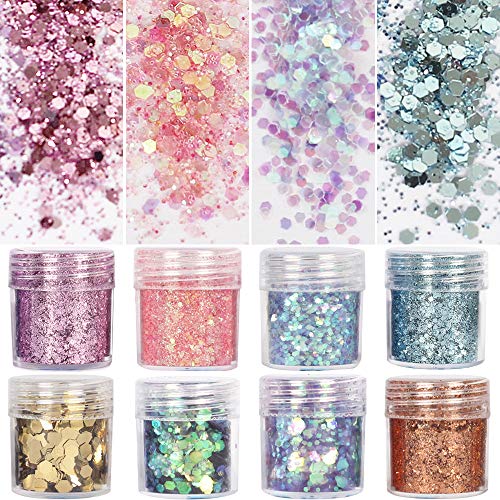
- silver glitter
- gold glitter
- silver star confetti
- clock buttons (I love the antique look of these ones)
- optional: hot glue and glue gun
 Directions:
- Empty one bottle of glue into bottle.
- Fill the empty glue bottle about half full with warm water and seal with the lid. Shake well to combine the rest of the glue with the water. Pour into the jar with the glue, replace that lid, and shake to combine.
- Add the glitter, star confetti and clock buttons.
- Seal the jar and shake well.
- When the contents of the bottle move like you want them to, seal the bottle.
- If using with younger kids, hot glue the lid in place.*
*As with all sensory activities, adult supervision is advised at all times.
Troubleshooting tips:
If the glitter or confetti does not move as easily as you would like, add more warm water. If the glitter or confetti moves too quickly, add additional glue.
Due to the clock buttons being metal and coming in contact with the liquid, you’ll only want to play with this sensory bottle for a few weeks because the clock buttons will rust. 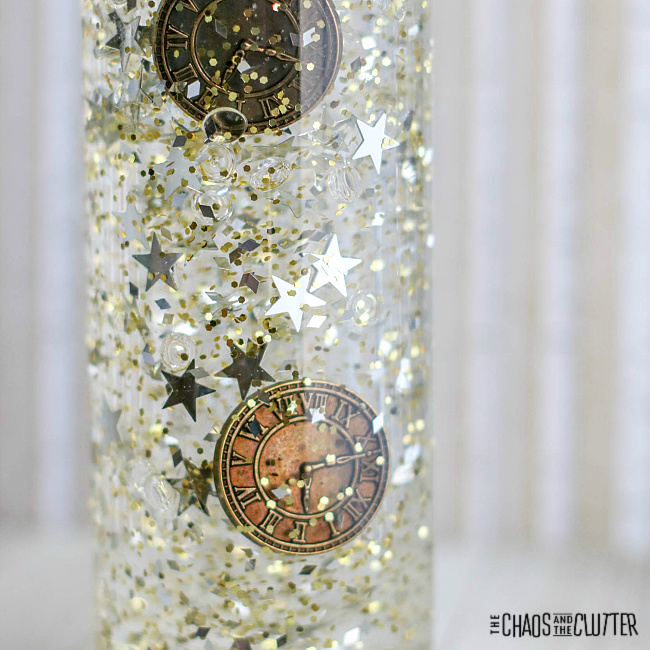
Fun idea:
If you’re planning a New Year’s party, you can even set some of these bottles out on the tables as decoration. You’ll notice that even the adults will be mesmerized by the slowly falling glitter (the calm down effect). You can even sprinkle the leftover star confetti on the tables as additional decor.
Check out these other sensory bottles for kids:
New Year’s Eve DIY Noisemakers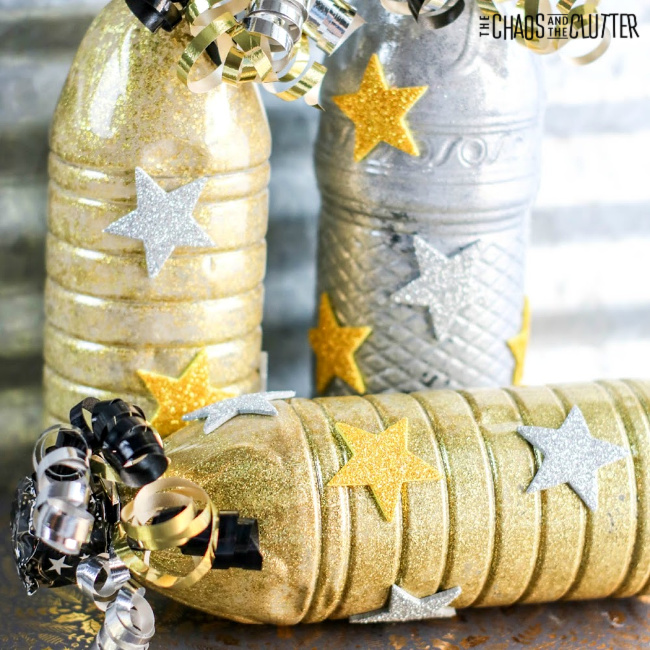
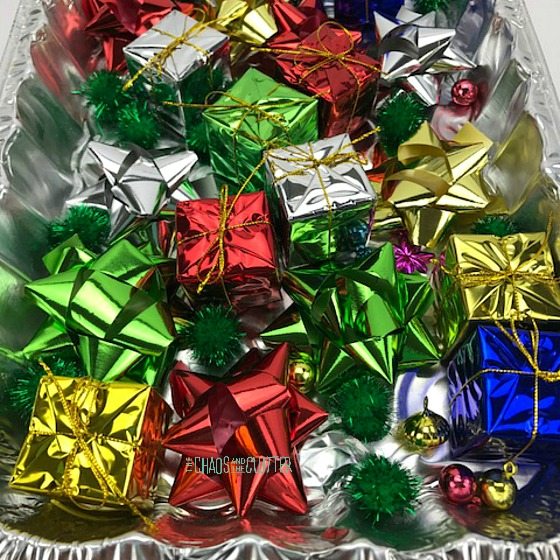
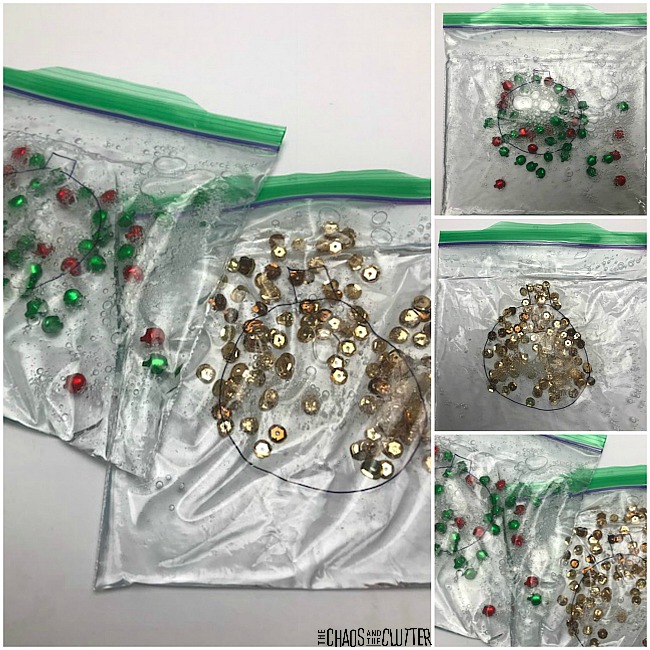
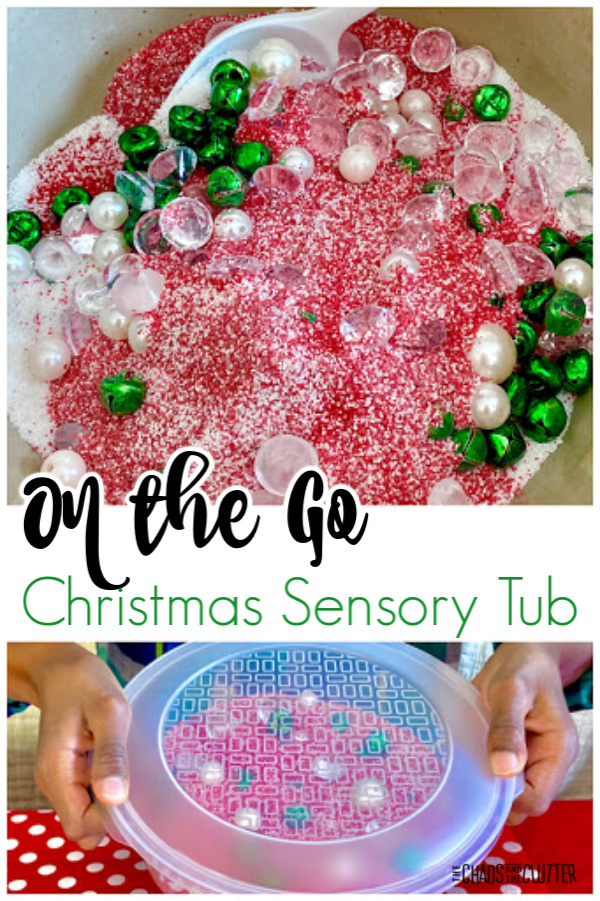 The items for this portable sensory activity were all purchased at the Dollar Store, so it is very inexpensive to create.
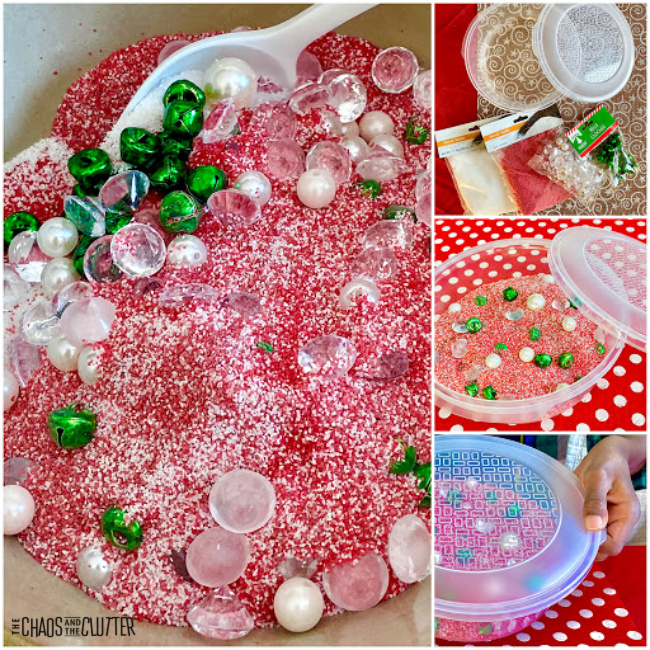 Directions:
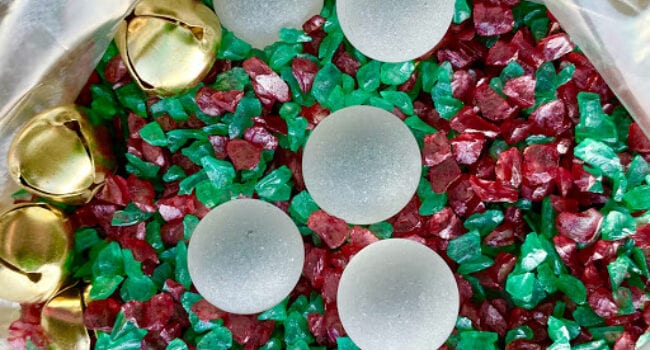
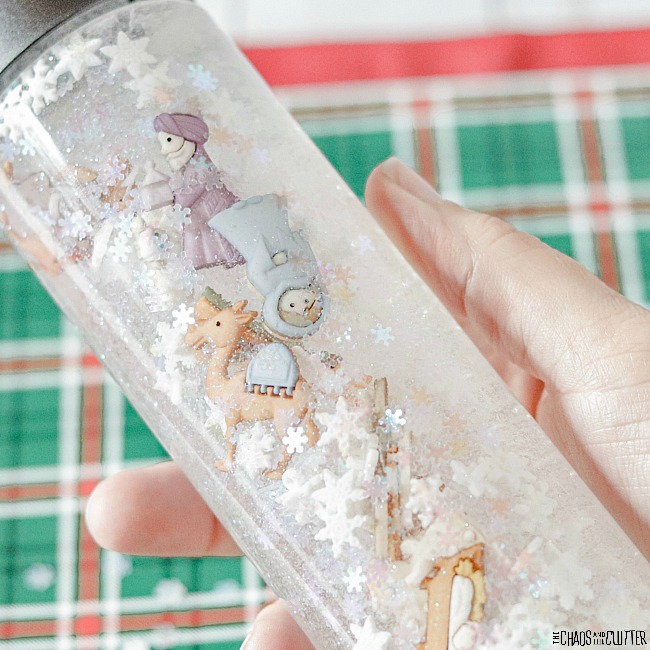
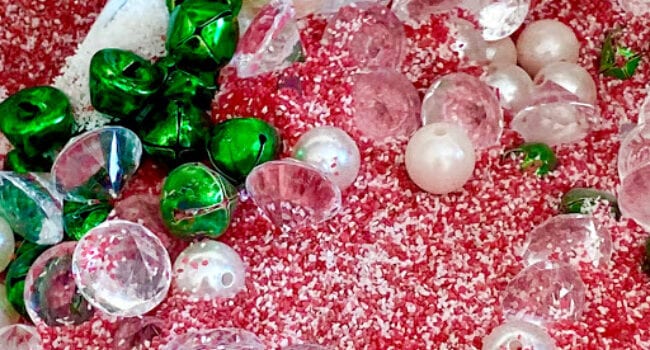
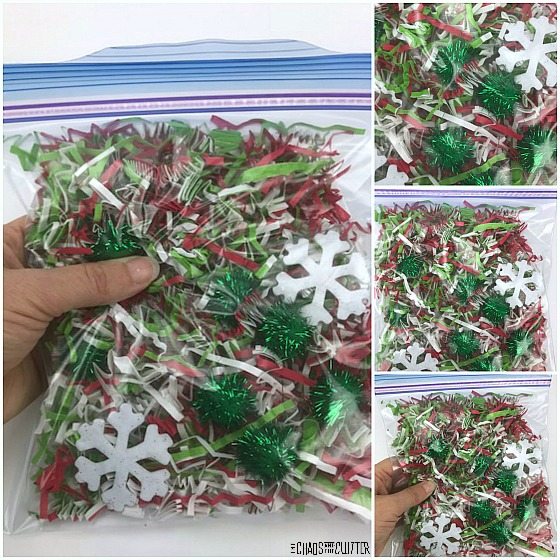
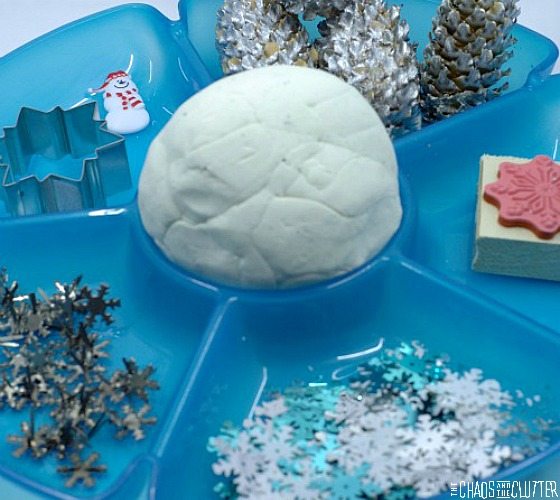
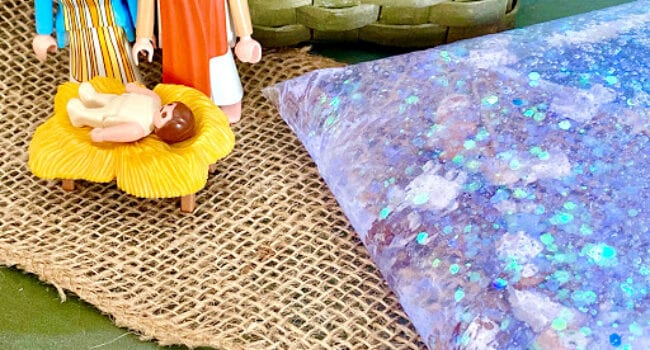
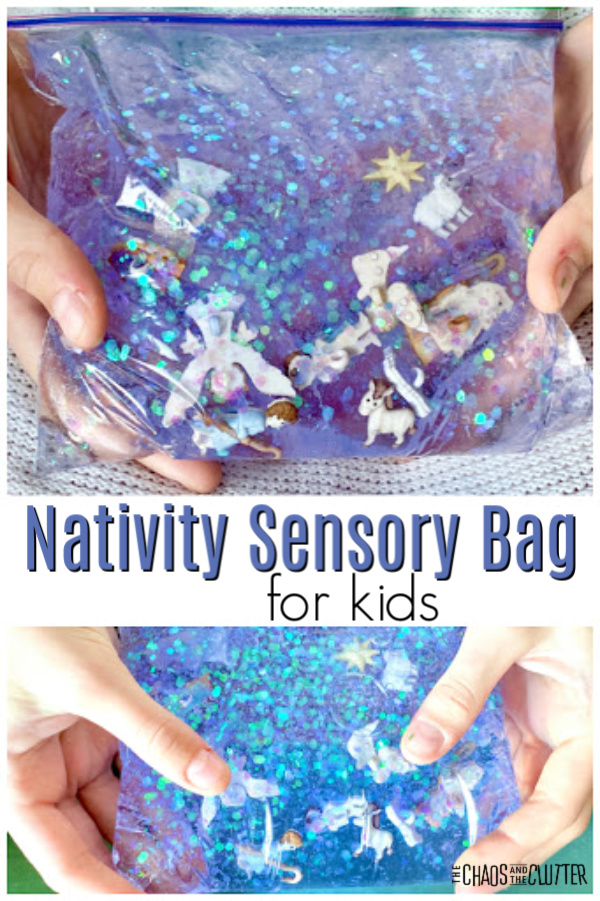
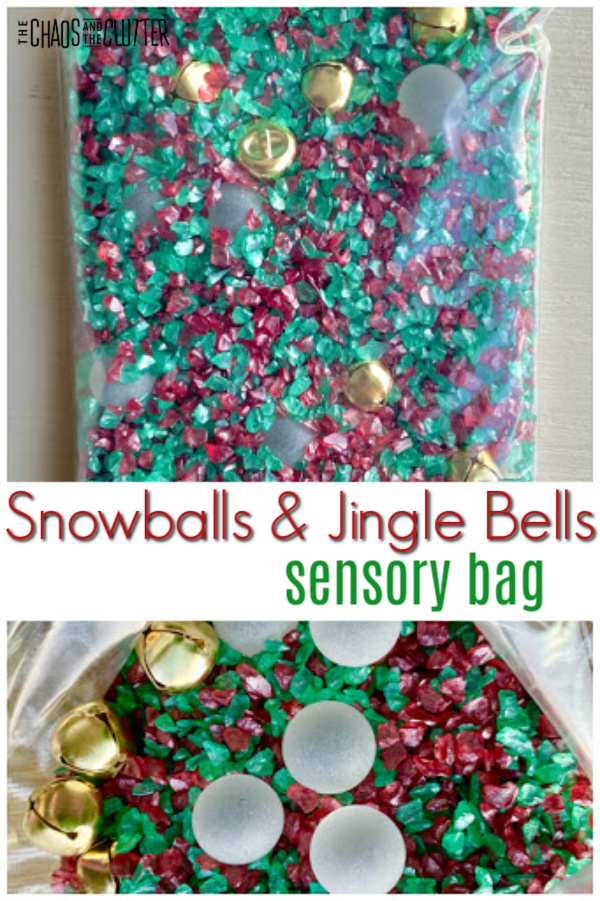 Snowballs & Jingle Bells Sensory Bag:
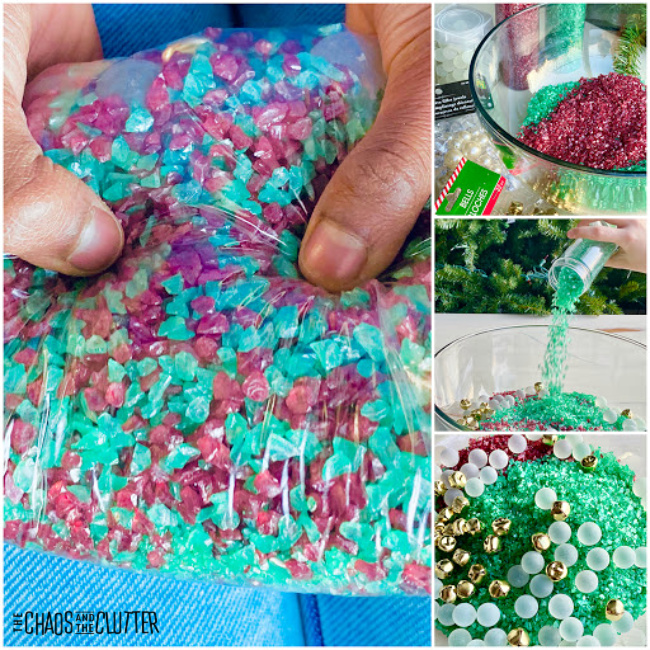
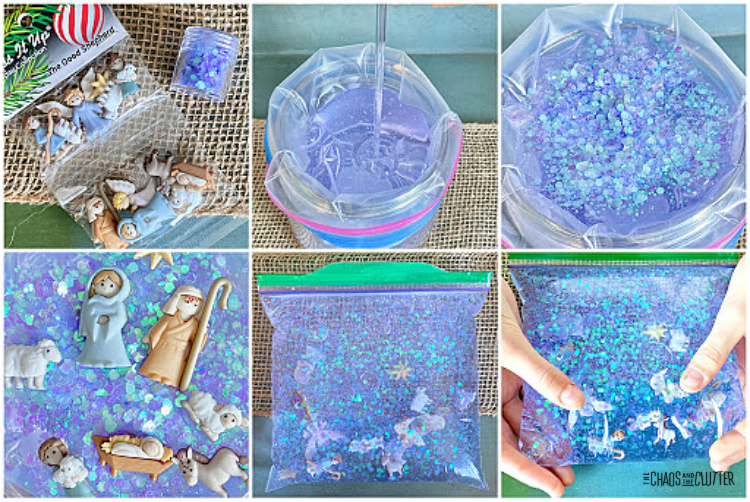
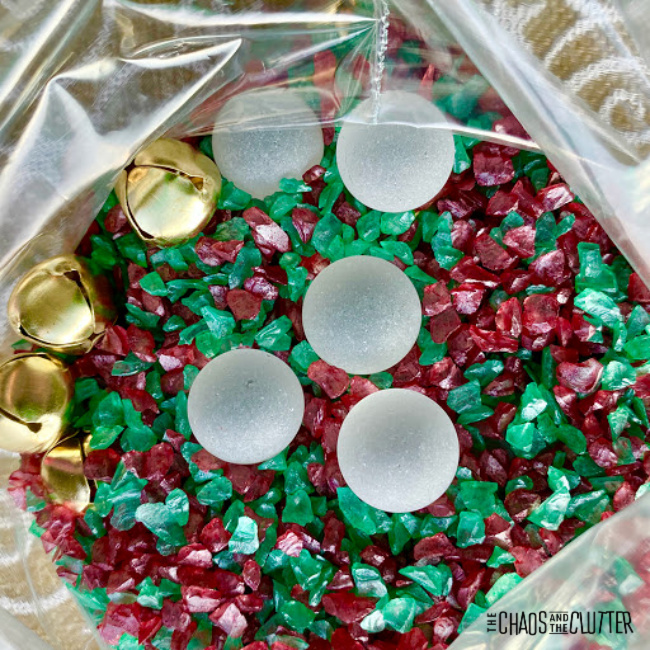 Important note: As with all sensory activities, adult supervision should be used at all times even if you’ve sealed the edges shut. Note that the glitter gravel can have sharp edges and can sometimes cut through the bag.
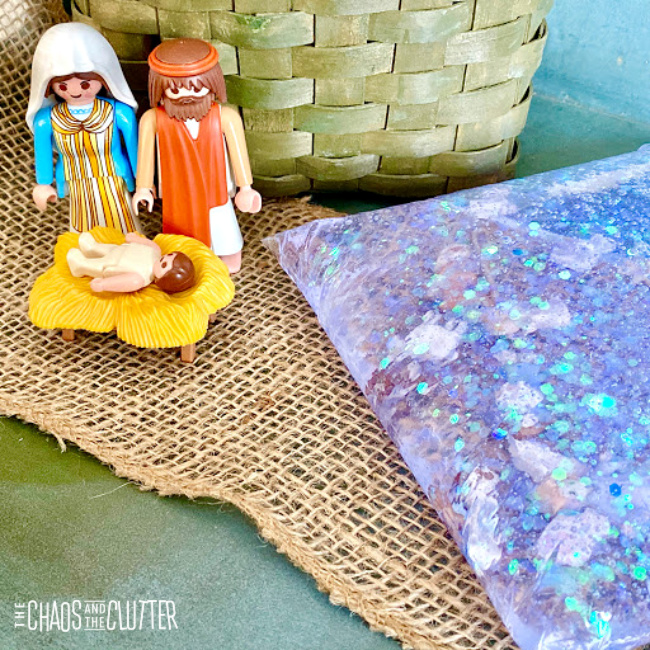
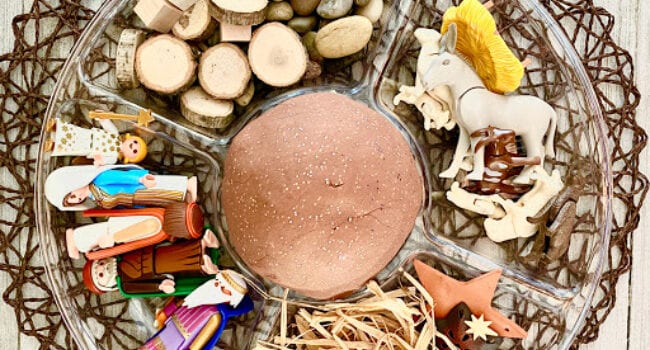

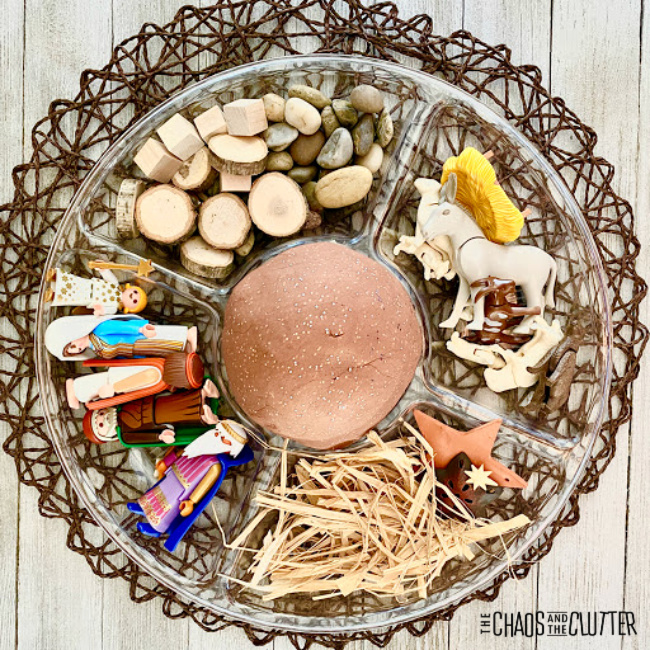

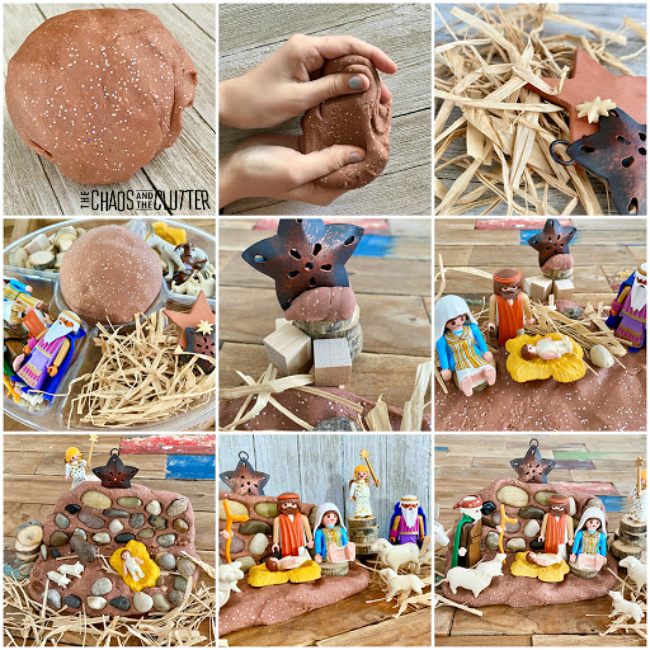 Sensory and Learning Opportunities:
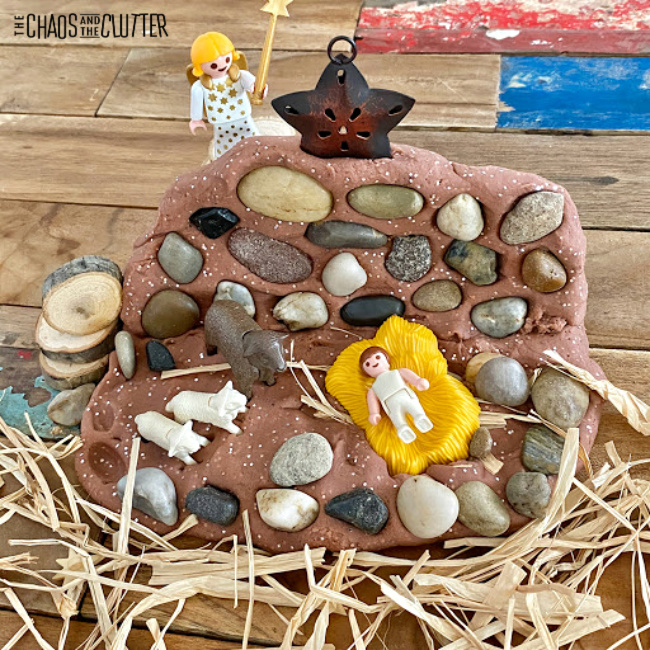 Playing with playdough also lays foundation for concepts of engineering by allowing children to build and design something that solves a problem. In this case, the problem is how to create a manger scene or tell a story using the materials in front of them.
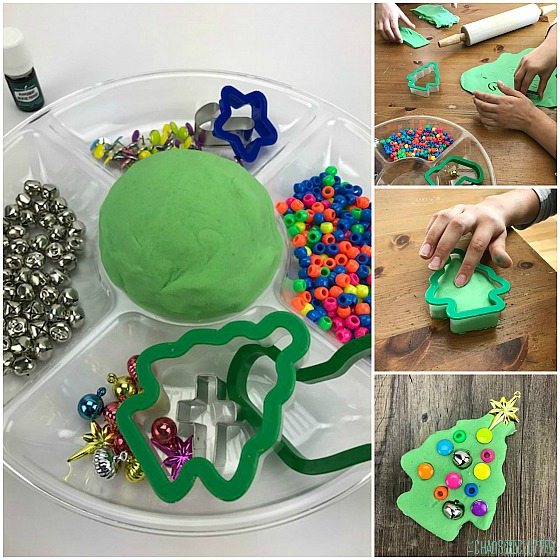

 Remember that as with all sensory activities, adult supervision and common sense should be used.