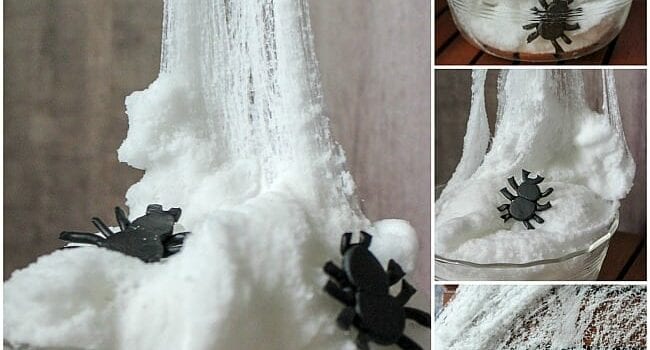
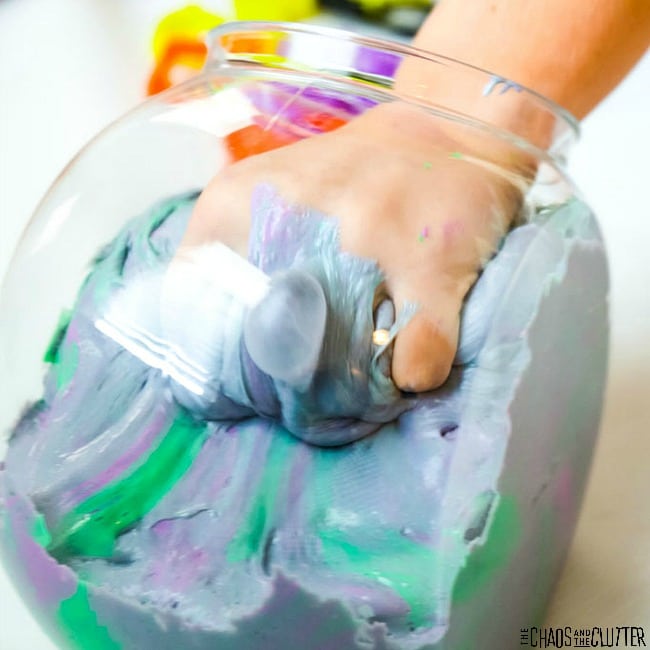
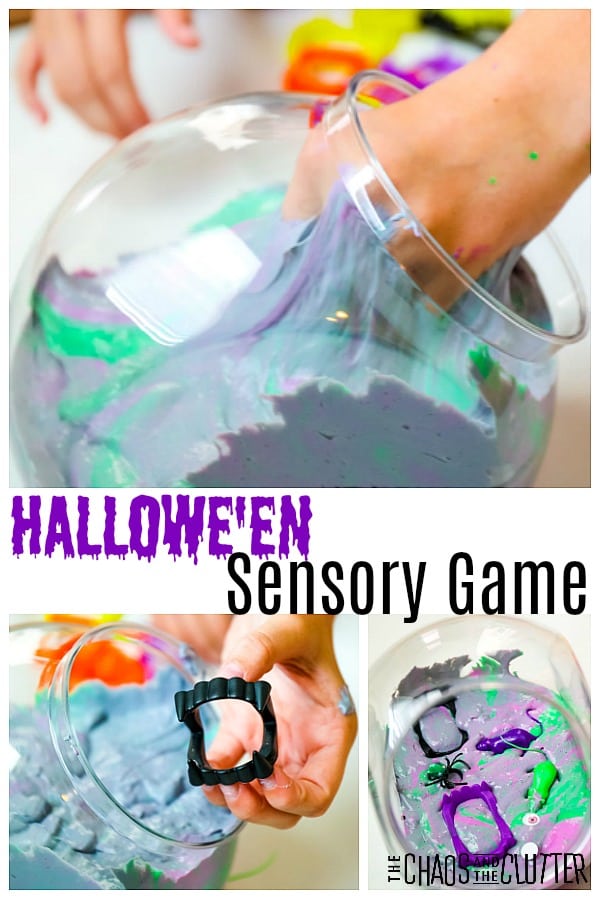
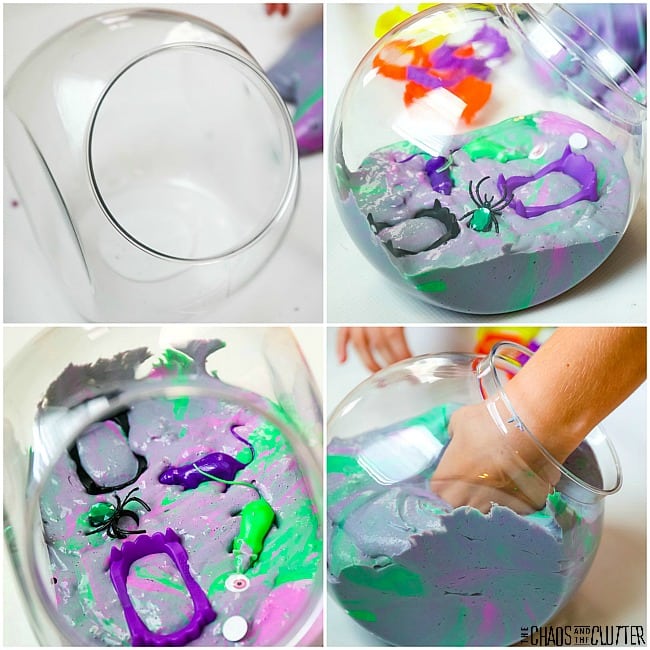
This spider web slime is great for Hallowe’en parties. You can make a sensory play station and include this as an activity or use it as a party favour. This slime would also work well at a Spiderman birthday party. 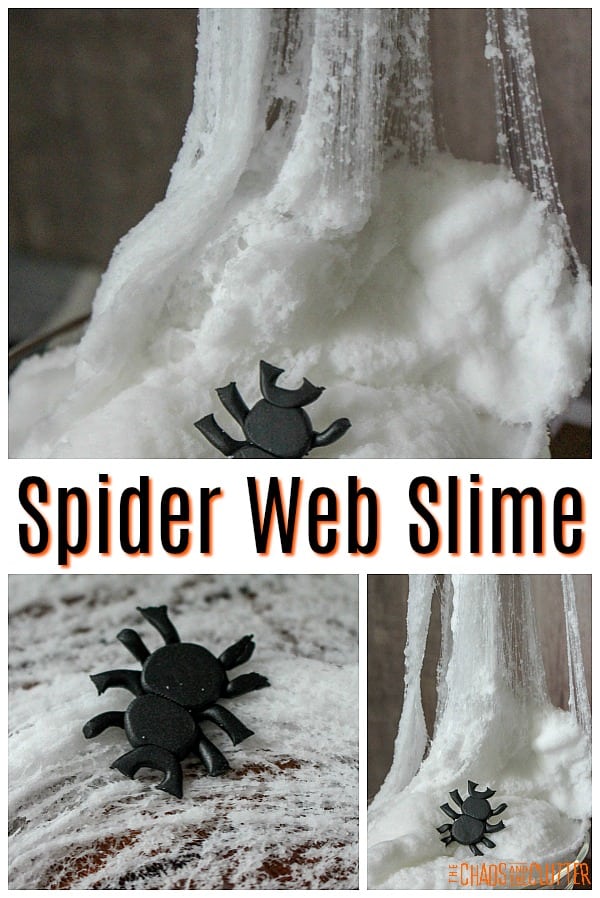 You know that spider web in a bag stuff that you can buy around Hallowe’en time? Well, I thought I could use that to make a really cool slime. I was very wrong!
 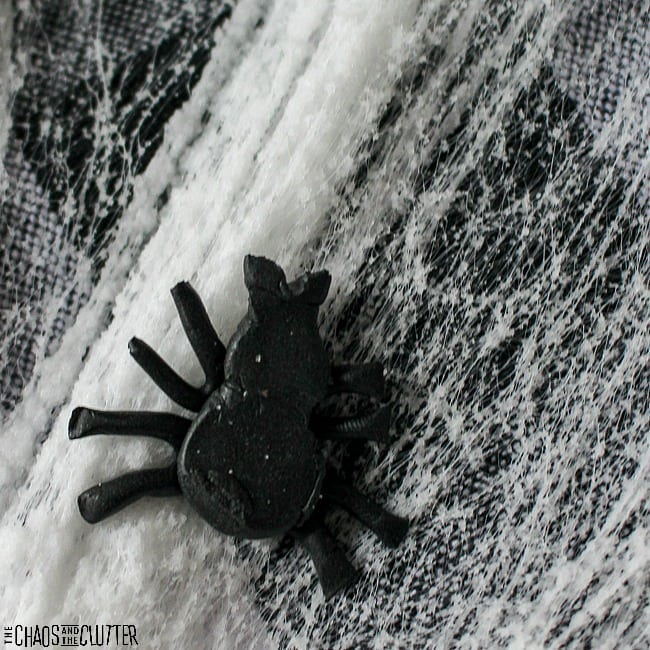 Do not make the same mistake I did and use the spider web stuff that comes in a bag to try to make a slime. It will be disastrous and messy.
I was able to discover that there is a way to make slime that has a spider web look to it and still work.
Spider Web Slime Recipe:
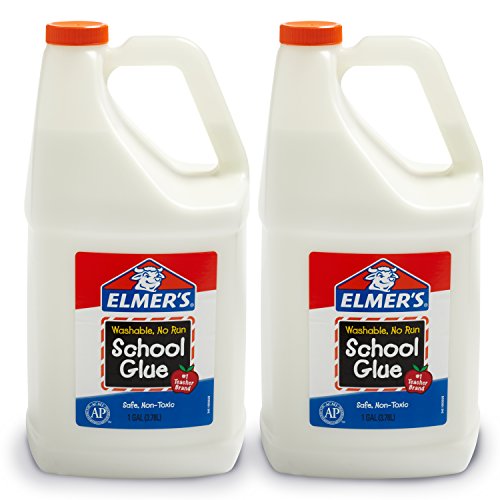
- 5 oz. bottle of Elmer’s washable white school glue
- ½ cup water
- 1 tsp. borax
- 1 cup water
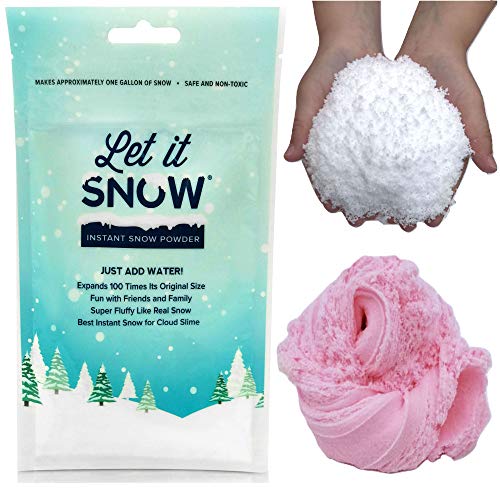
- 1 Tbsp. + 1 tsp. Instant Snow
- plastic spiders or black polymer clay to make your own
How to Make Spider Web Slime:
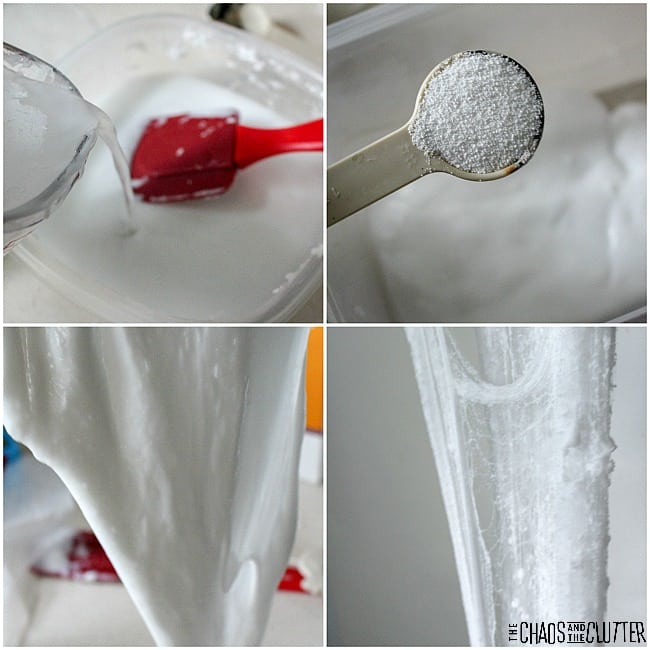
- Pour 1/2 cup glue in a bowl.
- Add in 1/2 cup of water and stir them together.
- In a small bowl, combine 1 cup of water and 1 tsp. of borax.
- Slowly pour the borax mixture into the glue mixture, stirring until it has reached slime consistently.
- Knead the slime with your hands for a few minutes.
- Add 1 Tbsp. Instant Snow to the slime.
- Work the Instant Snow in by kneading until it is fully mixed into the slime.
- Slowly add up to 1 tsp. more Instant Snow until you reach the texture and look you’re looking for. Continue to knead.
- The slime will be stiff at first, but as you continue kneading, it will get better and better. It takes a bit for the Instant Snow to expand.
- Add in a few plastic spiders or some polymer ones. (Directions for making your own spiders are below.)
Store the spider web slime in an airtight container.
Instant Snow Powder Plastic Spiders, 3 SizesElmer’s Liquid School Glue
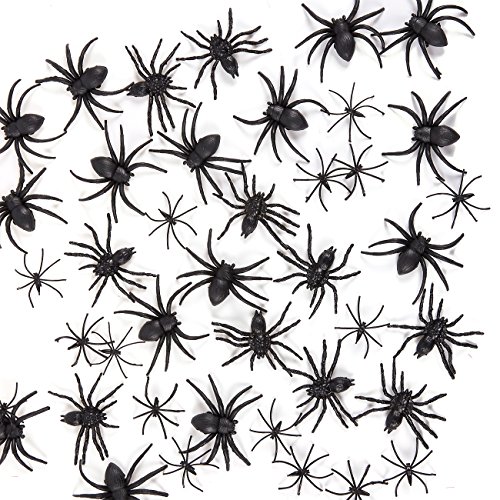
For the spiders, only a small amount of polymer clay is needed. Roll 2 small balls of black polymer clay for the spider’s body. Then make a long snakelike piece and cut out the legs. Shape together. Bake on wax paper at 275° for a few minutes.
The polymer spiders will not stick very well, but they are great for imaginative play! They are fun for kids to make and they can use them for other Hallowe’en decorating or play as well.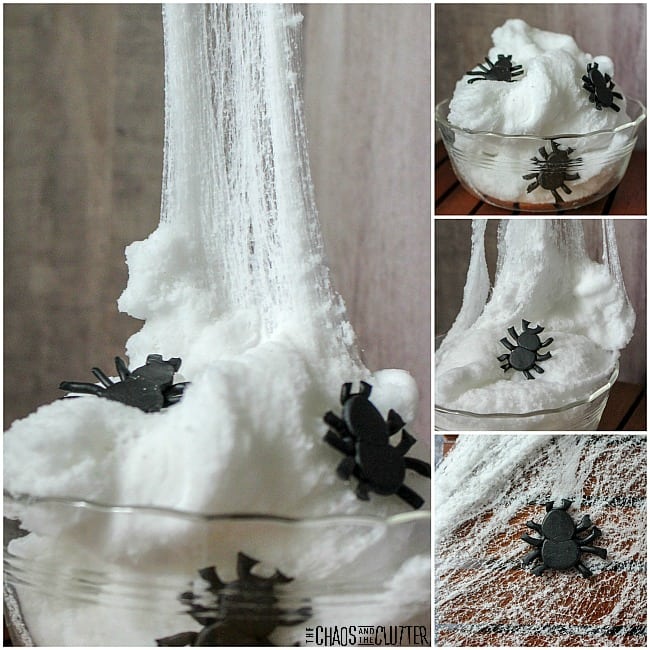 The little beads created with the Instant Snow make playing with this spider web slime a very tactile sensory experience.
Check out some of our other Hallowe’en slime experiences:
 We were inspired by
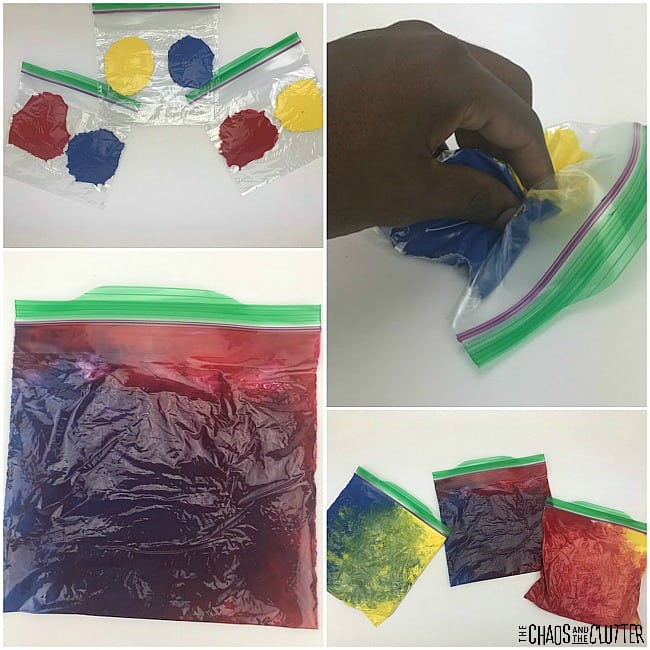 Instructions:
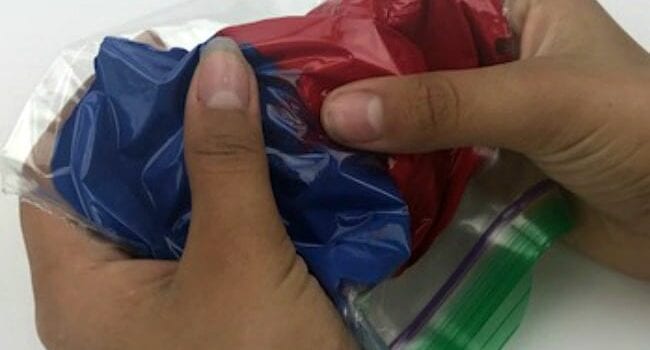
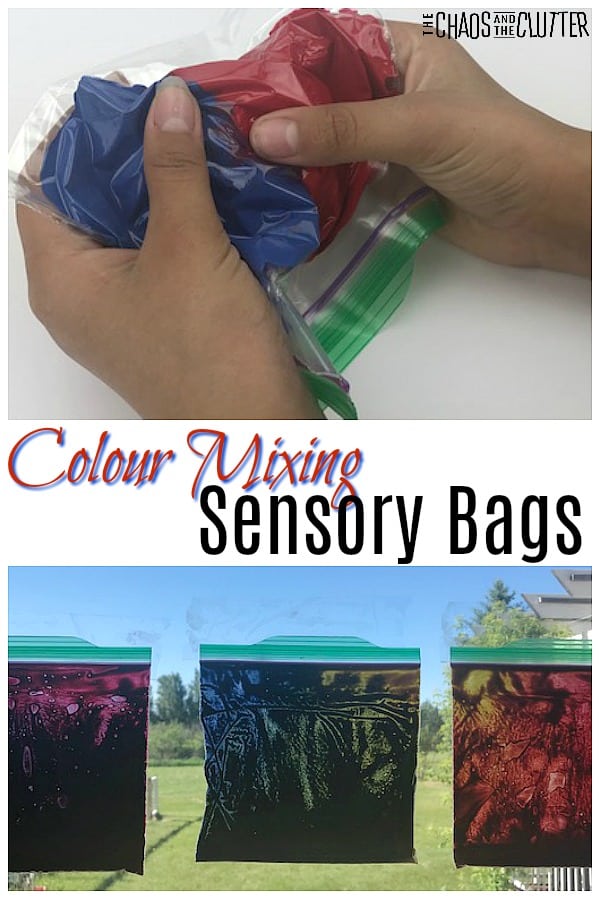
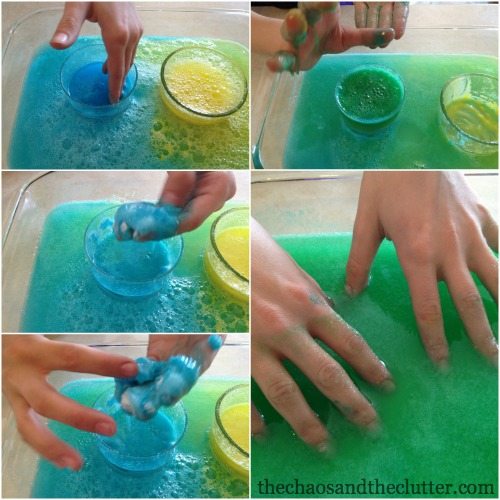
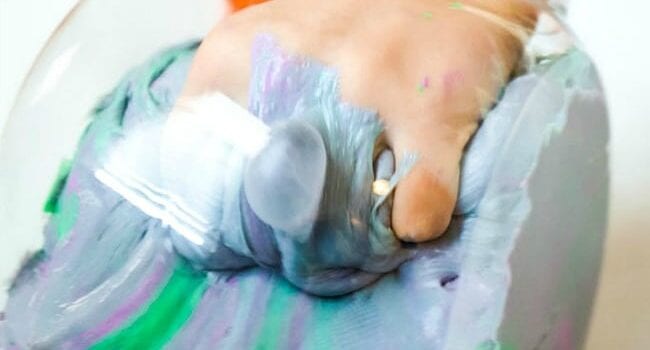
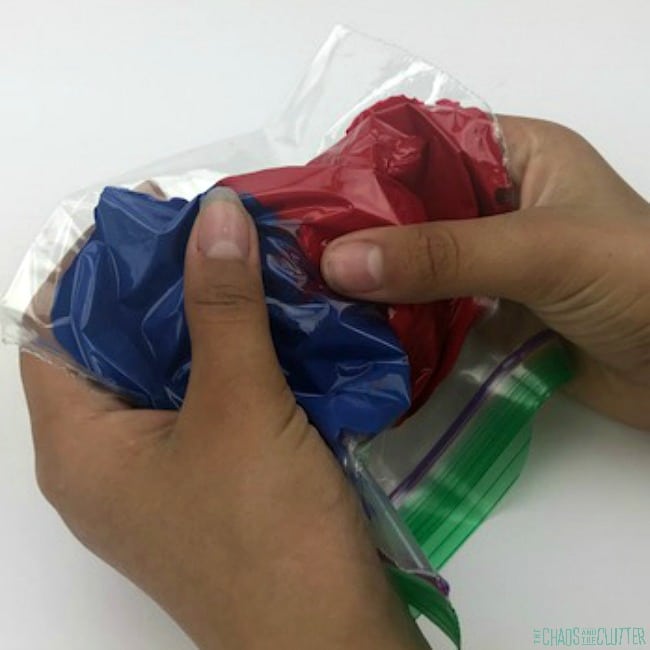 The kids are able to create other colours by squishing the primary colours into each other.
 Supplies needed:
 They loved this activity!
 The kids learned:
 Some of the books that we read that were related to colour:

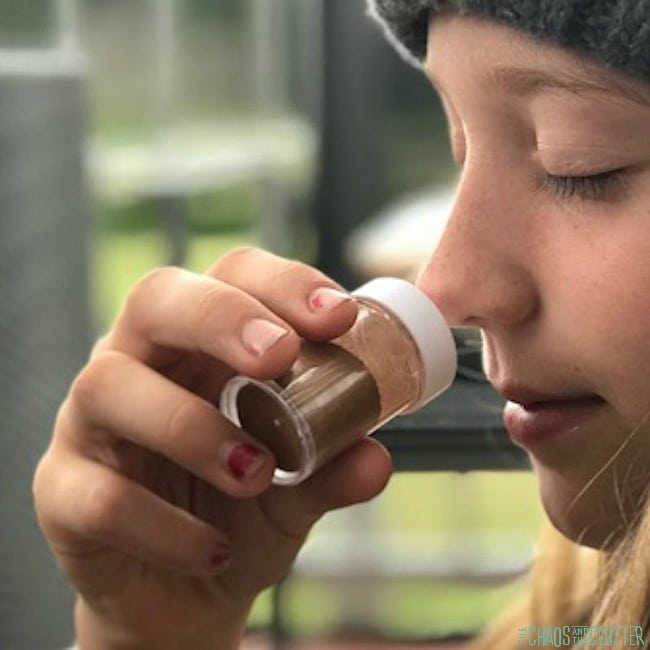
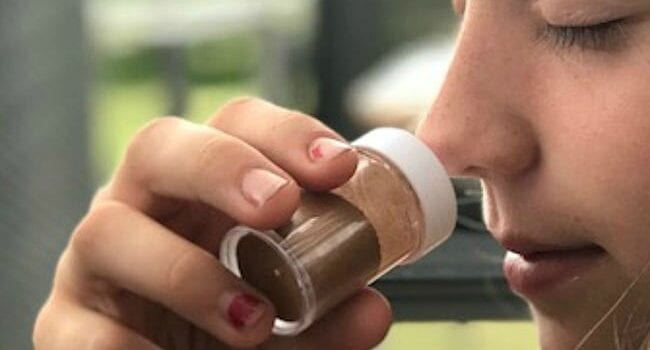
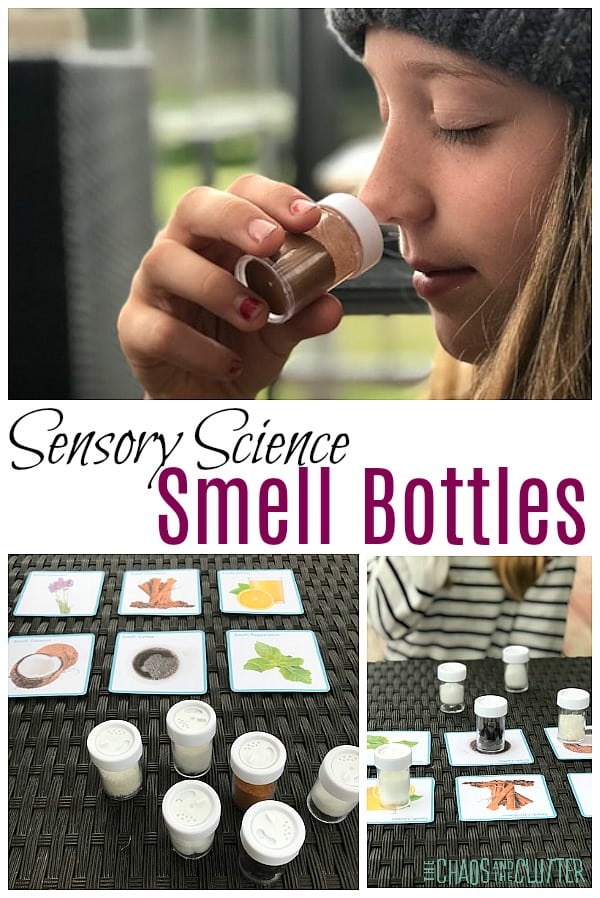 My kids really enjoyed this activity. Of course, boys being boys, I got to hear what other smells we could have bottled!!! How is it that boys can always find a way to find the gross factor?!
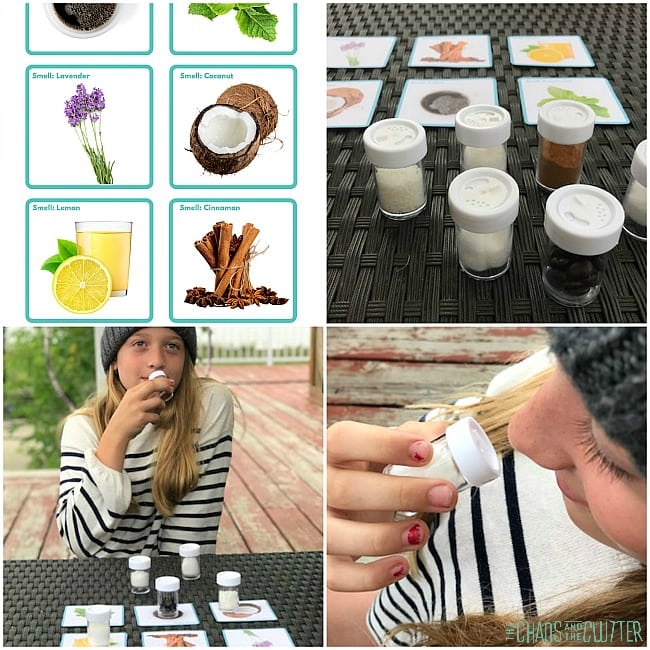 With younger kids, allow them to use their visual sense as well. They can look for clues such as colour and pair that with the smell to help them figure out what it is.
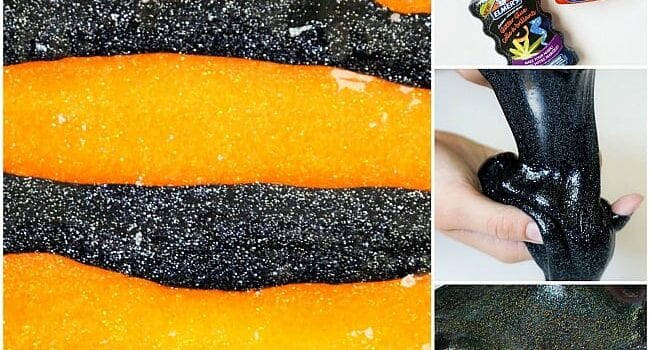
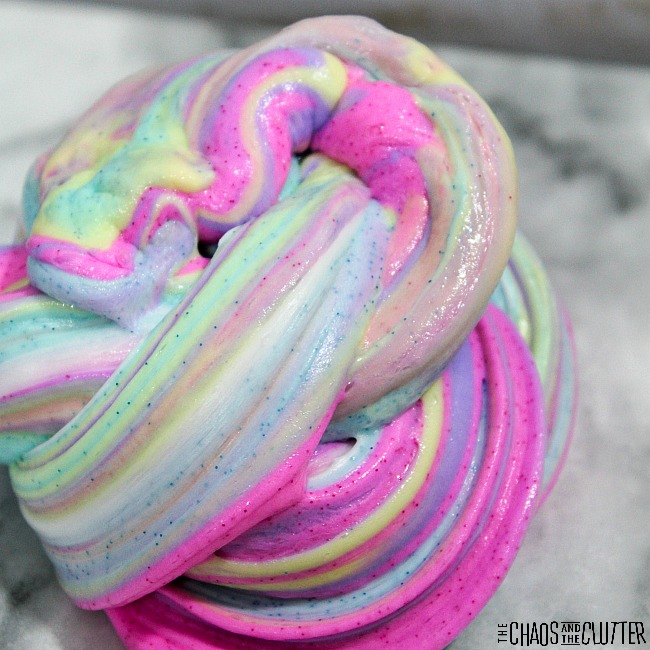
 The thing that makes this particular slime so simple is the glitter glue. You don’t have to mess with food colouring or paint or glitter because the glitter and colours are already in the glue. Super easy!
 Take out the mixture and knead by hand about five minutes, pulling, stretching, and pushing it until slime consistency is formed and it’s no longer sticking to your hands.
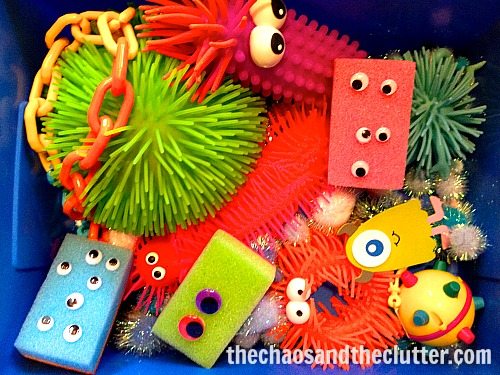
 Ideas of toys to use:
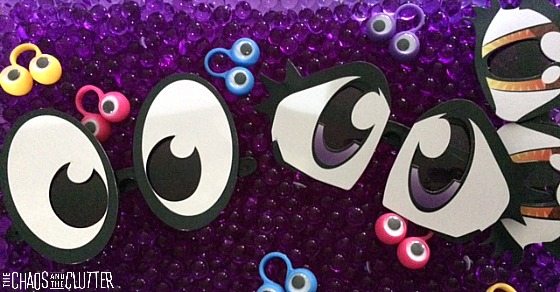
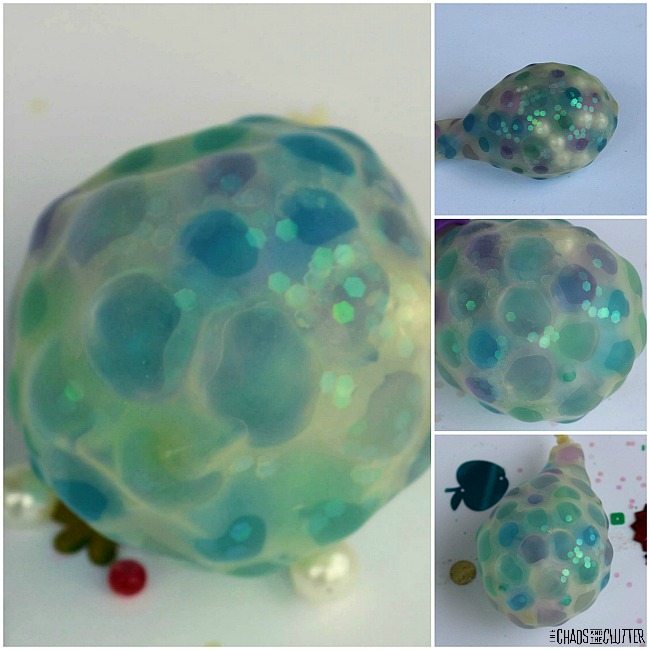
 I found that the size of these was perfect for my kids to squeeze. They fit easily into their hands. So satisfying to squish!
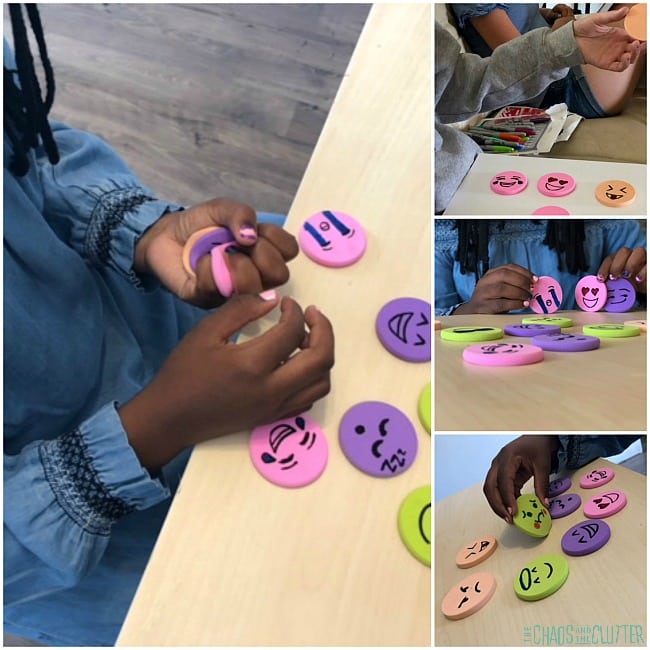 Once they have sat overnight, squish them, play with them, share them.
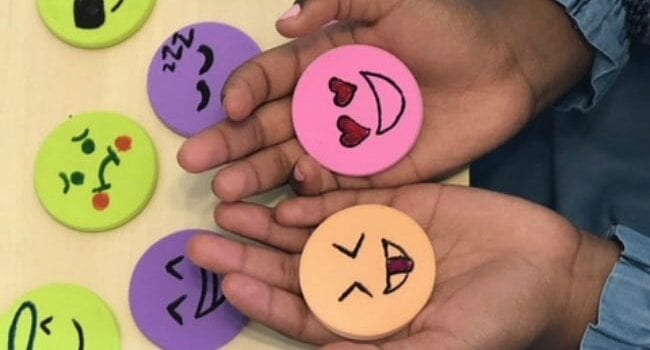
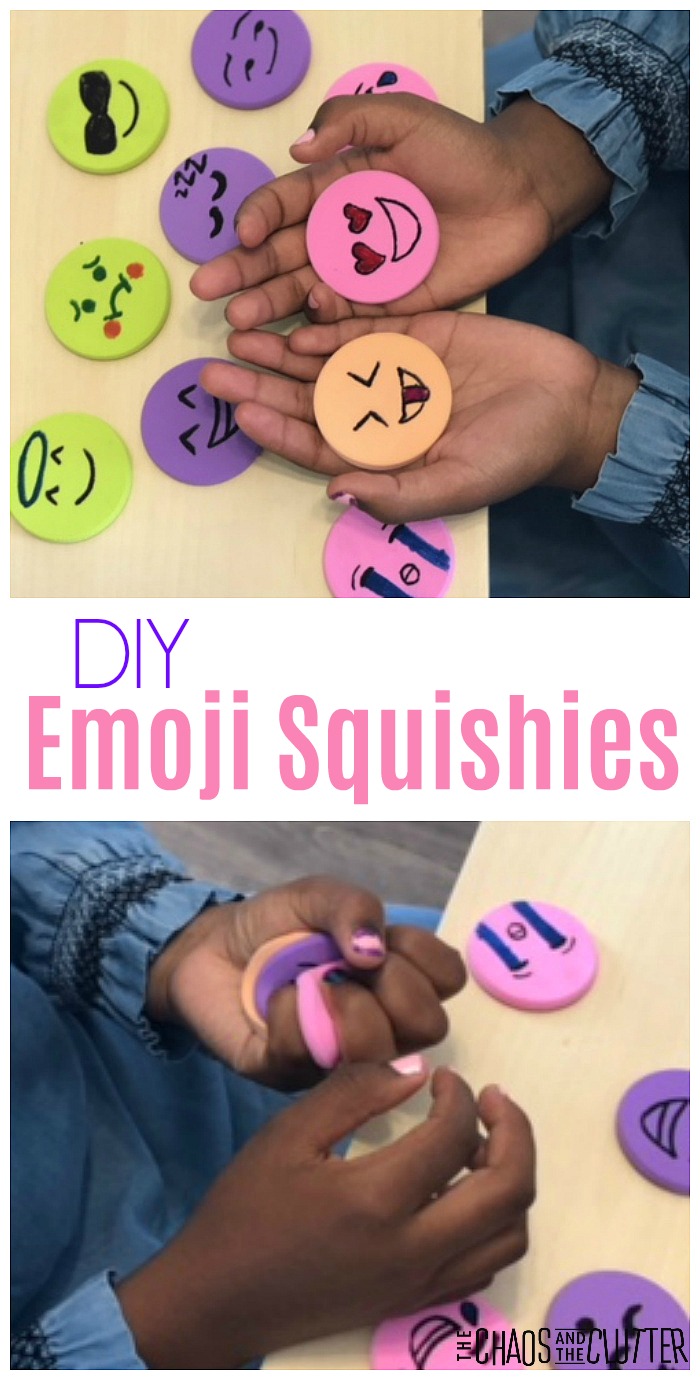
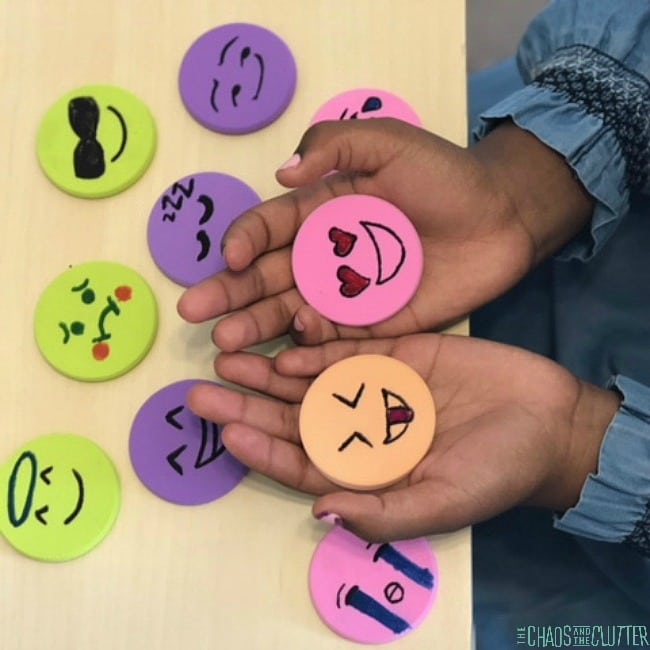 I encouraged the kids to tell stories using the emoji faces. I thought this would be a great way for them to practise their emotional vocabulary.
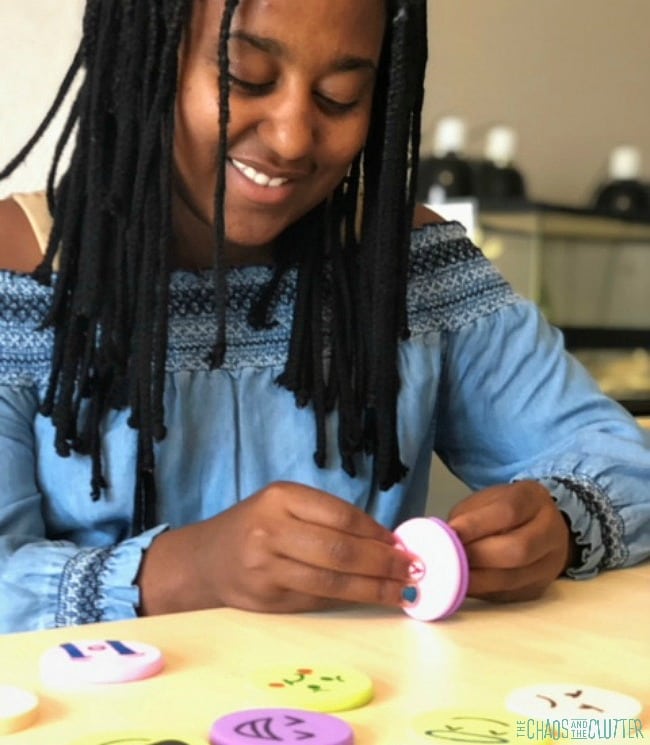 If you’re able to find your makeup sponges at the dollar store, then these are so inexpensive to make. Ours came in a pack of 6, making these less than 25 cents each to make! They would be cute to give as party favours or to make with a group.