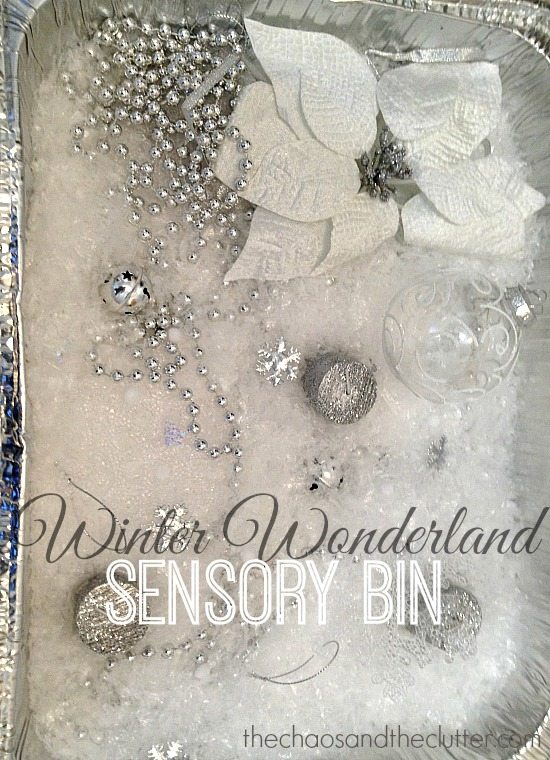
Every year, we make a themed sensory bin as Valentines Day approaches. This year, I decided to first make a Valentines sensory bottle and once the kids had played with it for a week or two, use the contents as part of the base for this year’s Valentine’s sensory bin.
 Valentine’s Sensory Bottle:
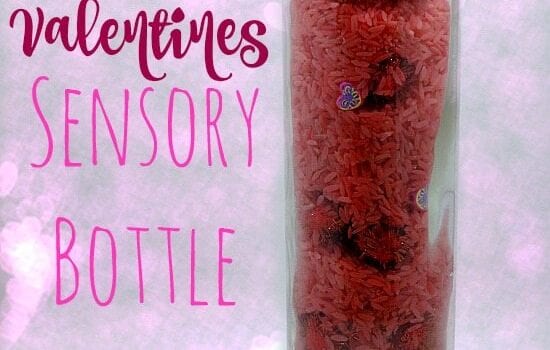
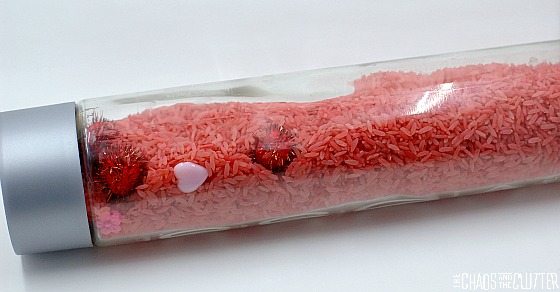
To make this sensory bottle, I dyed rice pink by putting rice in a bag, adding red food colouring and a splash of rubbing alcohol before giving the bag a good shake. Once all the rice was dyed, I lay it on a cookie sheet to dry.
Materials needed:
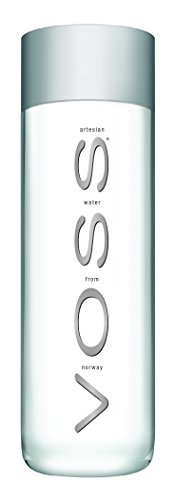
- empty water bottle (I used a Voss water bottle because I like the look of the lid and the shape of the bottle)
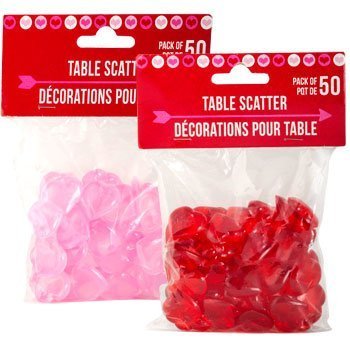
- rice dyed pink or red
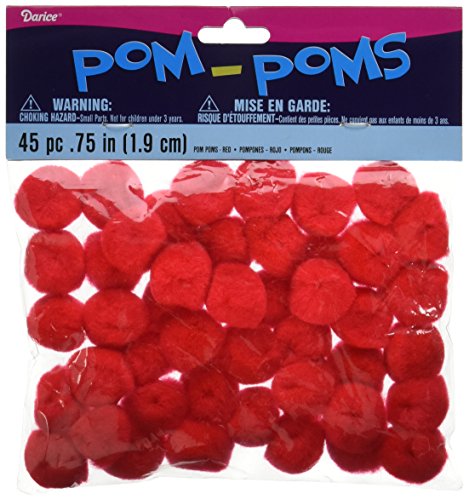
- red pompoms
- plastic hearts
- heart and flower shaped beads
VOSS Water Bottle Red PomPomsValentine’s Day Heart-Shaped Plastic Gems
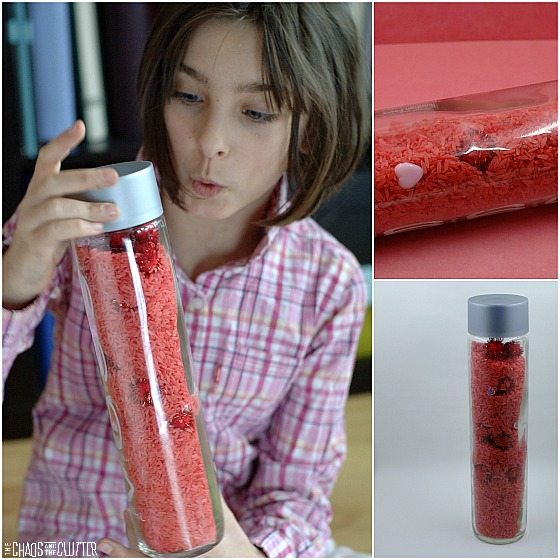 Put some of the rice in the bottle and then add some of the pompoms and beads before adding more rice and pompoms and then a few more hearts and heart shaped beads. If you add all the rice before adding the other items, they will get stuck at the top of the sensory bottle.
One of the nice things about using rice in a sensory bottle is that it gives some auditory feedback while kids are playing with it.
When we were done with this particular sensory bottle, we dumped the contents into a bin and used this as a base for our Valentine’s sensory bin this year.
This Valentines sensory bottle contains small parts so if you are going to be giving it to younger children to play with it, you may want to consider securing the lid by gluing it in place with a hot glue gun.
 If you are looking for other sensory ideas, join me for a free 5 part email series Sensory Solutions and Activities (just pop your email into the box below) and get a printable list of 175 Great Sensory Ideas.
 Materials needed:
 Fill the
  If you are looking for other sensory ideas, sign up for the free 5 part email series
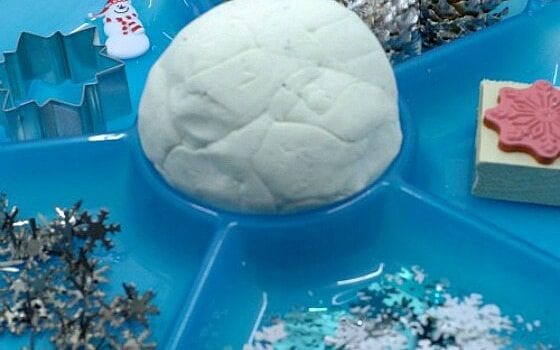
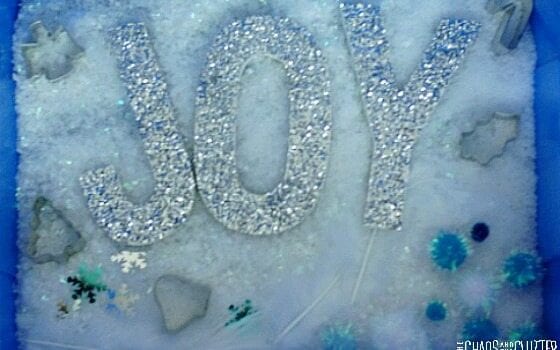
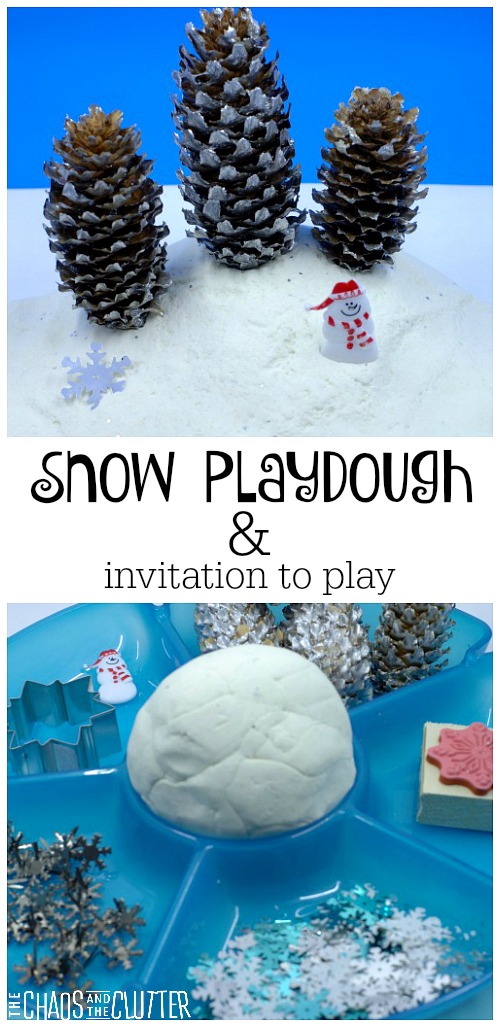 Snow Playdough Recipe:
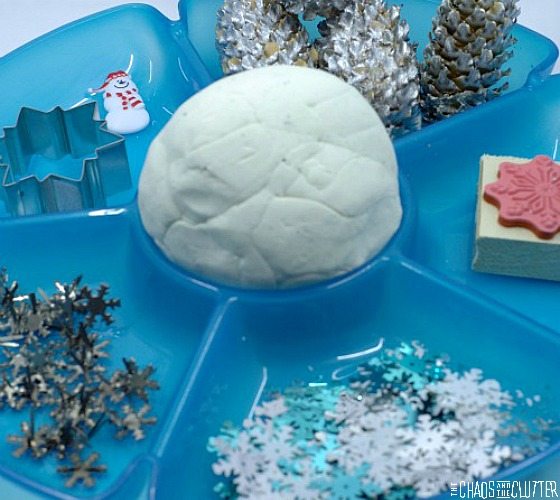 Snow Playdough Invitation to Play:
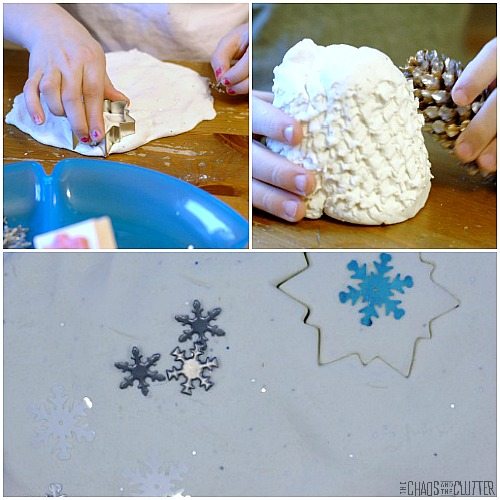 Our neighbours were over playing and Mr. V. thought of using a pine cone as a stamp to create a pattern in the playdough. Such a cool idea! Little Miss J. used the cookie cutter and on the inside of the cutout created, she used the snowflake stamp. The result was so pretty.

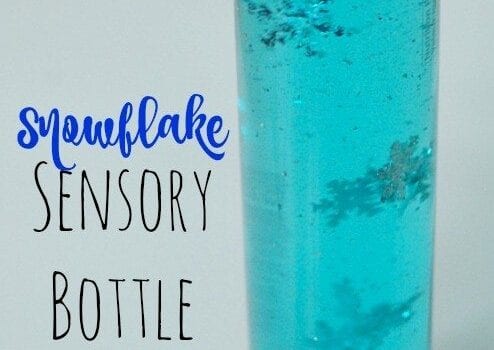
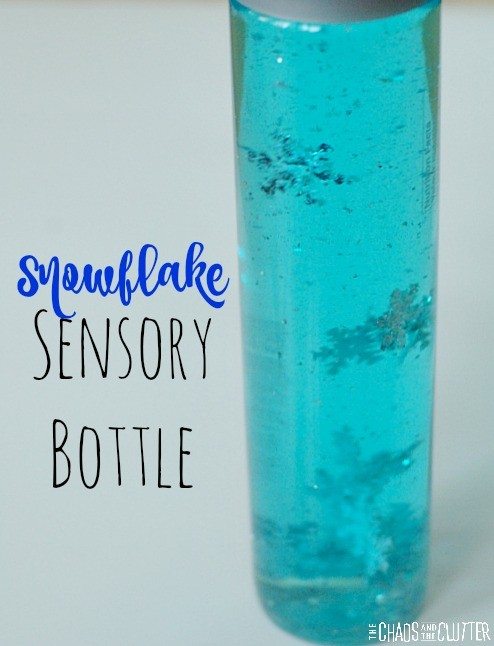
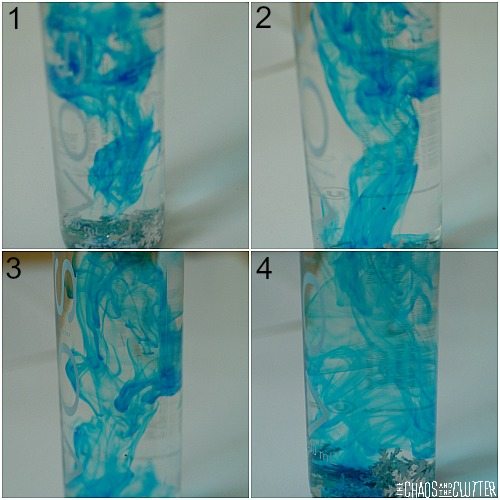 The kids will observe that the food colouring does dissolve in the water which means that it is also a polar liquid.
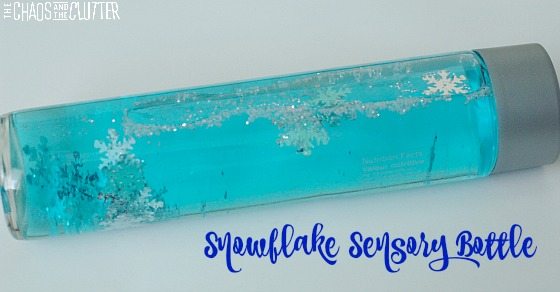 Put the lid on the bottle. If you are going to be using this snowflake sensory bottle with younger kids, you may want to secure the lid in place using a hot glue gun.
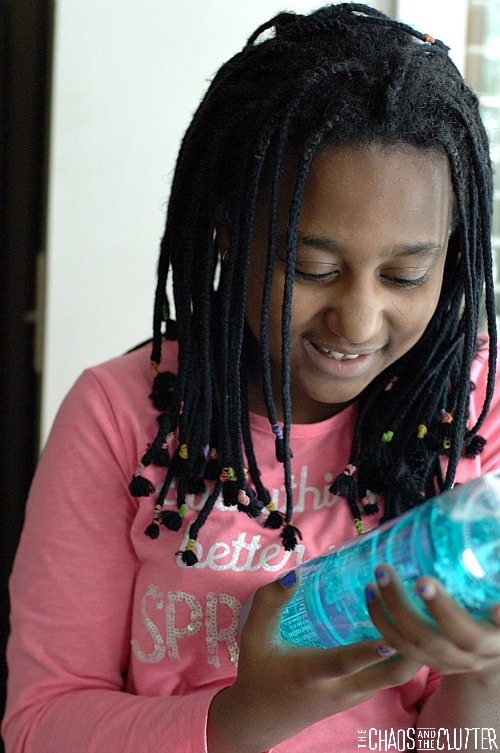
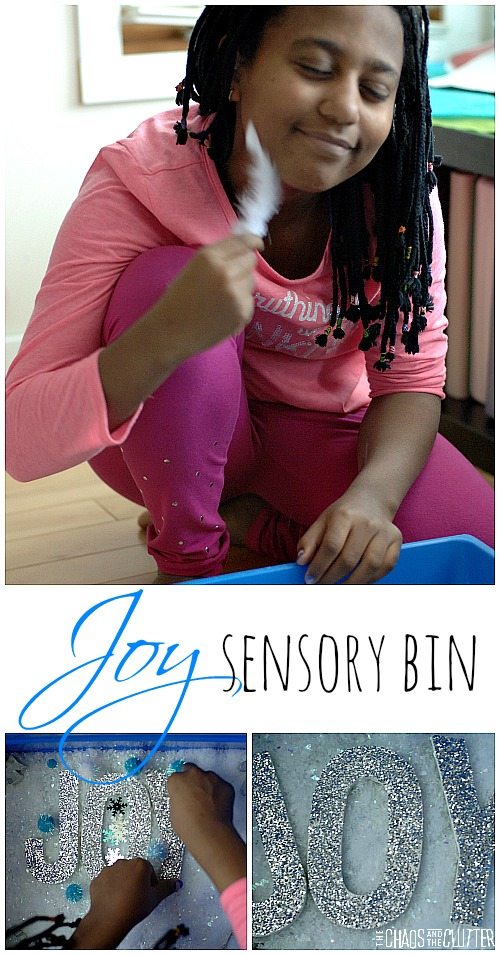 I am in love with that picture because Dancing Queen’s face looks so peaceful which shows the power of sensory play with kids who have sensory needs and anxiety.
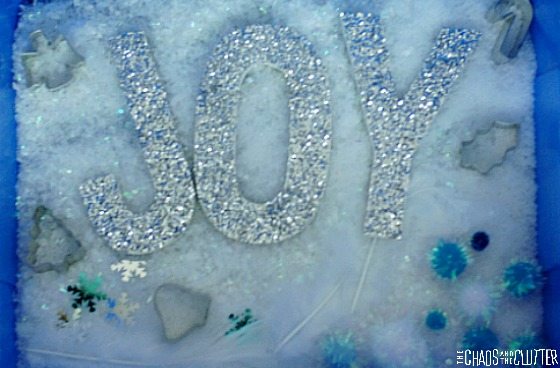 Last year for Christmas, I made a
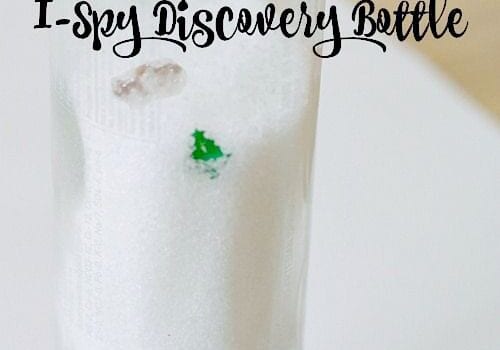
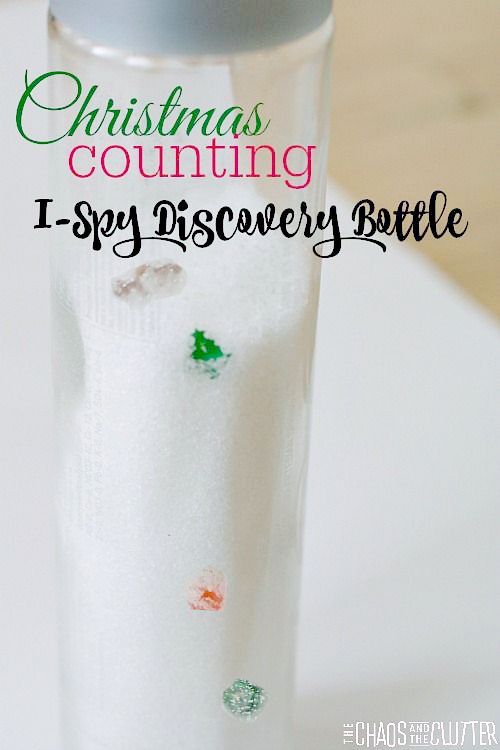 Materials needed:
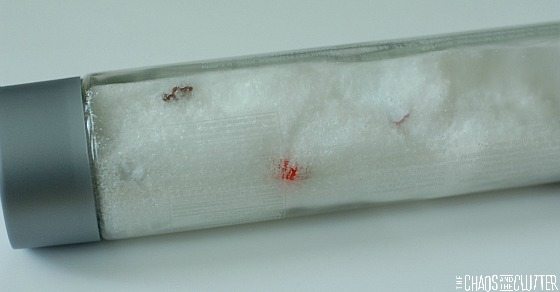 In my Christmas sensory bottle, I put:
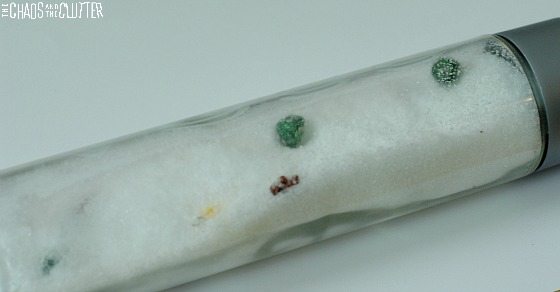 Next, write or type up a list of the items in the bottle so that the kids can reference it when they are seeking. The reason I chose to add groupings of items is so that kids could practise counting as they tried to find items.