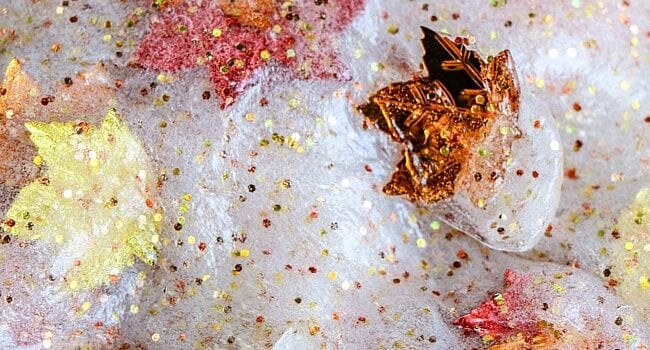
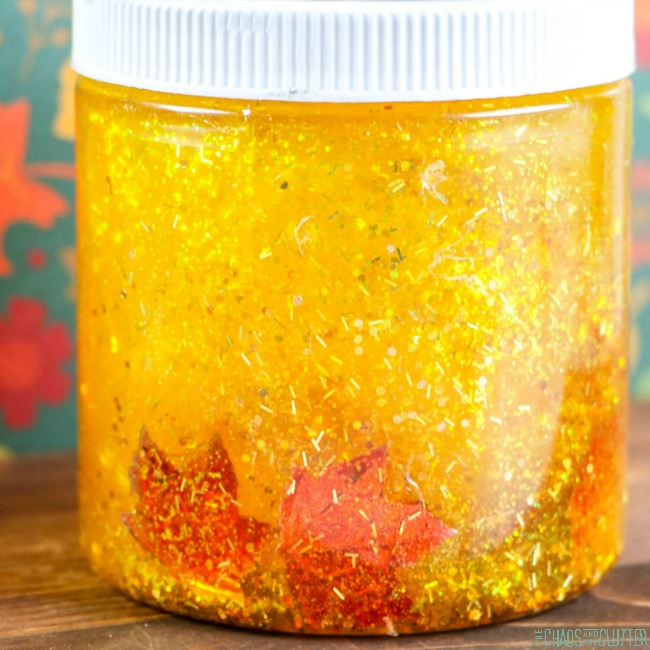
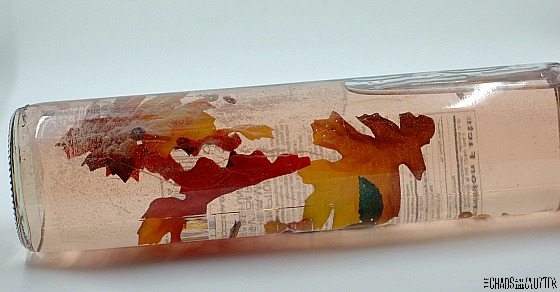
Fall happens to be my favourite season. The colours, the crisp cool air, and the feeling of change and new beginnings are what I love most. This fall leaves slime enables me to bring a bit of that feeling inside.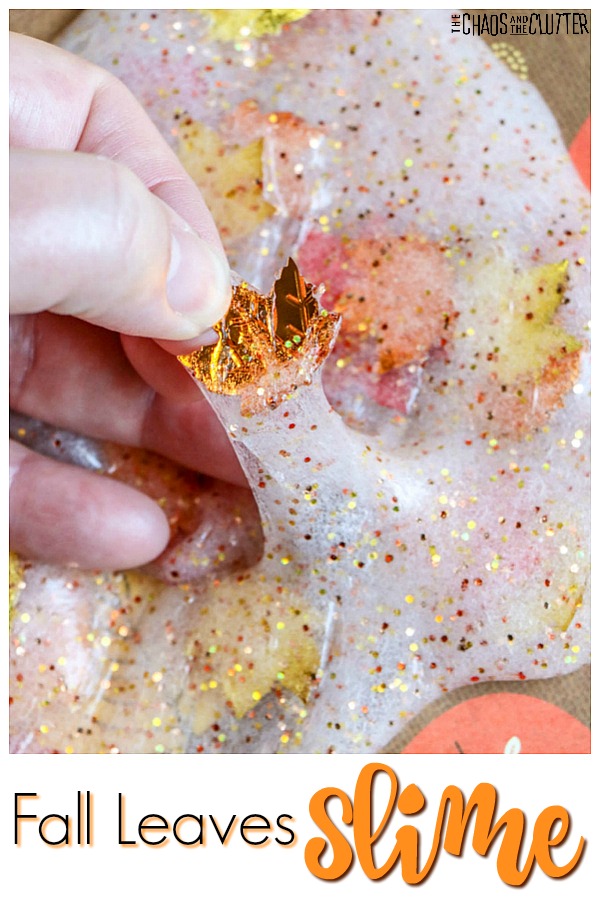 For this slime, I used maple leaf confetti that was leftover from the Fall Leaves Sensory Jar I made. By making both, I was able to get maximum use out of purchasing the confetti.
Slime is great for sensory input. It provides visual and tactile input and with the kneading and stretching, it also gives good proprioceptive feedback. These are an important part of your child’s day and slime provides a fun way to get them in.
Fall Leaves Slime
Supplies:
- 6 oz. bottle clear Elmer’s Glue
- approximately ¼ cup warm water
- ½ tsp. baking soda
- 1½ Tbsp. contact lens solution (be sure that it contains boric acid)
- maple leaf foil confetti
- optional: 1 ½ tablespoon glitter in copper, gold, and red
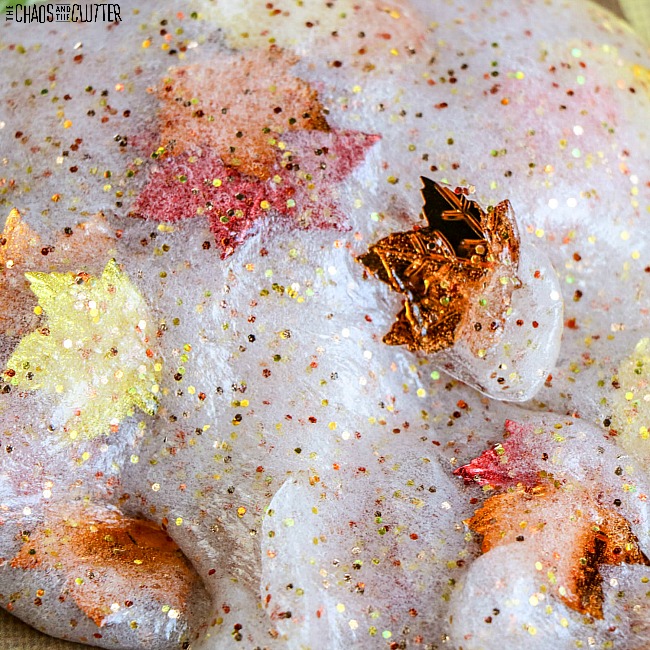
Directions:
- Empty the glue into a large bowl.
- Fill the empty glue bottle about ⅓ full with warm water (this will be about ¼ cup) and seal with the lid. Shake well to combine the remaining glue and water. Pour this mixture into the bowl with glue and stir to combine.
- Add the baking soda to the glue and mix thoroughly.
- If you are adding glitter, stir the glitter into the glue mixture in this step.
- Add the contact lens solution to the glue mixture and stir well. Add the contact lens solution slowly, mixing between additions. Only add enough to bring the glue together into a soft ball.
- Remove the slime from the bowl allowing any excess liquid to remain in the bowl. The slime will be sticky. Begin to play with the slime, kneading it as you would bread dough to bring the slime together. The slime is ready when it is no longer sticky.
- Set the maple leaf foil confetti on top of the slime and knead it in, stretching and pulling until everything is well combined.
- Store in an airtight container in the refrigerator when the slime isn’t being played with.
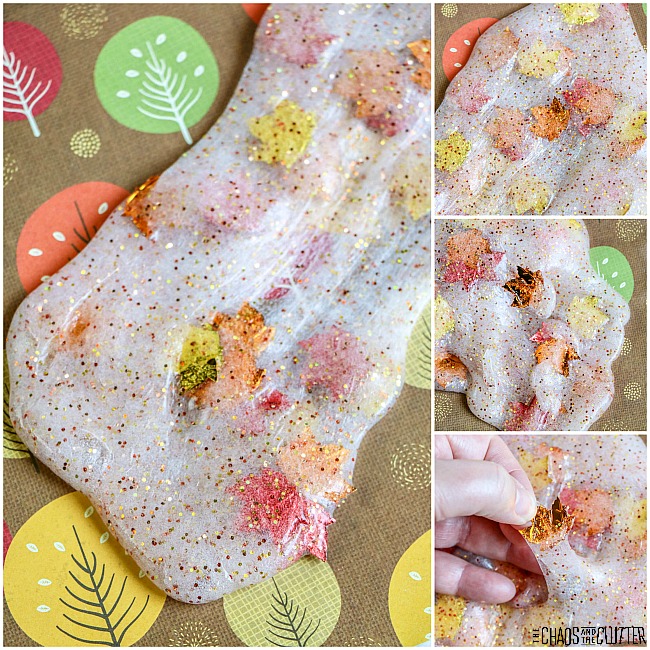
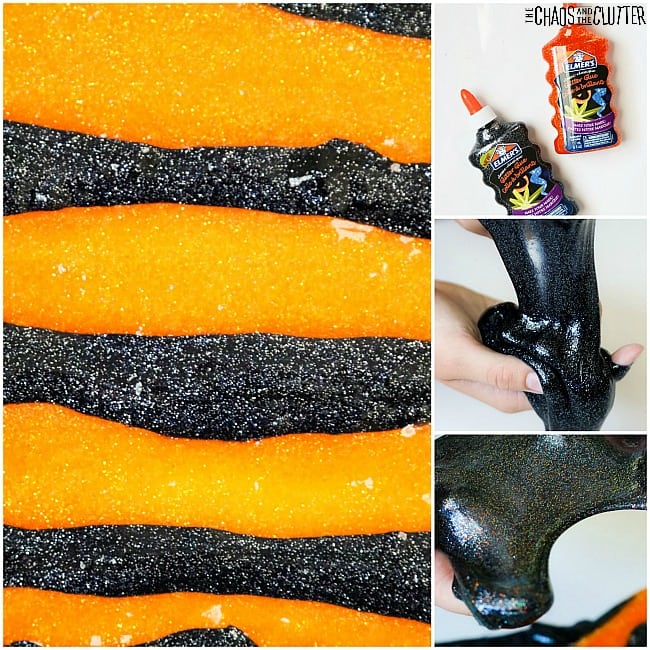
For a different look, you could also make this slime with glitter glue in place of the regular glue. This will create an entirely new look.
You may also be interested in these fall slimes and sensory activities:
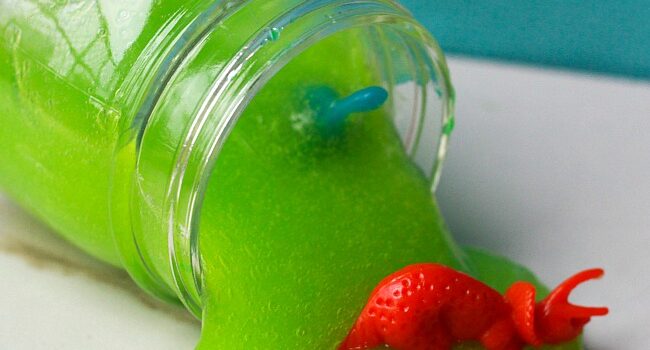
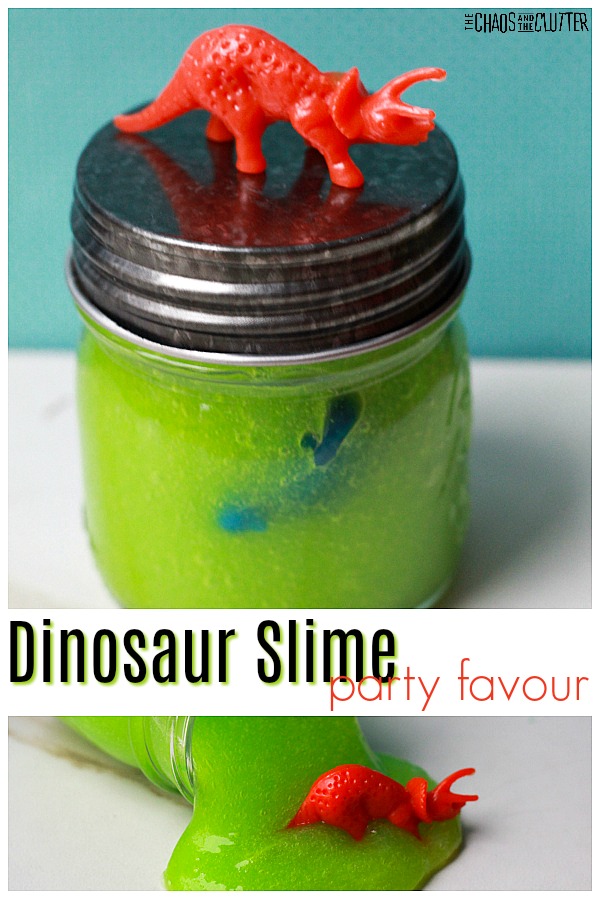
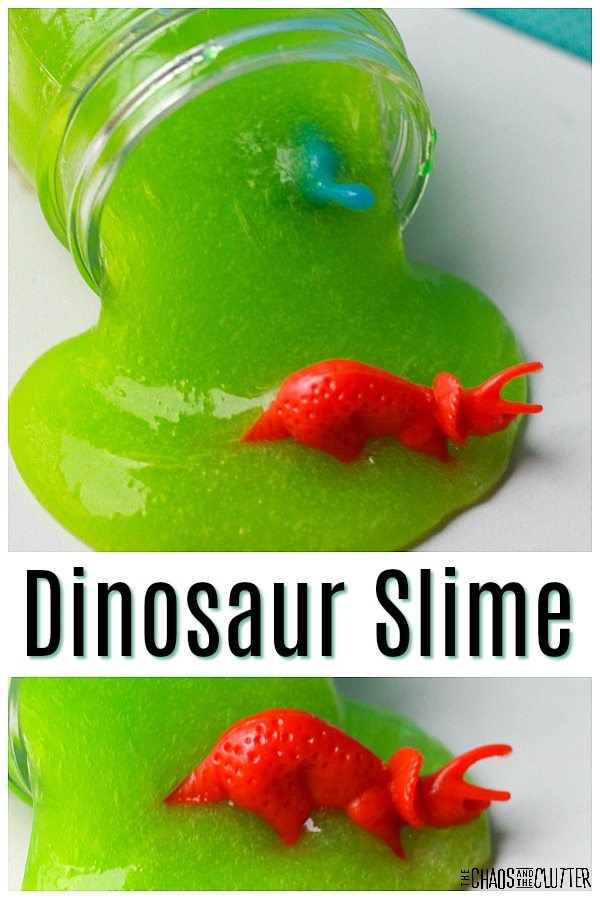 Dinosaur Slime Recipe: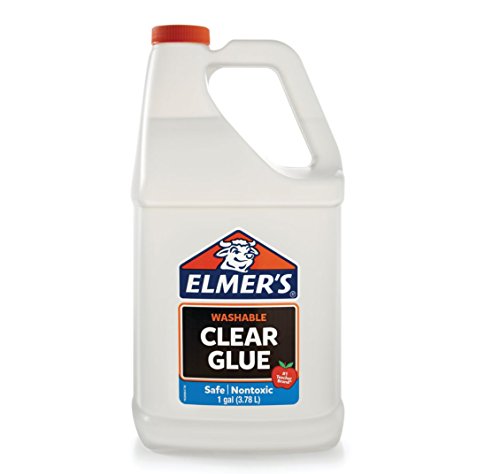

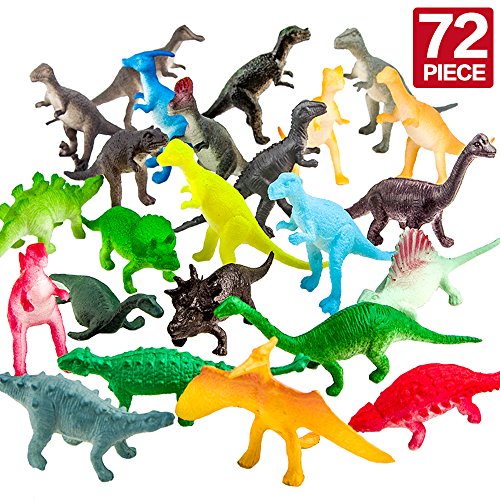
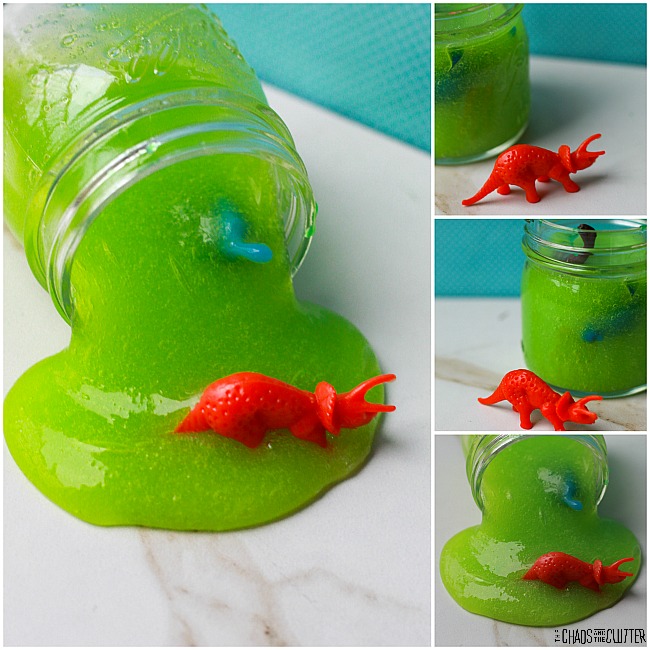
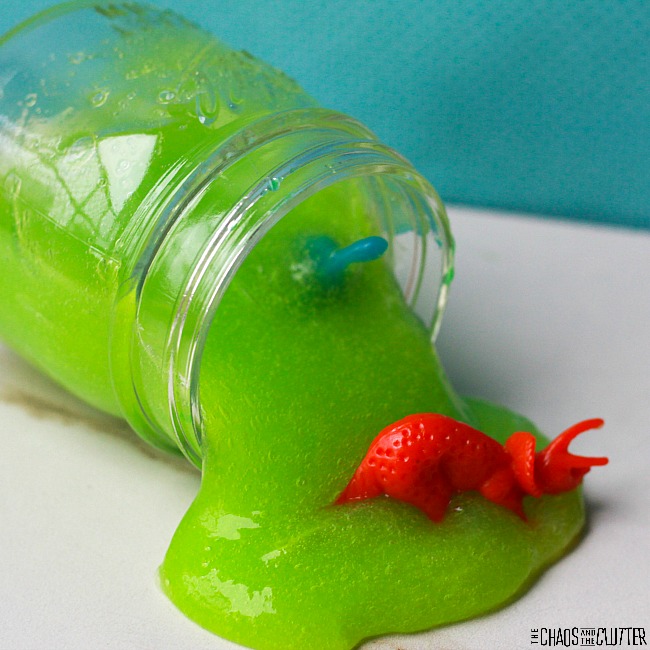
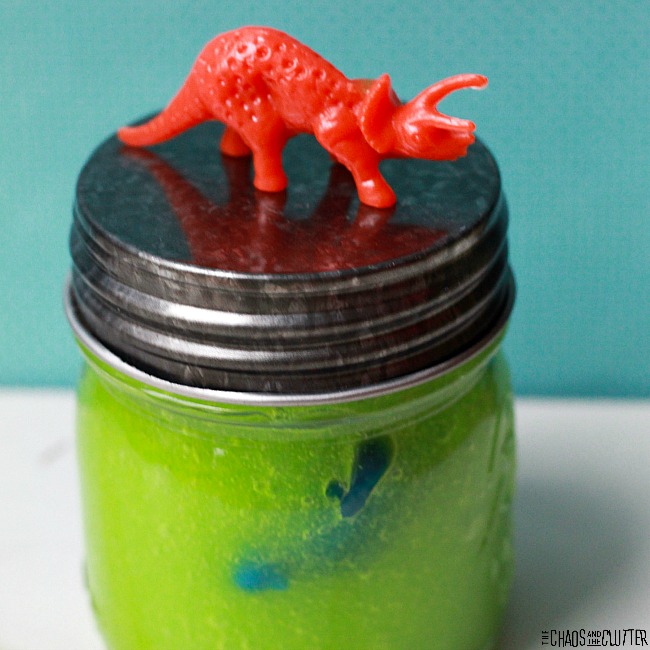 If you’d like, you can also personalize the favours by writing each child’s name on the jar in permanent marker or by decorating the jar with dinosaur stickers that the child chooses.
  Join me for a free 5 part email series, Sensory Solutions and Activities (just put your email into the box below) and get a printable list of 175 great Sensory Ideas.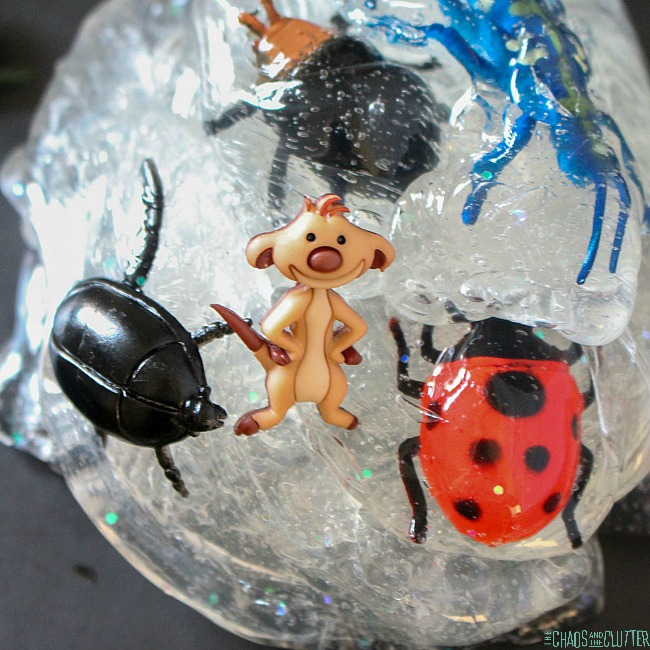
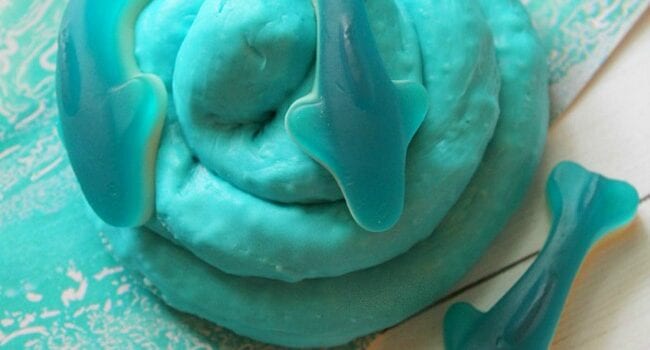
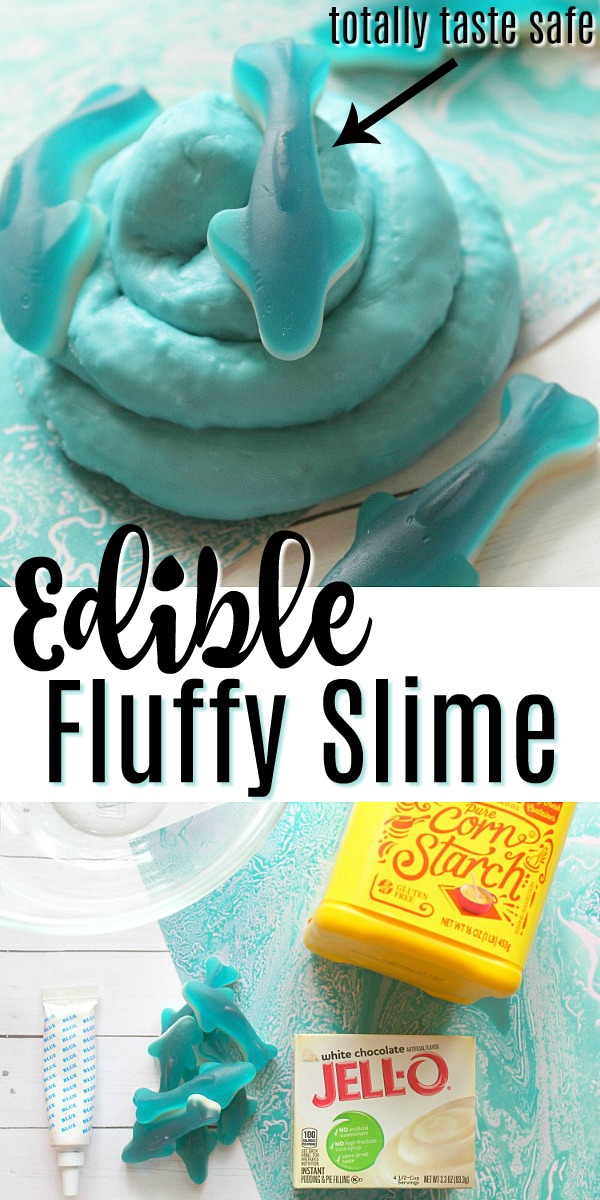 This fluffy slime recipe goes well with a unit study on the ocean or is the perfect pairing for Shark Week. You could also use it for an Ocean or Shark themed party.
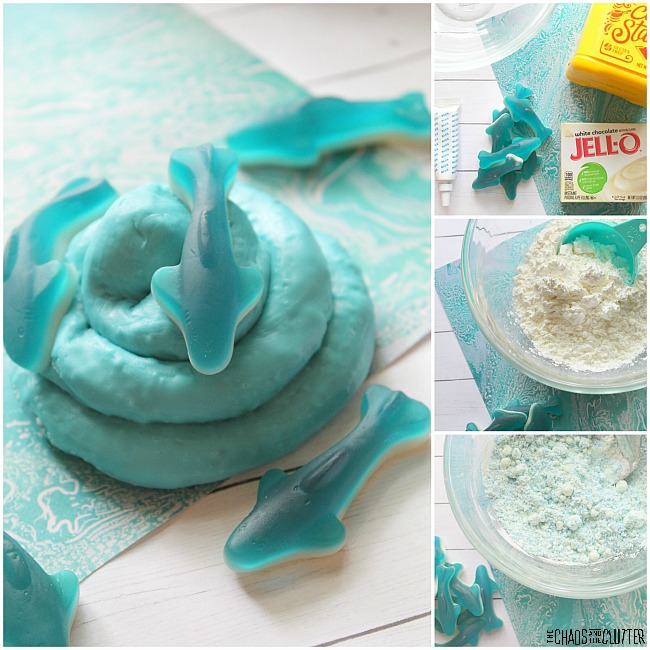 One of the nice things about edible slimes is that they are borax free. This makes them safe for all ages (though of course adult supervision should be used with this and all sensory play activities).
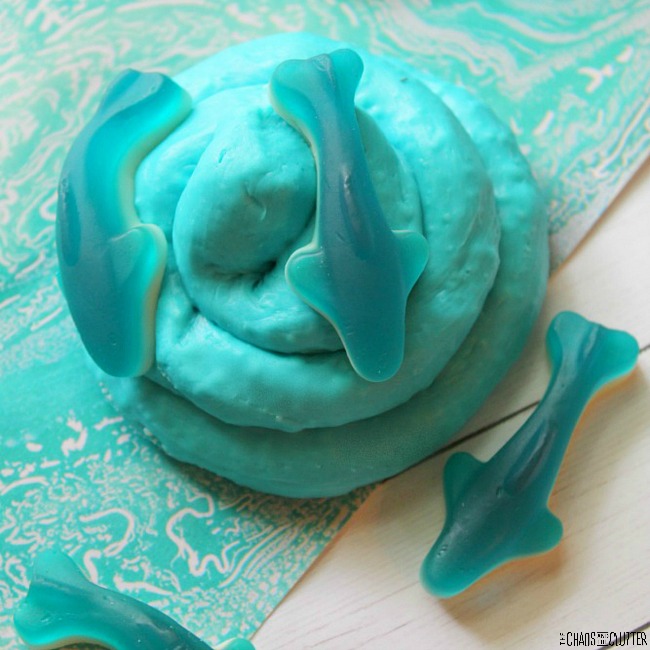 Olfactory (smell) – Sniffing fully allowed. This slime smells like white chocolate. Yum!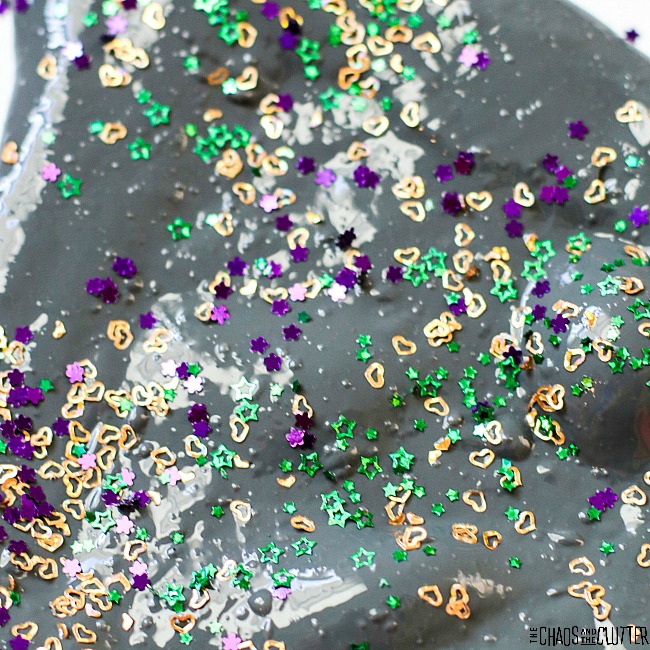
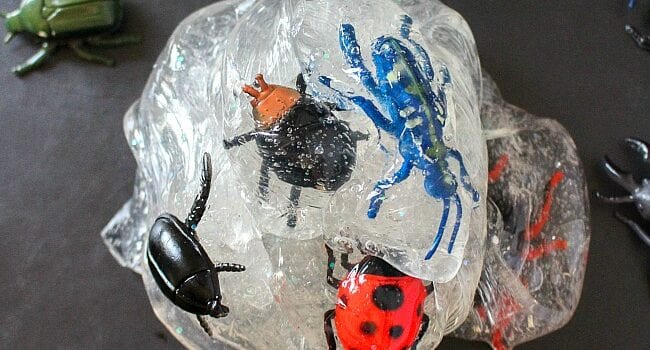
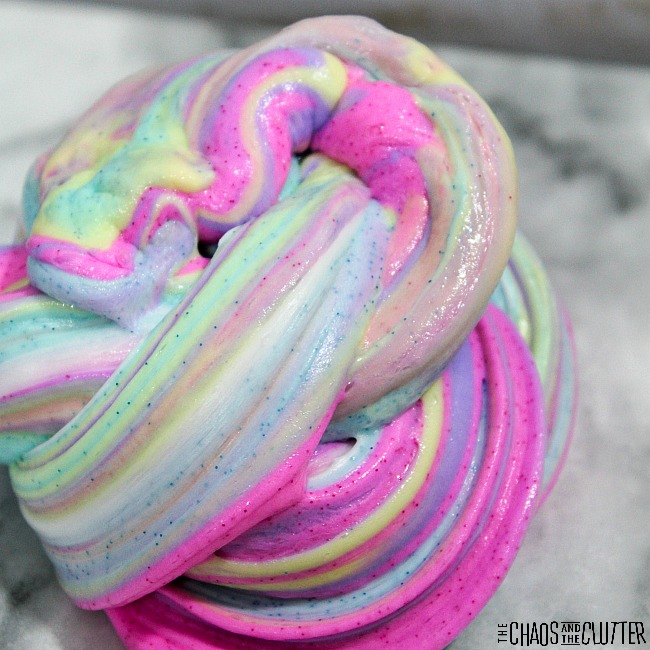
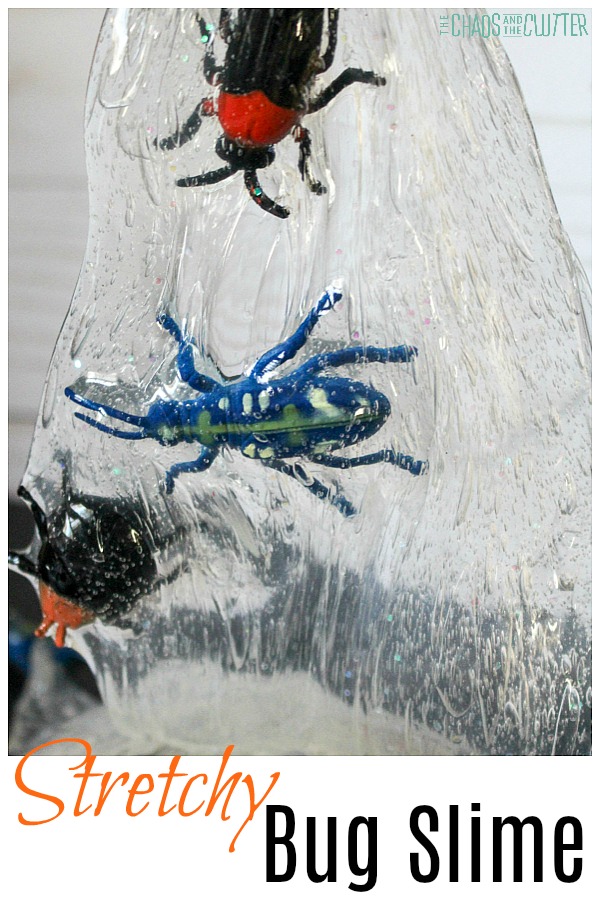
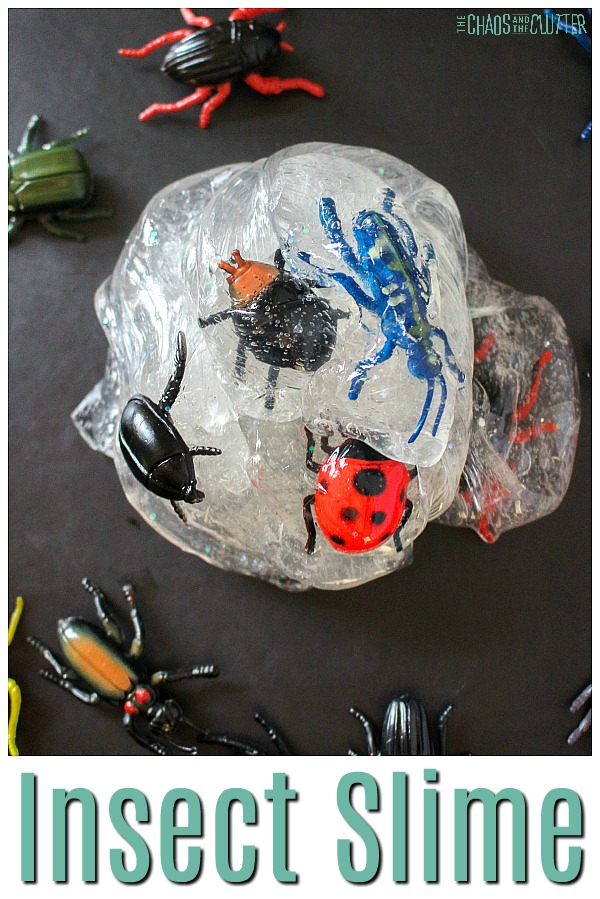 My kids love slime that is super stretchy. That is one of the things we really like about this particular recipe. It has a good amount of stretch to it.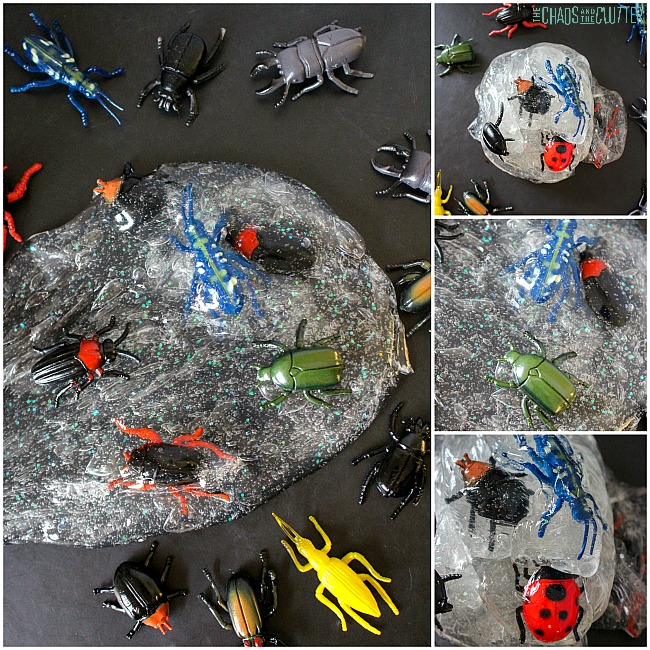
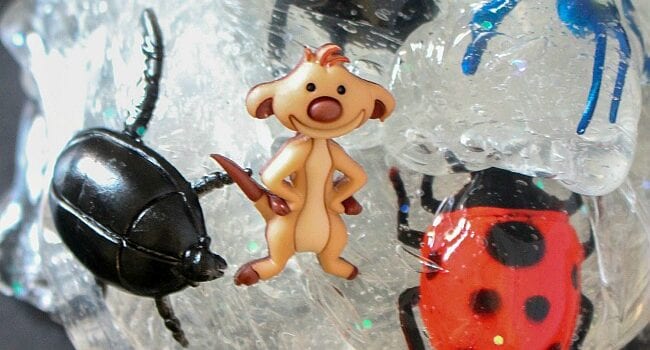
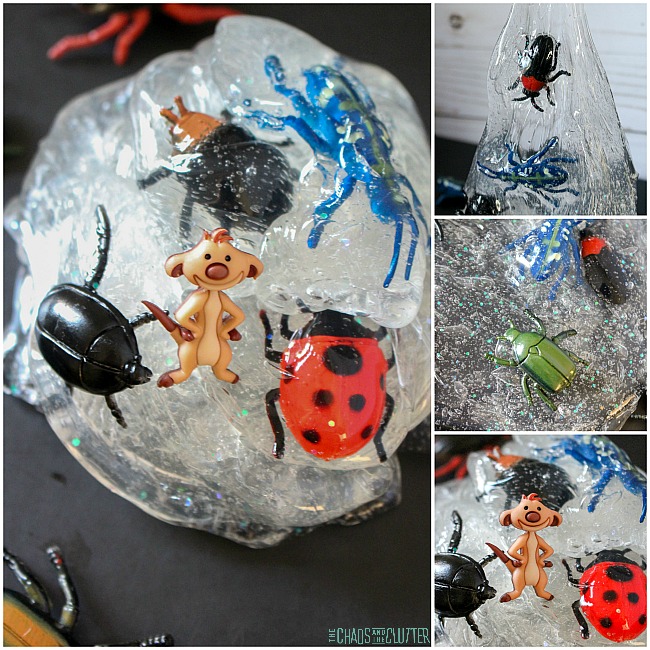
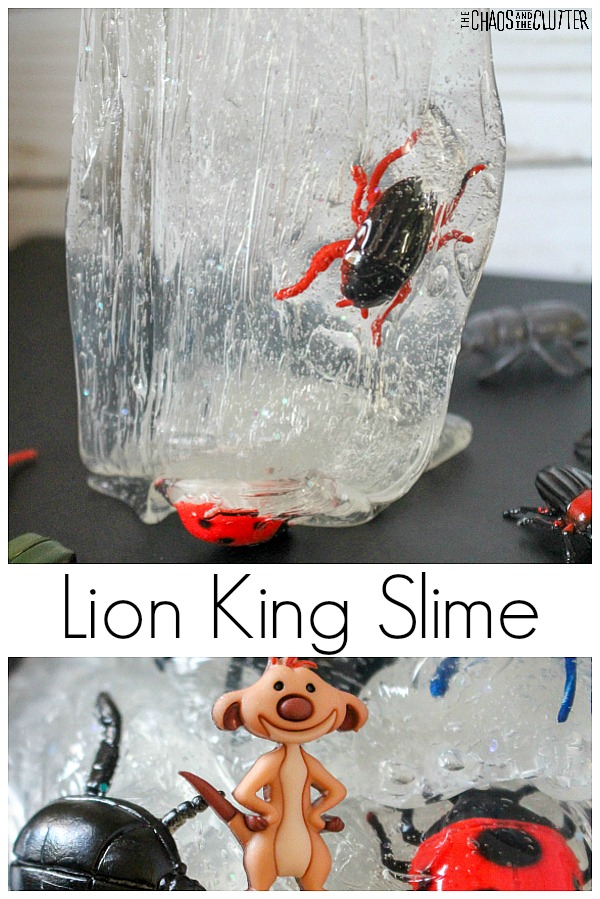 This beloved character is pretty cute, even if he does eat bugs!
 Instructions:
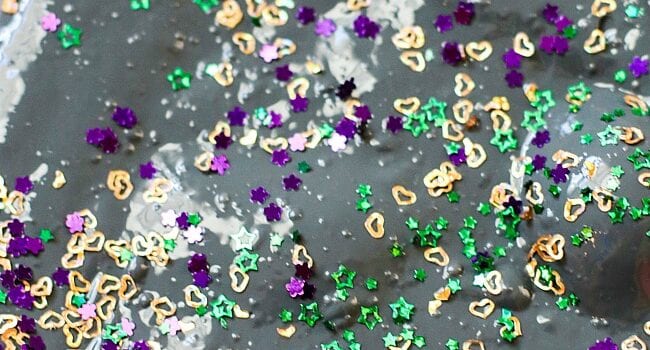
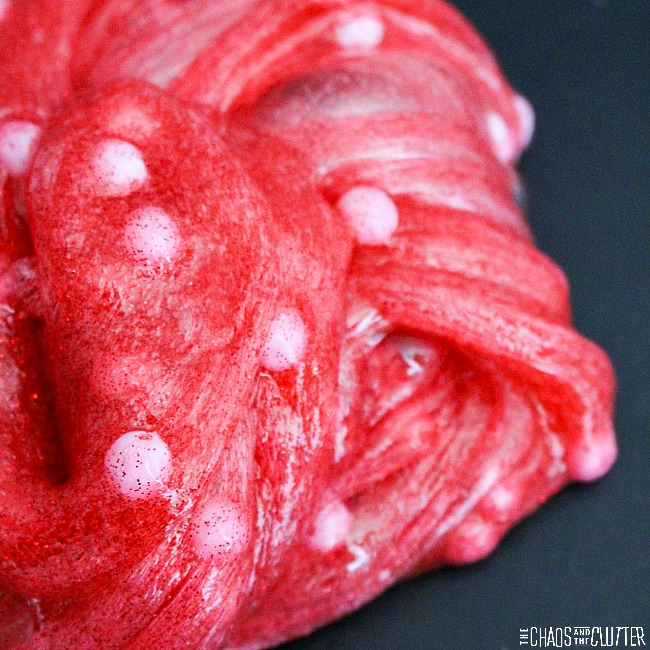
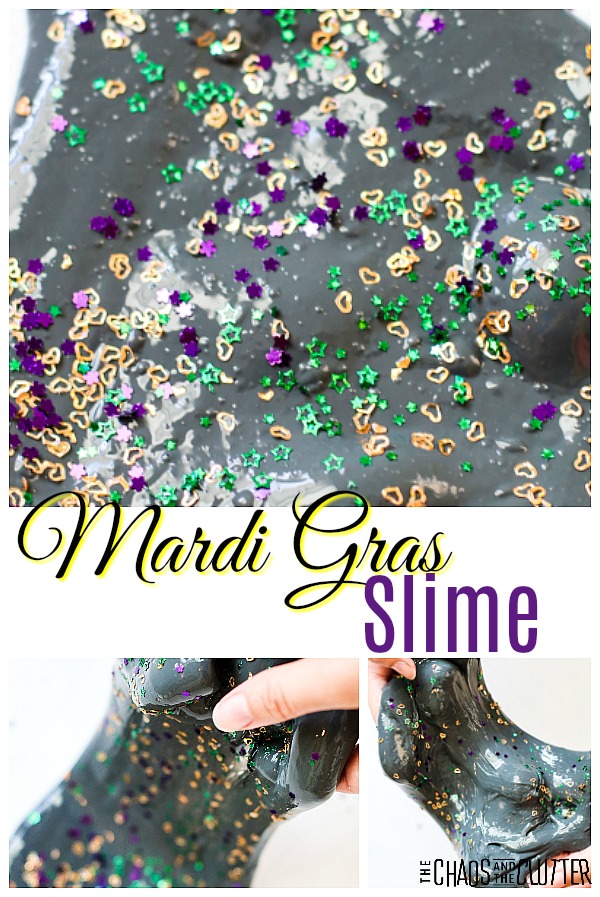 Mardi Gras Slime Recipe:
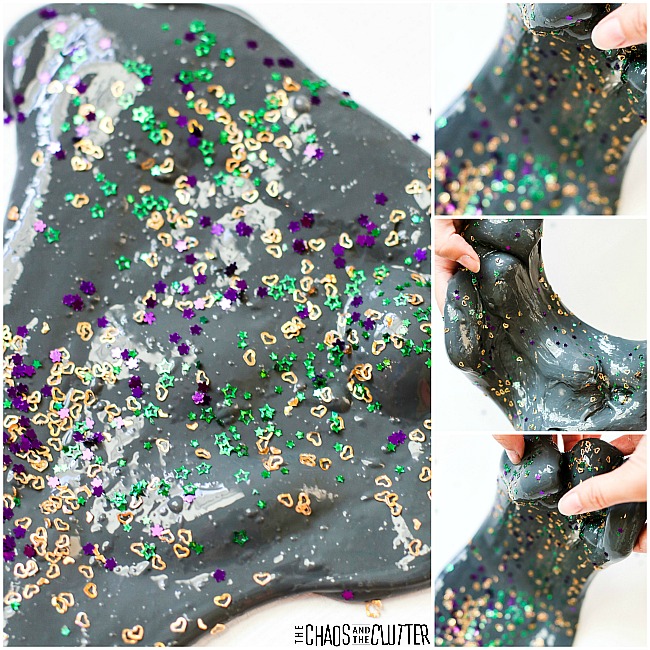 You can set this slime out with Mardi Gras beads. This will provide another element for sensory input in the play. The stretchy slime will contrast against the hard beads, offering a great tactile experience.